• Please visit and share your knowledge at our sister communities:
  • If you have not, please join our official Homebrewing Facebook Group!

    Homebrewing Facebook Group

Newbie Here!! - First Brew - Bock Beer

Homebrew Talk

Help Support Homebrew Talk:

This site may earn a commission from merchant affiliate links, including eBay, Amazon, and others.
DeafSmith said:
What NB77 said. I'd keep things simple for your first brew - with a lager you'd have to worry about a diacetyl rest, and at least 6 or 8 weeks of lagering after the fermentation. One thing you need to find out is can you turn the temperature on the fridge up into the 60's range? If not, you'll need an external temp. controller.

Ohhh.... Okay... So, right now... My temps - on the lowest setting is 45 to 50 degrees... I will raise the temps since its a lager... I can turntable temps up on my fridge. :)

Yay!! The hubby is excited!! We are just about there!! ;)


Peace. Love. & Beer.
Cheers!
 
I will raise the temps since its a lager...

What yeast did you choose? The pack that came with it? Or did you go with something else? Whichever yeast you choose, you should look up the temp range (same will say on the package), and ferment in that range. Generally speaking, the lower in the temp range you ferment, the cleaner the beer.
 
I'm still confused as to whether you have ale yeast or lager yeast.... Show us a picture of the yeast that came with your kit.
 
Stauffbier said:
I'm still confused as to whether you have ale yeast or lager yeast.... Show us a picture of the yeast that came with your kit.

Well, after some research... It comes with an ale yeast... Let's hear it!! :)


Peace. Love. & Bear.
Cheers!
 
I have an ale yeast ---- the guy at the HBHQ says that it's not a true bock... But it's got the ale yeast.. That's why we can brew the bock kit here in Texas... It's not true... ;) But that's okay... It's the first brew... After this one, it's only gonna get better.. ;)

Here's to a Good Day!! ;)

Peace. Love. & Beer!
Cheers! :)
 
Yo!! :)

I am working with this fridge that I bought yesterday. The hubs & I placed a thermometer inside the fridge section & this morning... It's reading a whoppin' 44 degrees... No good. :( It's a bit cold.. Anyone have any idea what I can do? We turned the freezer section down - thinking maybe because it's newer - that it might have a line running a line from the freezer to the fridge.... Maybe that's why the fridge is so much colder.. :confused: We thought about just leaving it open a bit -- but then the compressor would be running more & longer... Oh, what to do... :confused:

Anyone that can offer some help, that'd be great!!


Peace. Love. & Beer.
Cheers! :mug:

To use a fridge as a ferm chamber, you'll need a temperature controller. Search around here on HBT, there's tons of ideas and it's pretty simple. You'd plug the fridge into the controller, and the controller into the wall. Put the temp probe from the controller into, or onto the fermented and set the controller to the desired temp.
 
NordeastBrewer77 said:
To use a fridge as a ferm chamber, you'll need a temperature controller. Search around here on HBT, there's tons of ideas and it's pretty simple. You'd plug the fridge into the controller, and the controller into the wall. Put the temp probe from the controller into, or onto the fermented and set the controller to the desired temp.

Yes, sir & we are picking one up during the rat killin' ;) I cannot wait to get this started!! Yay!! :D
Heading to HBHQ this afternoon!!
 
I use one of these with each of my two chest freezers:

http://www.northernbrewer.com/shop/johnson-controls-a419-digital-temp-controller.html

It works great. They are available a little cheaper elsewhere, but some of them don't come wired up - you'll have to attach your own cord and temp. probe. The Northern Brewer unit is ready to go out of the box. On my chest freezers, I run the wire for the sensor through the drain hole - I'm not sure how people route it for refrigerators. I'd be really reluctant to drill a hole in the fridge - too much chance of hitting a cooling coil. Maybe some others who use these with refrigerators will tell how they do it.
I tie a gel-pack to my carboy with a bungee cord and slip the temp. probe in between the gel-pack and the carboy. Or you could just tape the probe to the side of the carboy with some insulation over the probe.

The analog version is cheaper, but doesn't control the temperature as tightly:

http://www.northernbrewer.com/shop/johnson-refrigerator-thermostat.html

I don't have any experience with the analog version. I think Ranco also makes a temp. controller.
 
Afternoon! :rockin:

Got a couple of pictures to share! Looks like this is it! I am on my home stretch as the hubby & I are brewing tonight!! :rockin: (Finally!) :D

I gotta couple of things to chat about before I get going on this brew. :) Got me some new things today.

Here is a pic of my RO water system & the filter before replacing it. The hubby & I decided to buy it last summer because the water here in Dallas is just blah! We changed the filter today and was quickly reminded me why we purchased the RO Filter System in the first place. :cross: So, we have the RO Water System up and running. :) Waiting for it to fill - as it only holds 2 gallons at a time. ;)

4.jpg 5.jpg


Now, the hubby agreed that we needed a temperature control gauge like I mentioned earlier. We have now hooked it up to the fridge and we are just waiting for the RO system and the sanitizing to begin! :D The fridge is ready to go!!

1.jpg 2.jpg 3.jpg

The temp. gauge cost 70$ and I am proud of the purchase. I think this will help me into the world of brewing faster than I thought! ;) The hubby worked the RO water filter and hooked up the temp. gauge. We can already tell the they gauge is already at work as temps. begin to rise in the beginning of what will be our fermenter. ;)

I think we are good to go!! Yay!! This is going to be an enjoyable night accompanied with hard work, good jams and a nice brew!! :)


See you peeps later!!


Peace. Love. & Beer.
Cheers! :mug:
 
Looks like this is it! I am on my home stretch as the hubby & I are brewing tonight!! :rockin: (Finally!) :D

Peace. Love. & Beer.
Cheers! :mug:

Awesome! I was wondering when you were gonna get around to doing it. I have to applaud you though, most of us just jump in without learning the important things. You've learned two very crucial pieces of making great beer, temp control and patience. Many of us, myself included, had to mess up a beer before learning those things. I'm a couple years in, and I'm still working on the patience part of it myself.... luckily, knowing about yeast health, proper temps and having a kegging set-up, I seldom have to wait longer than I want to for a beer.

Fun little story about how easy it is to make great beer. I'm mostly an all grain brewer, but I get one extract kit a month from an awesome xmas gift I received. The last kit I brewed was Midwest's Honey Weizen, a pretty straight forward Hefe, all wheat LME with a pinch of carapils for steeping. Easy recipe, steep, boil, hop, I added all the LME at flameout. Fermented with a Bavarian Wheat blend starting at 62 and ramping up to 68 at high krausen. Bottled on 6/7, primed with wheat DME, and I cracked the first one last night..... amazing. I'm drinking one as I type this, and keep thinking to myself that this simple little extract kit made a brew that easily rivals some of my more intensive all grain recipes. Moral; if your process is solid (and it sounds like yours will be), it's very simple to make world class beer at home.

So tonight, RDW and HACB (Commercial Brew) while you're whipping up that bock. With everything you've learned, it's going to be a very nice beer. :mug:
 
:mug: LET THE BEER BREWING GAMES BEGIN!! :D


It's FINALLY time!! The time has finally come!! I am so excited!! We are BREWING!!


Enjoying a nice beer while whippin' up some of my own!! ;)


Posting Pics Later!


Peace. Love. & Beer.
:mug: Cheers! :mug:
 
Hey! Hey! Hey!!

I know you guys have been waiting around to see if I would get back up & post what happened during my FIRST BREW! I think I should just get a :mug: CHEERS :mug: just for completing my FIRST!! :D A BIG thanks to the hubby for all of his support! Yay!

Well, let's get this started. I know you guys have been twiddling your thumbs since yesterday! Ha! :cross:

We began & we finished & we learned a lot!

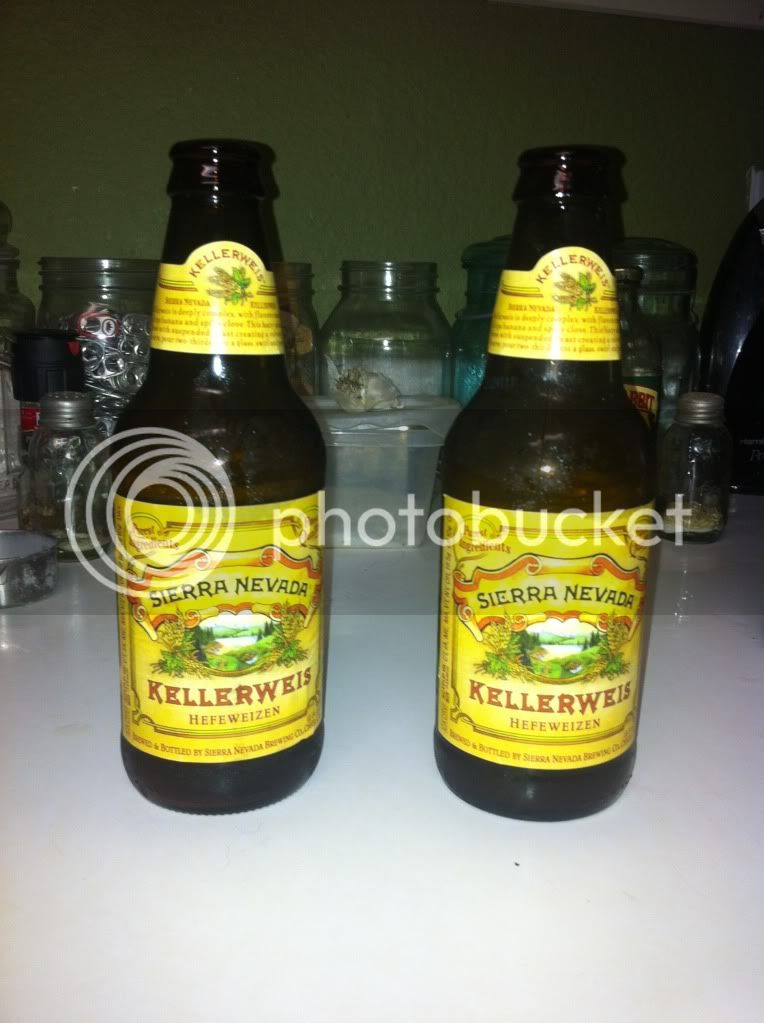
We kicked off the night :mug: CHEERS :mug: to a Sierra Nevada!

IMG_7731.jpg


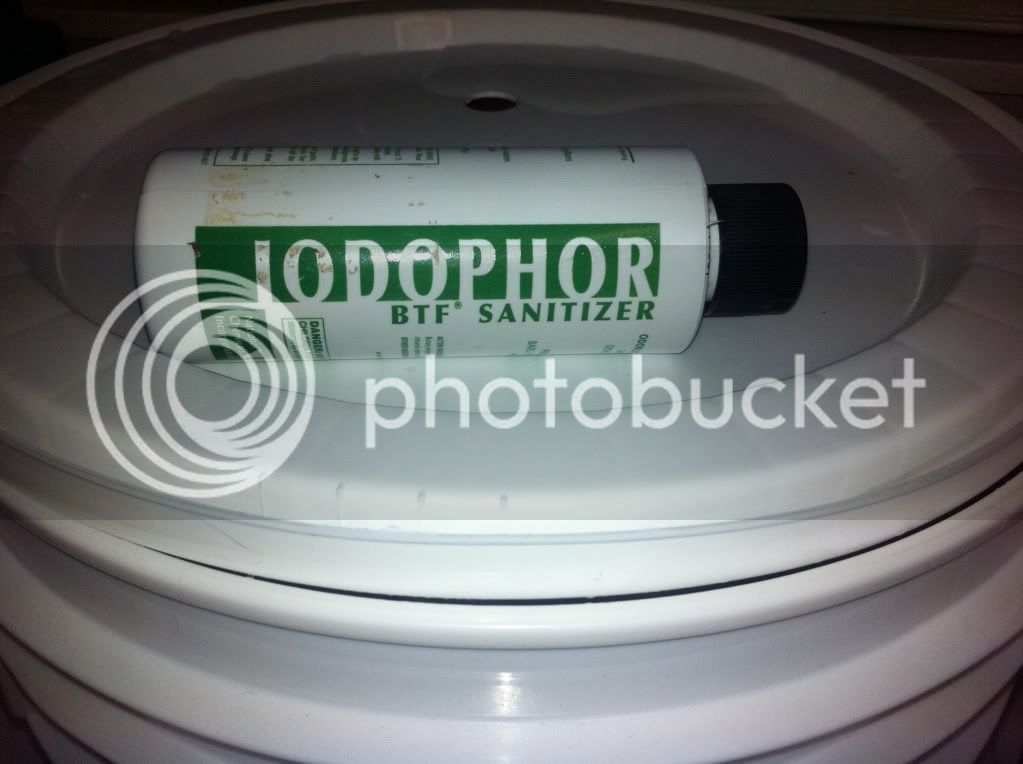
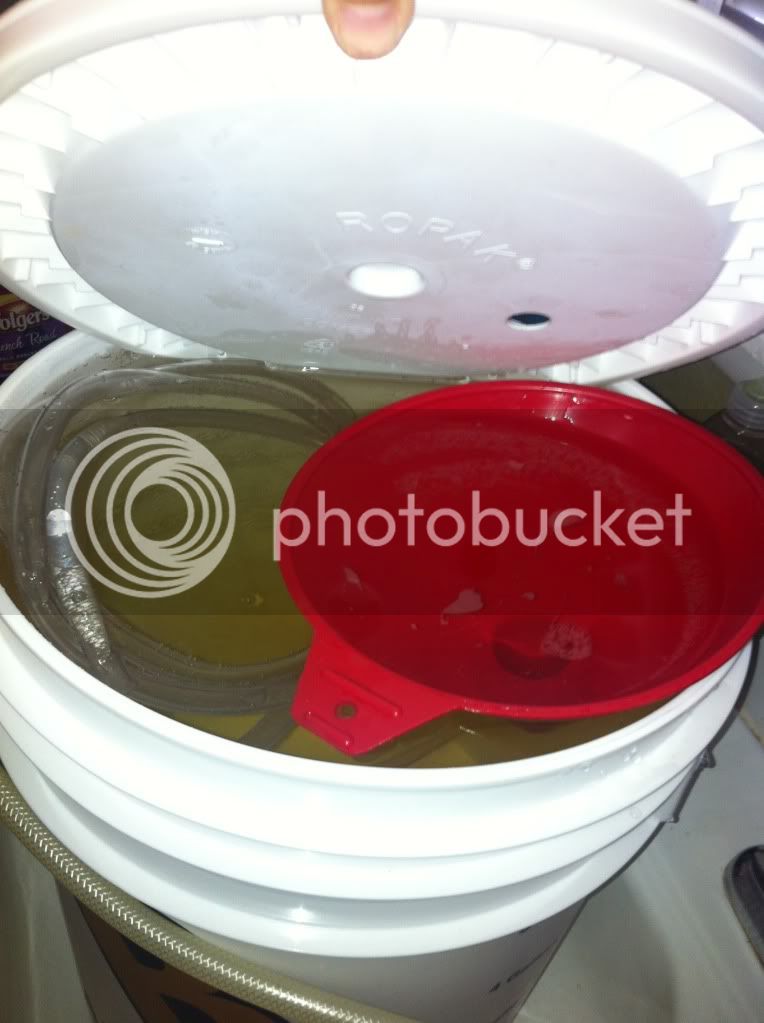
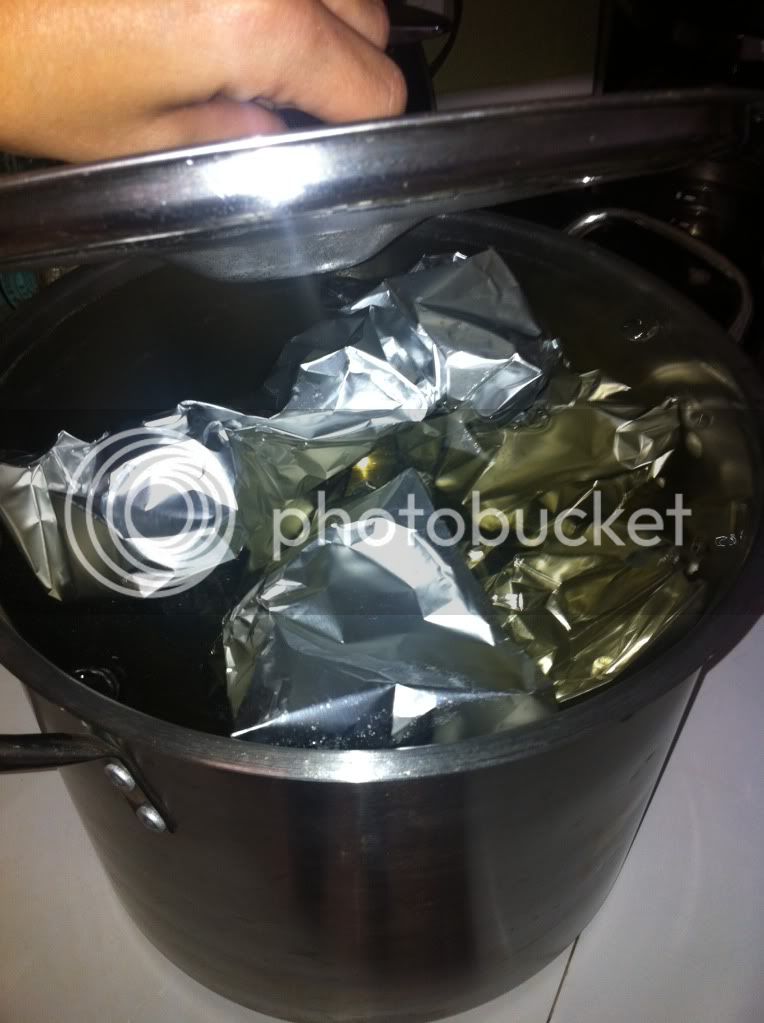
First - I am starting with the sanitation. Lots & Lots of Pics!!

IMG_7730.jpg


IMG_7728.jpg


IMG_7729.jpg


IMG_7739.jpg


I used the IODPHOR for the sanitizing agent and cleaned all of my utensils and brewing kit. I also used a couple of pieces of foil to place the sanitized items onto to keep them sanitized. :D

IMG_7727.jpg


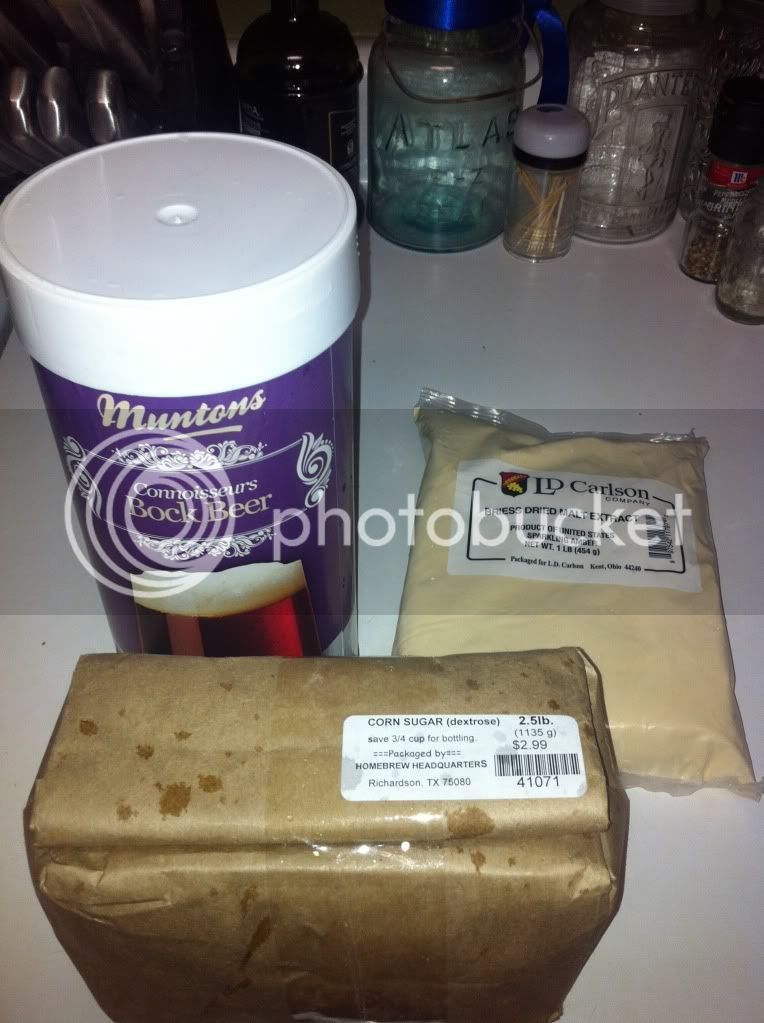
These are the ingredients that came in my kit. I did not add anything to the kit - this time. ;) I am sure one of these days - other yummy items will be added to make our beer just that much better!! ;)

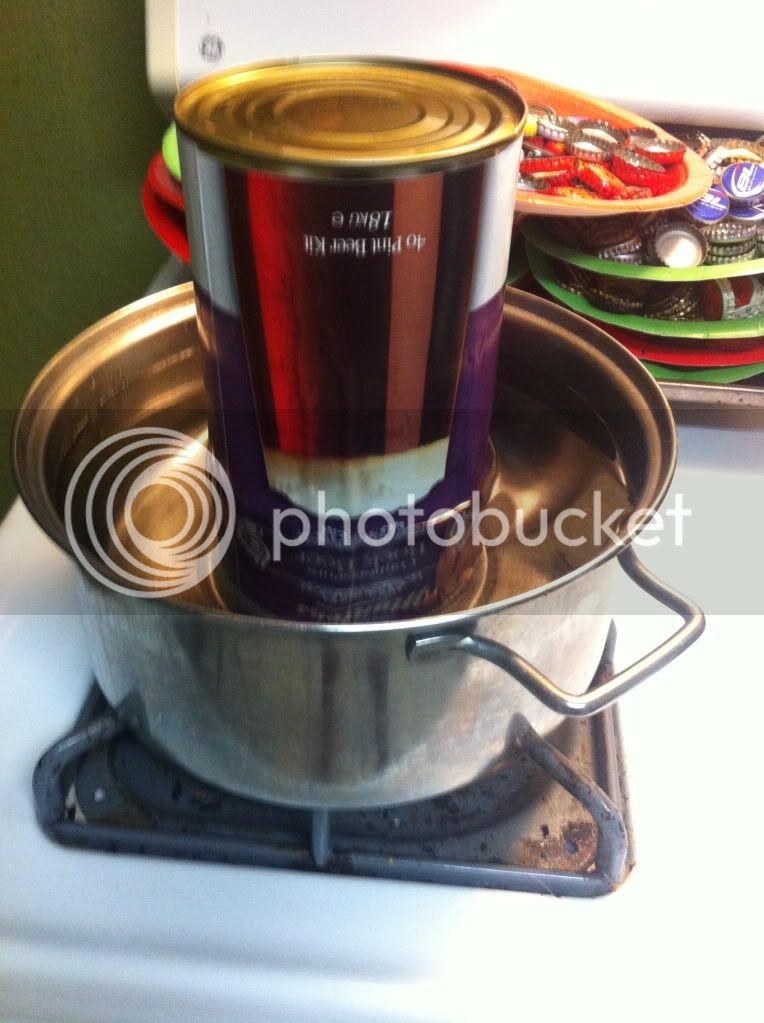
I started by warming the malt - just to make it a little easier to come out of the can - just used a sauce pan & some water - brought it to a warm temp. & figured that it would help the release.

IMG_7732.jpg


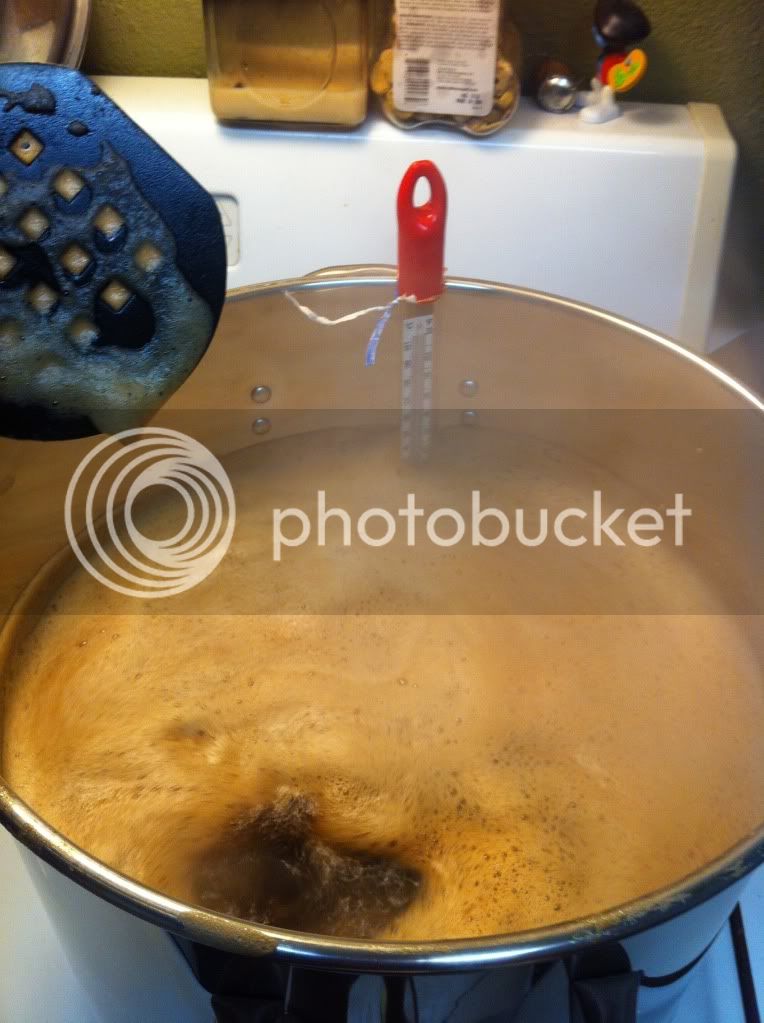
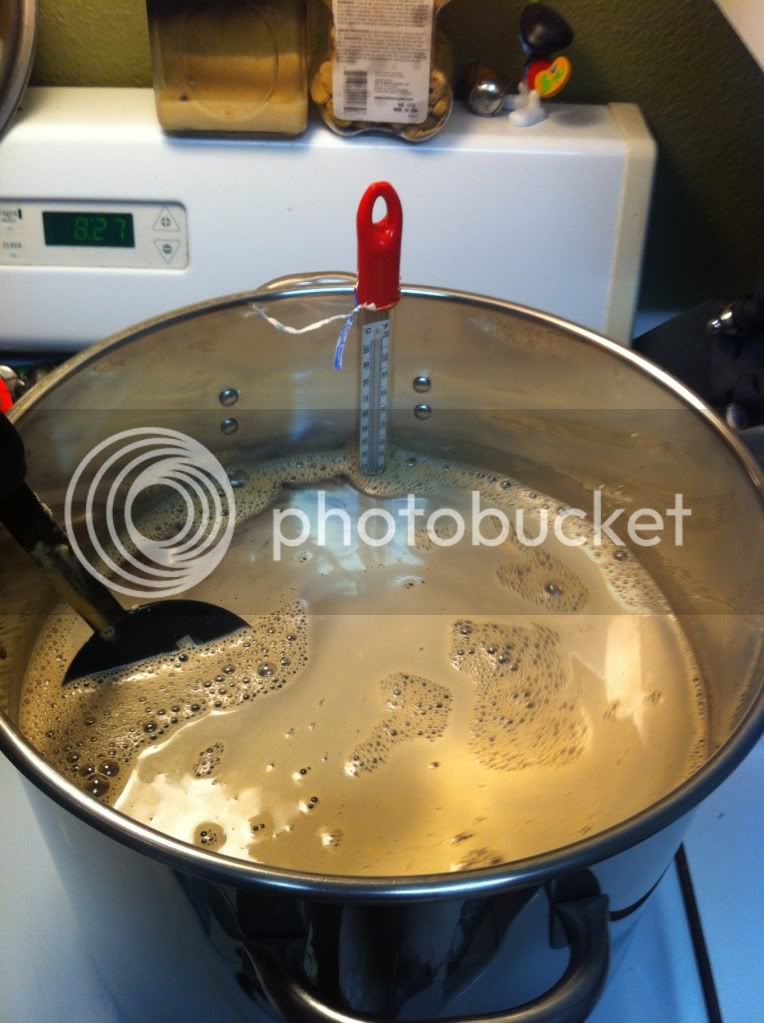
I made the Wort & heated it to a rolling boil - I only boiled it for about 15 minutes - which were stated in the directions from the brew kit... Next time - I plan on boiling for a little longer than 15 to 20 minutes. ;)

IMG_7733.jpg


IMG_7734.jpg


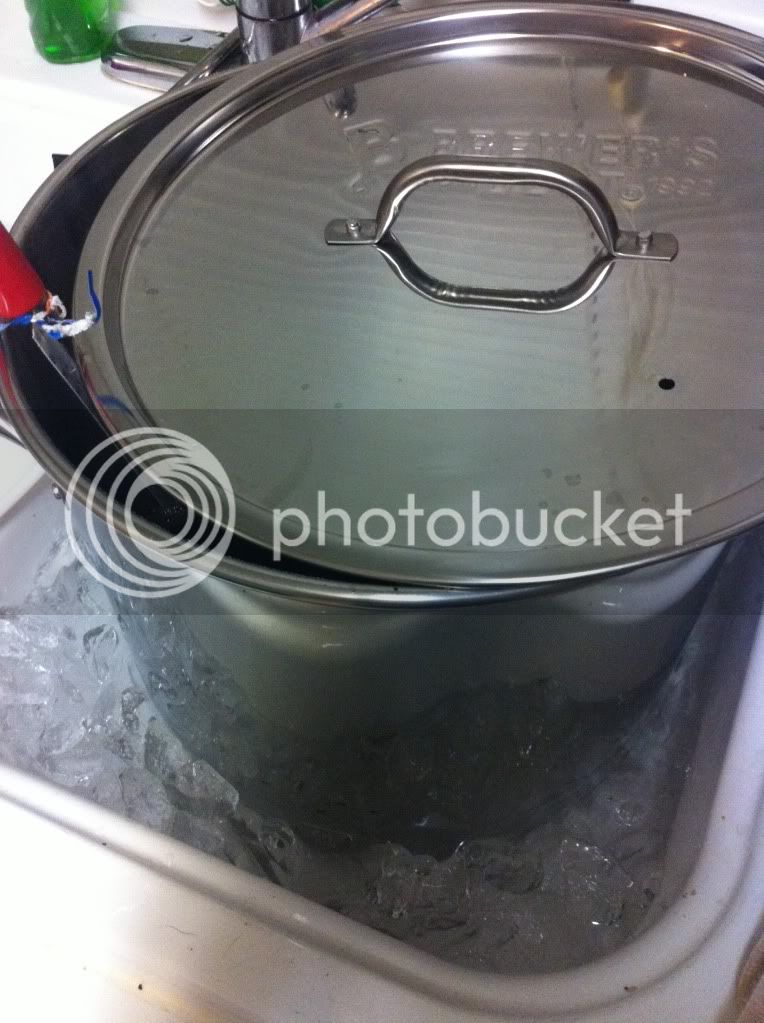
We filled both sides of the sink with levels of water & ice to create a cold water bath.

IMG_7737.jpg


..... to be Continued!
 
The Continuation..... :D

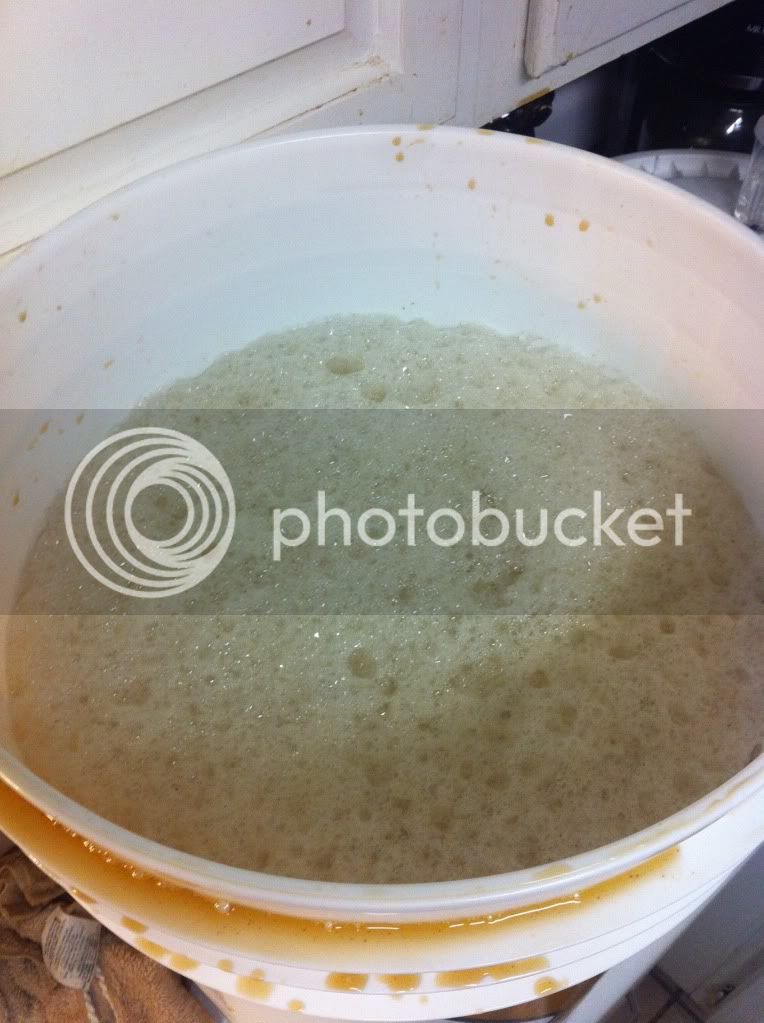
:fro:We poured the beer mixture a couple of times from the ferment bucket back to the brew pot - just to give it a little bit air to help the fermentation begin. ;)

IMG_7740.jpg


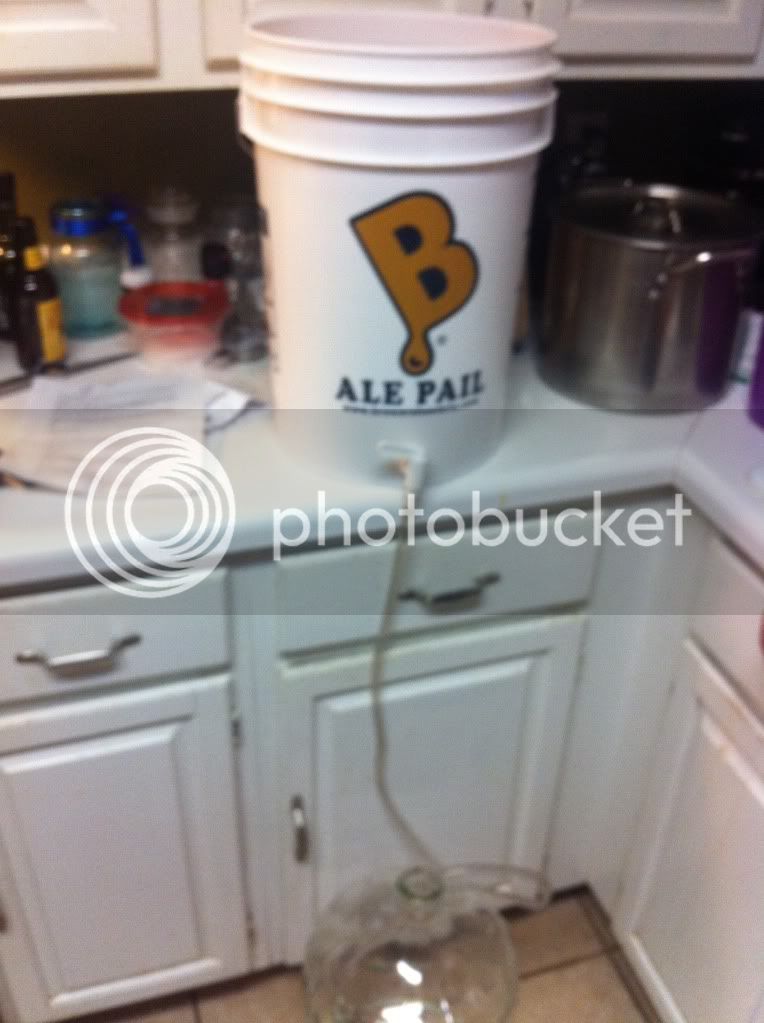
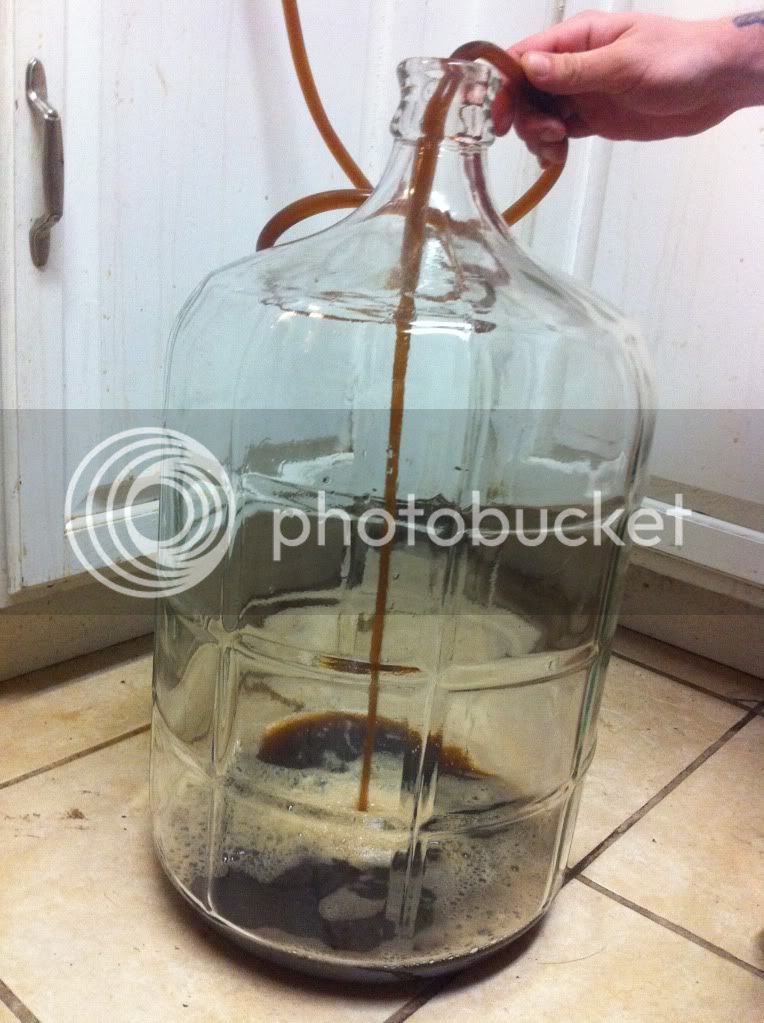
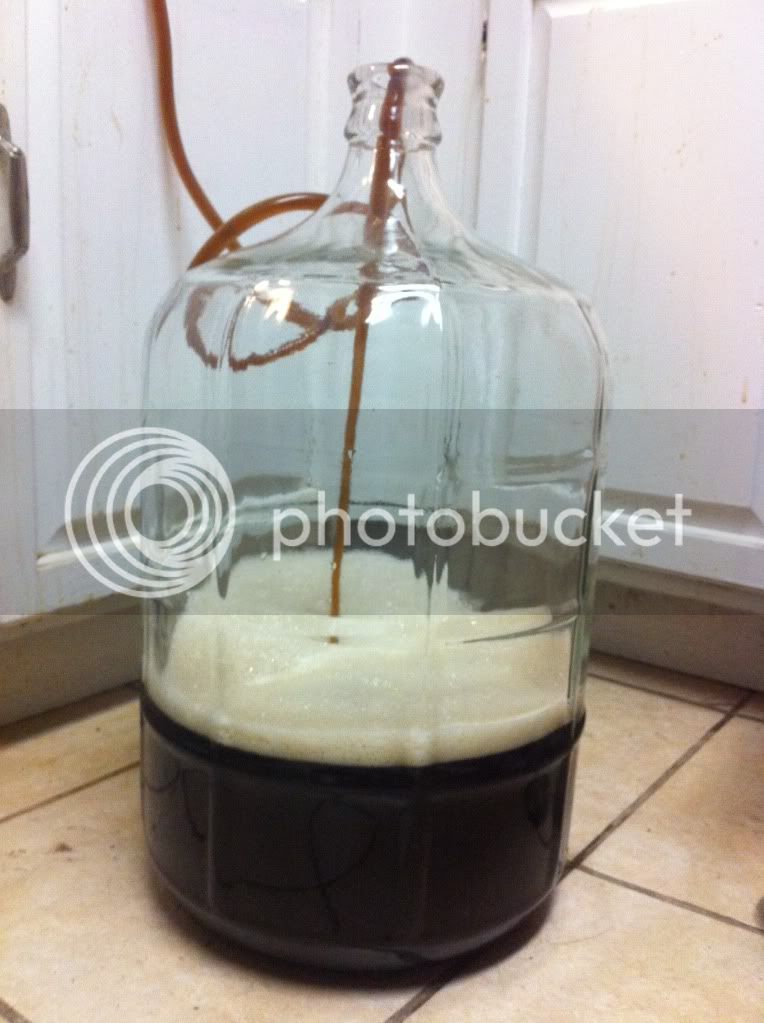
We later siphoned our brew from our fermentation bucket to our glass carboy.

IMG_7735.jpg


IMG_7741.jpg


IMG_7742.jpg


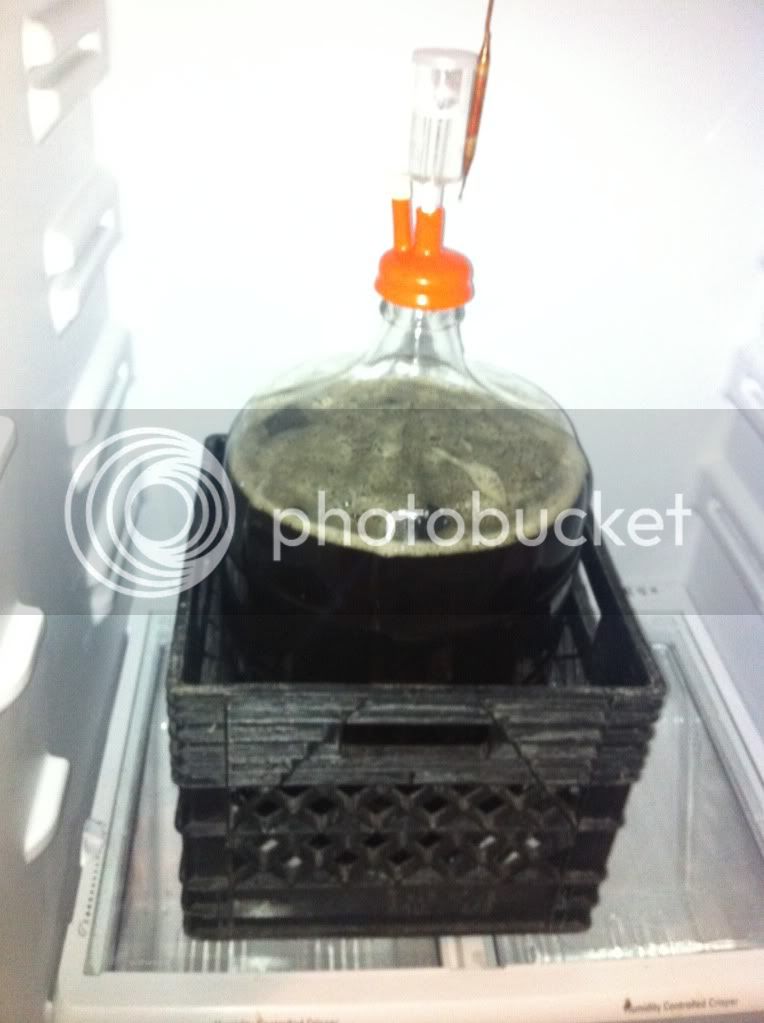
And then placed it in our really cool fermentation chambers!! :D ;) :cool:

IMG_7744.jpg


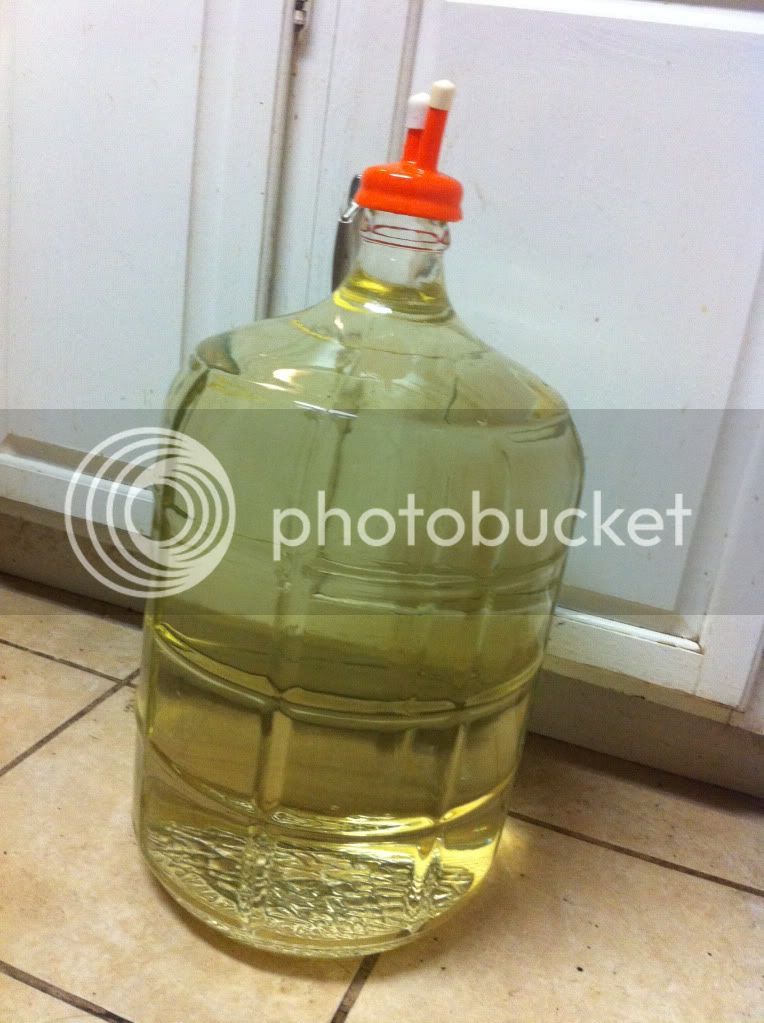
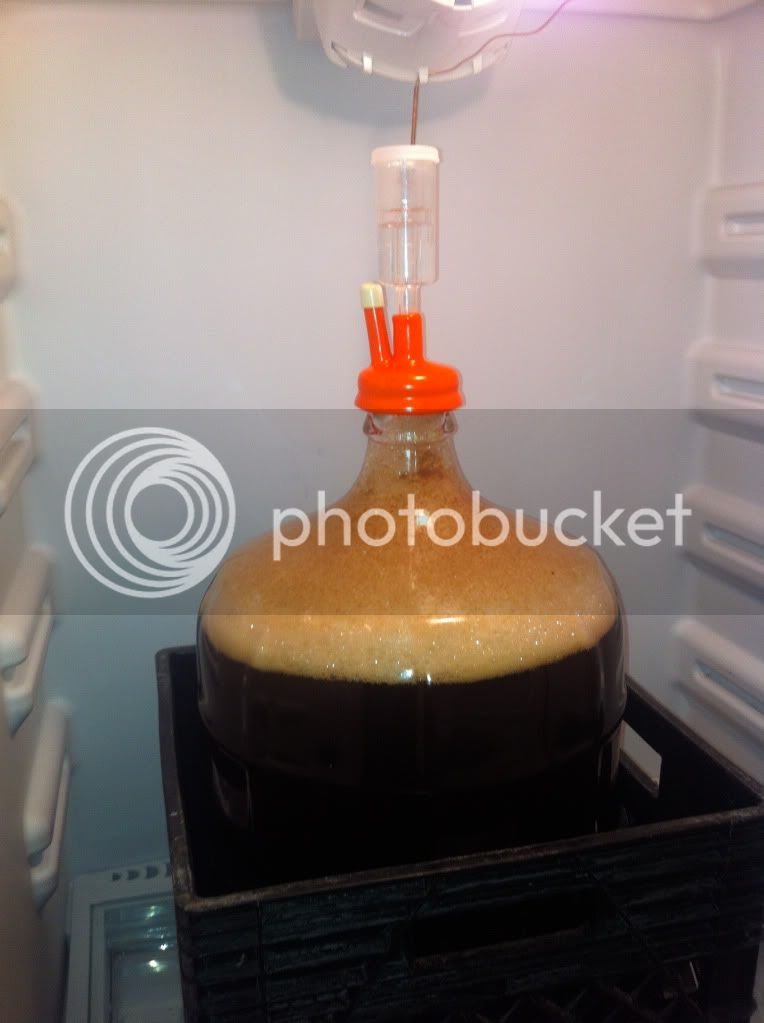
.... I couldn't wait & wanted to show you guys what it's looking like!! So, after its first day of fermentation - We give you this!
IMG_7745.jpg


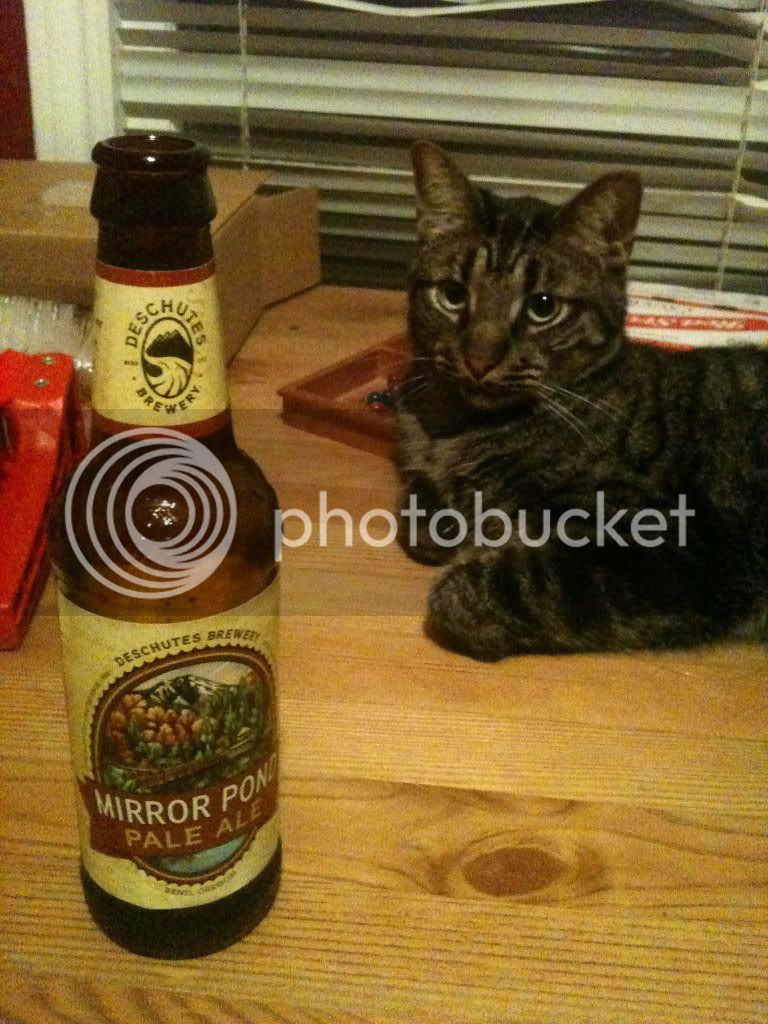
At the end of the night.... We had another brew - not a home brew - quite yet... But we did find that enjoying a cold brew with our Cassius Clay was pretty successful!!

IMG_0844.jpg


We are so PUMPED!!

That's all for now - guys!


Peace. Love. & Beer.
Cheers! :mug:
 
Congratulations! It looks like that beer is off to a good start. I do see one potential problem, if that is a 5 gallon carboy, you are going to get kraeusen (the foamy stuff on top of the beer) up into your airlock. If it blocks the airlock, it will blow the cap off and spew beer out. Those beginner kits have a large bucket which is meant to serve two purposes. It is a fermenting bucket and is large enough to allow room for the kraeusen. Then the beer is transferred to the glass carboy for secondary, allowing you to clean the bucket and use it for a bottling bucket. I would suggest rigging up a blow off on that carboy. I ferment in 6 gallon Better Bottles and always start with a blow off arrangement. The way I do it is I take the bottom part of a 3-piece airlock and cut off the tip so as to remove the little tabs at the bottom so I just have one big hole all the way through the stem. Then I put that bottom part into my stopper or carboy cap and don't use the other two pieces. I slip a piece of tubing over the top part of the stem and put the other end of the tubing into a jug of Star San sanitizer (keep the jug down on the floor, not up high, to avoid the possibility of starting a siphon from the jug into the carboy in case of suck-back due to temperature changes). This way, it doesn't clog up and any blow off goes harmlessly into the jug. If you don't understand my description, you can search the forum - there are numerous pictures of these set ups.
EDIT: Since you have a carboy cap, you may be able to rig up a blow off tube just by removing the airlock entirely and sticking the end of the tubing into the carboy cap, with the other end of the tubing into a jug of sanitizer.

Since you already have the beer in the carboy, you probably don't need to bother with a secondary - just leave it in the carboy for a couple of weeks (ignore the directions if they say only leave it a few days or a week).

Regarding the boiling - you don't need to boil those kits any longer than you did - they are pre-hopped. Only need to boil for a hour if you are adding hops during the boil.
 
Hey hey!! Awesome! I gotta reiterate what DS said, get a blowoff tube on that thing or you'll have a mess in your fridge. You usually wanna leave about a gallon or so of headspace for active fermentation, that's why buckets are ~6.5 gal for 5 gal batches. Other than that, everything looks like it went well for you guys. Couple few weeks and you'll be able to bottle that bad boy up.
 
Hey hey!! Awesome! I gotta reiterate what DS said, get a blowoff tube on that thing or you'll have a mess in your fridge. You usually wanna leave about a gallon or so of headspace for active fermentation, that's why buckets are ~6.5 gal for 5 gal batches. Other than that, everything looks like it went well for you guys. Couple few weeks and you'll be able to bottle that bad boy up.


Hey!! Hey!! Hey!!

Yay!! First batch of frew is in the making! :mug:

I do see now why I needed to ferment in my bucket first then move it into the carboy. I guess there are always lessons to be learned in the first brew, right! :cross: I guess we got a little excited and got ahead of ourselves.

Now - onto drinking lots of beer, removing labels from beer bottles and begin cleaning before bottling!! Yay!! We are super excited!

The hubs is already asking for a bigger carboy when I get paid. ;) Ha. Funny to say we want to brew a pale ale - when that is probably what I should have brewed first. :cross: But what can I say!? :cross: I am a girl who loves a good challenge!! :D


Definitely a lot of Peace. Love. & Beer. going on around here!! ;)
:mug:Cheers!:mug:
 
It takes a lot of drinking to get that first set of bottles but it won't be long before you are overflowing with bottles. I've run out of room for the empty bottles I have because I don't have the time or space to brew more beer than I already have in the fermenters and I need to drink down my current supply (some of my beers are 2 years old now and those don't even count the sours). I'd offer to turn some over to you but I'm so busy this summer I don't have time to sort them out and make sure they aren't moldy or too dirty to use. I'm sure you'll find a way to empty your own bottles though. :mug:
 
It takes a lot of drinking to get that first set of bottles but it won't be long before you are overflowing with bottles. I've run out of room for the empty bottles I have because I don't have the time or space to brew more beer than I already have in the fermenters and I need to drink down my current supply (some of my beers are 2 years old now and those don't even count the sours). I'd offer to turn some over to you but I'm so busy this summer I don't have time to sort them out and make sure they aren't moldy or too dirty to use. I'm sure you'll find a way to empty your own bottles though. :mug:


What he said about overflowing with bottles before you know it! :tank:

I have a bunch of those stubby Sierra Nevada bottles you can have. They are all clean, but most still have the labels. PM me if you want to pick them up.
 
Ha! Greetings, Everyone!!
:mug:

We are bottling our beer this run through... The hubby has already started talking more advances in our brewing methods though! :rockin:

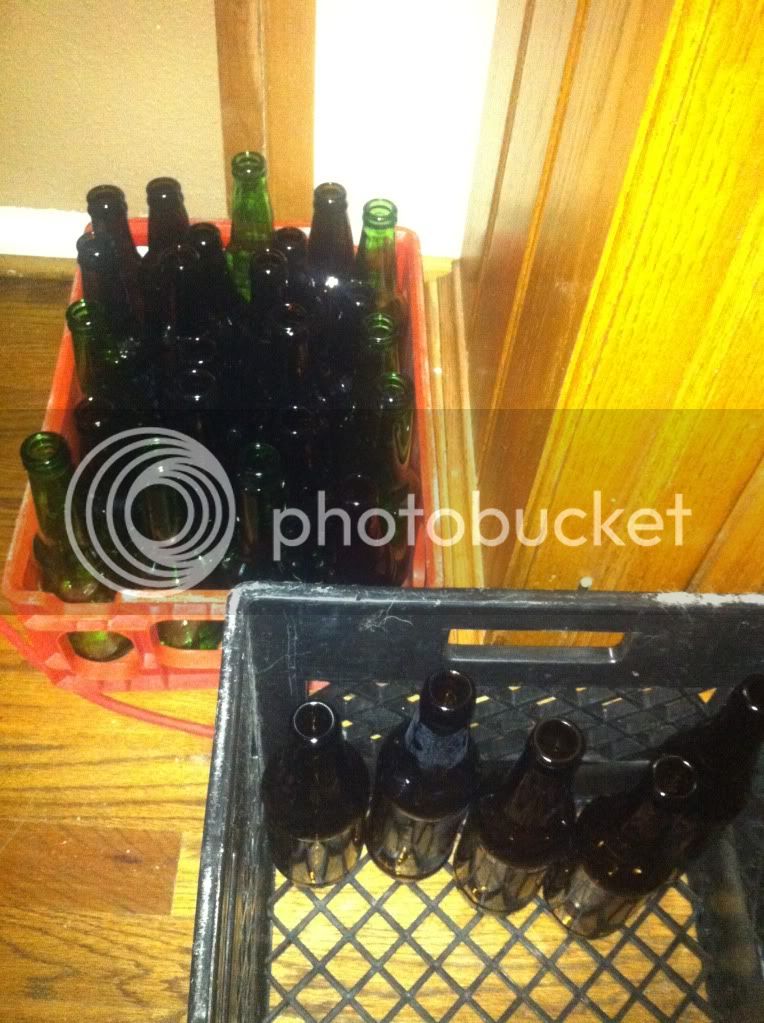
& don't worry guys - we have already quite the collection here -

IMG_7758.jpg


We are beer drinkers 'round here. ;) We just know that for the next two weeks - well, now week & a half - that we will only buy pop-off bottles of beer & only drink bottled beer for the next 2 weeks. :tank:

I do have a question... I have both green & brown bottles. Is there a difference? Can bottle color affect the rest of the process? If so, I need to make sure I am only buying brown bottled beers.. :confused:

It's Thirsty-Thursday!! :tank:

Peace. Love. & Beer.
:mug: CHEERS! :mug:
 
You should use brown bottles because they will block the UV light that will "skunk" the beer. You could bottle in green bottles if you have to - just keep them in a dark place (actually a good idea to keep the brown bottles in a dark place, too, just in case the brown glass doesn't block all the light). After you bottle, ideally you would keep the bottles at about 70 ºF for at least three weeks before chilling, but a few degrees warmer won't hurt anything.
 
I used to have some green 12oz bottles I used for cider but I gave them all away and decided I have too many bottles to need them back. Now the the only non-brown bottles I have are some green champagne bottles I use for sour beers. I keep all of them in my homebrew storage closet so they don't get much light exposure. I've never had a problem with skunking those bottles.
 
You should use brown bottles because they will block the UV light that will "skunk" the beer. You could bottle in green bottles if you have to - just keep them in a dark place (actually a good idea to keep the brown bottles in a dark place, too, just in case the brown glass doesn't block all the light). After you bottle, ideally you would keep the bottles at about 70 ºF for at least three weeks before chilling, but a few degrees warmer won't hurt anything.


Okay... 70 degrees. Got it. My house sits between 79 & 80 during the day - a bit warm...

I will keep the brown bottles and pitch the green ones. I will let the hubby know that we are only to drink brown bottled beers ;)


Thanks for the help!
 
My house is 80+ during the day, and I don't have any problems with my bottled beer. Just be sure that fermentation is finished before you bottle your beer. Recipe kits like to provide time schedules, but we're really not in control of that. We're on the yeasts time schedule, not ours. Once you know you have reached your stable final gravity then you can bottle. After you bottle, put all of the bottles in a rubbermaid container or ice chest or something while they carb up. This will keep the light off of them and ensure safety in case of bottle bombs...

And, yeah.. I have also gotten rid of all of my green bottles!
 
Stauffbier said:
After you bottle, put all of the bottles in a rubbermaid container or ice chest or something while they carb up. This will keep the light off of them and ensure safety in case of bottle bombs...

And, yeah.. I have also gotten rid of all of my green bottles!

Good Thinking!! ;) Thanks for the tip!!

And I got it on the green bottles. Pitch the Green Bottles!! ;)
 
Back
Top