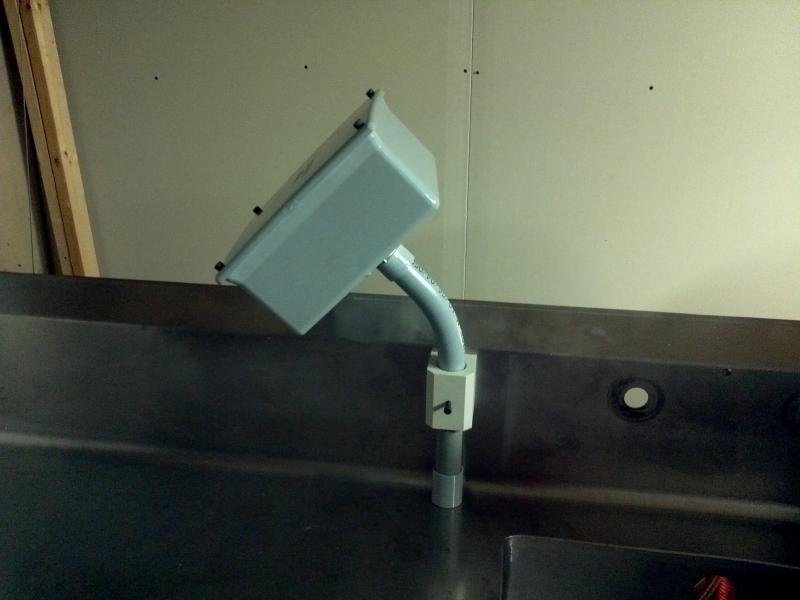
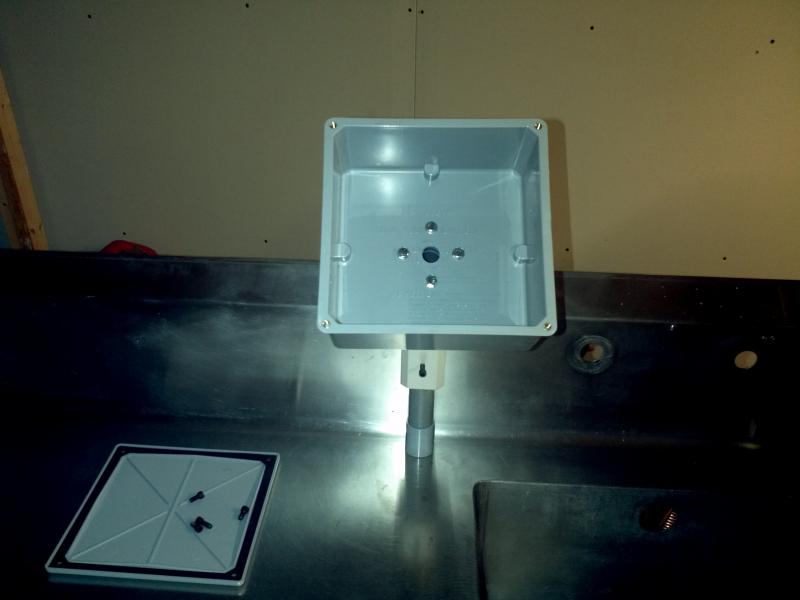
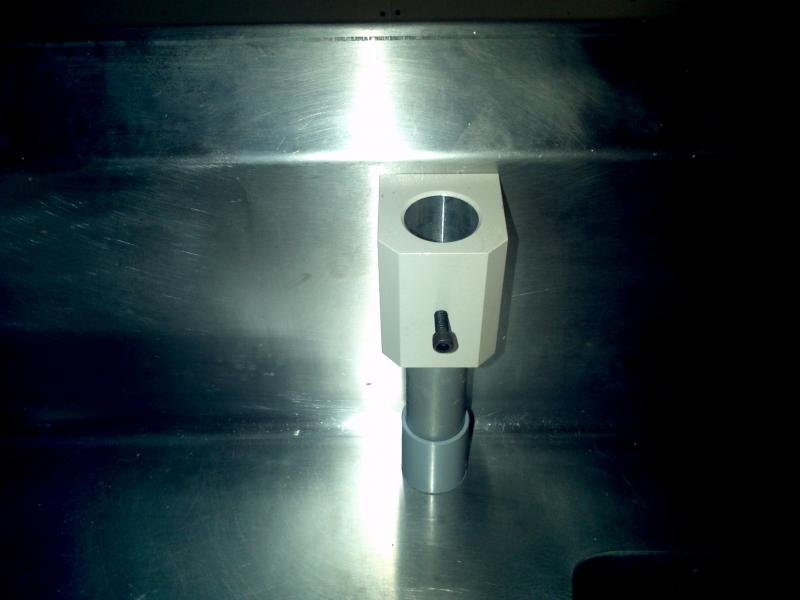
now that the cave is done I am starting my Electric HERMS build. So far I have 15 Gal Bayou Classic for the HLT,
15 Gal Blichmann Boilermaker Mash Tun W/ Blichmann AutoSparge & Blichmann false bottom,
15 Gal Blichmann Boilermaker brew kettle
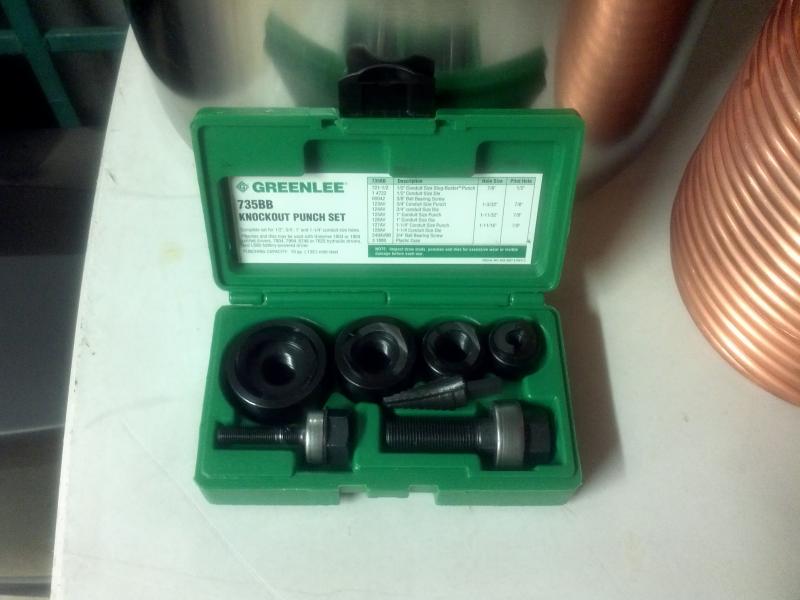
Greenlee Punch set, $160 but I plan on making it available to my local Brew community as a way of giving back
2 immersion coolers with a Wayne utility pump for closed loop wort cooling ( I have a low producing well and cannot use too much water) in a cooler full of ice. here are the first pics. still have a lot of details to sort out yet. will keep everyone posted tho
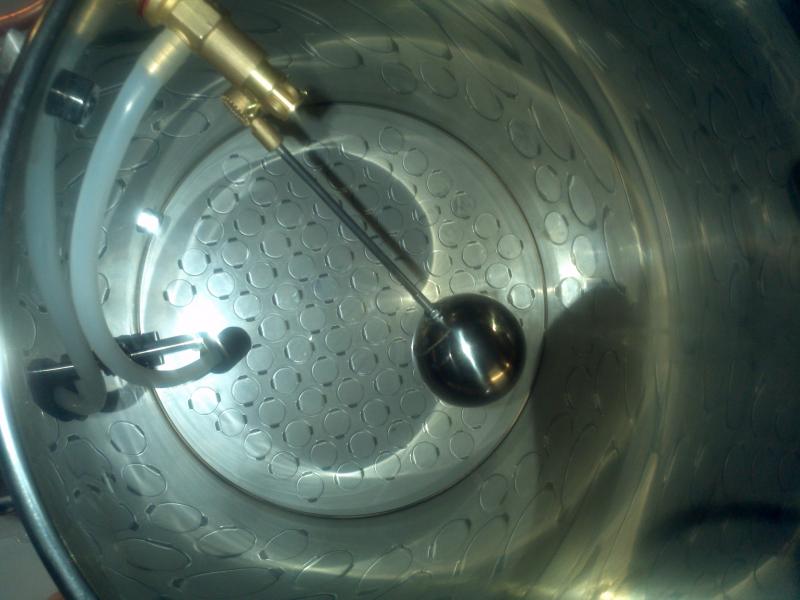



 What about putting your BK on the bottom instead of the HLT and setting up a Brutus? You've got the pumps for it.
