I am starting a RIMs build. My pics will follow shortly. I am not using a heat stick. I am recircing though an electric turkey fryer which will be on all the time, but will have a temperature control - thermostat style.
You are using an out of date browser. It may not display this or other websites correctly.
You should upgrade or use an alternative browser.
You should upgrade or use an alternative browser.
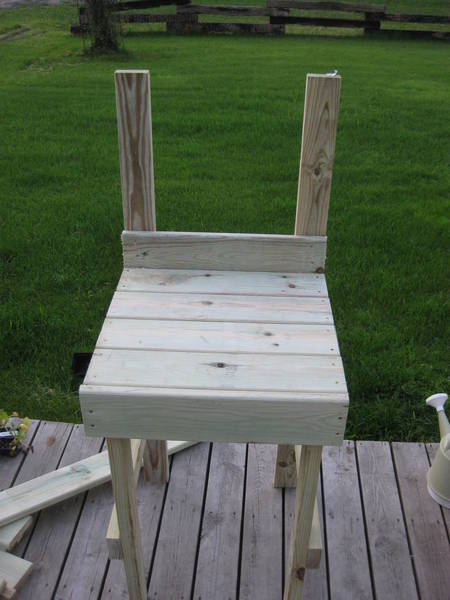
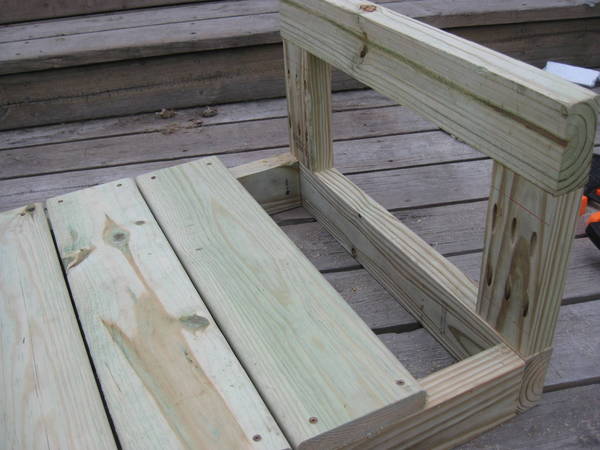
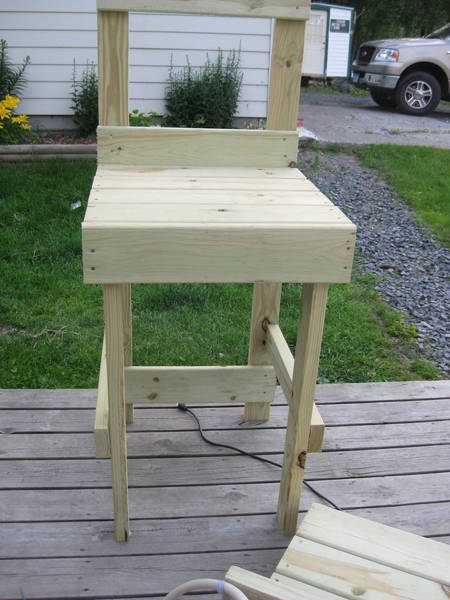
Nate's RIMs build - the brew throne
- Thread starter kegtoe
- Start date

Help Support Homebrew Talk:
This site may earn a commission from merchant affiliate
links, including eBay, Amazon, and others.
OP
OP
The brew throne. From each side:
Curious to see more, just got my first march pump and soon I'll be collection RIMS parts.
I feel like RIMS is the lightsaber of homebrewers. No instruction manual, no parts list, just word of mouth and your personal skill set.
I feel like RIMS is the lightsaber of homebrewers. No instruction manual, no parts list, just word of mouth and your personal skill set.
OP
OP
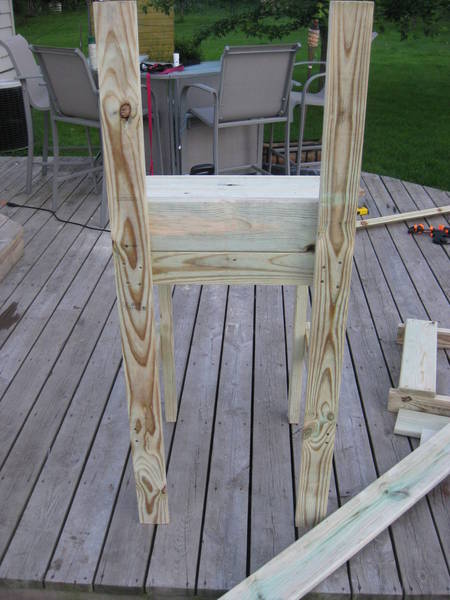
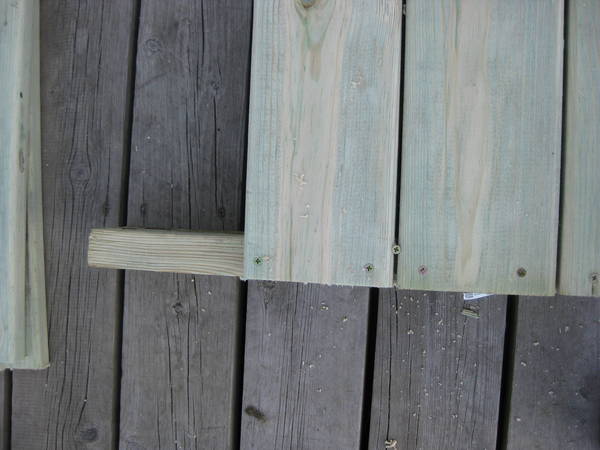
building the bottom

OP
OP
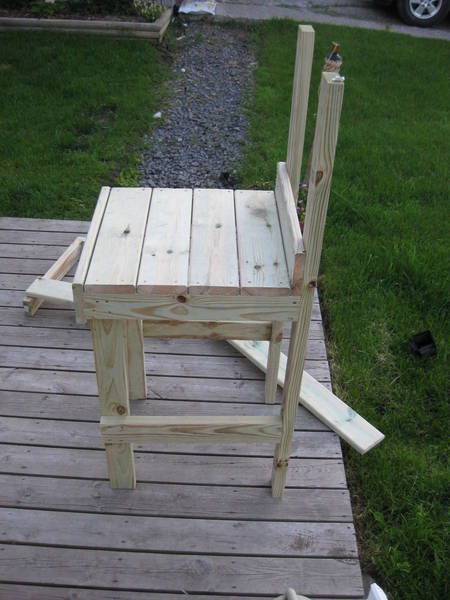
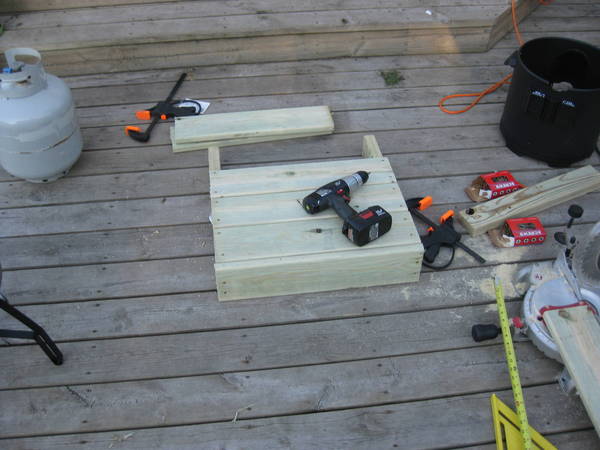
more pics of the build

$22.00 ($623.23 / Ounce)
AMZLMPKNTW Ball Lock Sample Faucet 30cm Reinforced Silicone Hose Secondary Fermentation Homebrew Kegging joyful
无为中南商贸有限公司


$479.00
$559.00
EdgeStar KC1000SS Craft Brew Kegerator for 1/6 Barrel and Cornelius Kegs
Amazon.com


$53.24
1pc Hose Barb/MFL 1.5" Tri Clamp to Ball Lock Post Liquid Gas Homebrew Kegging Fermentation Parts Brewer Hardware SUS304(Liquid Hose Barb)
Guangshui Weilu You Trading Co., Ltd


$20.94
$29.99
The Brew Your Own Big Book of Clone Recipes: Featuring 300 Homebrew Recipes from Your Favorite Breweries
Amazon.com

![Craft A Brew - Safale BE-256 Yeast - Fermentis - Belgian Ale Dry Yeast - For Belgian & Strong Ales - Ingredients for Home Brewing - Beer Making Supplies - [3 Pack]](https://m.media-amazon.com/images/I/51bcKEwQmWL._SL500_.jpg)


$10.99 ($31.16 / Ounce)
Hornindal Kveik Yeast for Homebrewing - Mead, Cider, Wine, Beer - 10g Packet - Saccharomyces Cerevisiae - Sold by Shadowhive.com
Shadowhive


$58.16
HUIZHUGS Brewing Equipment Keg Ball Lock Faucet 30cm Reinforced Silicone Hose Secondary Fermentation Homebrew Kegging Brewing Equipment
xiangshuizhenzhanglingfengshop


$53.24
1pc Hose Barb/MFL 1.5" Tri Clamp to Ball Lock Post Liquid Gas Homebrew Kegging Fermentation Parts Brewer Hardware SUS304(Liquid MFL)
yunchengshiyanhuqucuichendianzishangwuyouxiangongsi


$7.79 ($7.79 / Count)
Craft A Brew - LalBrew Voss™ - Kveik Ale Yeast - For Craft Lagers - Ingredients for Home Brewing - Beer Making Supplies - (1 Pack)
Craft a Brew

$33.99 ($17.00 / Count)
$41.99 ($21.00 / Count)
2 Pack 1 Gallon Large Fermentation Jars with 3 Airlocks and 2 SCREW Lids(100% Airtight Heavy Duty Lid w Silicone) - Wide Mouth Glass Jars w Scale Mark - Pickle Jars for Sauerkraut, Sourdough Starter
Qianfenie Direct


$176.97
1pc Commercial Keg Manifold 2" Tri Clamp,Ball Lock Tapping Head,Pressure Gauge/Adjustable PRV for Kegging,Fermentation Control
hanhanbaihuoxiaoshoudian


OP
OP
Getting the bottom put together


OP
OP
checking out the fit

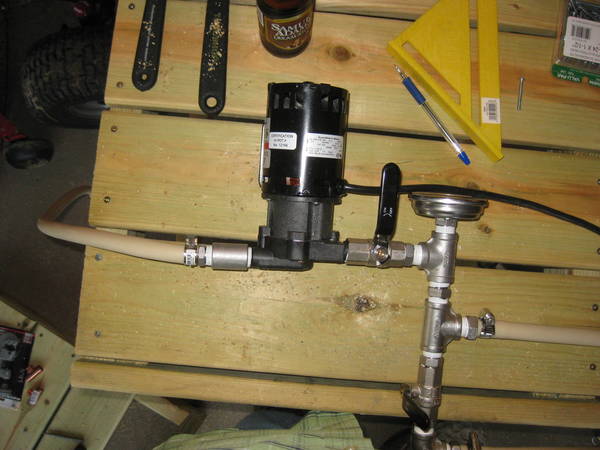
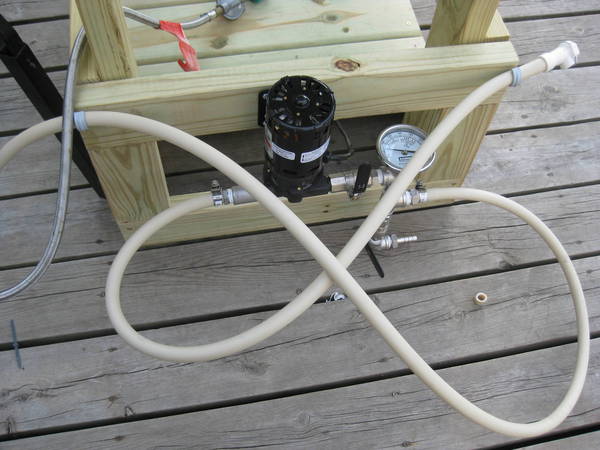
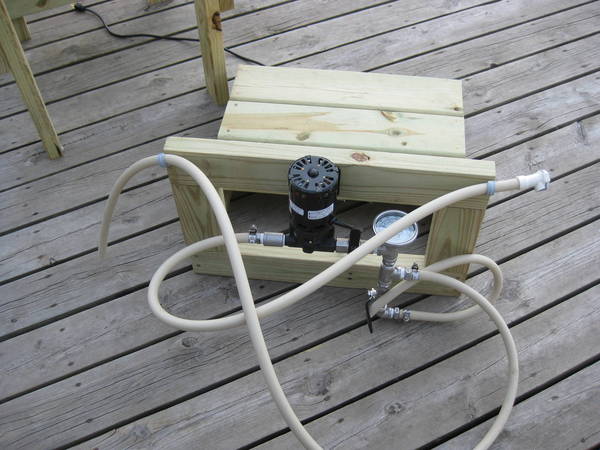
with the removable bottom pump assembly
with the removable bottom pump assembly
No one is commenting (yet), but I'm watching this thread.
I see your pump, your temp gauge. I don't see the heating element or at least wires for it. Also, I see what appears to be to outputs. Why two? Is the second to drain the tube when you're done?
I haven't built my RIMS yet, so my questions are newb questions.
P.S. Your brew in a bag thread got me started in that method. My efficiency is at 50%, so I've got some room for improvement.")
I see your pump, your temp gauge. I don't see the heating element or at least wires for it. Also, I see what appears to be to outputs. Why two? Is the second to drain the tube when you're done?
I haven't built my RIMS yet, so my questions are newb questions.
P.S. Your brew in a bag thread got me started in that method. My efficiency is at 50%, so I've got some room for improvement.
Cpt_Kirks
Well-Known Member
OK, now I'm curious...
hippielink
Member
I'm in the middle of my RIMS build. It's a real learning experience. Will post pics when I'm done. Good luck with your build!
OP
OP
The heating element is the black "pot" you see on the stand. it's an electric turkey fryer with the heating element in the bottom. I figure its a lot like the heat stick that some people build but more like the "e-kettle" that people do. Its nice because i can control the out put to the heating element to the fryer with its built in thermostat. I am hoping that it controls the temp a little better, rather than just on/off like most systems. I will use a screen to keep the grains off the element to prevent scorching.
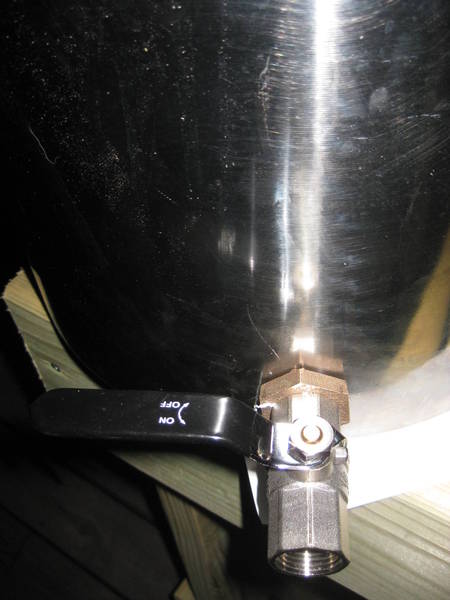
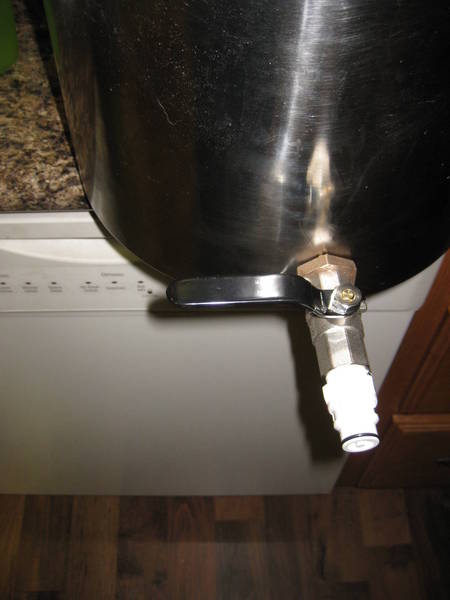
As far as the outlet of the pump goes the top will be the supply to either the mash/lauter ton or the boil kettle. The bottom is just an air release to allow the pump to prime via gravity. I'll open the inlet, than crack the bottom valve until i get flow - voila - instant prime. Close the outlet of the pump and you hold prime.
As far as the outlet of the pump goes the top will be the supply to either the mash/lauter ton or the boil kettle. The bottom is just an air release to allow the pump to prime via gravity. I'll open the inlet, than crack the bottom valve until i get flow - voila - instant prime. Close the outlet of the pump and you hold prime.
No one is commenting (yet), but I'm watching this thread.
I see your pump, your temp gauge. I don't see the heating element or at least wires for it. Also, I see what appears to be to outputs. Why two? Is the second to drain the tube when you're done?
I haven't built my RIMS yet, so my questions are newb questions.
P.S. Your brew in a bag thread got me started in that method. My efficiency is at 50%, so I've got some room for improvement.
OP
OP
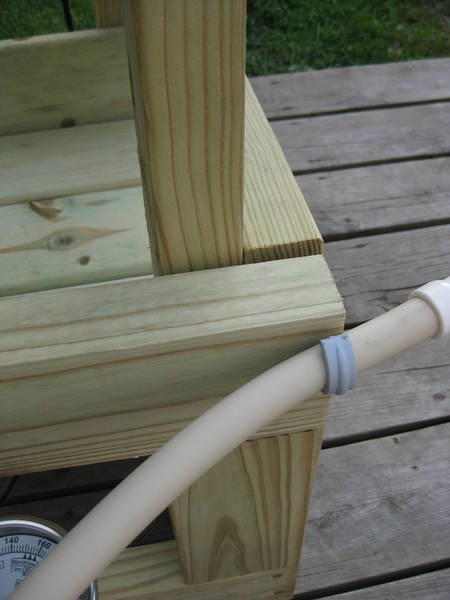
holding those hi temp tubes

OP
OP
Sorry, for the lack-luster pics in the beginning with the wood stand - i have a vision in my head.
OP
OP
P.S. Your brew in a bag thread got me started in that method. My efficiency is at 50%, so I've got some room for improvement.
A couple of things i learned since that post:
- Use a lot of sparge water. Use as much water and collect as much wort as you can fit in the vessel your boiling in (or as much you feel comfortable with)
- I try to keep my temps a little lower - i like my beers a little thinner with more alcohol rather than fuller in body. Plus i think it gives me a couple more degrees buffer on the high side in case things get out of control - that way i don't accidentally stop the conversion.
- I have been going a little longer with my mashes to get all the starch converted.
- Don't let the grains get dry between sparges/straining - it will create some off flavors.
Scut_Monkey
Well-Known Member
I like the hose holder idea. Curious to see how you are going to control the temp with the turkey fryer pot. Cool throne.
OP
OP
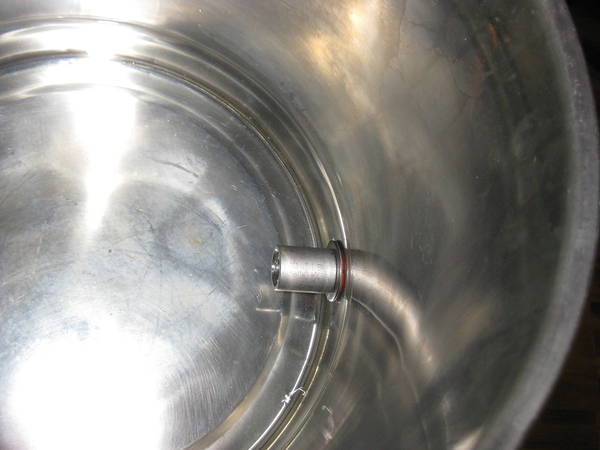
Mash/lauter ton from turkey fryer
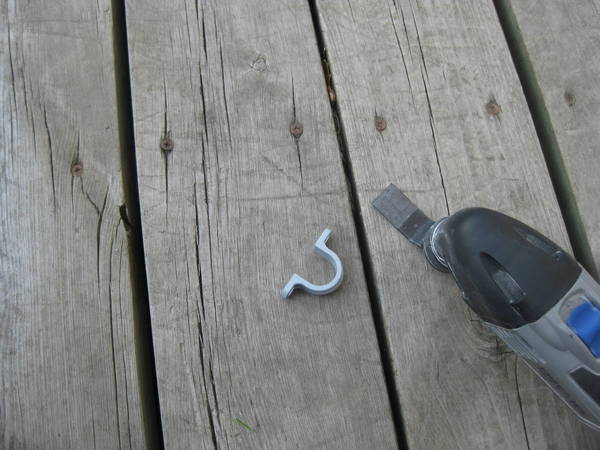
the screen i cut myself from hardware store
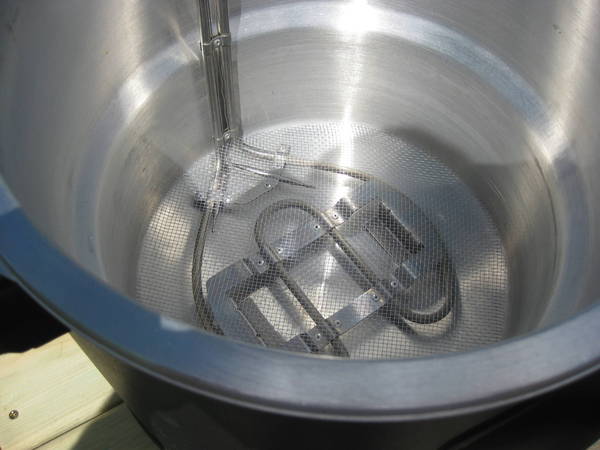
The fryer already had a drain with a valve and threaded port. Installed SS reducer and coupling from bargain fittings and the PS quick disconnects from N Brewer.

the screen i cut myself from hardware store
The fryer already had a drain with a valve and threaded port. Installed SS reducer and coupling from bargain fittings and the PS quick disconnects from N Brewer.
OP
OP
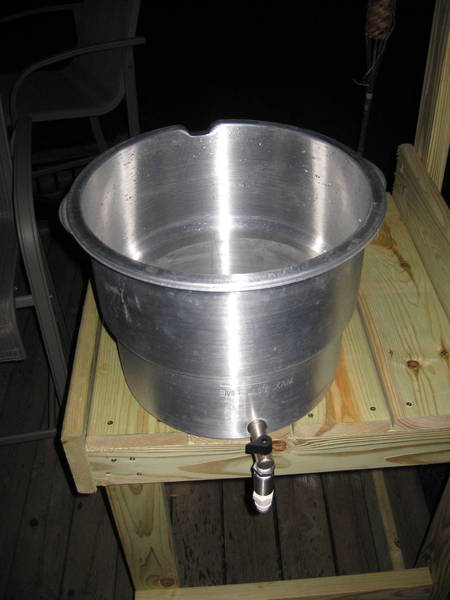
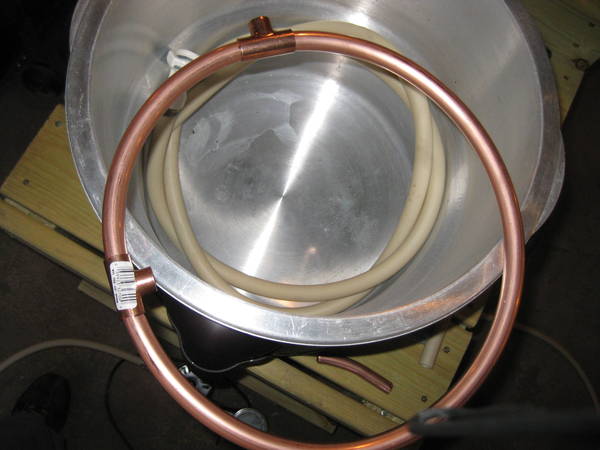
Making and HLT from my 5 gal SS stock pot

water check
with quick connect from Northern Brewer
water check
with quick connect from Northern Brewer
OP
OP
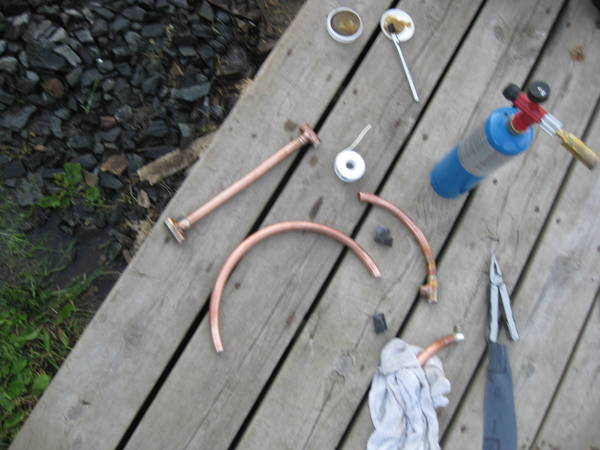
sparge ring
dry fitting the pieces


dry fitting the pieces
OP
OP
Soldering hte sparge ring.
OP
OP

OP
OP
Feel free to coment/criticize
Bigscience
Well-Known Member
Feel free to coment/criticize
I always wondered why I see people put a coupler on the pump and then a male barb rather than using a female threaded barb.
http://morebeer.com/view_product/17422/102353/Stainless-_1_2%22_FPT_x_1_2%22_Barb
Like the build so far though.
OP
OP
I always wondered why I see people put a coupler on the pump and then a male barb rather than using a female threaded barb.
http://morebeer.com/view_product/17422/102353/Stainless-_1_2%22_FPT_x_1_2%22_Barb
Like the build so far though.
Good idea. I bought my stuff through bargain fittings and i dont remeber seeing that.
are you worried about not being able to clean that copper ring out? When you first start circulating, grain particles will be flowing through the pump, rims tube, and that copper sprinkler thing. Seems like the particles might get stuck in there and you won't be able to get them out.
Let me just see if I have the logistics down...
MLT: Electric turkey fryer being heated by a 1650-1800W heating element underneath the false bottom?
HLT is not apparent yet, but I would assume more electric from your wood stand OR that you will go no sparge.
BK is also not apparent yet, but same with the electric...
2 tier stand with a single pump or perhaps a single tier for a brutus 20 style.
Are you worried about the dead space underneath the false bottom? That is probably about 20% of your mash volume by the looks of it. I also wonder why the sparge ring for the mash recirculation. It also seems like you are taking the coldest water in the pot (the bottom) and placing it away from the element by recirculating.
Maybe I am just really confused.
OP
OP
Good question walker. When i use the turkey fryer i ALWAYS use a great big straining bag. So, my mashtun basicall has the element in the bottom, the screen is just added protection to keep the bag and grain from direct contact with the heating element. Having both the screen and bag does a pretty good job of keeping MOST of the paticulates out of the piping. I plan to "flush" the system with boiling water after recircing.
Similar threads
- Replies
- 0
- Views
- 683
- Replies
- 11
- Views
- 960
