
ben the brewman
Well-Known Member
Thanks for the advice ben. My pot arrived on Friday so I will be doing this shortly.
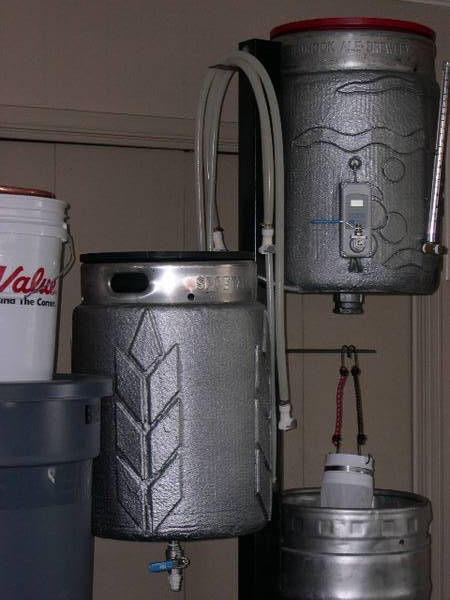
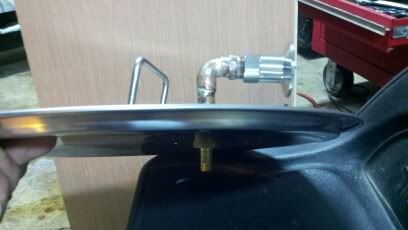
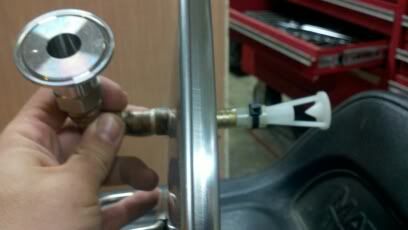
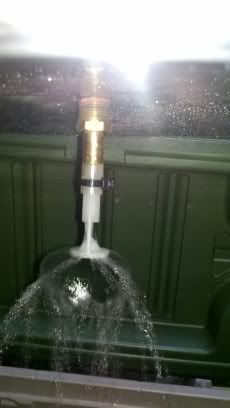
Wow sweet somebody else is going to give it a shot. Let me know how it works out for you. Is your cooler cracked or still in good shape? If its not cracked you may have to split it with a razor blade to get it to pull out easier. The liner comes out fairly easy but takes a little musscle to pull it of of the cooler. Definatly keep me posted on how it goes for you. If your gonna go with a weldless fitting I recomend putting the pot in the cooler first and then drilling your hole so it lines up perfect with the orginal. Also only cut the hanles off just above the rivits. I left the rivits in with the small pieces of the handles to avoid more welding costs.


![Craft A Brew - Safale BE-256 Yeast - Fermentis - Belgian Ale Dry Yeast - For Belgian & Strong Ales - Ingredients for Home Brewing - Beer Making Supplies - [3 Pack]](https://m.media-amazon.com/images/I/51bcKEwQmWL._SL500_.jpg)


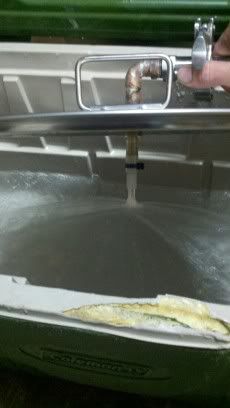
 4 stitches later and humpty dumpty is back together again. Note to self; NEVER hurry when holding a razor knife.
