aubiecat
Well-Known Member
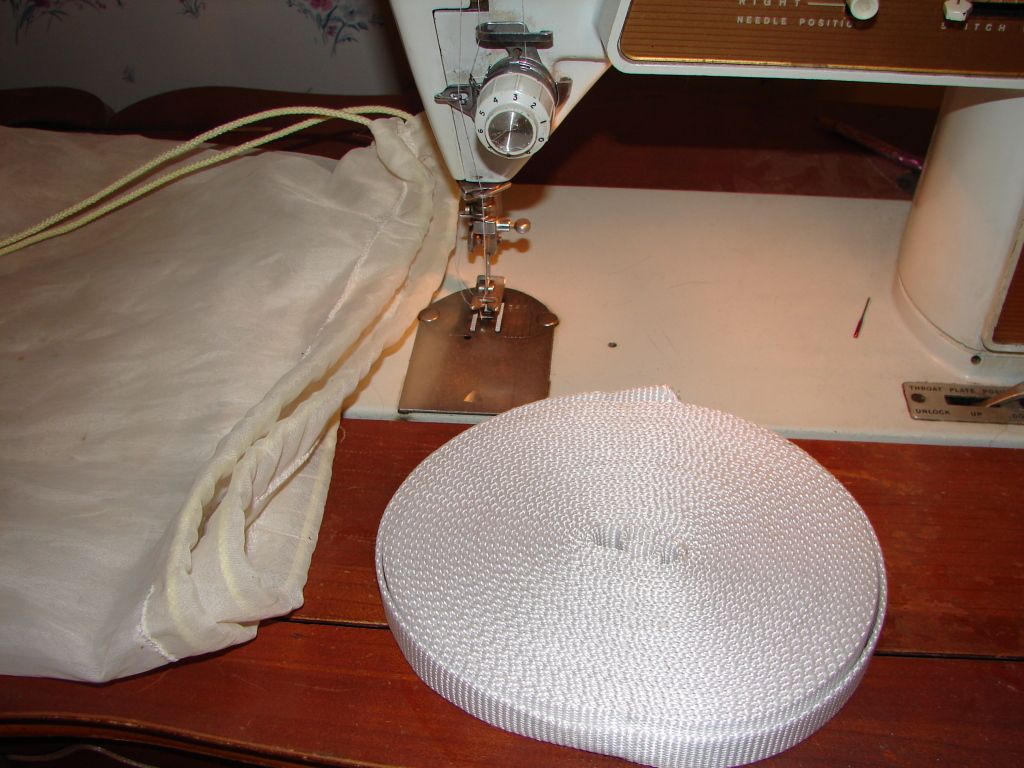
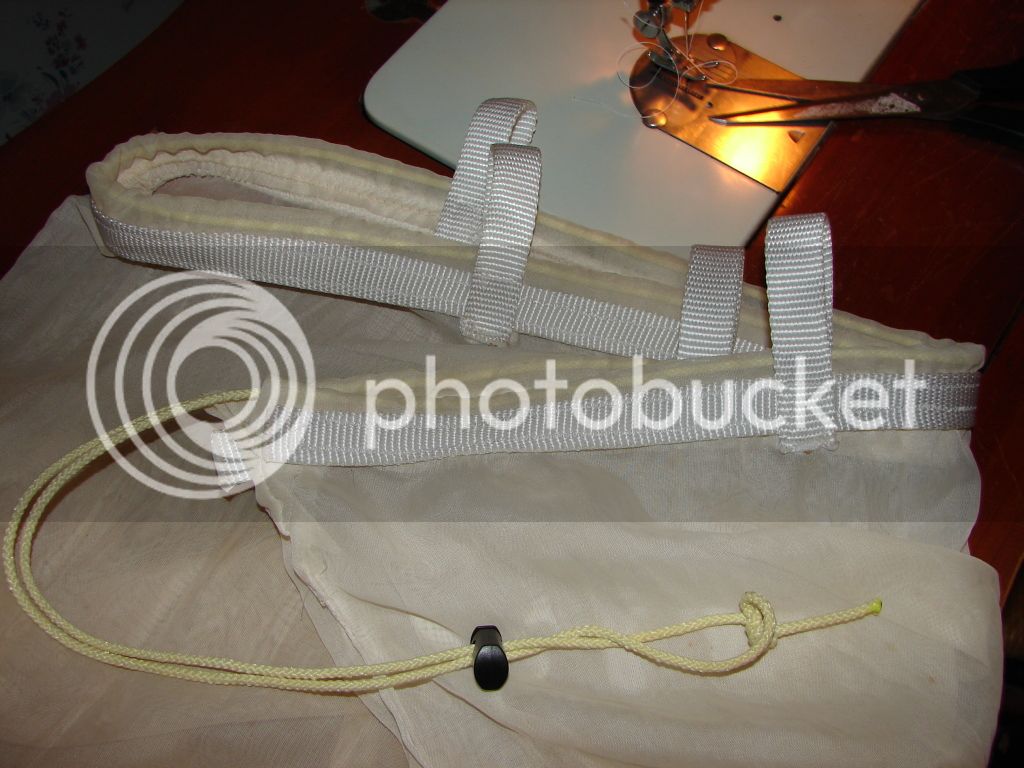
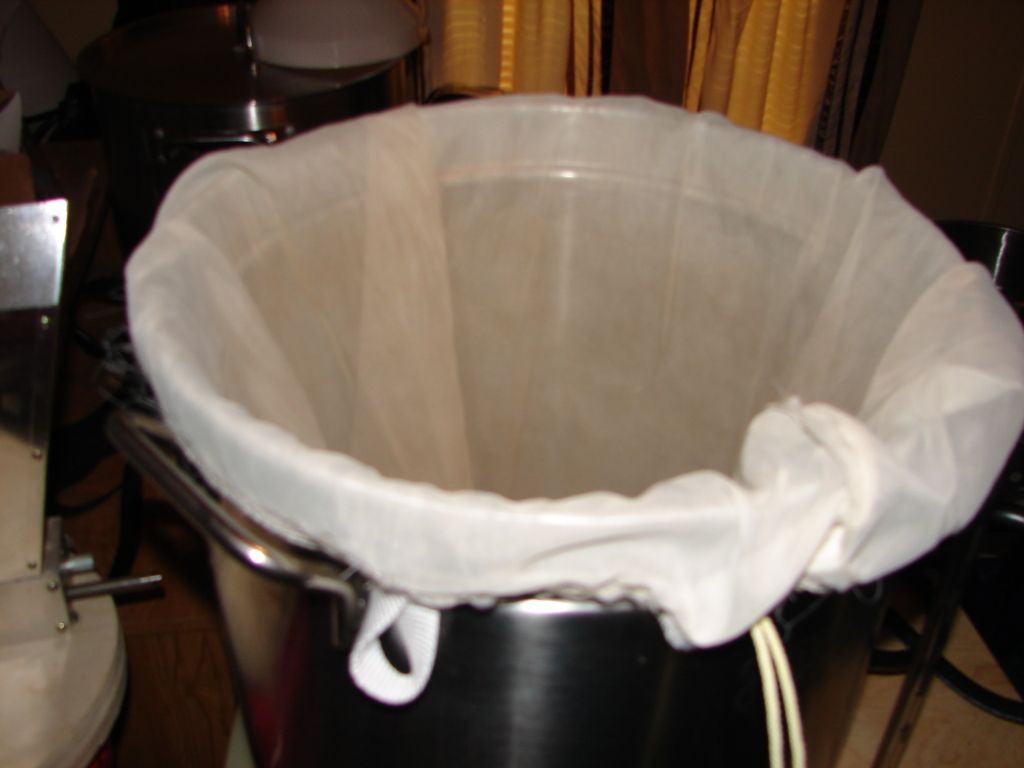
I have been wanting try a mesh false bottom or something of the sort for a while. The bag can sit on top of it and when I get ready to chill it will keep the chiller off the heating element.
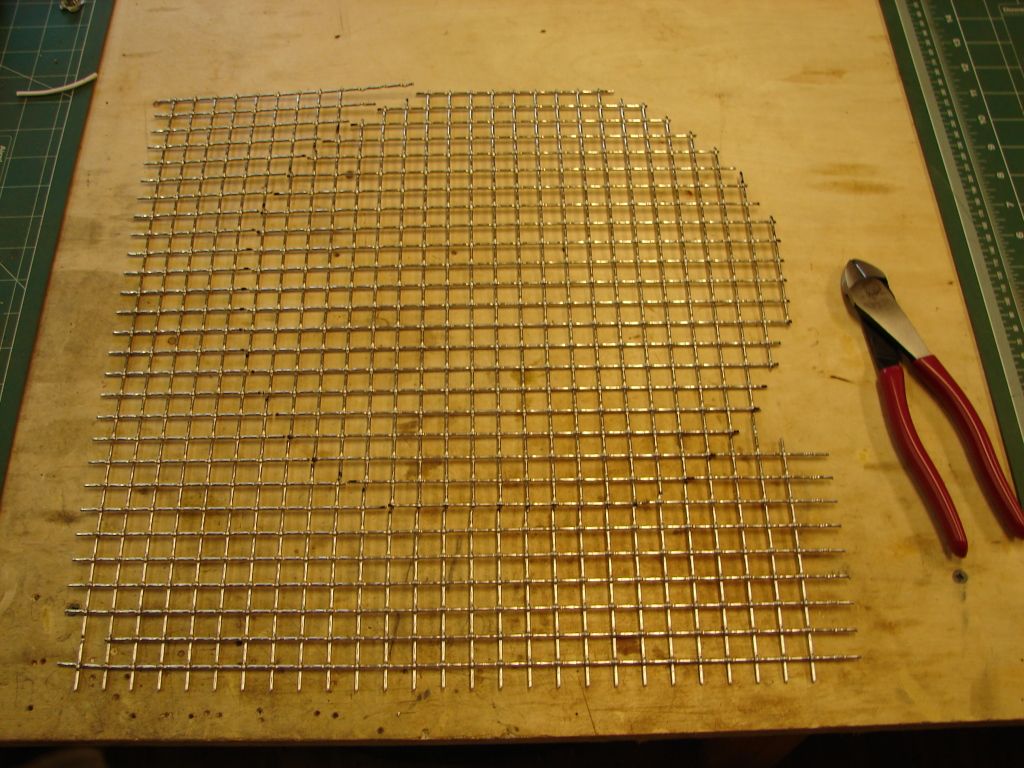
I happened to acquire some heavy 1/2" stainless mesh from work and I was considering making a mesh basket. After thinking it over I decided to make a mesh false bottom.
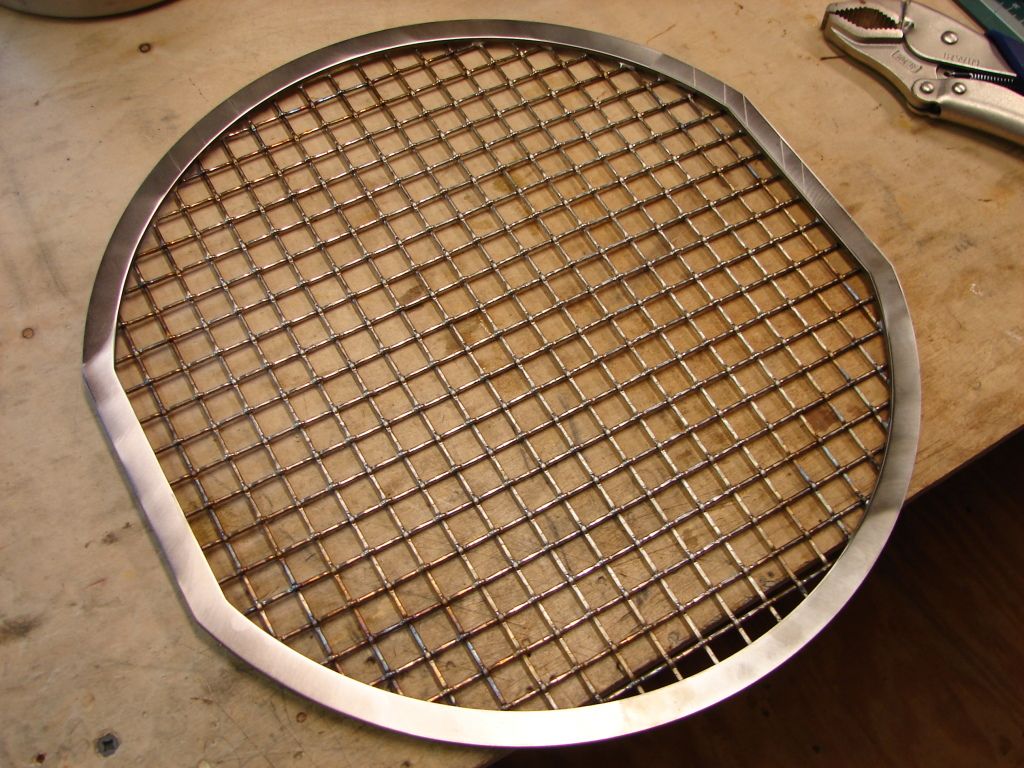
Knowing the mesh alone wouldn't be strong enough by itself I had a 1/2" wide flange cut from 1/16" thick stainless steel. The flange covers the ends of the mesh so the bag won't get snagged. The two flat areas on the flange are due to the steamer basket lip on the Bayou Classic pot.

I took a section of the mesh and laid it over the flange to mark my cutting points and began cutting the shape I wanted with my snips. A Marks a Lot works well here.
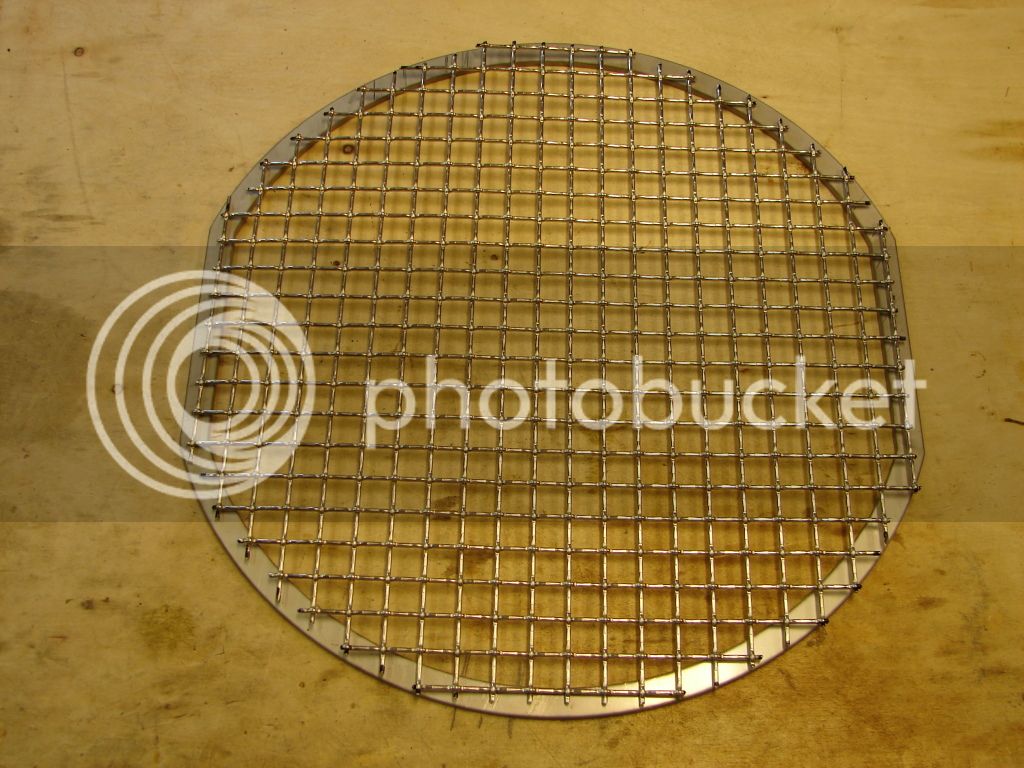
Mesh cut to shape.
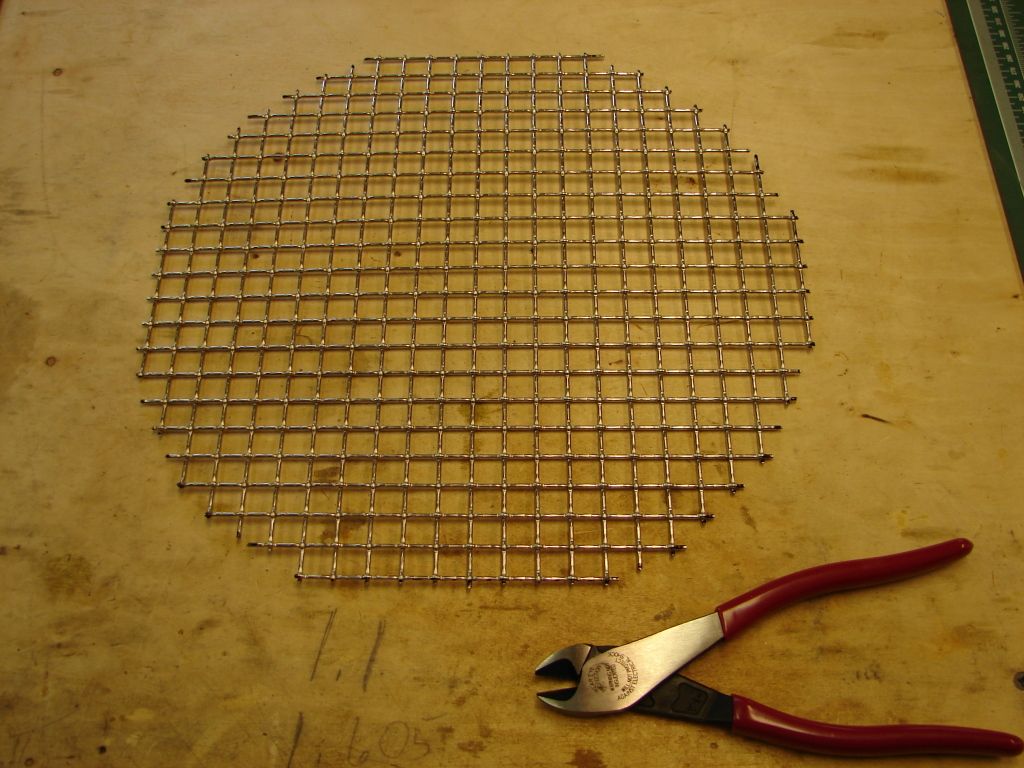
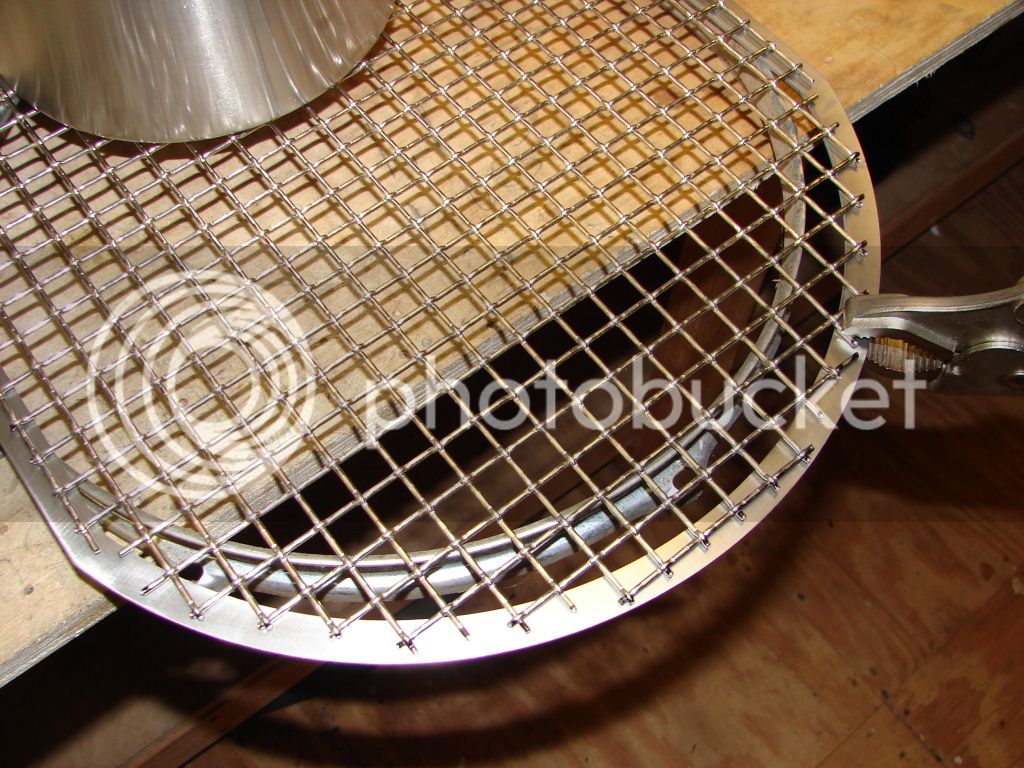
A little bit of clean up trim to make sure there aren't any over hanging wires to snag the bag.
Used an old snare drum rim to give me a working fab frame and hold the hot metal off my wooden work bench. Vise grips to clamp the mesh to the flange. I used a die grinder with a scotch brite pad to smooth and prep the surface of the flange for soldering.
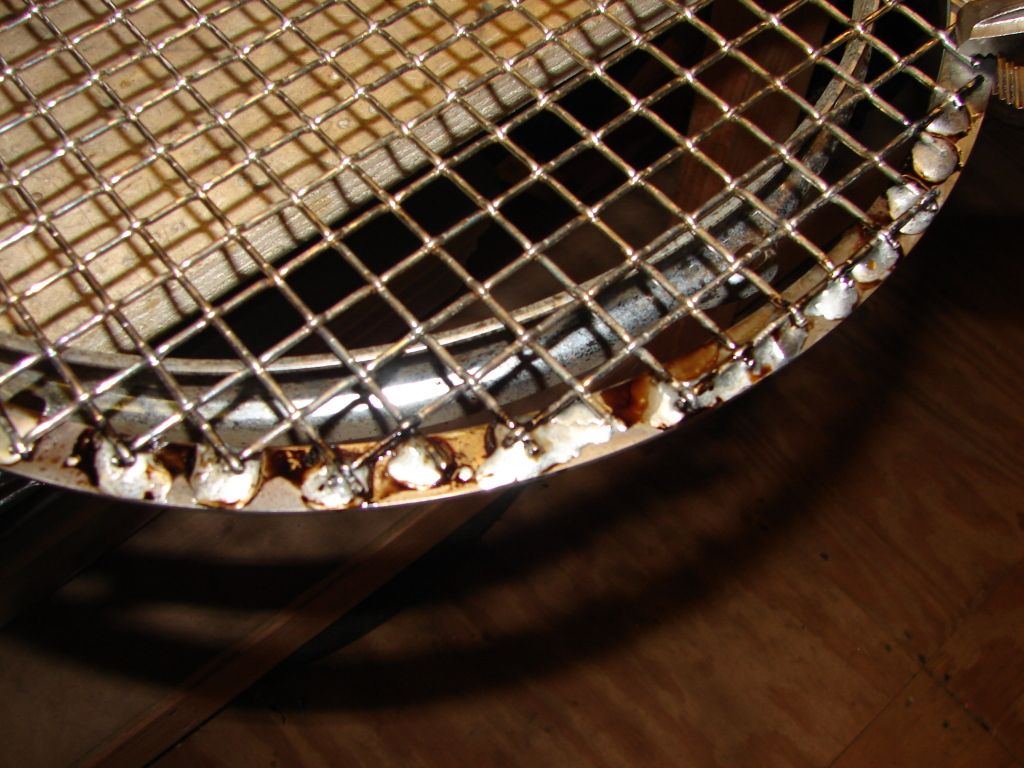
I used Stay Brite flux and Oatey lead-free solder to attach the mesh to the flange.
After rinsing the flux off with water here is the finished soldering job.
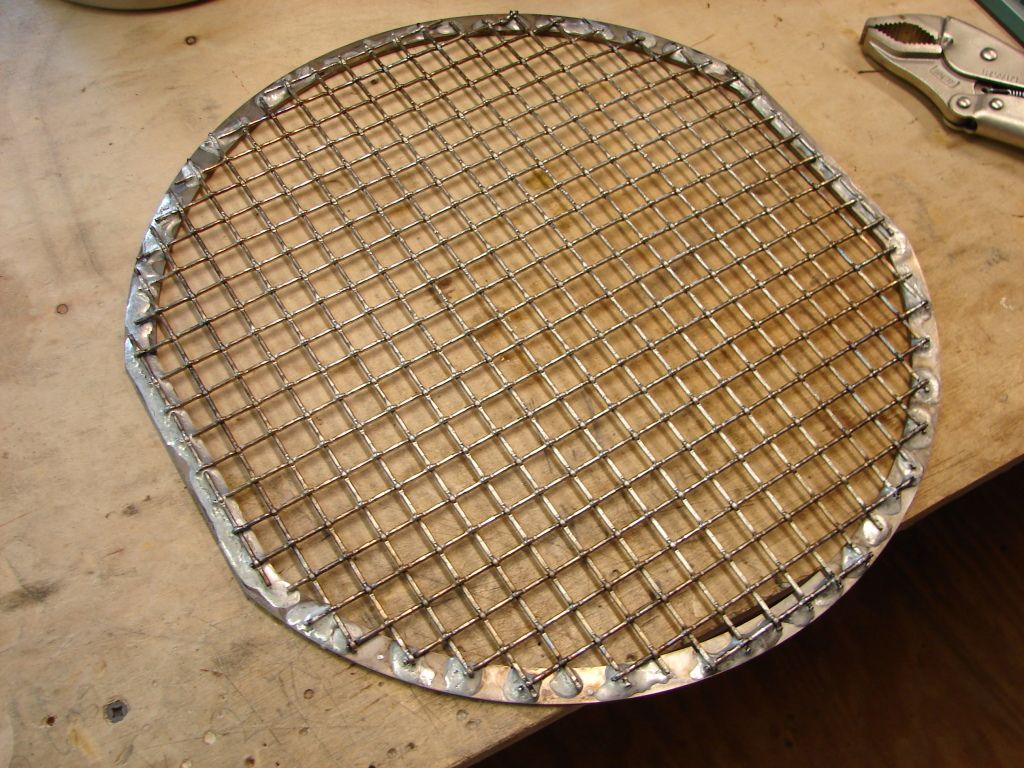
What it looks like from the top after hitting it with the scotch brite again.
I used 5/16" x 3" stainless carriage bolts as my standoffs. I used two 3/8" stainless washers to keep the 5/16" nut off the square on the carriage bolt head.
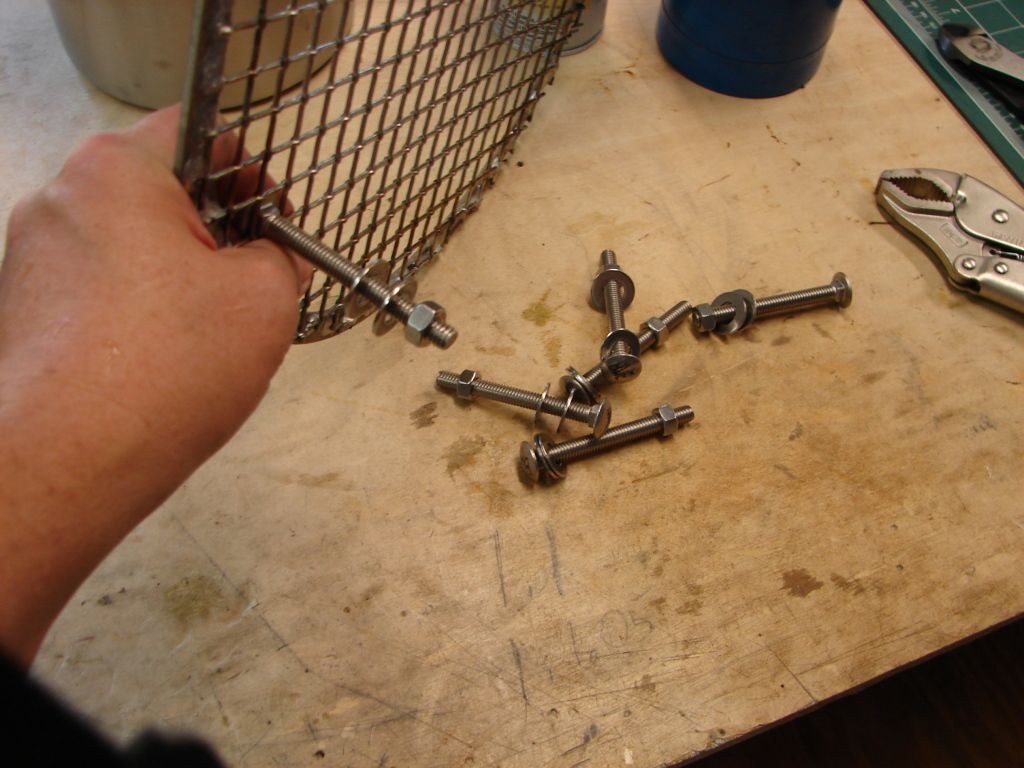
Four standoffs out near the flange to transfer strength. Two in the center opposite the heating element will keep the center from sagging if there is any.
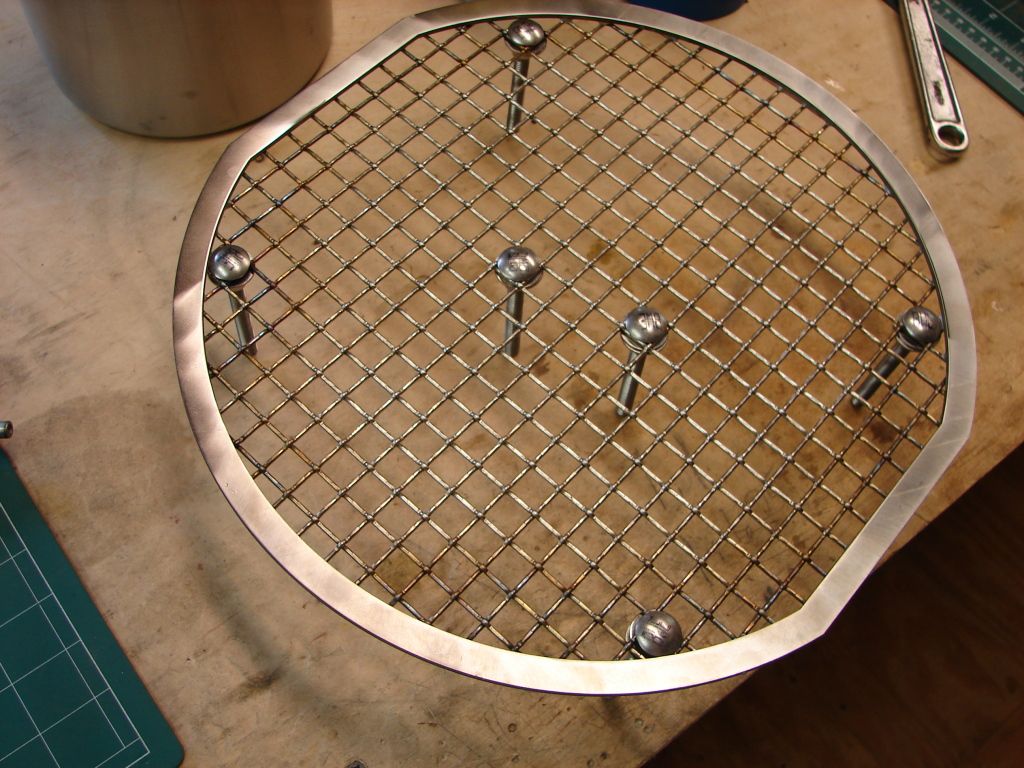
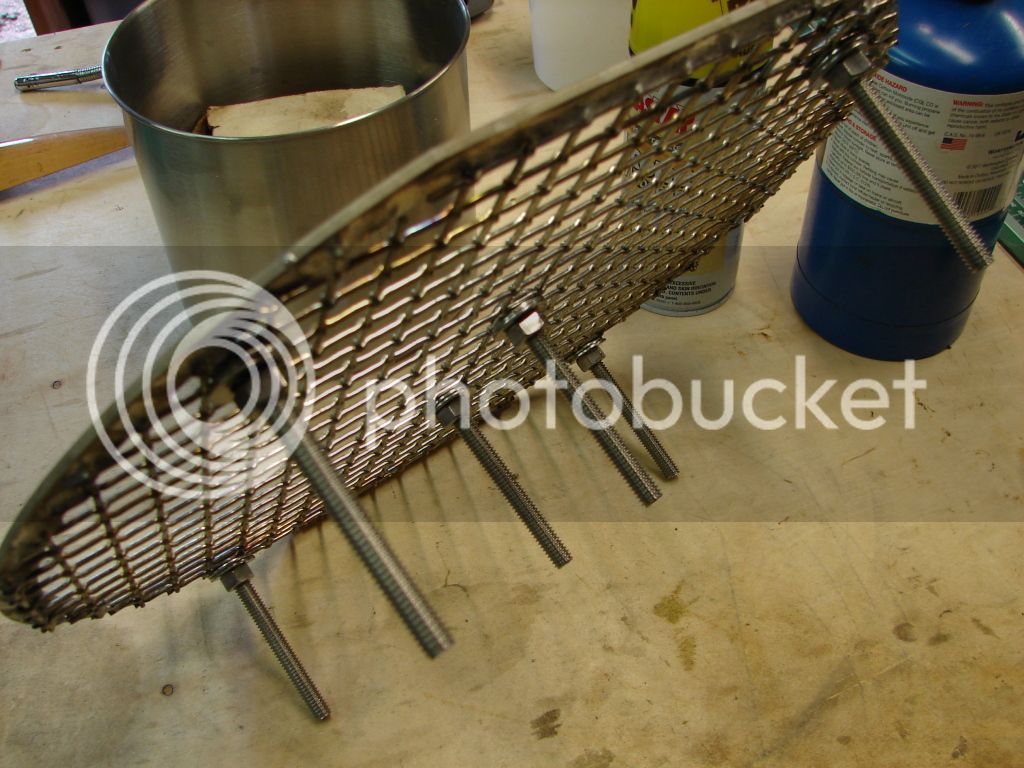
Bottom side.
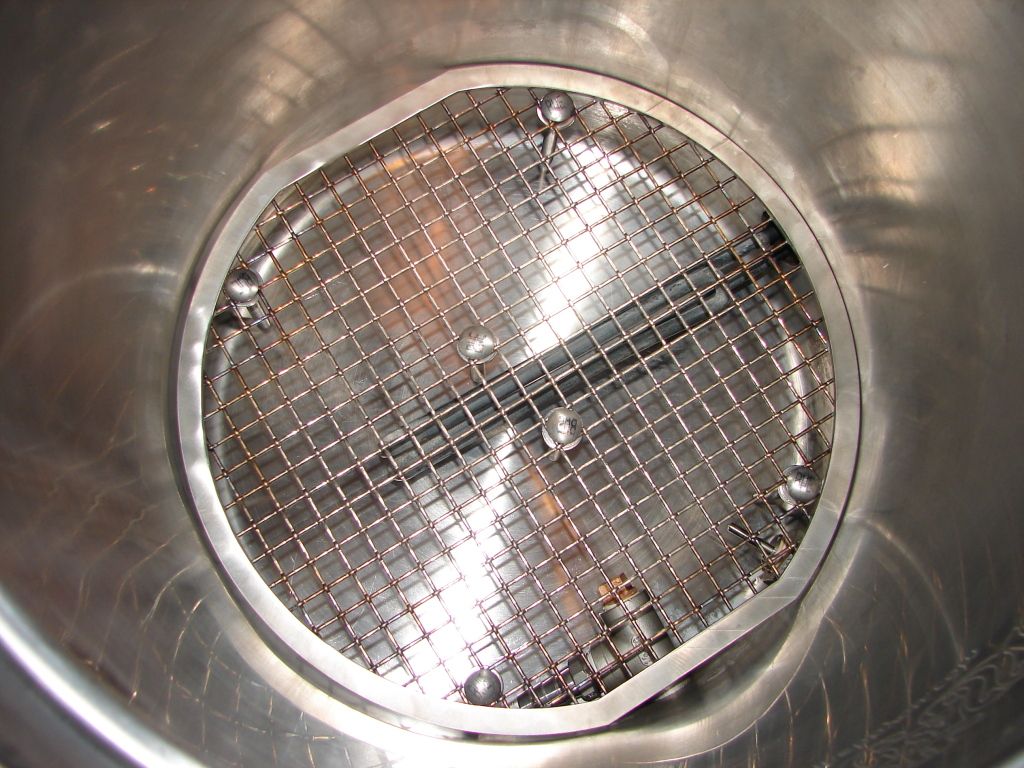
The flats on the flange slip right past the steamer basket lip. Fits and sits perfectly in the kettle. By tipping the false bottom to one side I can easily grab and remove it.
I think this will work fine with the bag. I will find out for sure because I am brewing tomorrow.
I happened to acquire some heavy 1/2" stainless mesh from work and I was considering making a mesh basket. After thinking it over I decided to make a mesh false bottom.
Knowing the mesh alone wouldn't be strong enough by itself I had a 1/2" wide flange cut from 1/16" thick stainless steel. The flange covers the ends of the mesh so the bag won't get snagged. The two flat areas on the flange are due to the steamer basket lip on the Bayou Classic pot.
I took a section of the mesh and laid it over the flange to mark my cutting points and began cutting the shape I wanted with my snips. A Marks a Lot works well here.
Mesh cut to shape.
A little bit of clean up trim to make sure there aren't any over hanging wires to snag the bag.
Used an old snare drum rim to give me a working fab frame and hold the hot metal off my wooden work bench. Vise grips to clamp the mesh to the flange. I used a die grinder with a scotch brite pad to smooth and prep the surface of the flange for soldering.
I used Stay Brite flux and Oatey lead-free solder to attach the mesh to the flange.
After rinsing the flux off with water here is the finished soldering job.
What it looks like from the top after hitting it with the scotch brite again.
I used 5/16" x 3" stainless carriage bolts as my standoffs. I used two 3/8" stainless washers to keep the 5/16" nut off the square on the carriage bolt head.
Four standoffs out near the flange to transfer strength. Two in the center opposite the heating element will keep the center from sagging if there is any.
Bottom side.
The flats on the flange slip right past the steamer basket lip. Fits and sits perfectly in the kettle. By tipping the false bottom to one side I can easily grab and remove it.
I think this will work fine with the bag. I will find out for sure because I am brewing tomorrow.


![Craft A Brew - Safale S-04 Dry Yeast - Fermentis - English Ale Dry Yeast - For English and American Ales and Hard Apple Ciders - Ingredients for Home Brewing - Beer Making Supplies - [1 Pack]](https://m.media-amazon.com/images/I/41fVGNh6JfL._SL500_.jpg)