My Keezer with SS Coffin Build

Homebrew Talk - Beer, Wine, Mead, & Cider Brewing Discussion Forum

Help Support Homebrew Talk - Beer, Wine, Mead, & Cider Brewing Discussion Forum:

This site may earn a commission from merchant affiliate links, including eBay, Amazon, and others.

CCBrewer

Well-Known Member
Joined
Mar 31, 2010
Messages
677
Reaction score
37
Location
South Texas
So here it begins, I have assembled enough parts and my birthday is coming up that I will begin my keezer build now and have my stand by end of october to have a beer brewed and on tap for new years.

(Just moved into a new house couple of months ago... so I have to stake out my claim to space or I will lose it forever LOL)

Here is what I have so far:

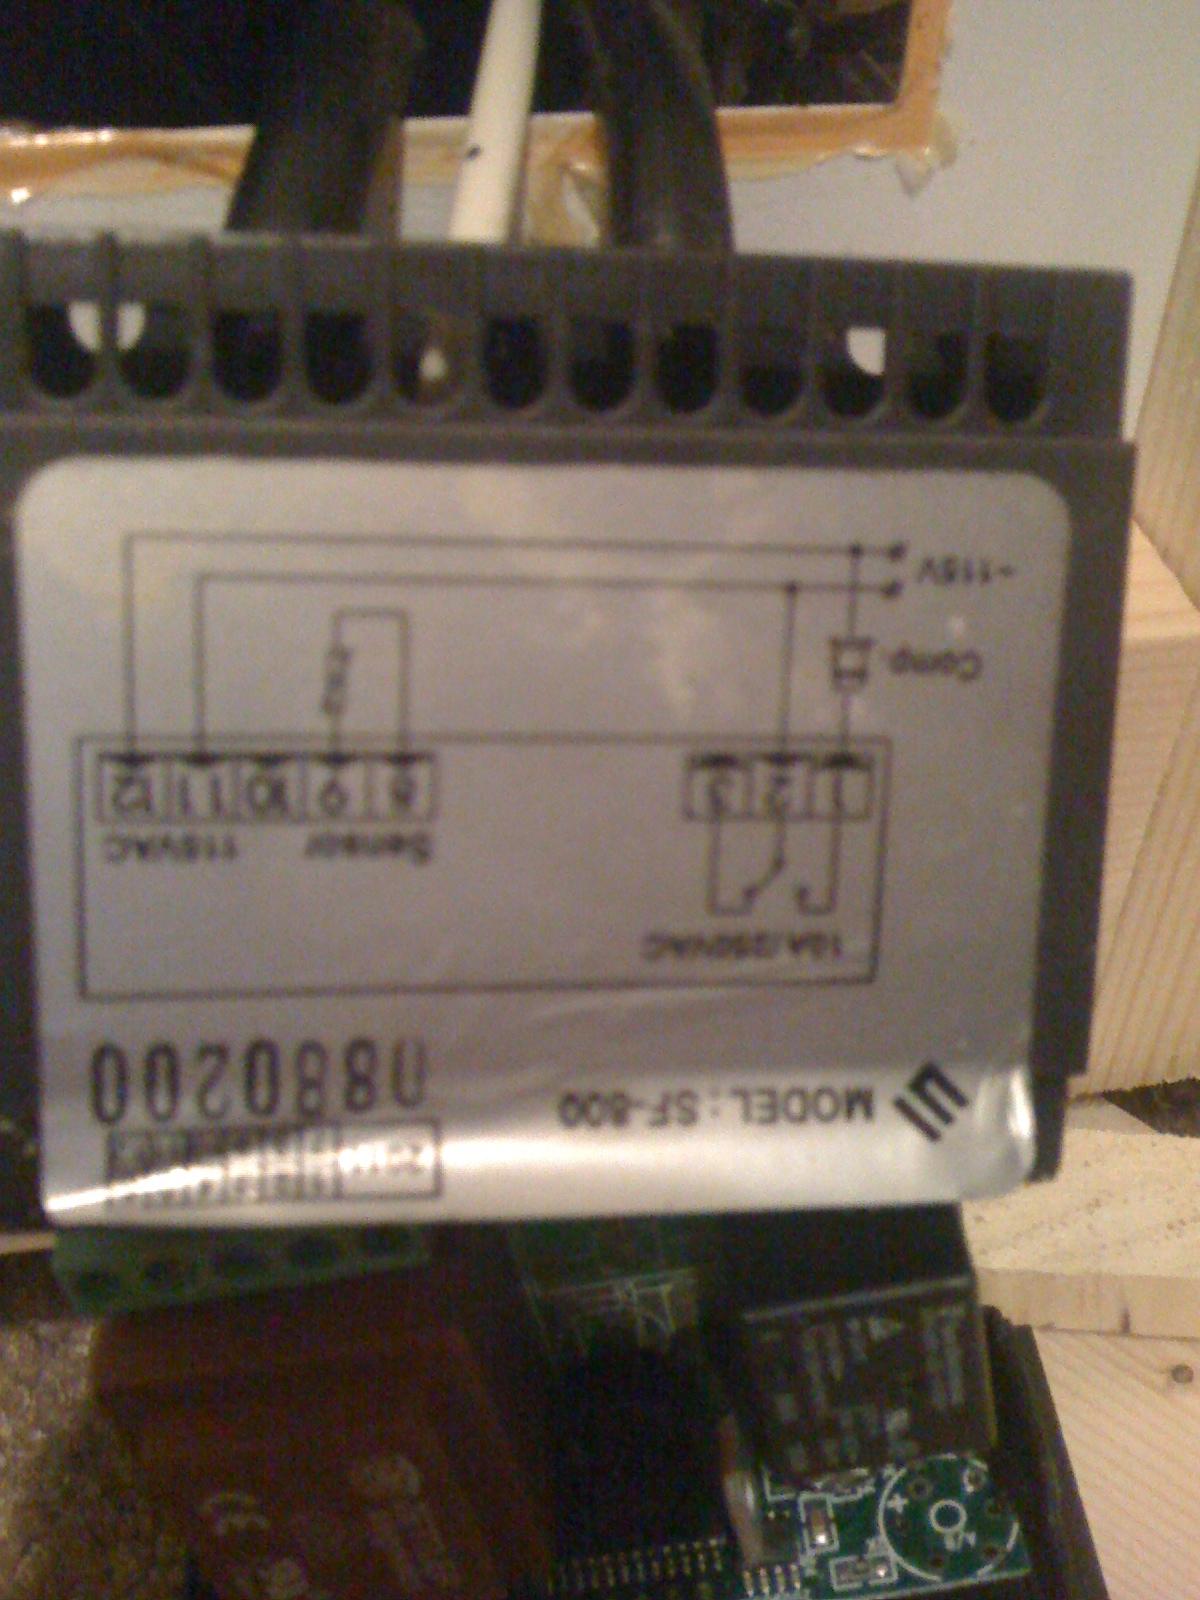
(1) chest freezer with built in Temperature controller// fits 5 ball locks with a 5lb co2-tank 34X21-1/4X31-1/4
(9) 5gal ball locks
(2) 1/4-kegs (for deposits) //or one for a fermentor??
(1) 1/2-Keg (deposit) // or 15gal SS fermentor?
(2) 20lb Co2 tanks //1-steel/1-Alum
(2) 5lb Co2 tanks //both Alum
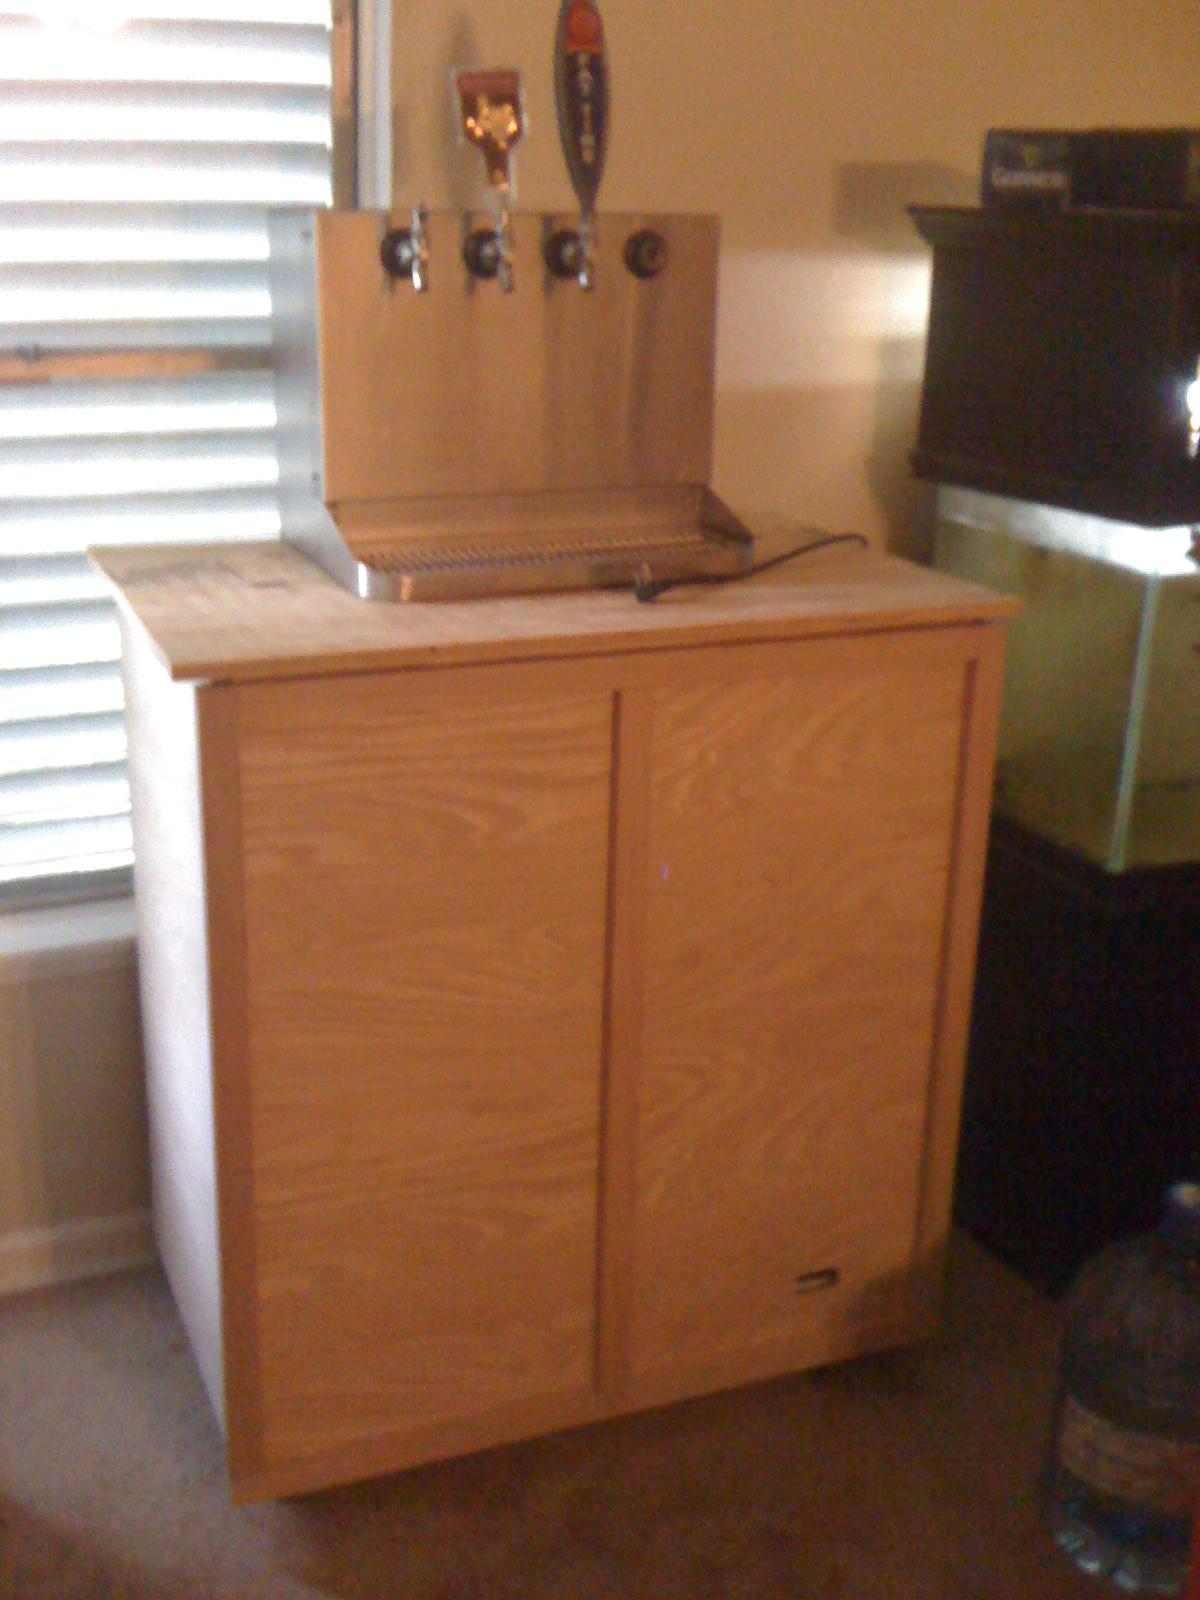
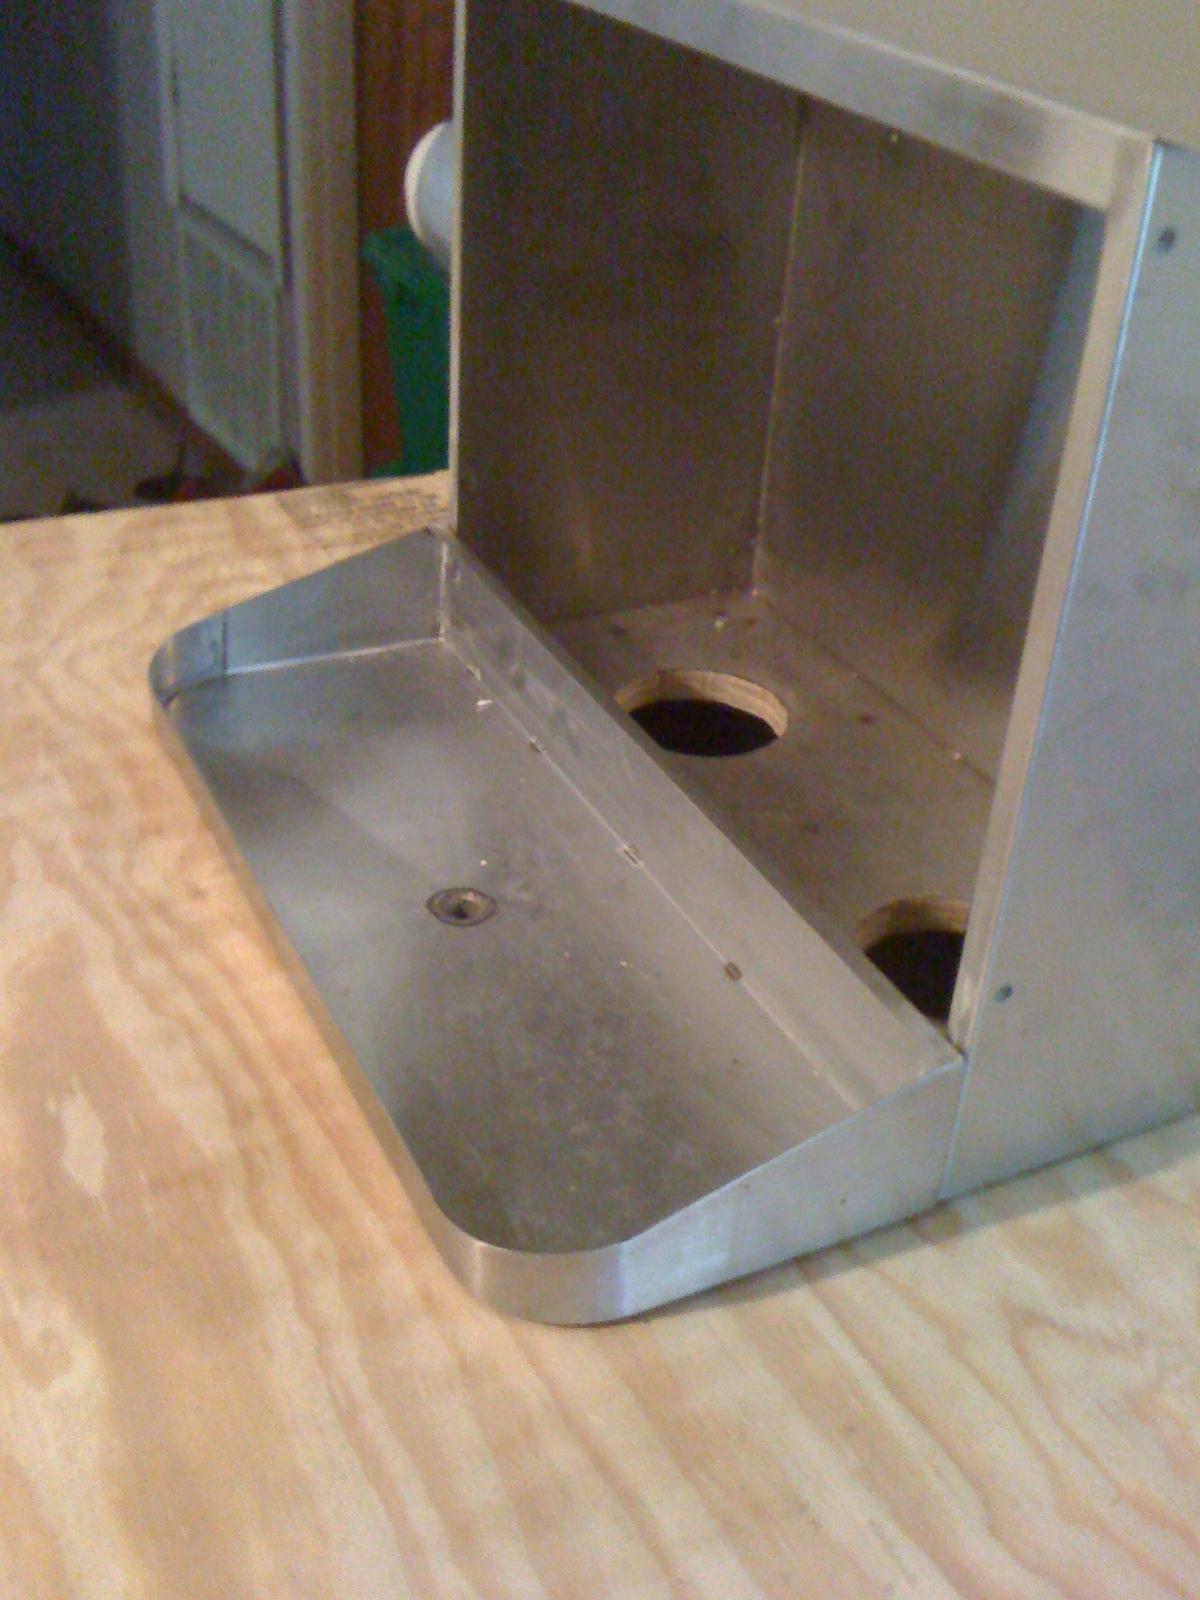
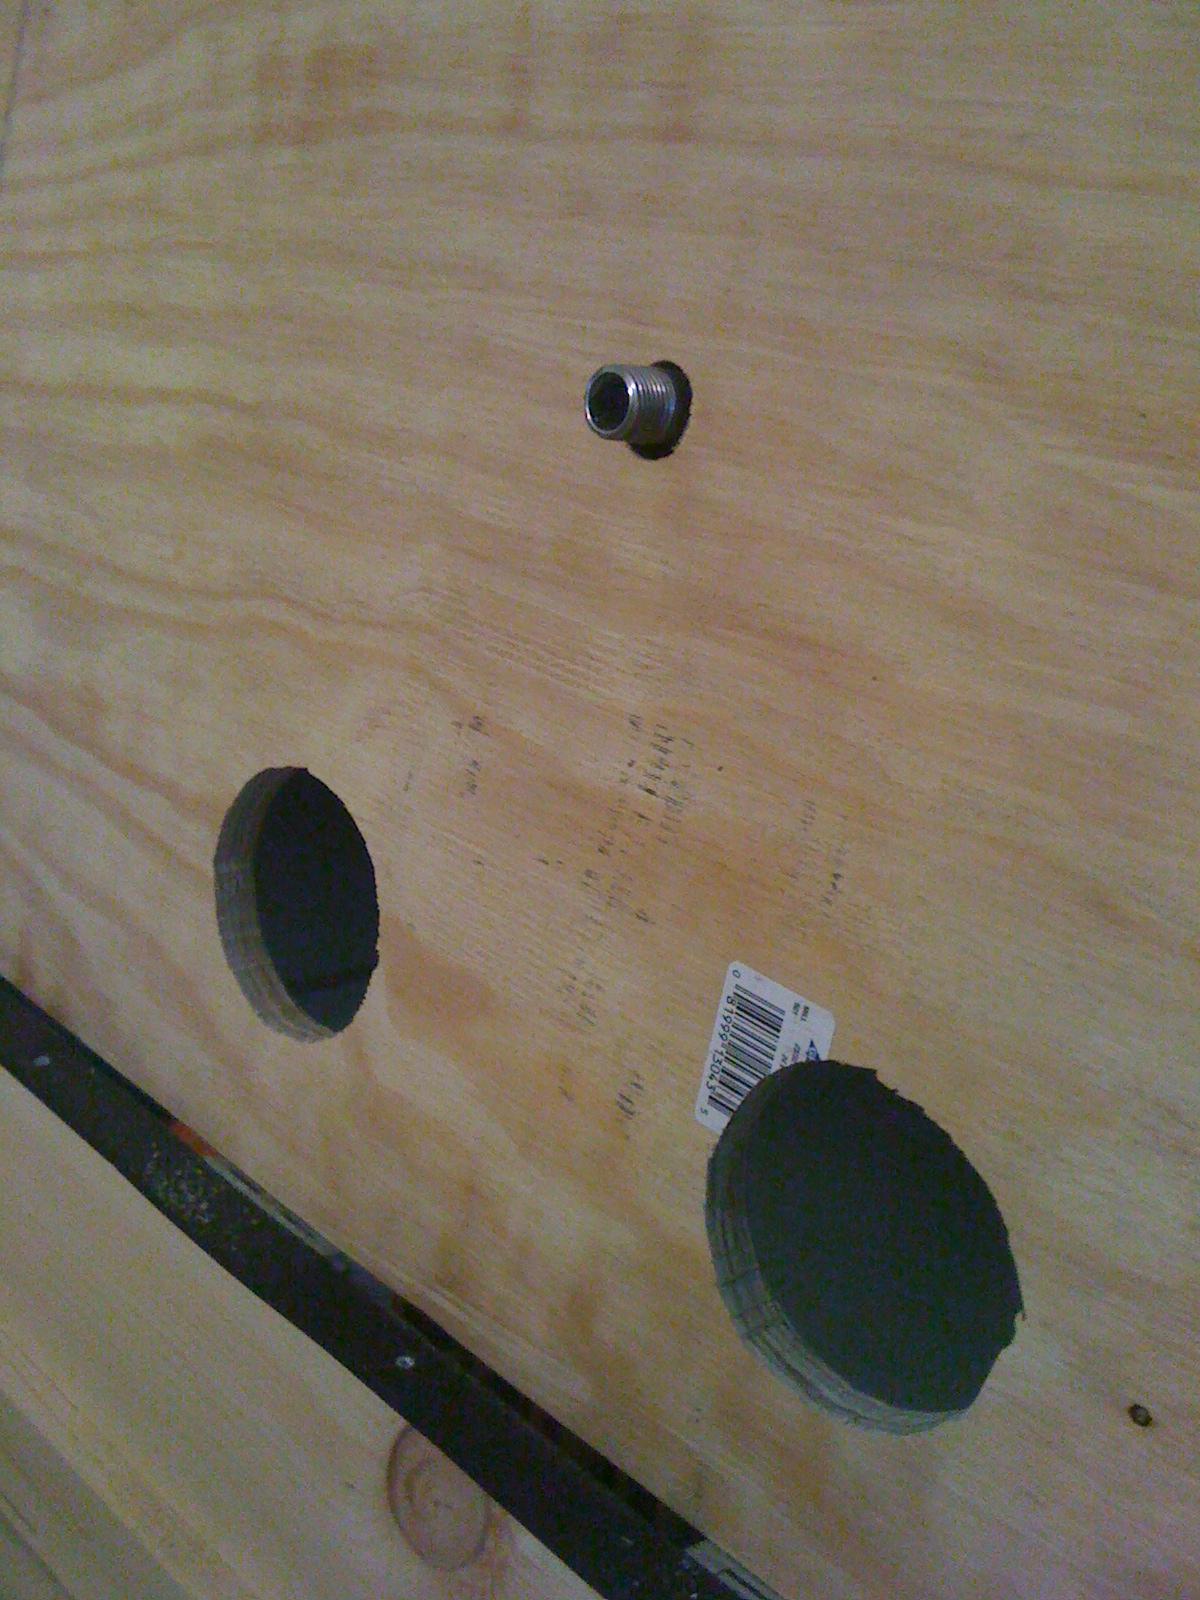
(1) Stainless steel coffin top with drain port (4) taps (may make a new face plate with more taps in future....)
(3) Krome faucets
(4) Perlick 525-SS
(1) Micromatic Stout Faucet


8jBQCMQ.jpg


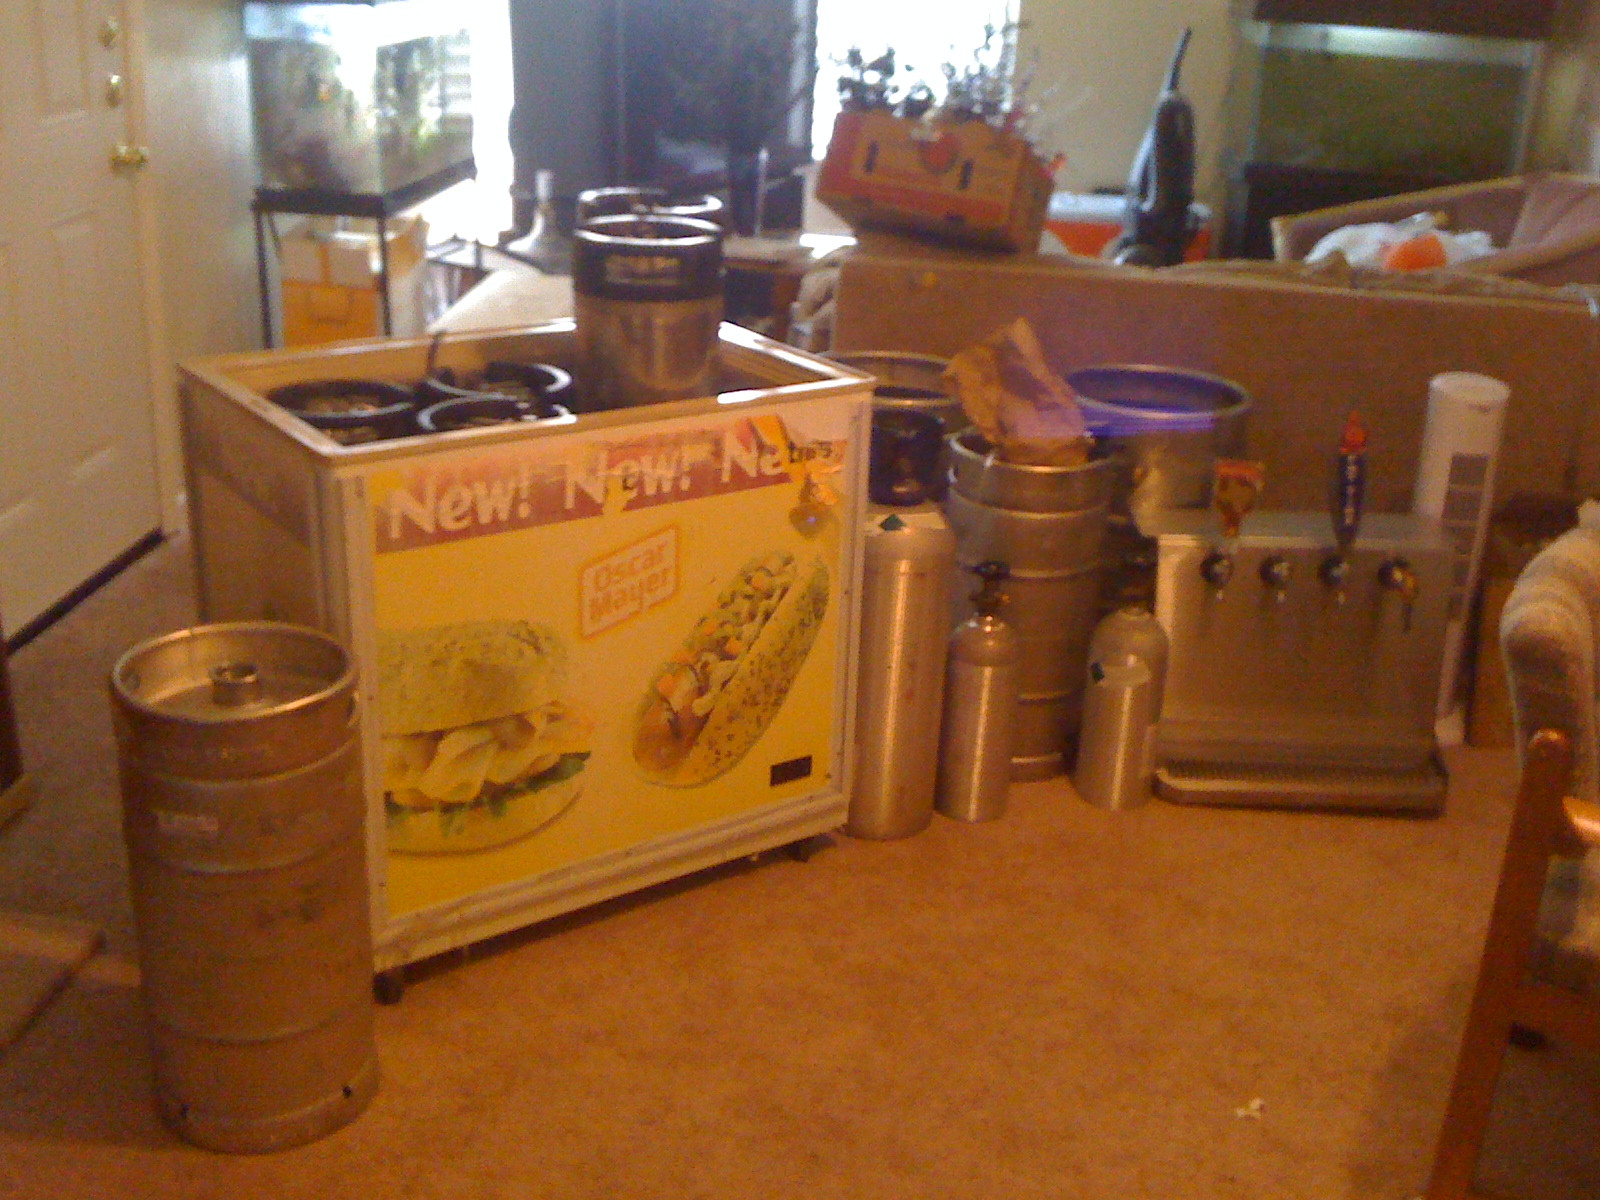
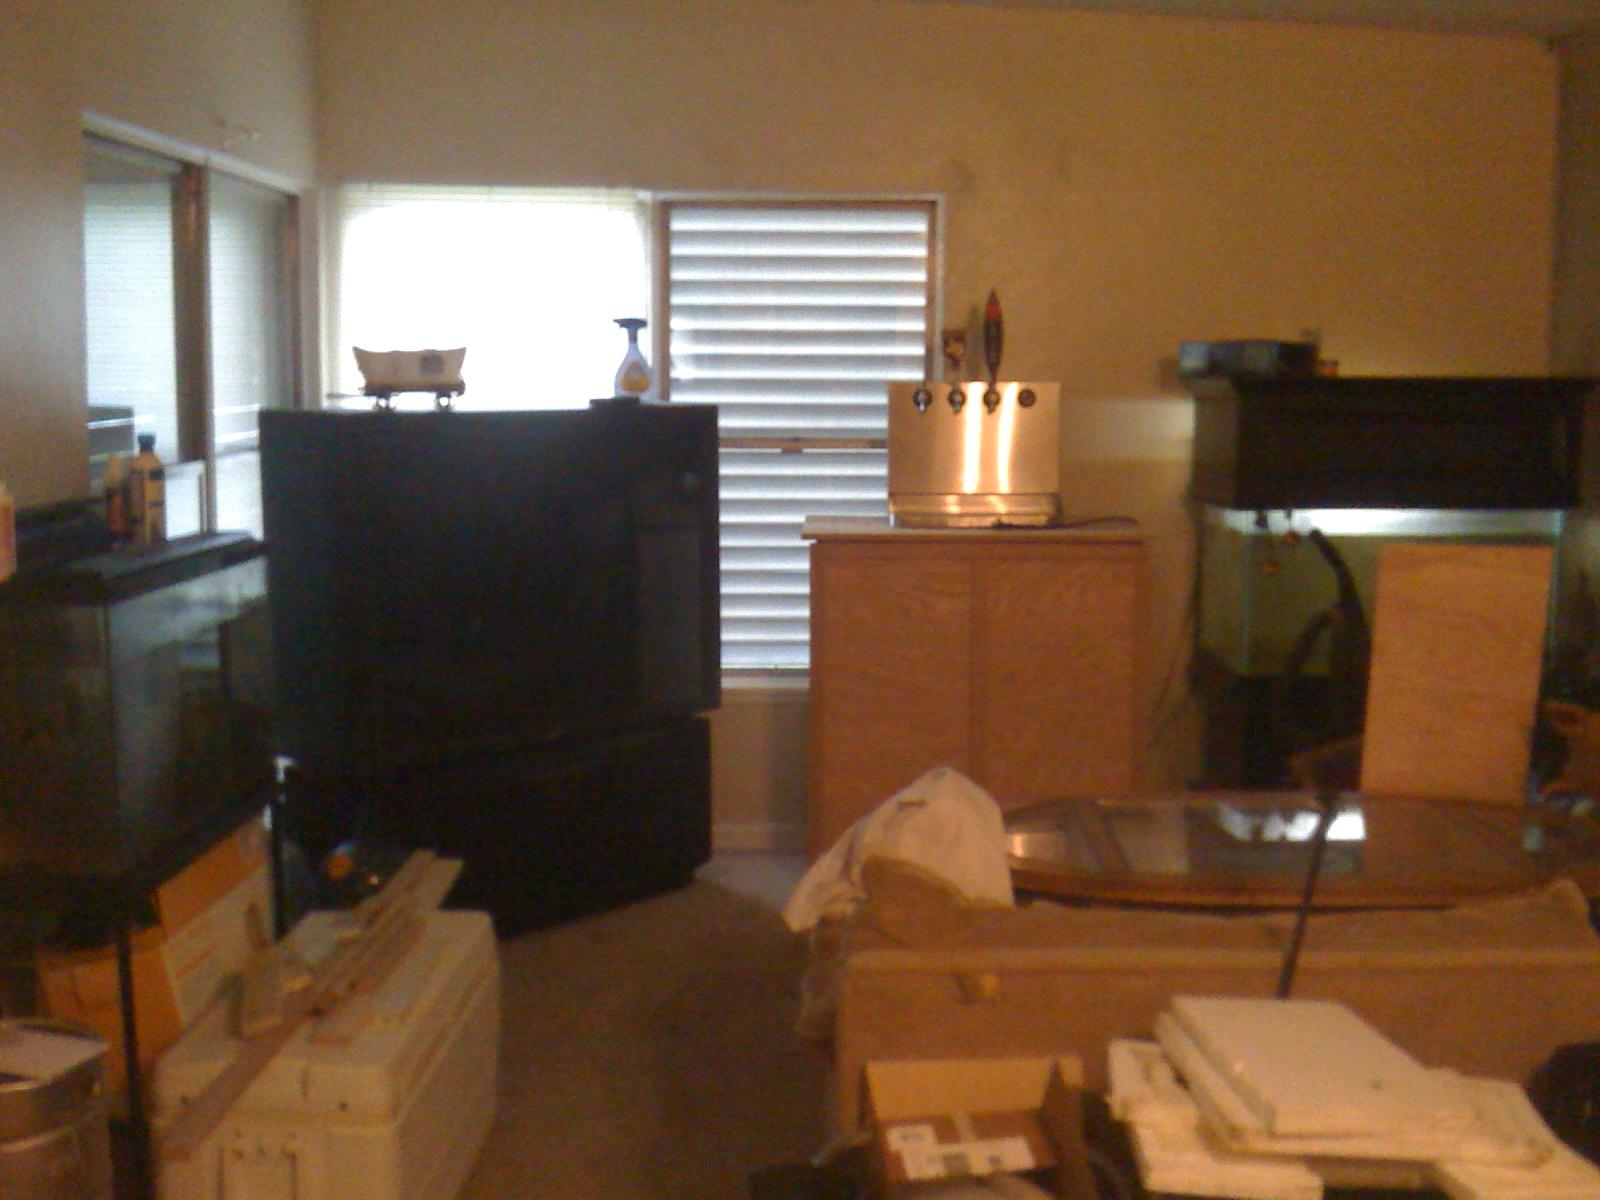
The Goods after around two years of piecing this and that together, more parts are on way and some are just not pictured

y7yDDnW.jpg


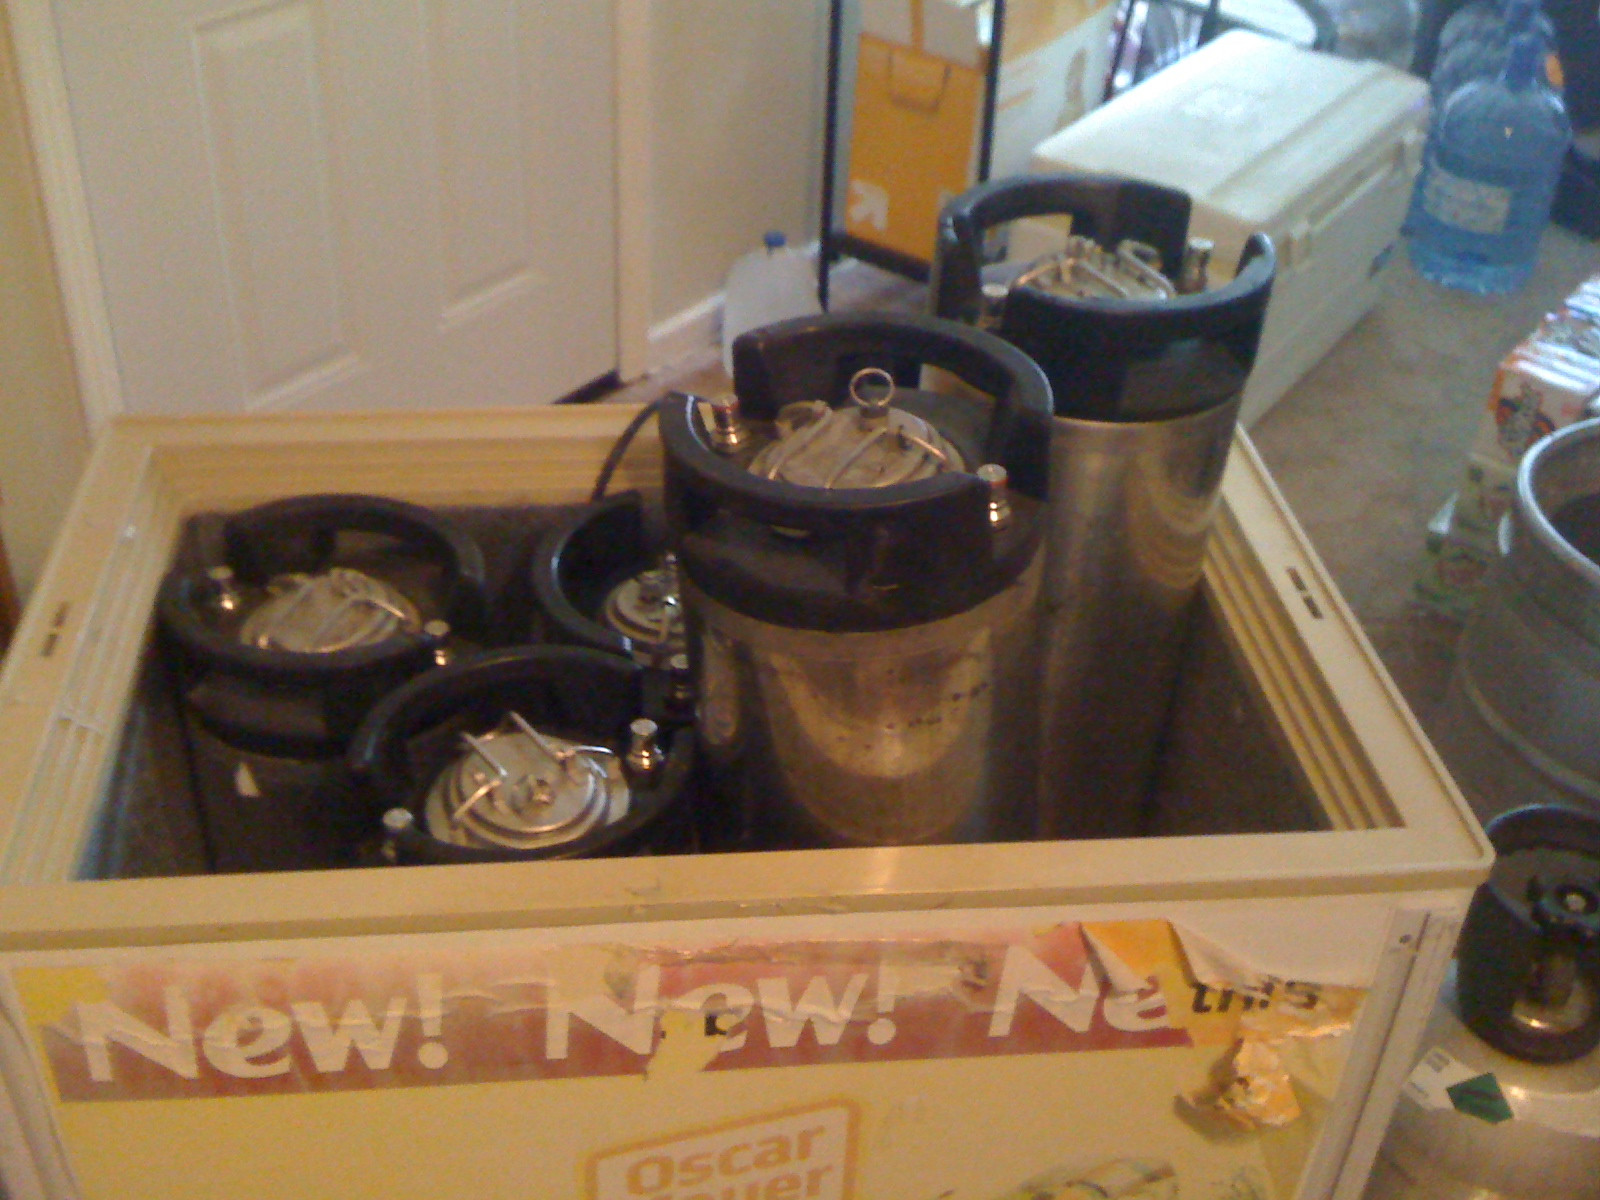
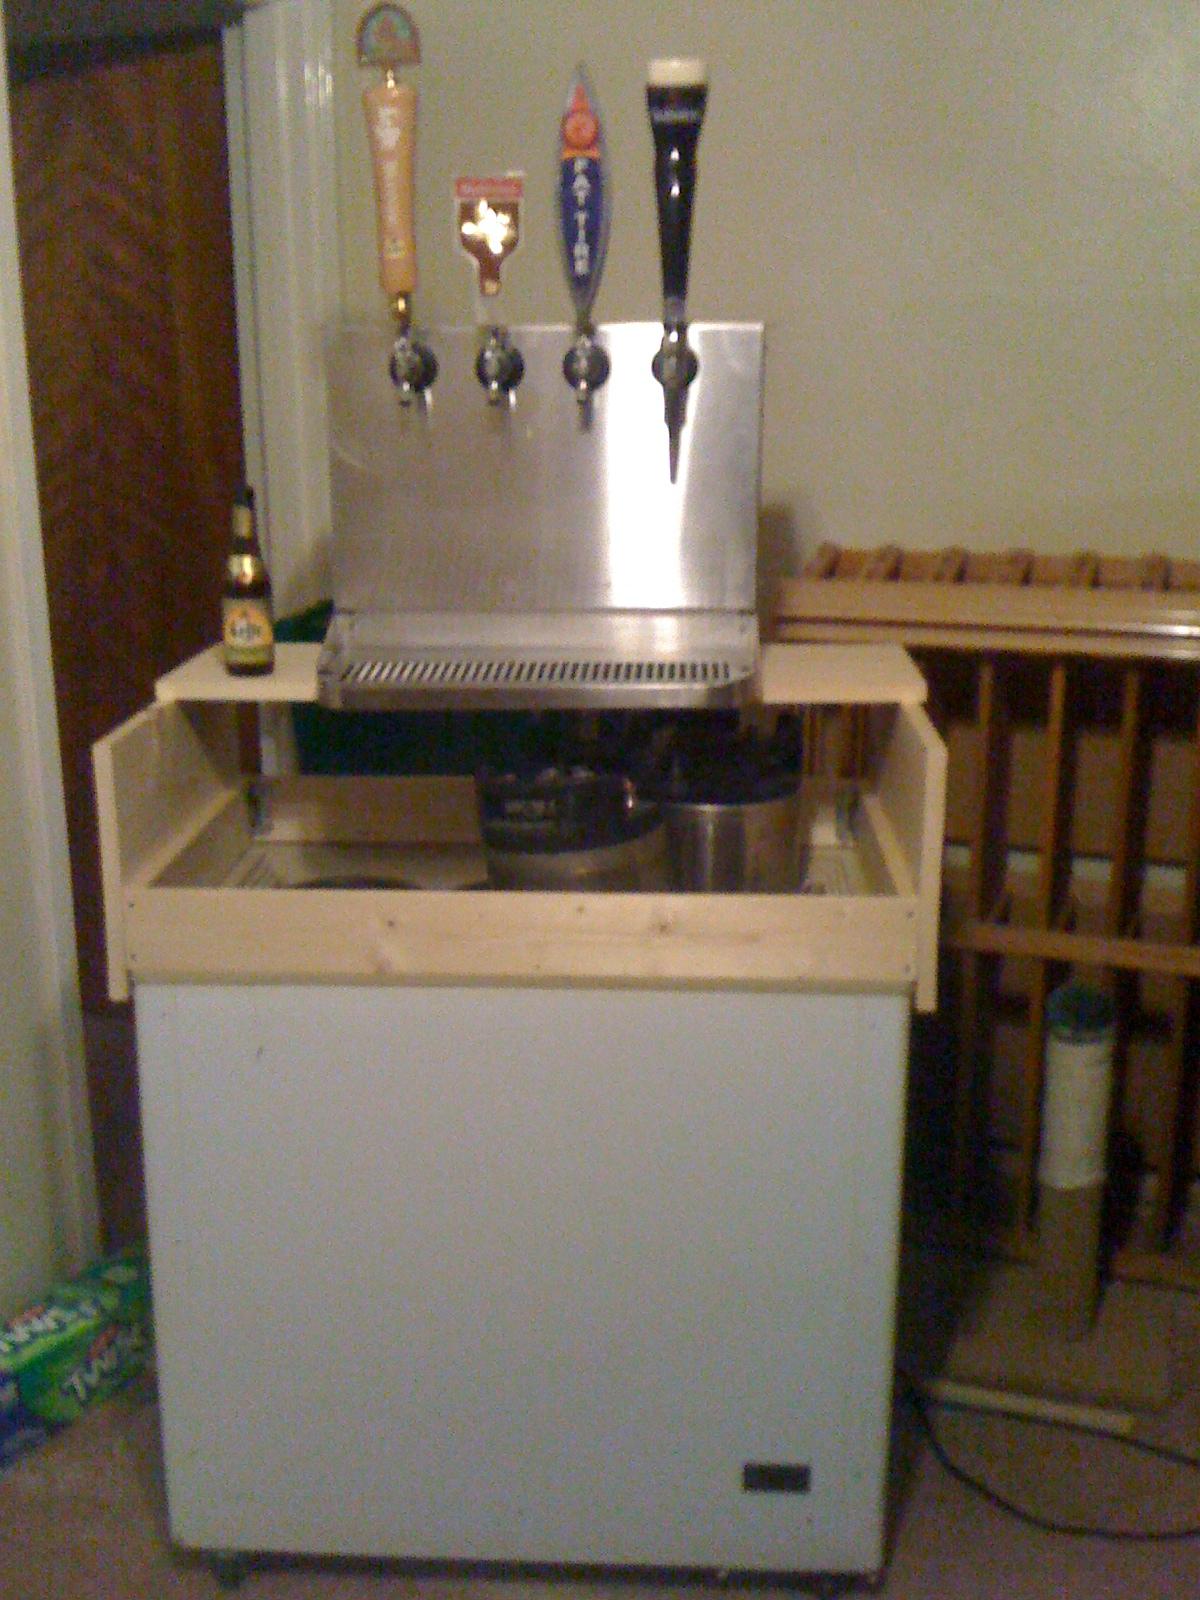
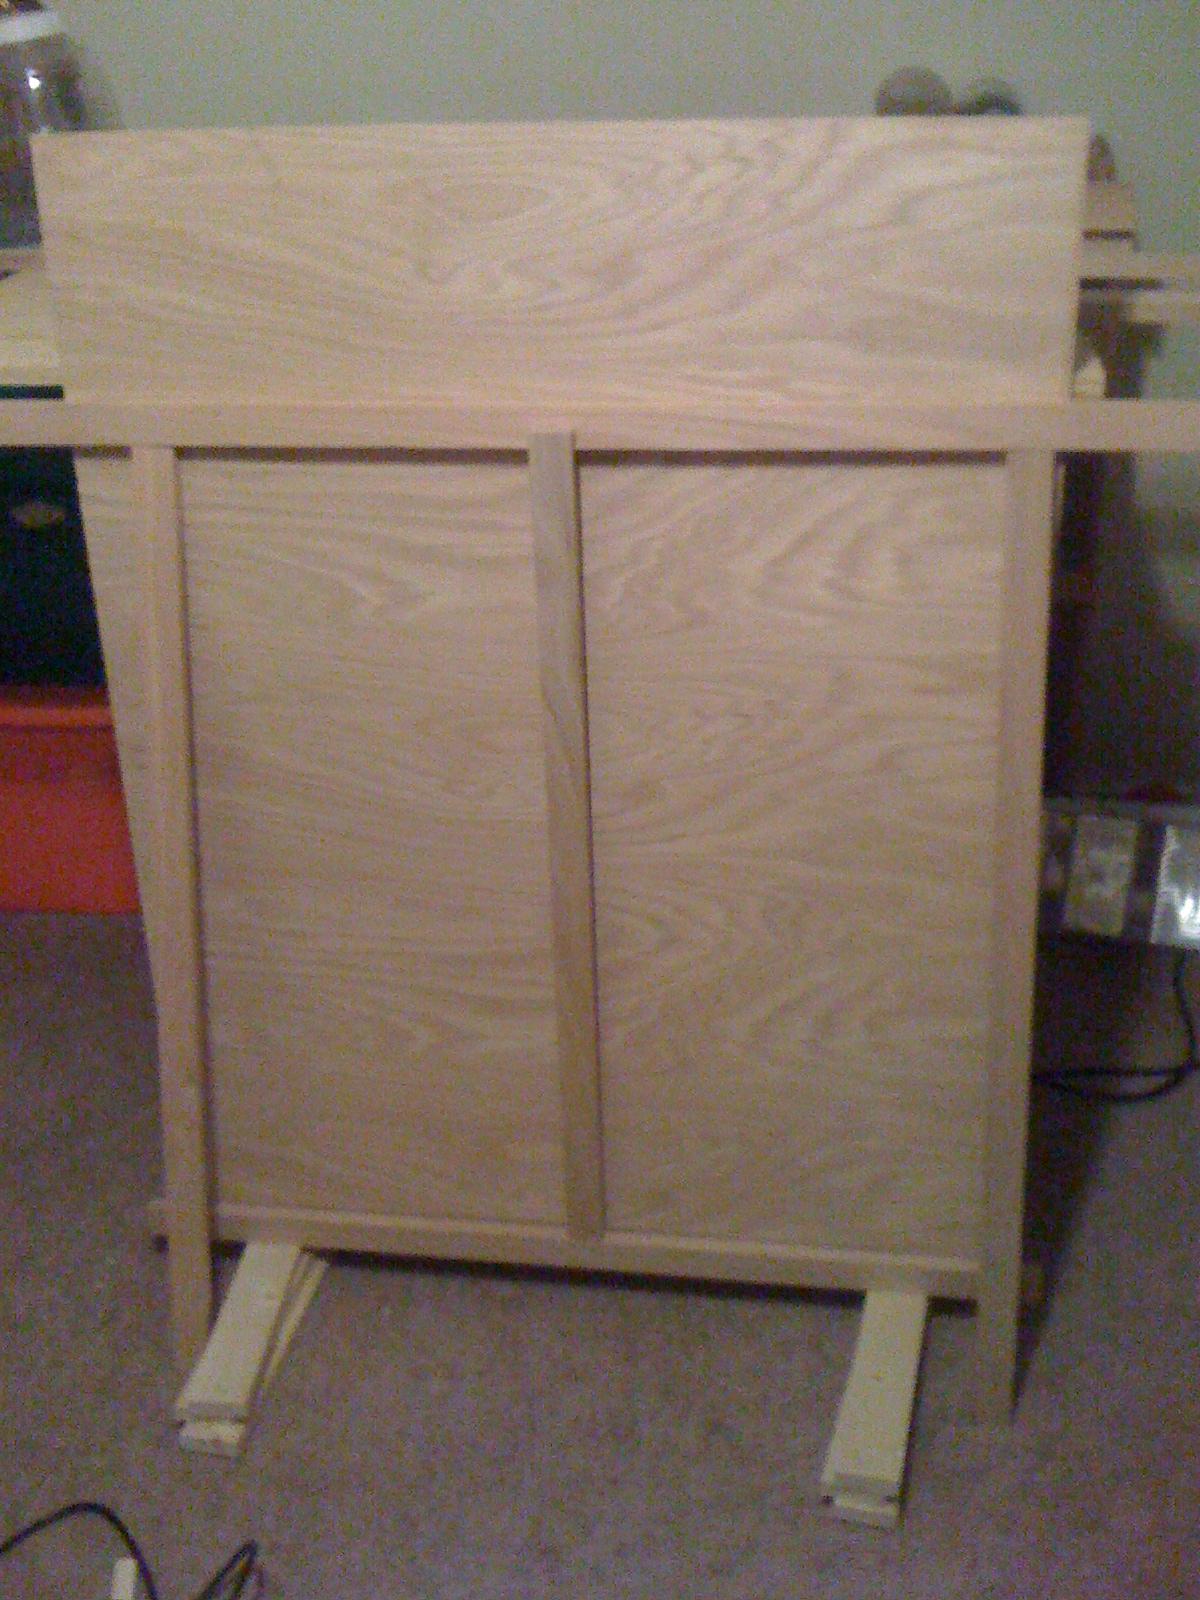
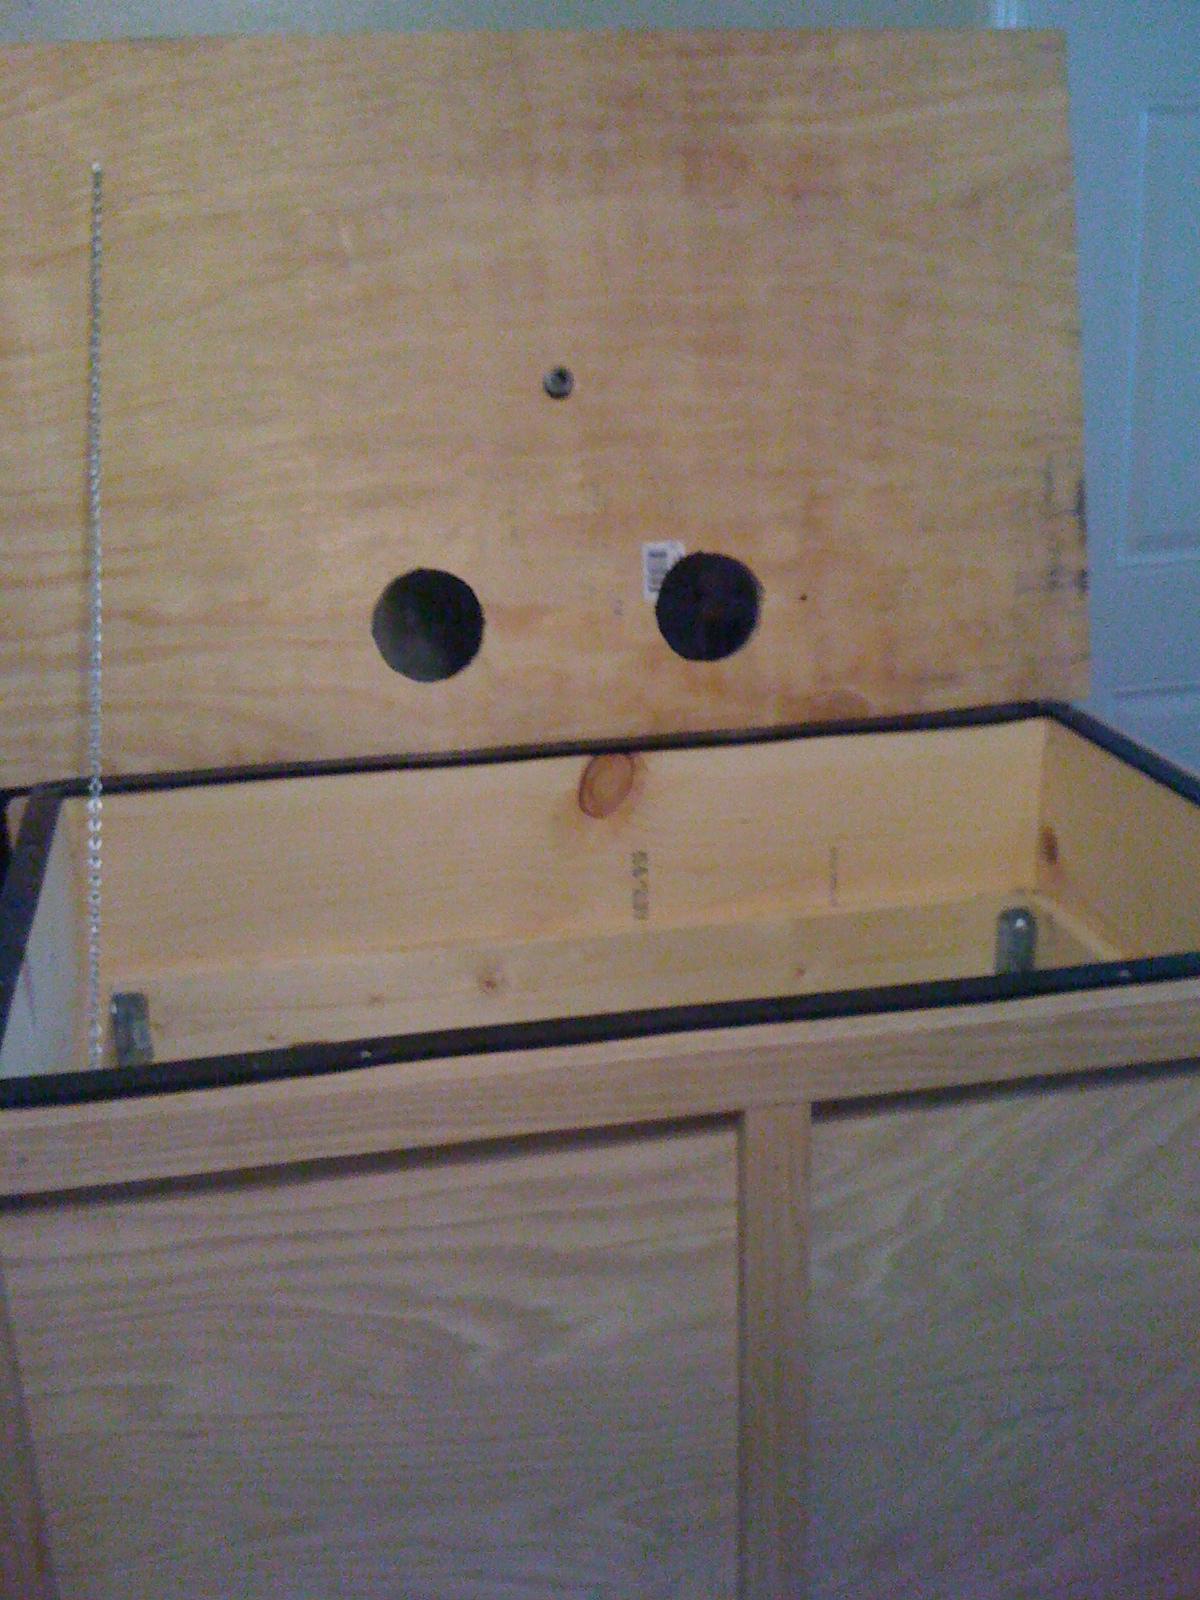
A closer angle view of the arangement, 5-5gal ball locks fit but will require an internal step and a large coffin cover, but has enough space for a bottle for the drip tray drainage

lVNHjbS.jpg


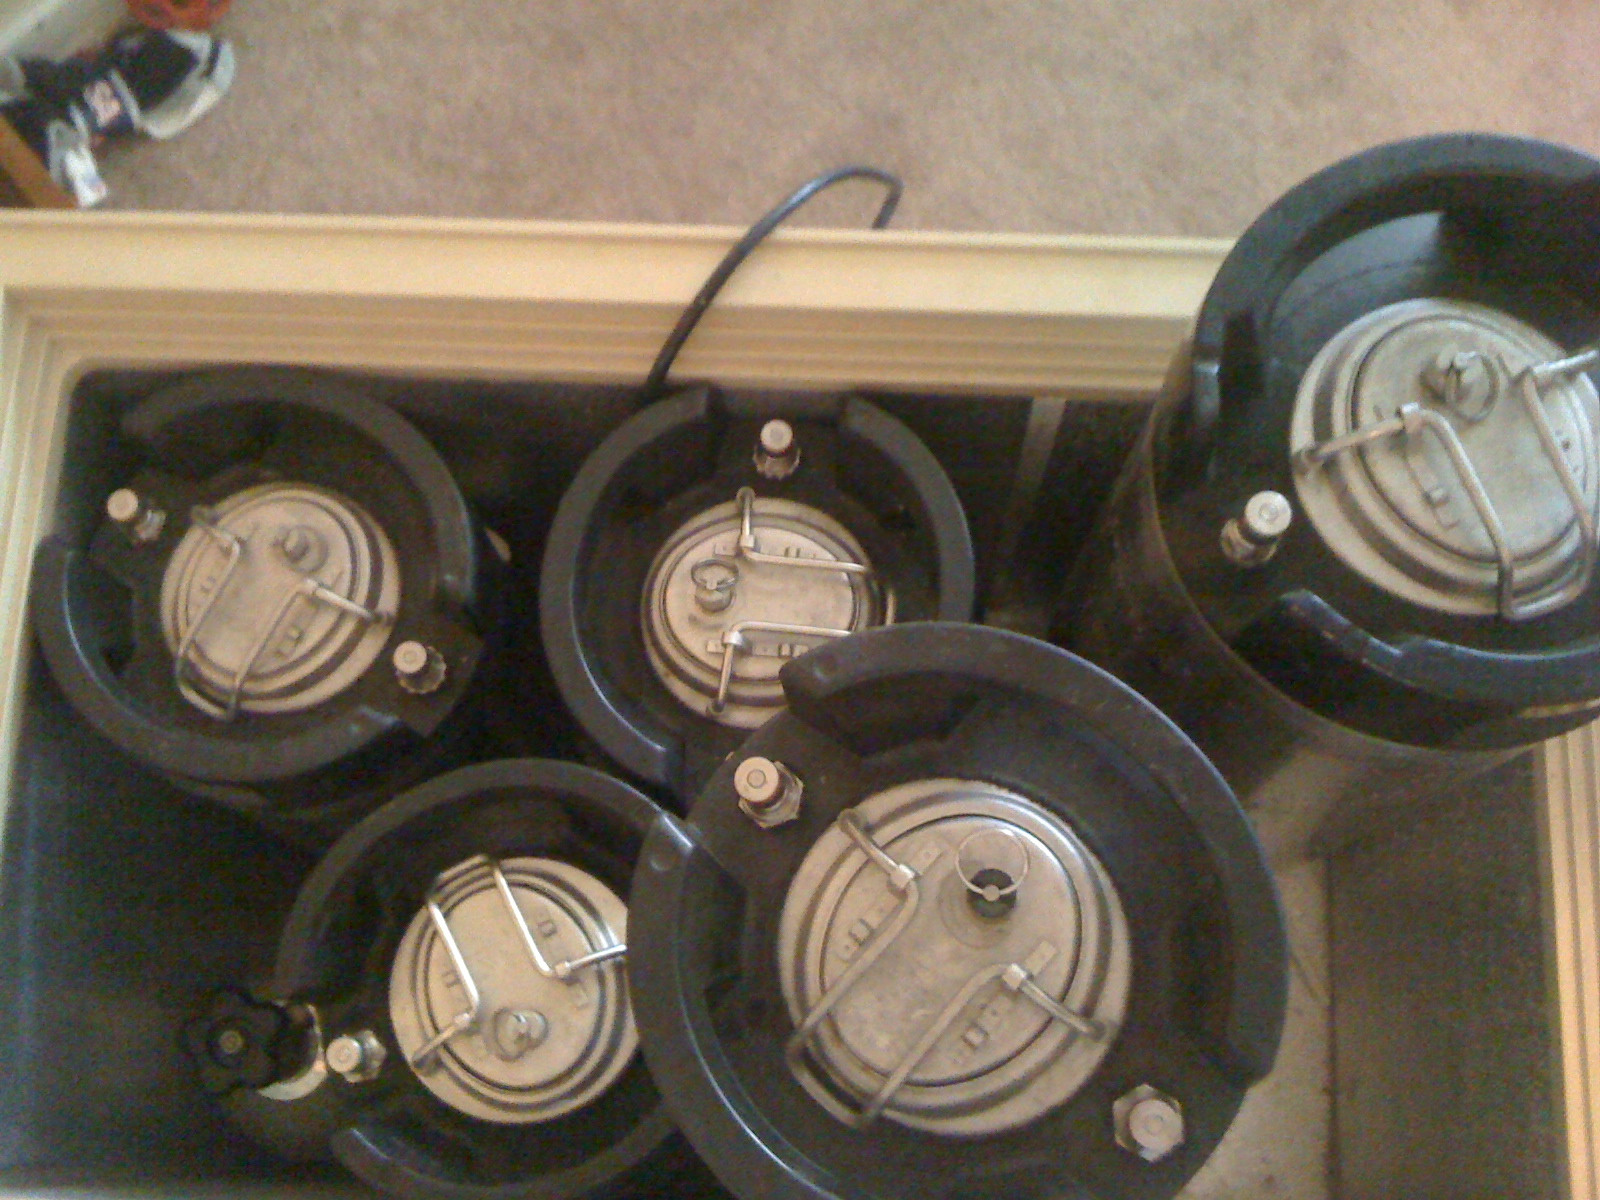
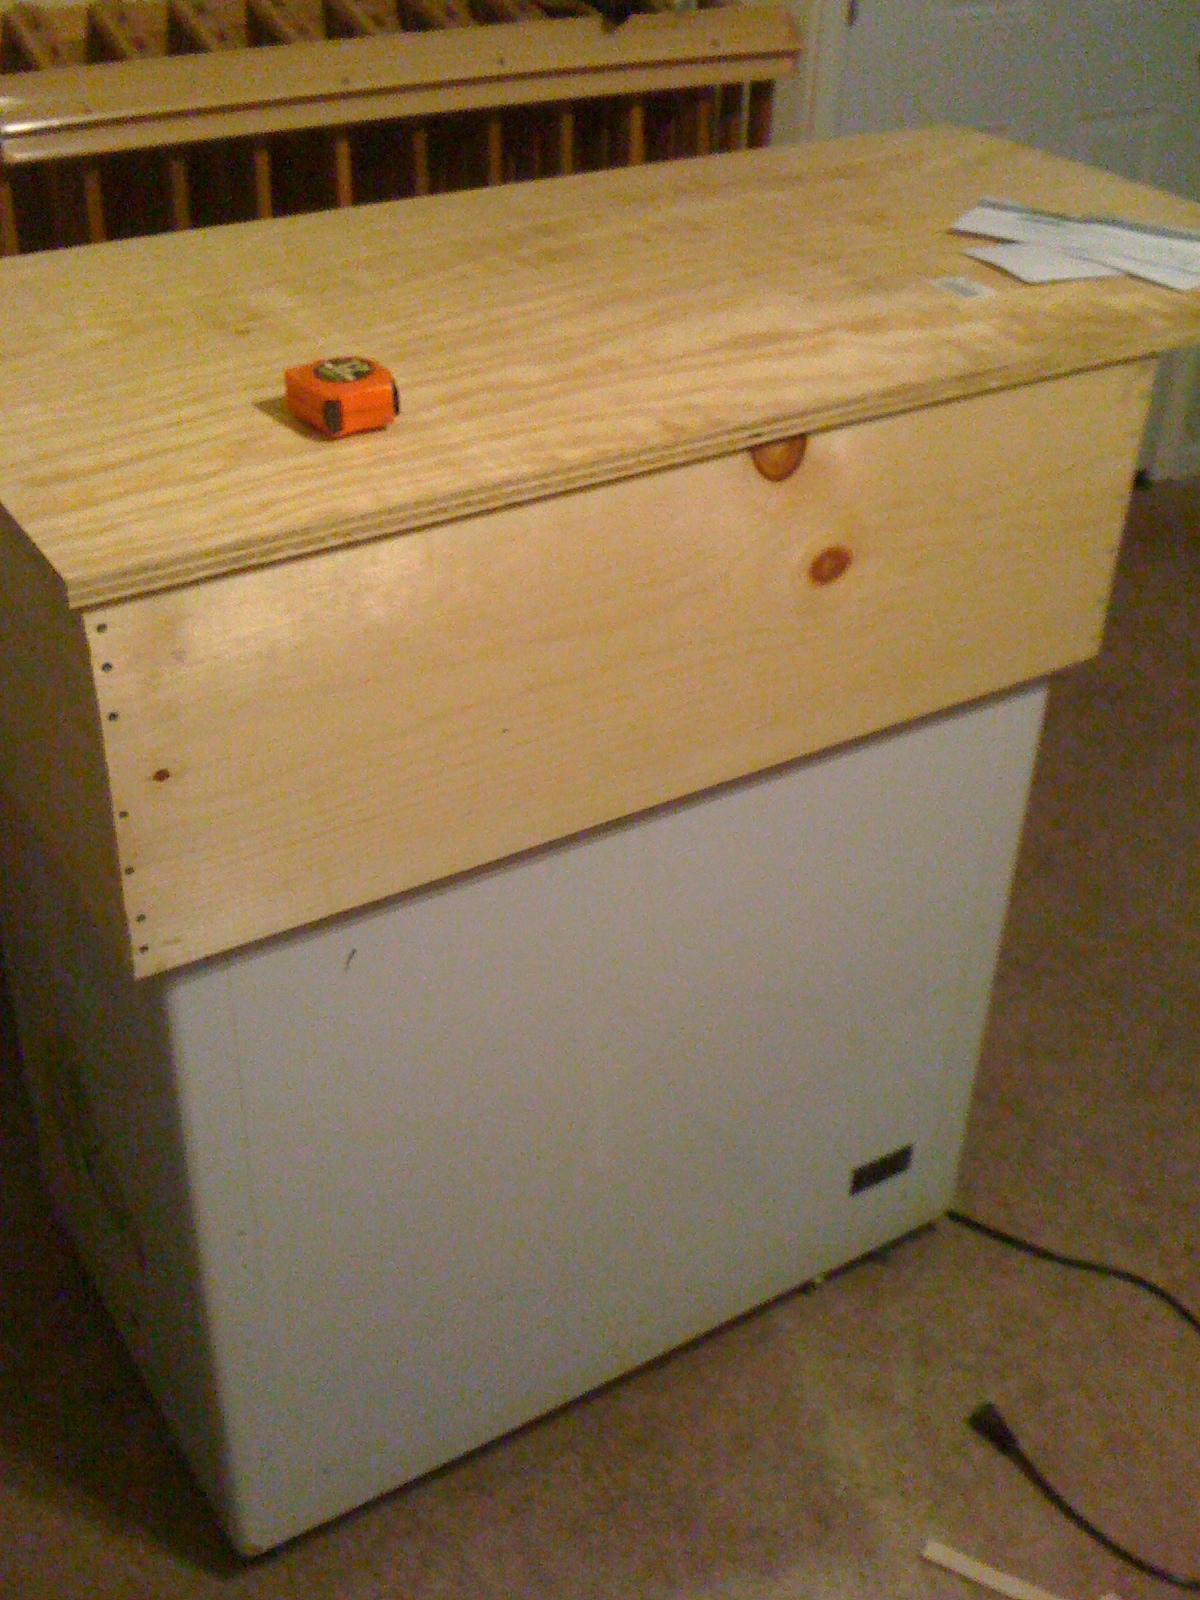
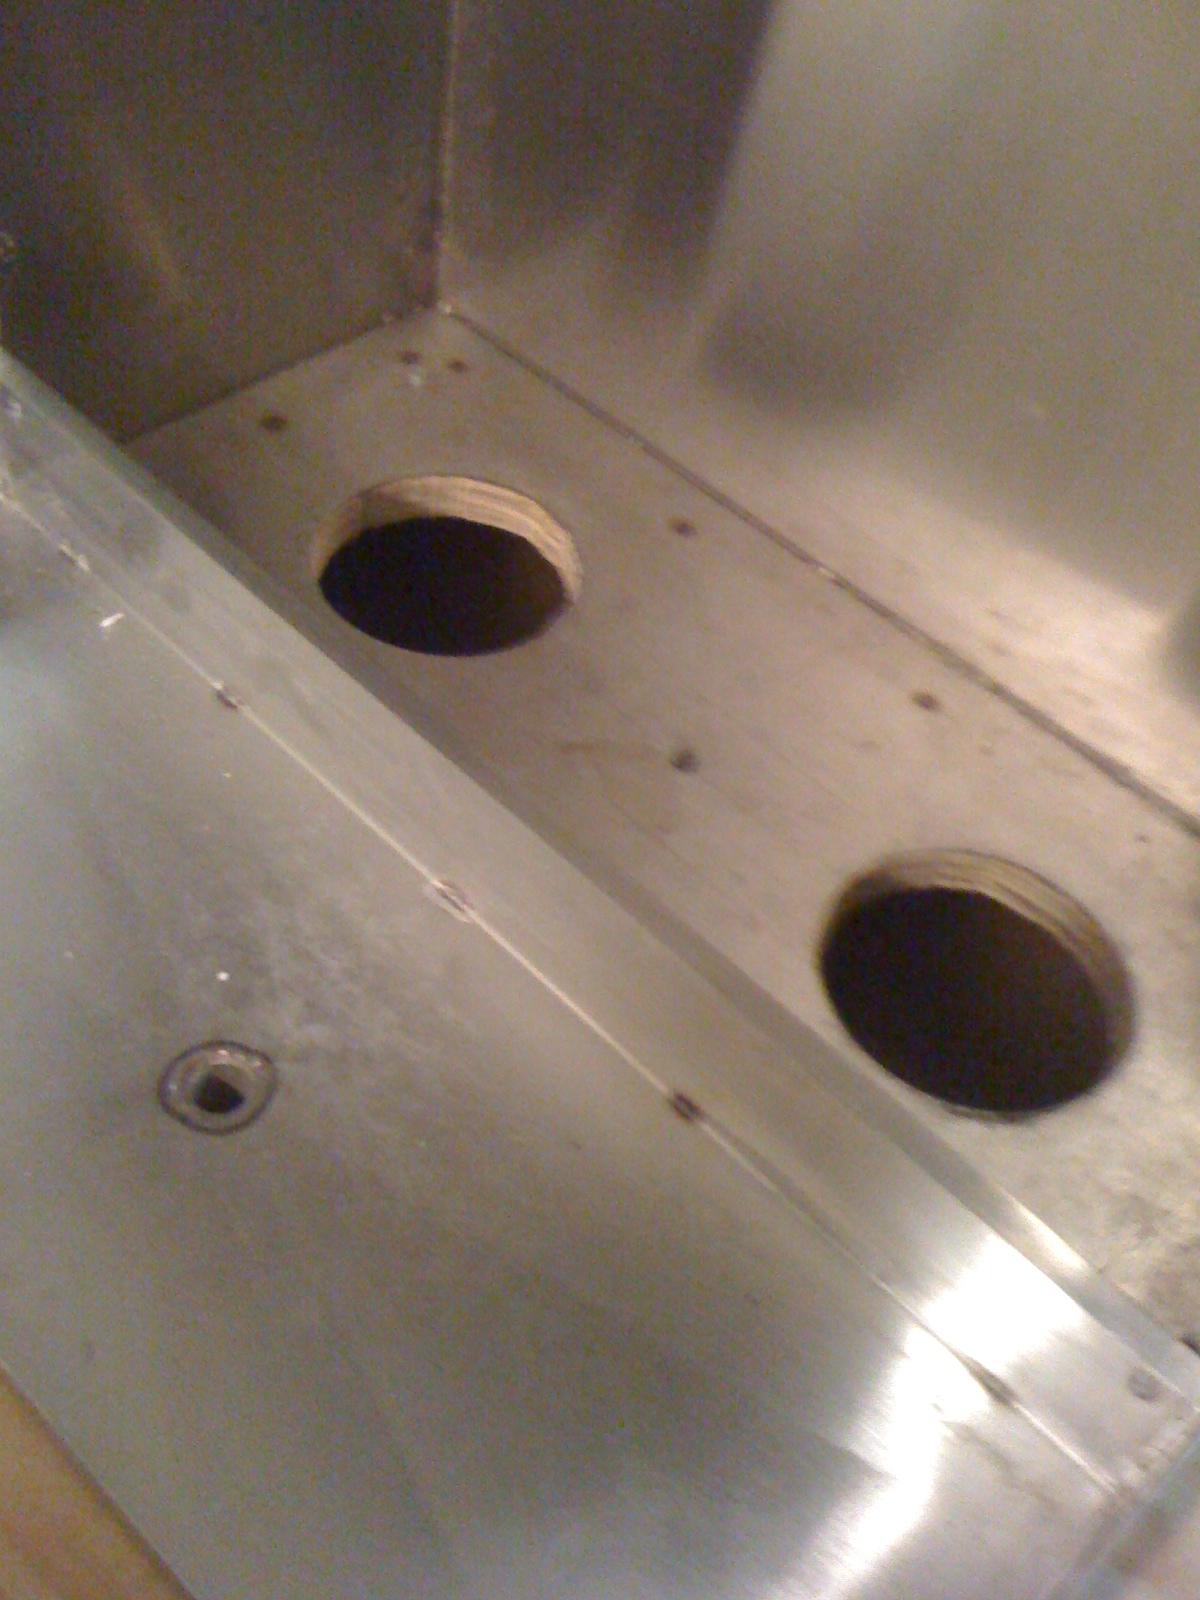
straight down view of the chest crappy pic I know but wanted to give perspective

EjjdcZB.jpg


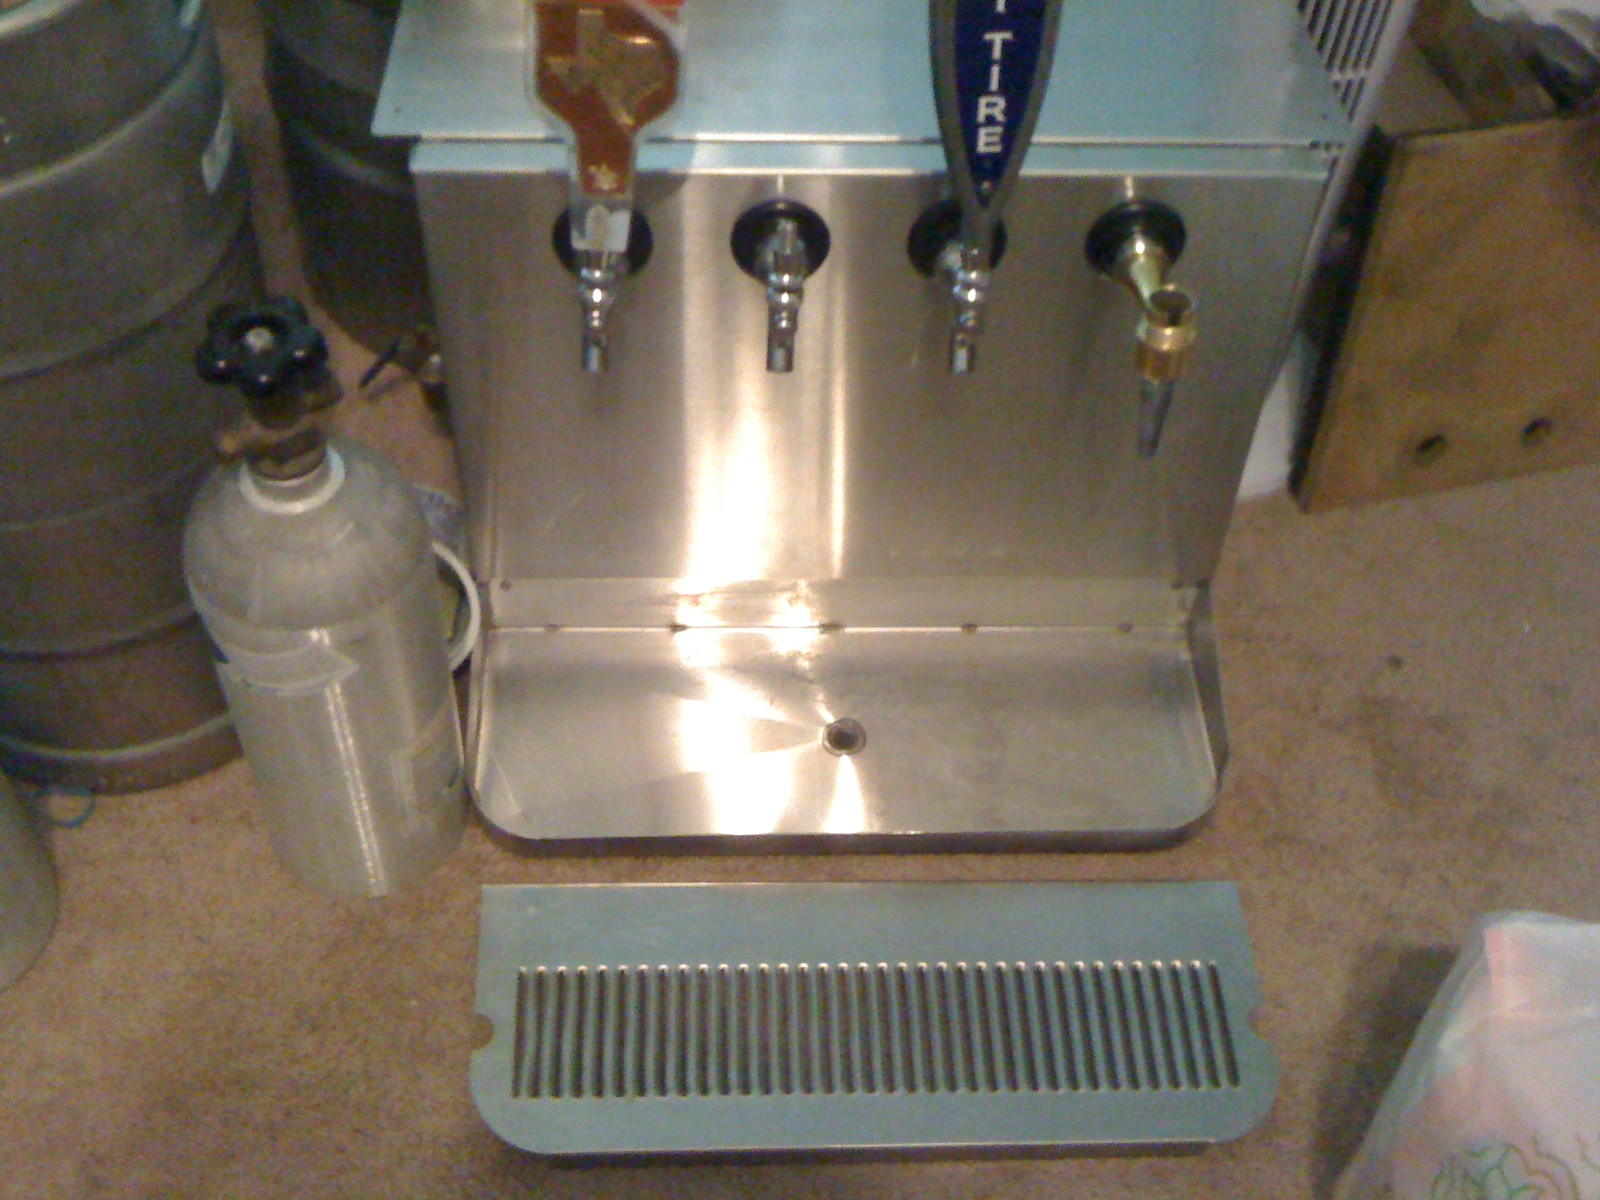
The Stainless Steel coffin top I got.... for $15.... yes you read that right, I cleaned it up with bar keepers friend and replaced some of the internal insulation with new foam with aluminium tape and backing.

2WKLPDX.jpg


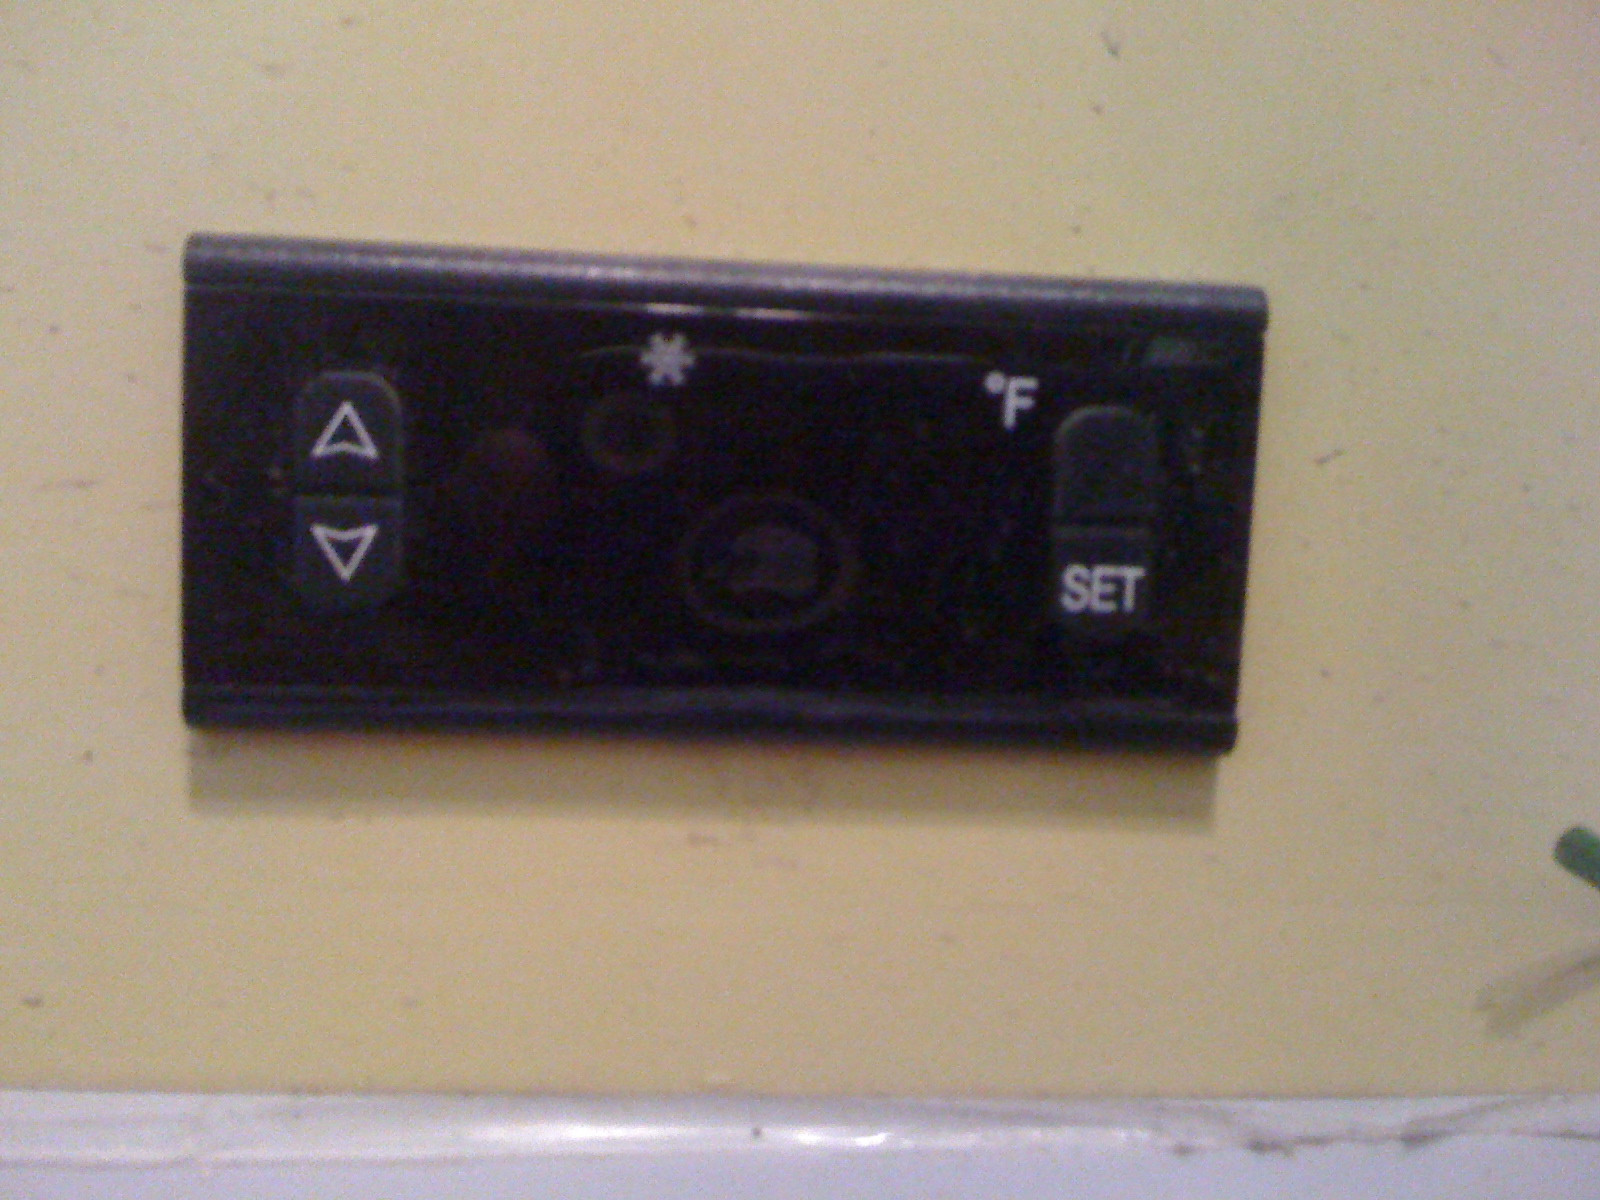
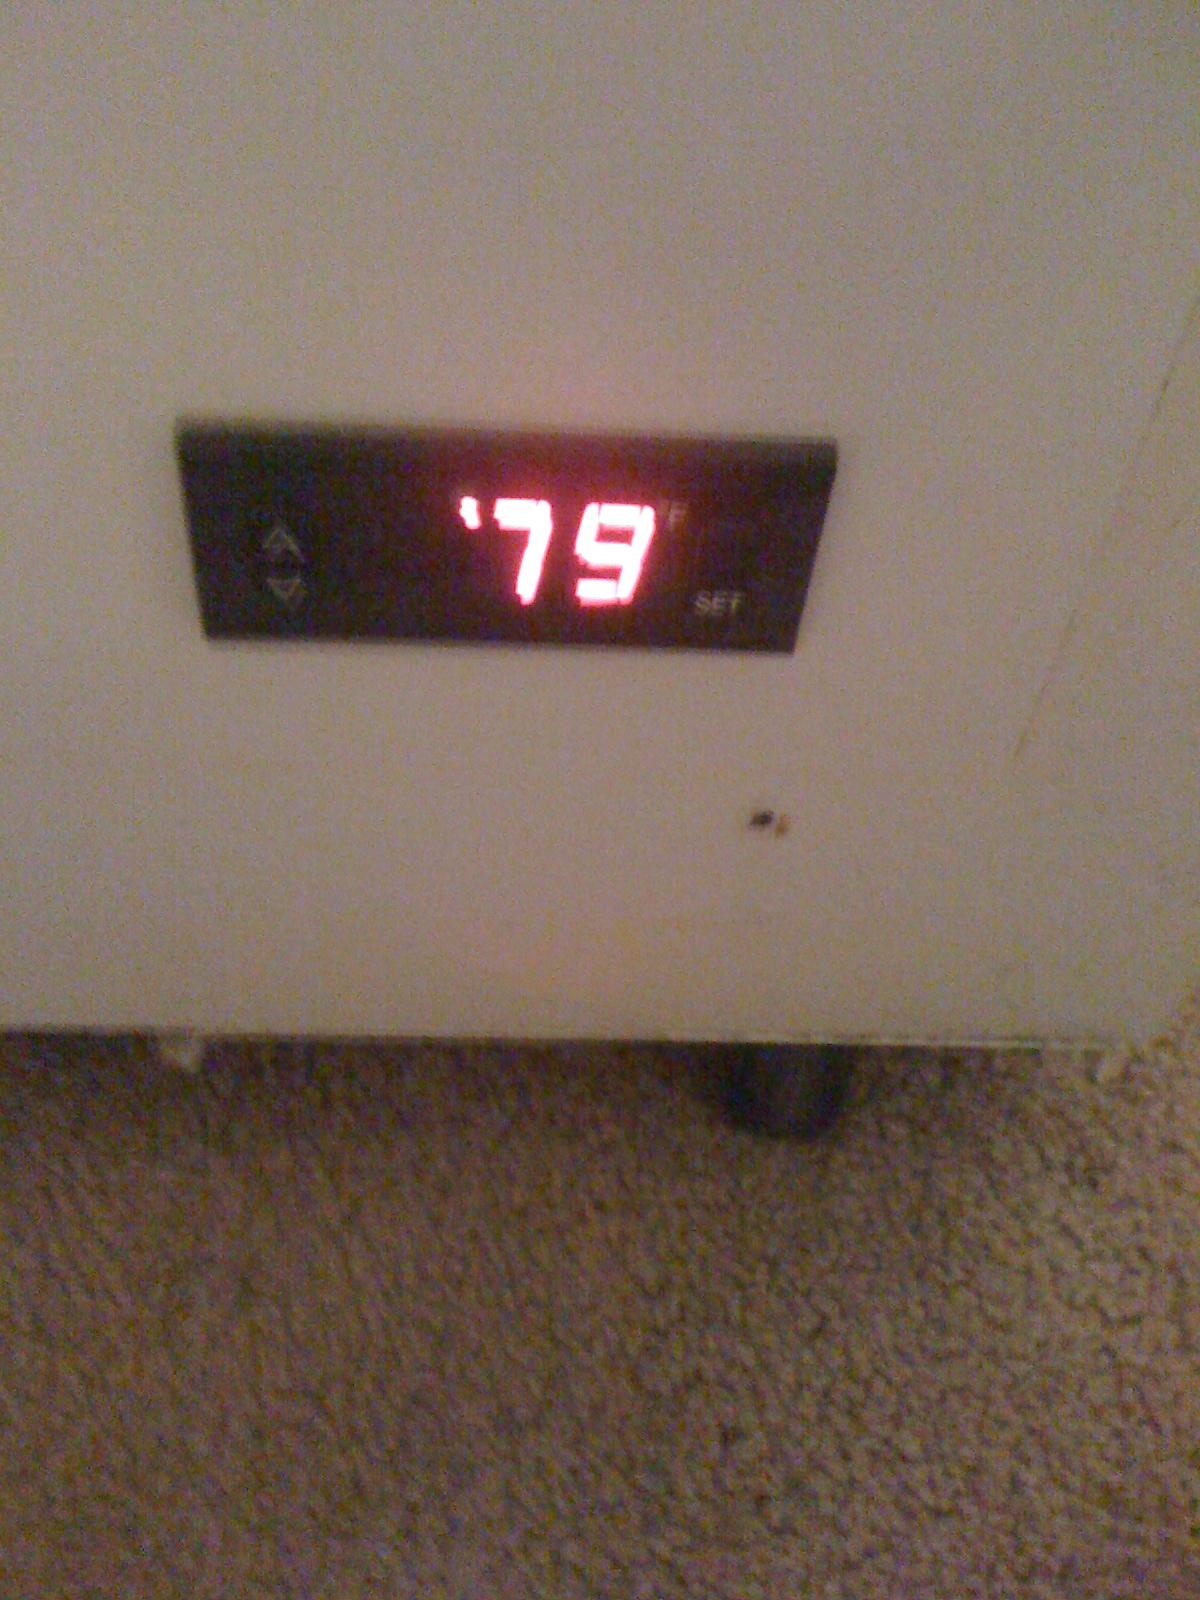
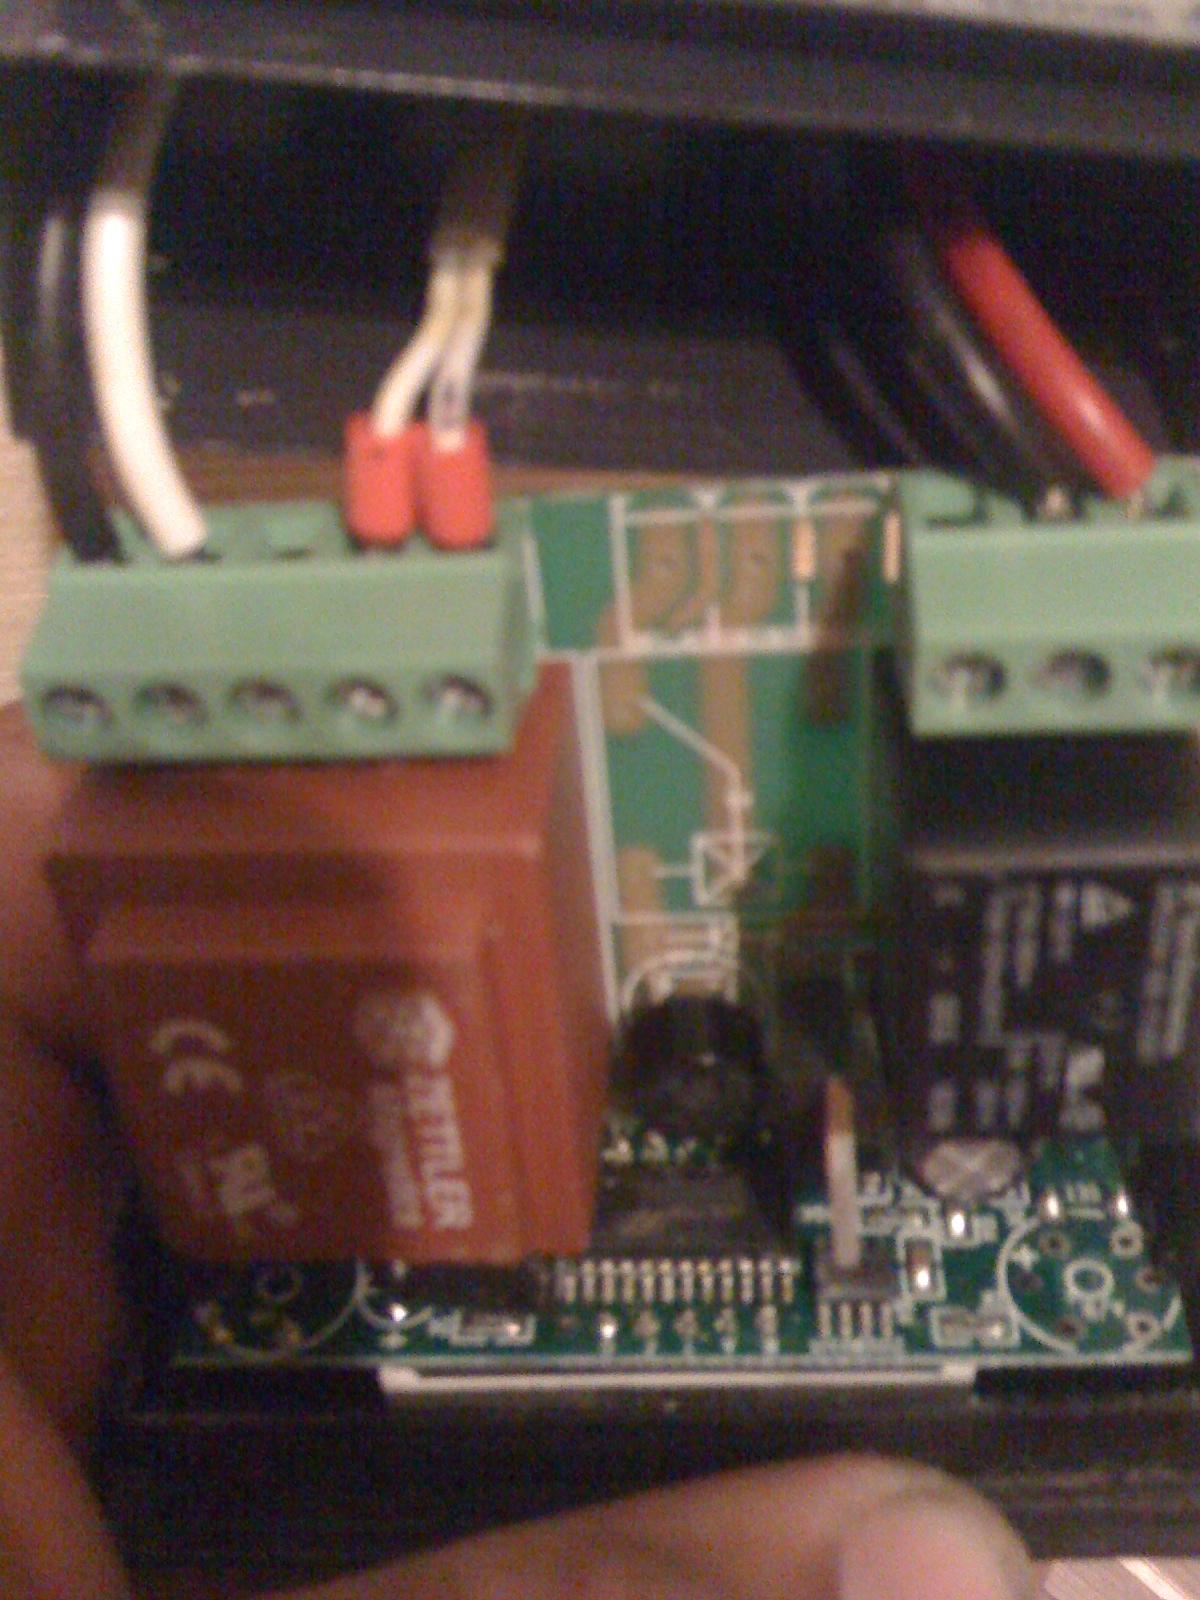
Did I mention the chest freezer had this built in? yes in degrees fahrenheit... and it works...

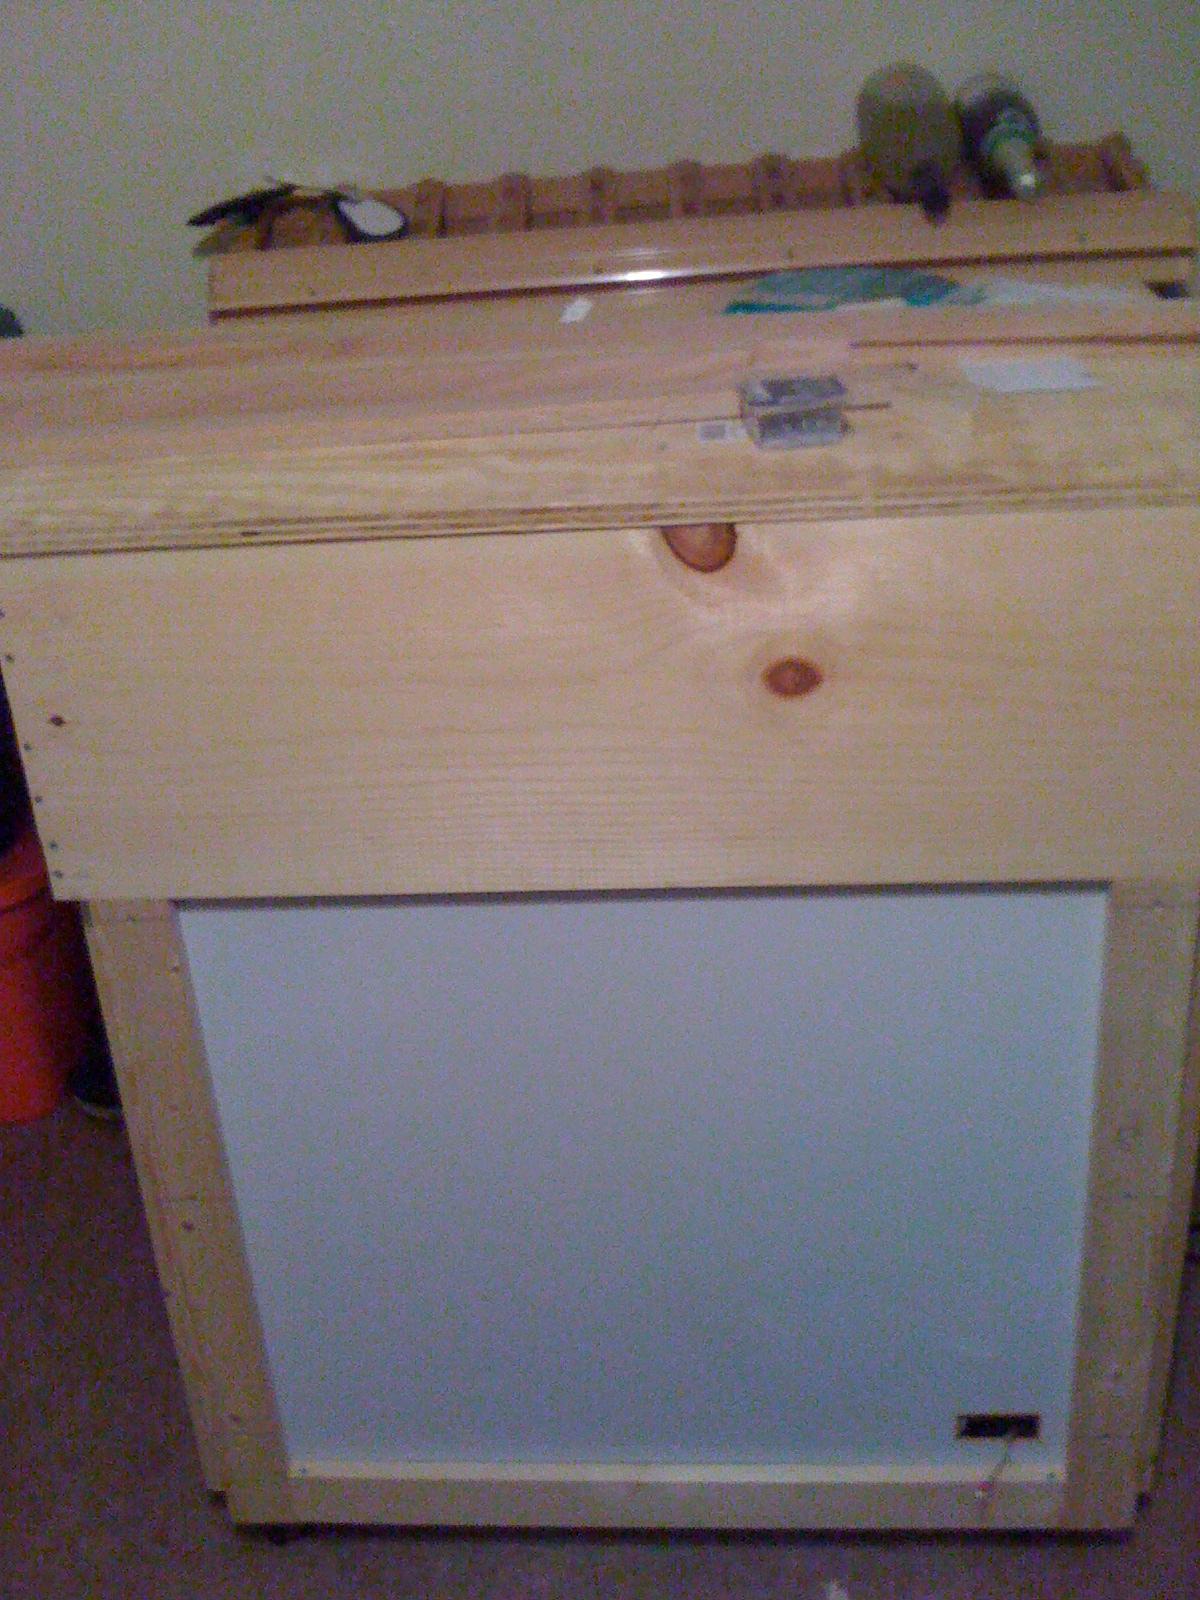
freezer was $25 on craigslist due to no lid... works for me LMFAO


I have 4 perlick 525-SS's and a Micromatic Stout faucet and tap handle en route.


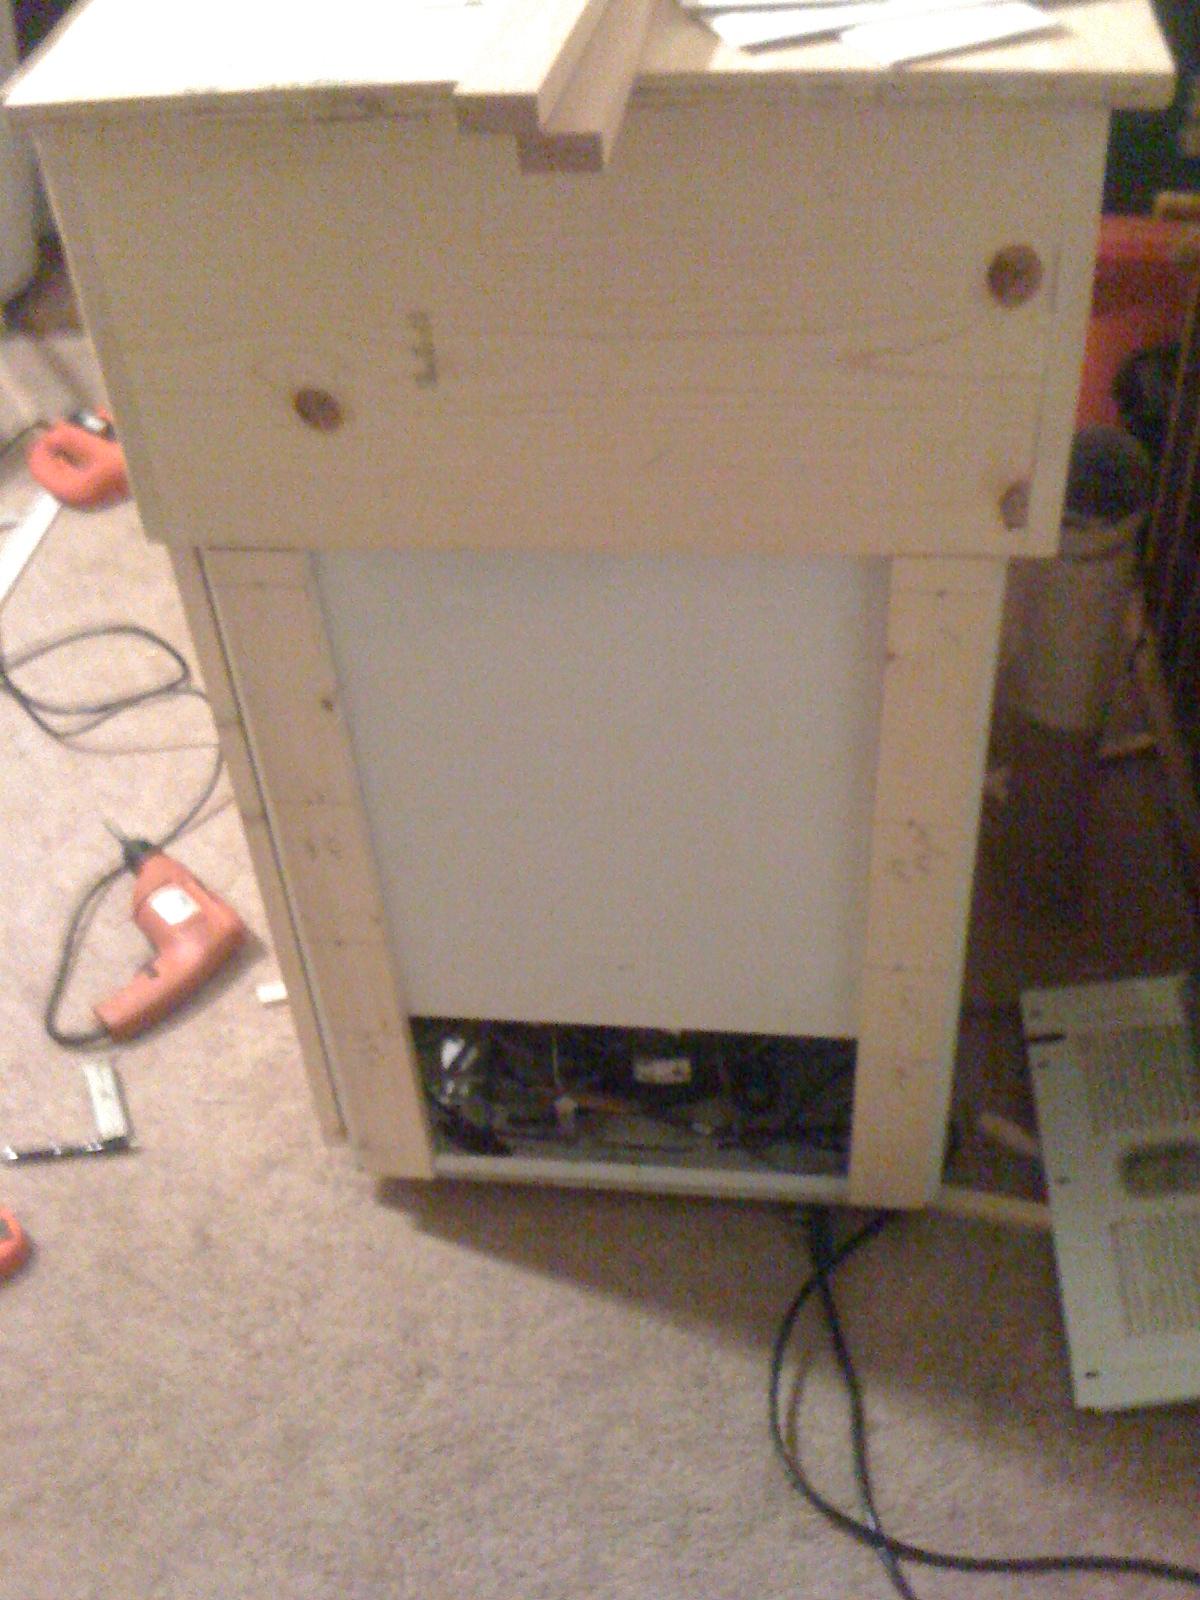
I will be updating this with detailed drawings on the dimensions and build as it progresses.... wish me luck... I got the ok (well I told her it was my new nightstand... or...) to put this bad boy in the living room LOL
 
Due to the size of the freezer and the fact I want four on tap and one to get to temp I will have to build a 10 inch collar on this bad buy.

After re-measuring and checking the electrical (new $4 fan on bottom to pull air in and over compressor)

Since I have to build a whole new lid due to mine not having one, I will be using cheap 1x10(1x12 EDIT) Pine for the collar and then framing it in and covering it in 1/4 oak plywood, and doing the dark stain / thick resin/fire hazard finish :p

SWMBO says this is acceptable and funds will be spent on it tomorrow.

Pic coming of the cad drawings, and the temp controller display, I turned it on today and it was cooling it down to 41F with a plywood cover (good enough of a test for me).


Here are some pics of the Cad drawings drawings
 
OK, Well I had Jury duty today... I know... but I got out of work and had extra time to I went to Lowes and got the things I needed, then went to the local Harbor Freight (aka China Goods Shoppe) and got a few other things.

I then spent a few hours getting to this point.

ynjArhB.jpg

Testing the freezer after some off time making sure it still works before I do all this work

87eddGZ.jpg

(Notice the hot dog wrapping is gone... That was a PITA!
Working on the freezer, I made the 4" collar to fit on the edge of the freezer and started work on the outer collar 12" collar with 2" deducted for hugging the side of the freezer made a 10" collar above the top of the freezer.

This gave enough clearance for the placement of two ball lock kegs on the hump making the total capacity of 5 (5)gal ball lock kegs inside this keezer, with 4 on tap and one getting to temp and on gas.

I have enough room for a few six packs and for a 2L bottle for the bottom drain on the SS Coffin top.


I would like to state that while I have seen some works of art on this site, I do not know how mine will turn out..

If I had my way I would make it look like the Tardis out of Doctor Who, buy my SWMBO says she wants it to look traditional medium brown panel with darker brown trim with a bit of molding for an "modern-ish look?"

That out of the way, I wish this one would come out as nice and polished as Hoppopotomus's keezer.


But lets see what we can come up with ;)


NOTE:

There were holes drilled into the side of the freezer from where the plastic molding attached with screws, my plan is to reuse those same holes and some 1x2 furring straps to attach some 1/4" oak paneling and then work up from there in steps until I am finished. The lid will be made from 1/2" plywood with a overhang lip that will hide the upper seam between the 1/4" and the lid. I will also be installing a went on the same side that the freezer has the vent same size and shape to allow for ventilation due to there being a fan installed that pulls air over the compressor.

I will have to splice power inside the freezer for air fans at the moment, but am pondering the idea for a miniature pump and reservoir for a liquid exchange setup, but worry about sweat on the taps.

I will also be building this setup with shut off's on the liquid lines to protect from emptying a keg on the floor, and to stop the kids from having access when I am not around / family members.

Will update when some more work is completed, hope to have this finished by then end of october so I can have beer on tap at my house.


That should give you guys/gals an idea of what I expect of this project. Thanks for the likes and sub'in

P.S., Did I mention this thing came with wheels built in?

Cad Drawings will be posted tonight after I get back from Jury Duty Round 2... Yes I got picked...
 
OK got out of second day of jury duty and got a little more work done.

I got the sides of the collar up, and am ready to cut the lid which I will do in a few, I already bought the hinges and have some 1" foam left over from another build but am thinking of using the thicker pink foam for lining the keezer.

Here is a shot of the progress so far

lsXp8LH.jpg


Remember I am not worried about the way the collar looks and was not worried about doing 45 miter cuts due to going the molding route. No point on using oak for a collar that will be hidden and never seen, kinda of a waste of $40 in lumbar.

NOTE: Height from floor to top on lid is 42". Given that I am 5' 11" I did not want to have to bend down to pour a beer.

P.S. It feels so weird to be posting about my own build after having read about others building them for so long.

taps will be 3 beers and one changeable, most likely will start as sprechers root beer on draft, but I got the O.K. to get some stackable 2.5Gal's and when we move to a larger house (Inside 2 years) I have the Go Ahead for a 5-7 tap keezer.... hellz yeahhh
 
OK, well today I got out of work after an 11 hour day, and went straight to the hardware shop, then consoled my SWMBO who attended a funeral for his recently departed uncle today....)

And...... Now i'm working on my keezer

I got a hell of a deal on a 1/4"x4'x8' sheet of oak plywood... $14... it had a chip in the edge of it and was one of two left and the manager did not want to get the new set down from where it was on top just about touching the roof .. no joke...


I also got some 1x2 red oak for the framing of the freezer and to finish it off, I also got the rest of the 1x3 for the first layer that go under the 1/4" ply sheeting.

Total was $99.06 minus the half off on ply wood, then minus an extra Discount, total for wood came to $68.00

I snagged a 8" alum vent (last one there) and got some fine wood tooth blades for my jig saw, Did I mention that? I am doing everything with a skill jizsaw and drill.


PICS will be taken and will be uploaded tonight. I hope to have it skinned and ready for staining saturday and poly Sunday then cooling a commercial keg thursday night for next friday 10/4/13.

I still have to buy a new set of gas & bev lines and tail piece and nut for the SS shank. I will be upgrading the shanks in the coffin top one by one and selling the krome taps and chrome shanks by december I think.
 
OK Here are some Pics

RD12lch.jpg

Diagram pic of the electronic wiring of the temp controller

mJCghWy.jpg

Pic of wires feeding into the temp controller, had to be removed to attach oak paneling and will reinsert after stain and poly are done.

ctYJUtK.jpg

Buffer Boards attached, kind of a pain in the ass to reuse the holes that were drilled into the chest freezer but the stability is excellent, but I guess I could have used liquid nails, but that never would have come off the freezer... guess it doesn't really matter

vpI1dbr.jpg


view of the side of the boards that will support the paneling, other side is the same minus the vent spot,

IPwgv5b.jpg


left new vent, alum $1.87 8" tall from lowes, weird light angle makes it looked banged up, but it is perfectly straight and fine. To right is the old stock vent

R4SCKLT.jpg

(1/4" OAK paneling, and 1x2 oak trim pieces to frame in the paneling)

Mock up of the work to be done in the morning, I will be attaching the paneling and then the trim boards then cutting the top with a 1/4" overhang for the lid trim and then framing in the lid.

I do not know if I will do tile, or what on top yet.... I need to do some research on the big keezer list ;) get some ideas flowing.


I would like to say thanks for reading this write up, but more importantly thanks to all those other members who have given me enjoyment from reading their articles and inspiration to feel safe doing it myself.


UPDATE 9/28/13 @ 8:06PM CST

Got all the required supplies for staining and finishing the bottom of the keezer, but there was a kids birthday party the SWMBO did not remind me about until a half hour before and everything got put on hold... and tonight I have to go in for a sleep study :( so me day is shot... but tomorrow will be a busy busy day and I am going to try to get everything exterior done including the staining and the top fitted and attached / cut down.

I do not have the top trim for around the lid, I wanted to get that after I saw how the top turned out and what size would look good at the end.

I was looking at the tile today for the top of the keezer and I am torn between grouting in some time, and doing a epoxy top...

I may do a custom tile piece with my brewery name in it....
 
I did not get to stain the keezer yet, but I did get the sizing of the lid and the 1x2 oak pieces in place, one more side to do, and then the trim on the lid, and some reinforcement so it does not warp due to moisture it being a plywood top.

I need to get some clear and seal it on the inside, and foam it out, then it will be a matter of a few minor cosmetic things and it's DONE!@!

TZk14cT.jpg


Here it is with looking pretty half completed.

mXMVmOB.jpg

This is where it will be placed in the room, it's a bit messy, I am a truck driver, and I am rarely home to help with much :(
iJsSrD9.jpg


Fat cat.... Jap. Bobtail variety 2-3" tail
 
mAUOHGK.jpg


xbK0hiY.jpg


yqUVrTZ.jpg


6e2TrgG.jpg


lFVsr83.jpg


Updates, been working on the lid, and will be staining and sealing the trim and sides today after I put the last 3 pieces of trim on.

This has ended up being a Long project and I think if I had to do it over again, I would have gotten everything at once and a compound miter saw and a few other things to make it easier.. another set of hands would have been GREAT!
 
So I called micromatic to find the correct machine screws for the front panel to attach to the SS body and... they never called me back. Talk about $hitty customer service.

After trial and error, I found a tiny machine screw kit at harbor freight for $2 and some change and got it, it ended up having #10 x 1/2" machine screws which were a match.


I have been working long hours, but will finish the boards and stain the cabinet tomorrow.

I also got some glass tile and sandless grout for the top, which will be time consuming and take days. I hope to stain wednesday, tile thursday, grout on saturday, pickup my keg from store (sierra Nevada pale Ale 1/4keg for $68 out the door) on friday and have it in tapped and pouring friday night which friday is my birthday so yea. Has to be WORKING, but not DONE ;)


I also purchased a Kill-a-watt device on sale for $5 and will track the power usage of my keezer and have a breakdown per month/year cost. Hopefully this will help some people decide what size is right budget wise.

I will also later test my mini fridge for bottles, and my glass bottle vending machine, and my fermentation chamber glass front merchandiser.

SO I can calculate cost grain to glass.


I have on the front panel right now, 2 perlick 525SS, and 2 micromatic stout/ale faucets. I need a third 525 and have 4 spare chrome faucets, two of which will be used for a jockey box I will be building while i'm waiting for my stand to be built.

SIDE NOTE: found a welder to work on my kegs $60-75/hr and I have (7) 304 SS machined 1/2" couplings to be installed in 3 kegs as follows:

Brew Kettle : 1 - Thermometer/sight gauge
Mash Tun : 1 - Thermometer/sight gauge
Hot Liquor Tank : 1 - top mount recirculation IN, 1 - Bottom Out to ball valve, 1- Thermometer/sight gauge, and (2) ports for a HERMS IN/OUT. This may not be used right away, but I want the upgradeability later on. Since I am paying a welder for the work now, might as well pay the extra $ for the (2) extra ports to be created.


later on I can see myself going electric but for now I will go PID with temp probes and automatic gas wells... still need to buy these parts.
 
Back
Top