• Please visit and share your knowledge at our sister communities:
  • If you have not, please join our official Homebrewing Facebook Group!

    Homebrewing Facebook Group

My Keezer - The Documentary

Homebrew Talk

Help Support Homebrew Talk:

This site may earn a commission from merchant affiliate links, including eBay, Amazon, and others.
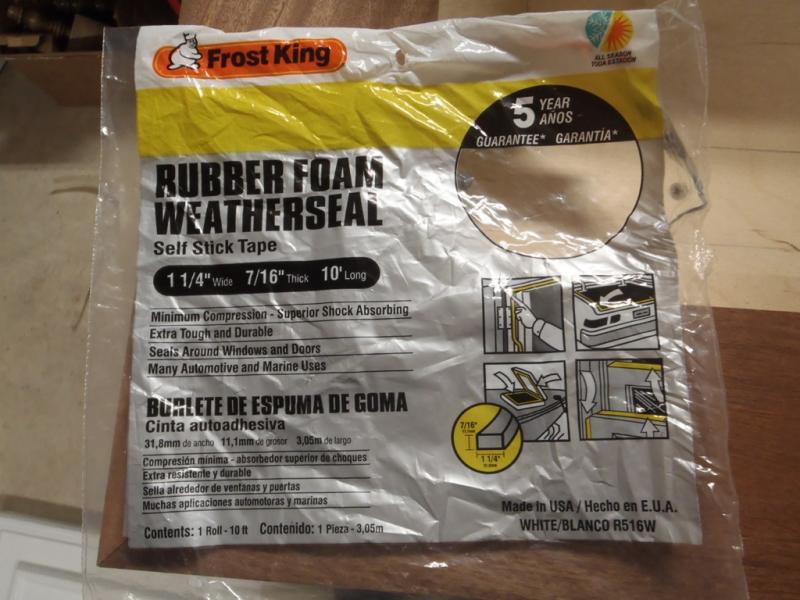
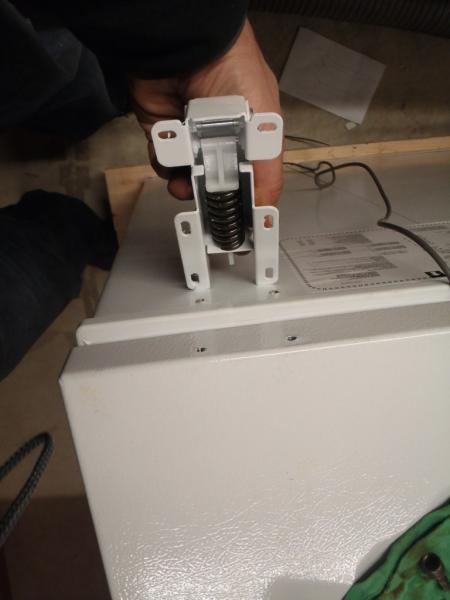
I removed the hinges and the lid from the freezer and screwed on my new collar. I could only find 1.5" wide insulation to seal the collar to the freezer. It seems to work, and didn't compress like I though it would.
keezer-110.jpg


keezer-111.jpg


keezer-112.jpg


keezer-115.jpg


keezer-113.jpg
 
Oh, I noticed it's only 1.25" wide weatherstrip. I was in HD today and saw some 2" wide stuff on clearance, but passed it up.
 
This is the lid and it's holding pretty good temperatures like this, but I am still going to put some 3/4" insulation inside the "wooden" lid, because I can feel that is is cool to the touch.

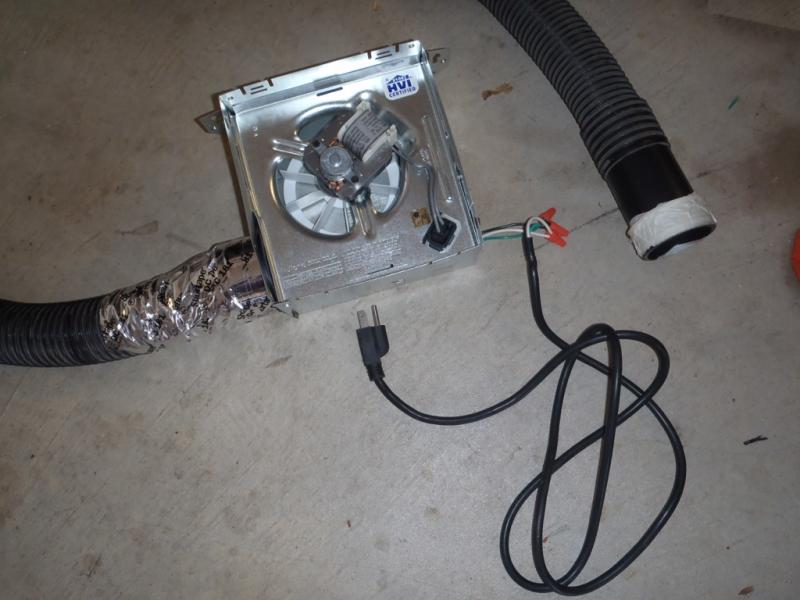
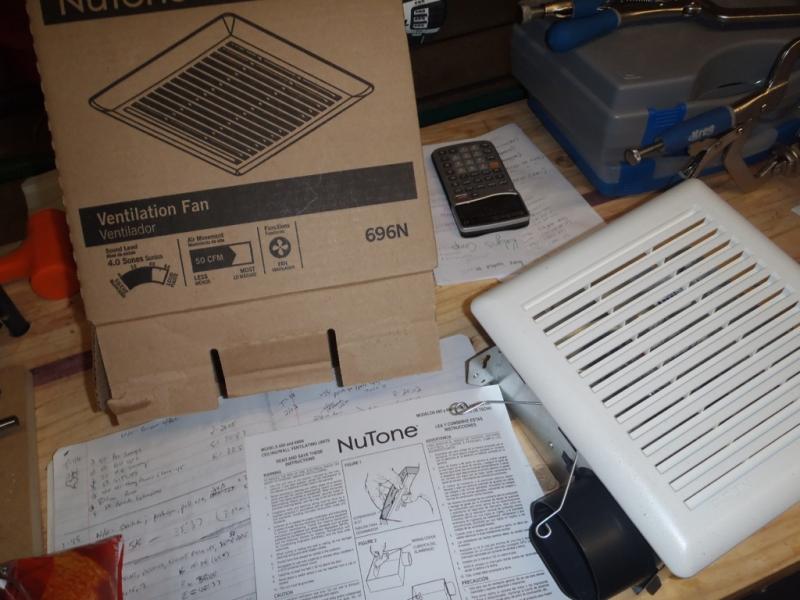
Today I picked up a bathroom exhaust fan I plan on using to keep the air moving and to cool the coffin.

Well, I'm all caught up on my build post...I hope to get more done this weekend. Enjoy and feel free to post questions or PM me... I'll post more pics as I get them.

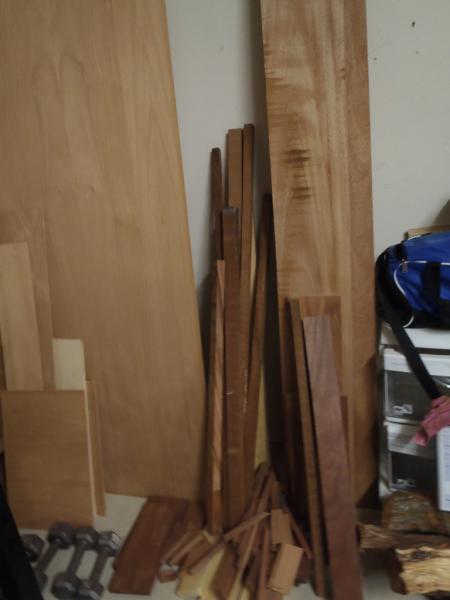
I have some pretty good scraps left over too.

keezer-114.jpg


keezer-116.jpg


keezer-117.jpg
 
Enjoying the build. And the pics of your wood shop. :rockin: I saw on another post where someone took a bilge blower fan and some pvc to circulate the air in the keezer. I thought that was a pretty cool idea and didn't take up much space at all.
 
Awesome job so far. Being a woodworker myself, I love it when I get to see both of these hobbies converge like this.

Can't wait to see the finished product!
 
Jester369 said:
That is looking fantastic! Maybe I'll hire you to do the woodwork on Keezer v2!! :mug:

Lol! Thanks and I would love to do this stuff for a living! Offices are just not for me.
 
Markd27 said:
Awesome job so far. Being a woodworker myself, I love it when I get to see both of these hobbies converge like this.

Can't wait to see the finished product!

Thanks Markd27, I hope to finish the keezer portion in a week or two, but I'm also planning to build a shelving unit "shrunk" around the keezer. Shrunk is a term I learned in Germany to describe a wall unit type furniture piece. I haven't heard it used in many years now! Maybe the flat screens killed it?
 
That is one sweet Keezer! I think those chalkboard taps really make the whole thing pop and worth every penny! Did you find them cheaper or do you just not think they are worth the money? Either way great job!
 
Also being a wood worker, man I would love to play in your garage. The keezer is looking fantastic as well. Keep up the good work.
 
Now these are some first class wood working abilities!!! :rockin: Beautiful job on the keezer so far and excellent choice on the wood species. It's funny because when I was building my rustic keezer, people kept complimenting me on my "craftmanship" and "wood working skills". I kept telling everyone that I was a hack compared to some of the true wood workers on HBT. Installing knotty pine paneling around a 2x4 framed cabinet is a walk in the park compared to this build. I could easily hide my mistakes while trimming it out with cedar logs. Your precision is fantastic and the quality of your build is top notch! All of you future keezer builders take note of this build, because this is how a true professional builds a keezer! You 'da man! :mug:
 
Very nice work! I wish those tapboards came in something else other than walnut! It would look funny on my Cherry Keezer, but it looks great on the mahogony!!
 
That is one sweet Keezer! I think those chalkboard taps really make the whole thing pop and worth every penny! Did you find them cheaper or do you just not think they are worth the money? Either way great job!

I don't think you can find them much cheaper than $40 each, I like them, but for that price I should have made my own and used the $ on beer ingredients!

I may change my mind once they are actually pulling beer. Thanks for looking!
 
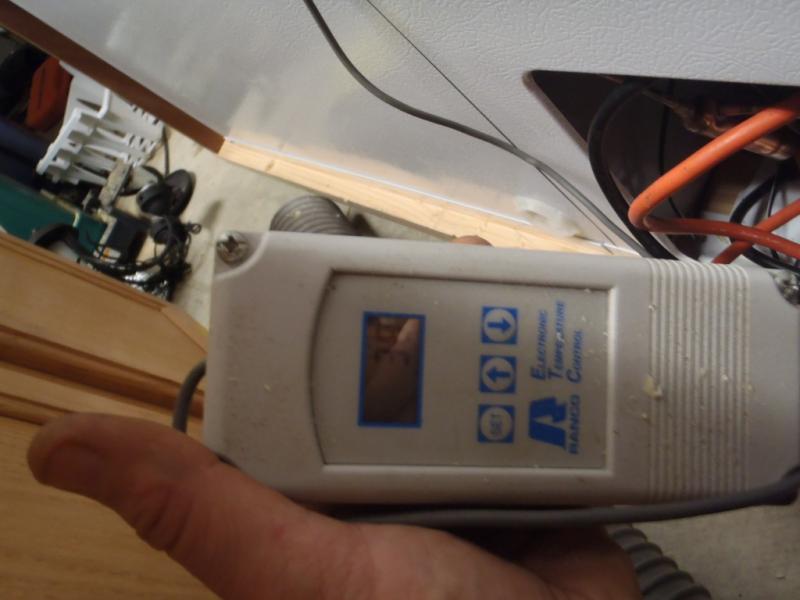
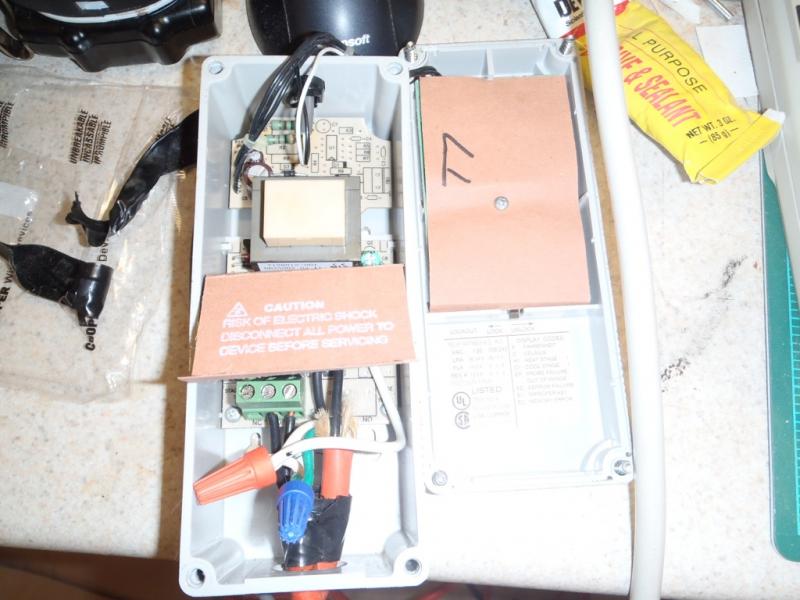
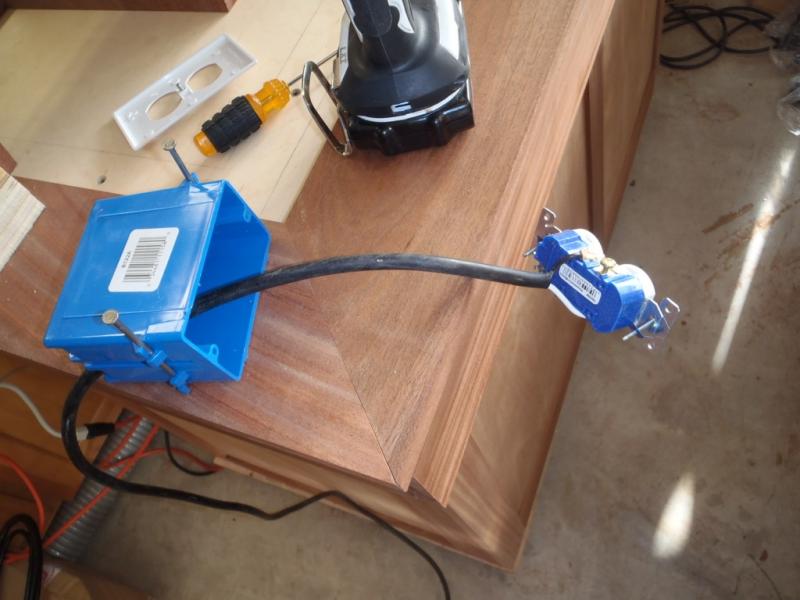
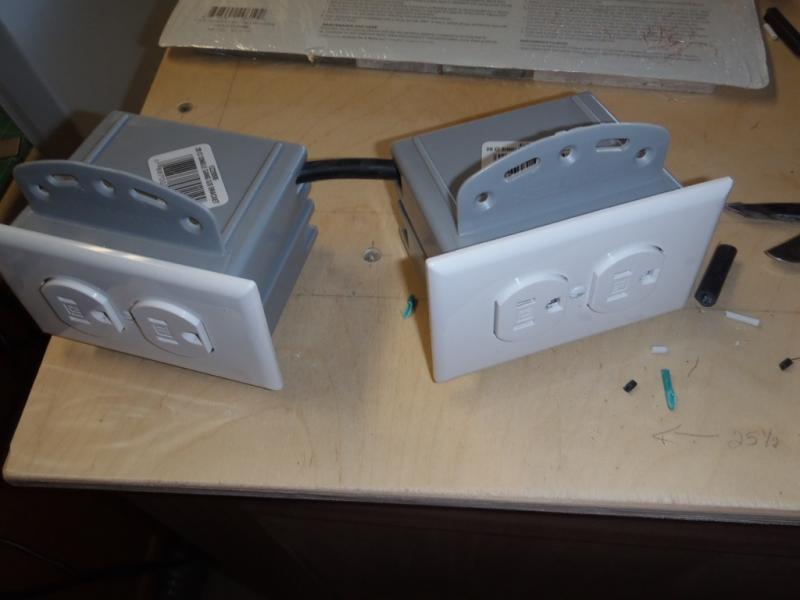
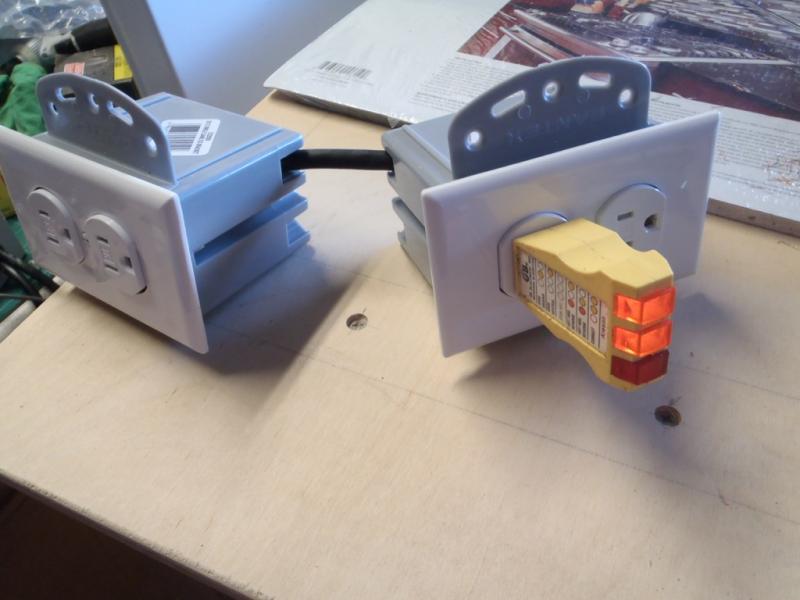
I got a little shop time in today...so I started wiring the fan and my old temp controller. The ranco (3rd picture)had orange construction style extension cord leads, so I changed the male end to a black 14ga cord and wired the female side into 2 single gang boxes with 110v outlets. I will need 2 things to kick on with the compressor - the exhaust fan and the case fans in the base. The LED lights will have to plug into a full-time live plug.

keezer-118.jpg


keezer-119.jpg


keezer-122.jpg


keezer-123.jpg


keezer-124.jpg
 
I tested my wiring on the outlets and cut up my shop vac hose to connect to the bathroom exhaust fan. I plan on sitting the fan in the bottom of the freezer between the keg, and may make a stronger box for it, so I don't crush it with a full corny keg. I will then run the hose through the lid and into the coffin.

keezer-129.jpg


keezer-130.jpg


keezer-128.jpg
 
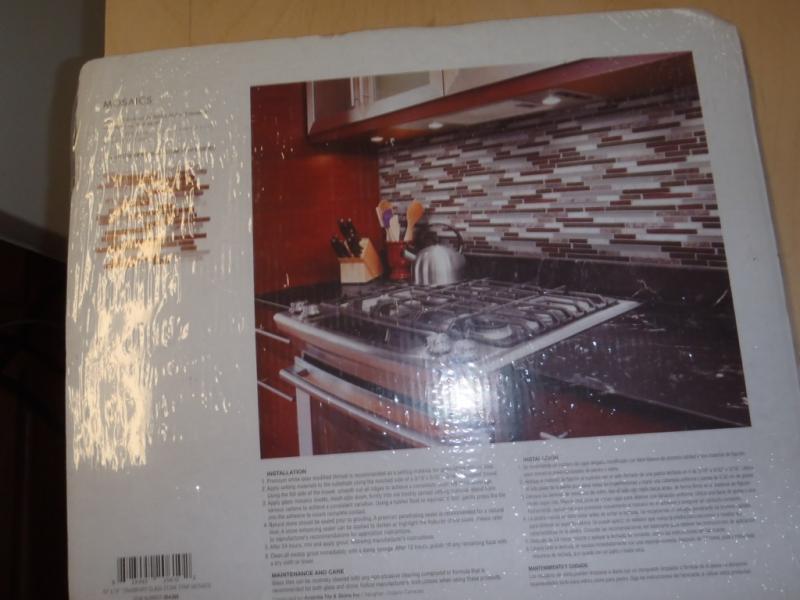
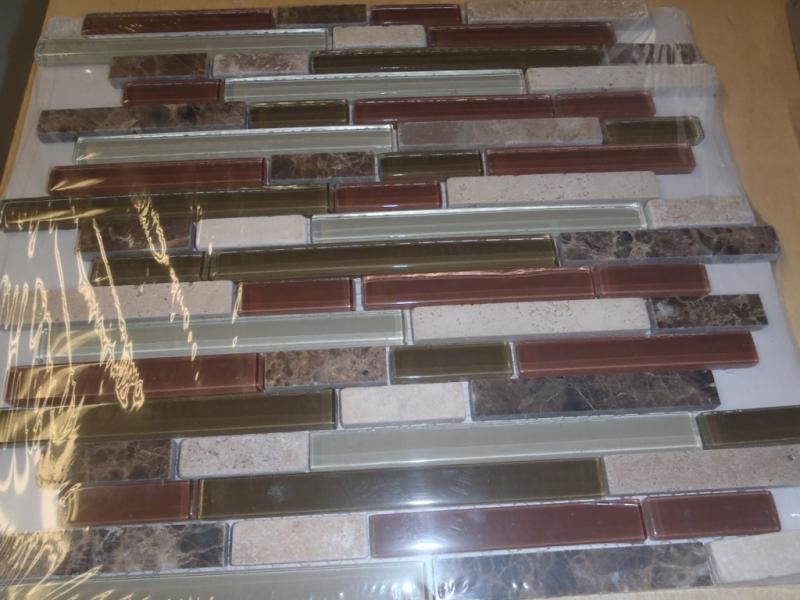
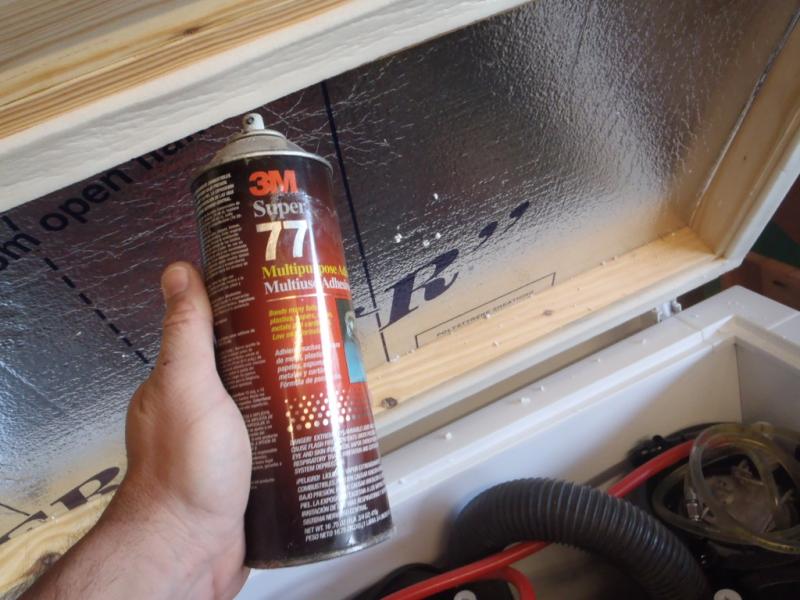
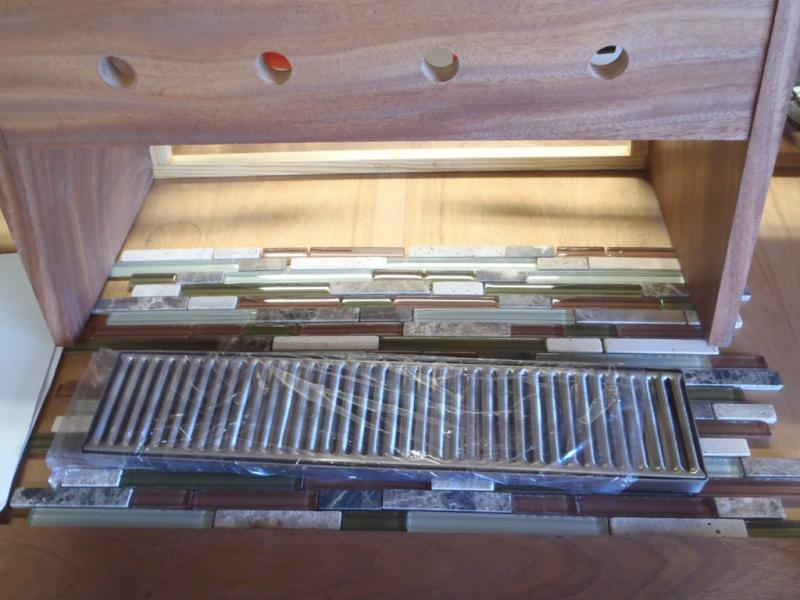
I spent about an hour looking at all of the tile at lowes today and finally came out with 6 sheets of this type - SWMBO likes the style so I obliged. When I got home I cut the first piece of insulation, for the lid, to size and glued it in place using this 3M spray.

keezer-127.jpg


keezer-126.jpg


keezer-131.jpg


keezer-133.jpg
 
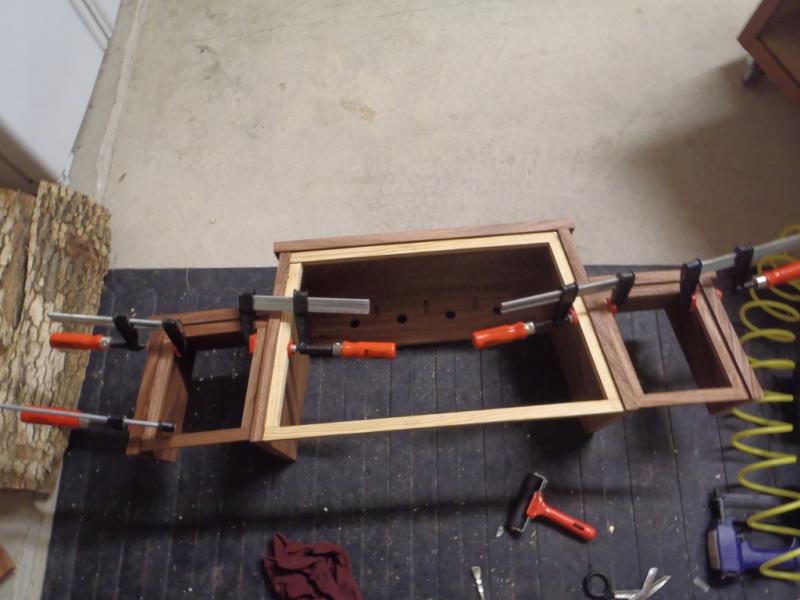
With very few ways to secure the wood trim to the plywood top...I opted for lots of glue.

keezer-134.jpg


keezer-136.jpg


keezer-137.jpg


keezer-138.jpg


keezer-139.jpg
 
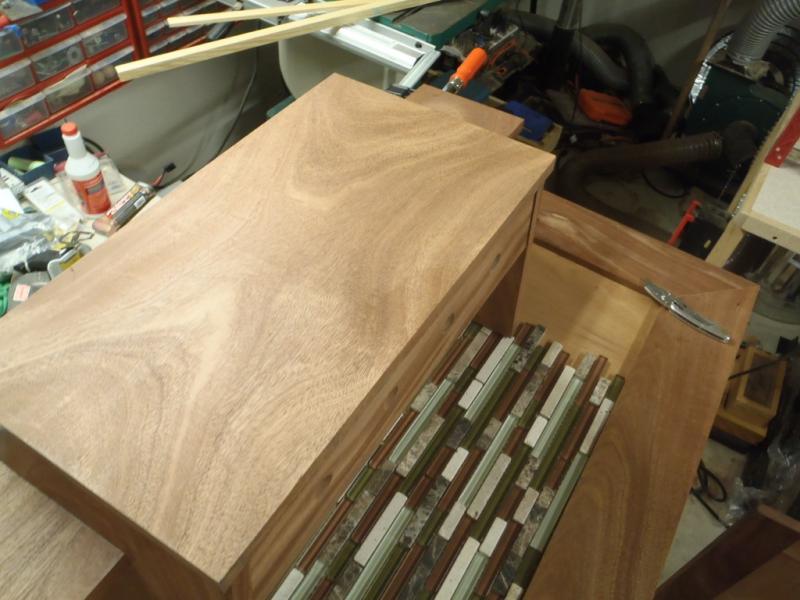
I test fit the tile and it was so thin I didn't like the 3/4" wood trim being much higher than the tile surface...so I glued down some 1/4" plywood to rais the tile a little.

keezer-140.jpg


keezer-141.jpg


keezer-142.jpg
 
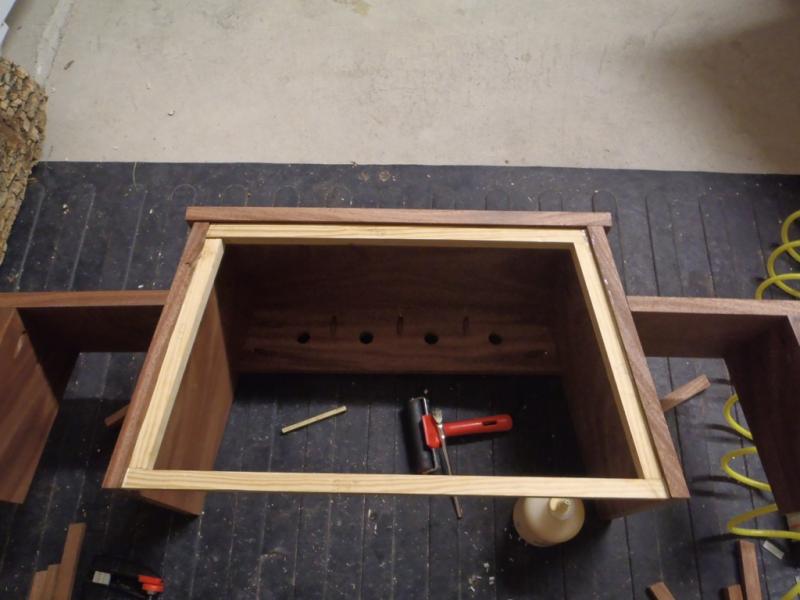
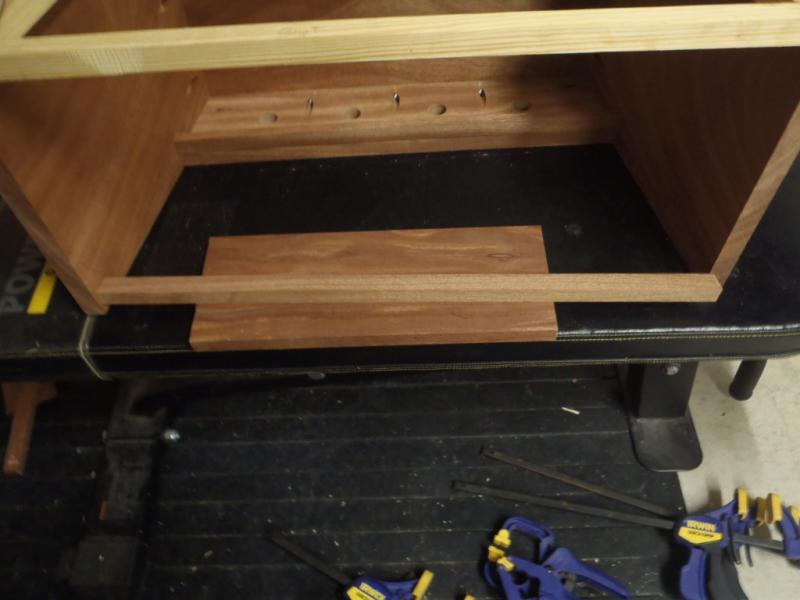
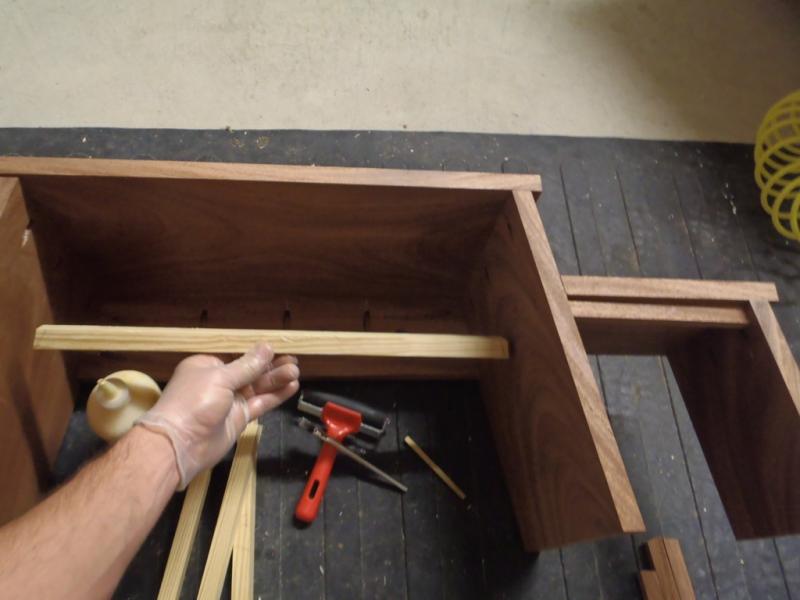
Before I quit for the evening I cut the braces to size that will hold the 1/4" plywood backing on the coffin.

keezer-143.jpg


keezer-144.jpg


keezer-145.jpg
 
Now these are some first class wood working abilities!!! :rockin: Beautiful job on the keezer so far and excellent choice on the wood species. It's funny because when I was building my rustic keezer, people kept complimenting me on my "craftmanship" and "wood working skills". I kept telling everyone that I was a hack compared to some of the true wood workers on HBT. Installing knotty pine paneling around a 2x4 framed cabinet is a walk in the park compared to this build. I could easily hide my mistakes while trimming it out with cedar logs. Your precision is fantastic and the quality of your build is top notch! All of you future keezer builders take note of this build, because this is how a true professional builds a keezer! You 'da man! :mug:

Thanks for the compliments Hoppopotomus! my head is swelling as I type...I have seen your keezer and it's SHARP! I really like that rustic wood look. I sometimes drive past a store that sells that type of furniture and I always want to stop and look around.

All woodworkers make mistakes, and the very best craftsmen just know how to better hide them!
 
Enjoying the build. And the pics of your wood shop. :rockin: I saw on another post where someone took a bilge blower fan and some pvc to circulate the air in the keezer. I thought that was a pretty cool idea and didn't take up much space at all.
Good idea...I should have looked around first, but I bought the bathroom fan on impulse now I'm running with it. I can see that a bilge fan or similar would save a lot of space.
 
Today I cut the back supports for the coffin. I recessed these 3/4" strips 1/4" into the back so the 1/4" plywood backs will sit flush. I had one pin nail curve up and blow out a chunk of wood. I'll have to glue it in place and sand it down to hide it.

keezer-140.jpg


keezer-141.jpg


keezer-142.jpg


keezer-143.jpg


keezer-145.jpg
 
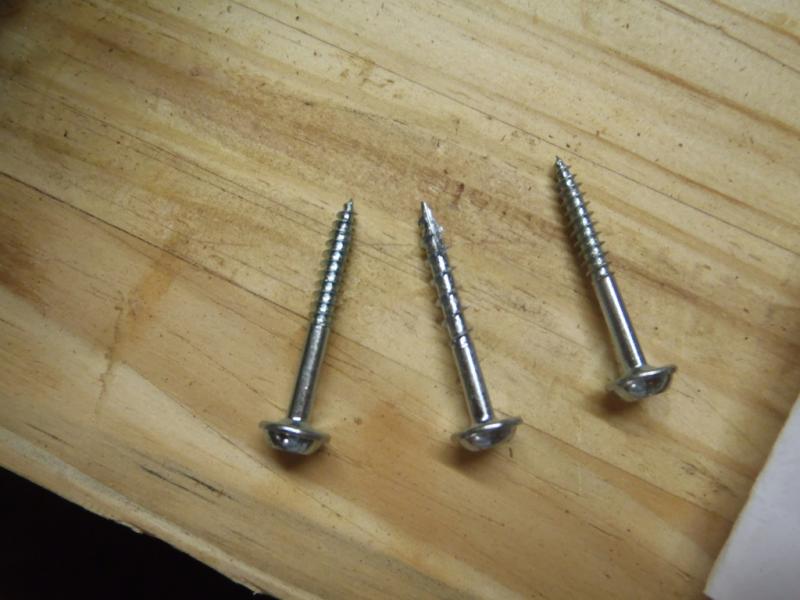
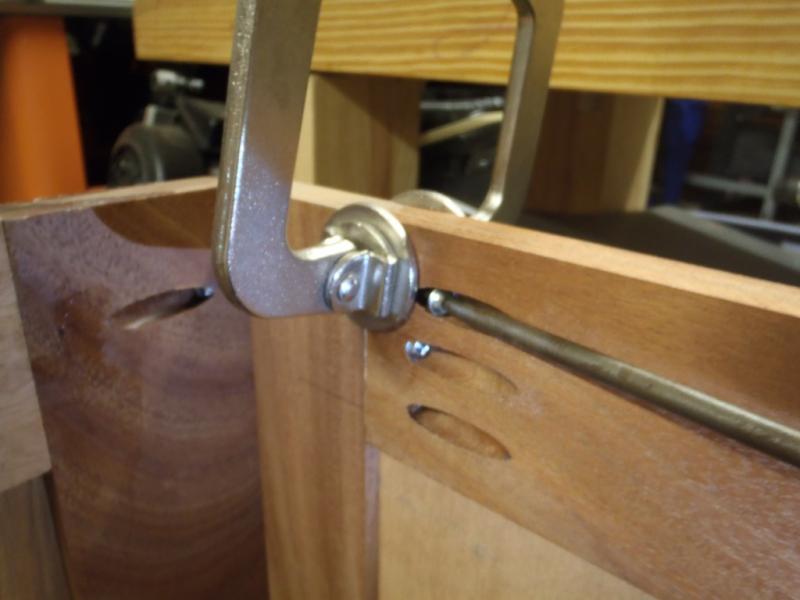
I had more bad luck when I noticed the corner had separated on the skirt. I believe the top board was warped and just pulled apart overnight. I reinforced with a third pocket screw and some glue. I used some coarse threaded screws instead of the fine threads recommended for hard wood. It should hold, but I believe the warping was caused by me not letting the wood acclimate to my garage before dimensioning. Wood needs to equalize with the humidity for a week or two before being used.

keezer-146.jpg


keezer-147.jpg


keezer-148.jpg


keezer-149.jpg


keezer-150.jpg
 
I looked at the glass/stone tiles and the new drip tray that just came in the mail today. http://www.barproducts.com/ I believe this was $19 + shipping. I also purchased a set of beer glasses while shopping there.

The tray is 19.5 inches wide and a perfect fit under 4 taps. The grate needed a little 'tweaking" to lay flat inside the pan, but I managed to get it to fit. At $19, it was the cheapest stainless drip tray I could find.

keezer-151.jpg


keezer-152.jpg


keezer-154.jpg


keezer-155.jpg


keezer-156.jpg
 
The fix held on the skirt; I cut and fit the plywood backs on the small sides and installed more supports in the middle of the coffin. Then it was time to enjoy a nice IPA. I believe this is the best beer I have ever made..very tasty!

keezer-157.jpg


keezer-158.jpg


keezer-159.jpg


keezer-160.jpg


keezer-161.jpg
 
Back
Top