Looks awesome and love the tile work! My only suggestion would be for you to try to decrease the volumetric space in the coffin with more insulation. In my coffin, I used rigid foam insulation to created a column of air flow from the intake fan, up across the shanks, and back down to the exhaust fan. I experimented with insulating the just the walls of the coffin and found that I was experiencing a 10 to 12 degree temperature differential between the chest freezer and the coffin. I have a dual stage, dual probe controller to control my fans independent of the freezer compressor. My temp. probe is positioned at the shanks and I found that with the larger volume of space needing to be cooled along with the fact that cold air sinks, my shanks were not staying cold enough. Once I created the air flow channel though the coffin, thereby significantly reducting the volume to be cooled, I can comfortably maintain a <5 degree differential without the inductor fans running non-stop.
Here is how I did it originally with styrofoam insulation, but I got sick of styrofoam particles floating around the chest freezer so I re-insulated with rigid foam insulation panels.
Here's a link to how I re-did it with rigid foam.....just a suggestion.


![Craft A Brew - Safale BE-256 Yeast - Fermentis - Belgian Ale Dry Yeast - For Belgian & Strong Ales - Ingredients for Home Brewing - Beer Making Supplies - [3 Pack]](https://m.media-amazon.com/images/I/51bcKEwQmWL._SL500_.jpg)


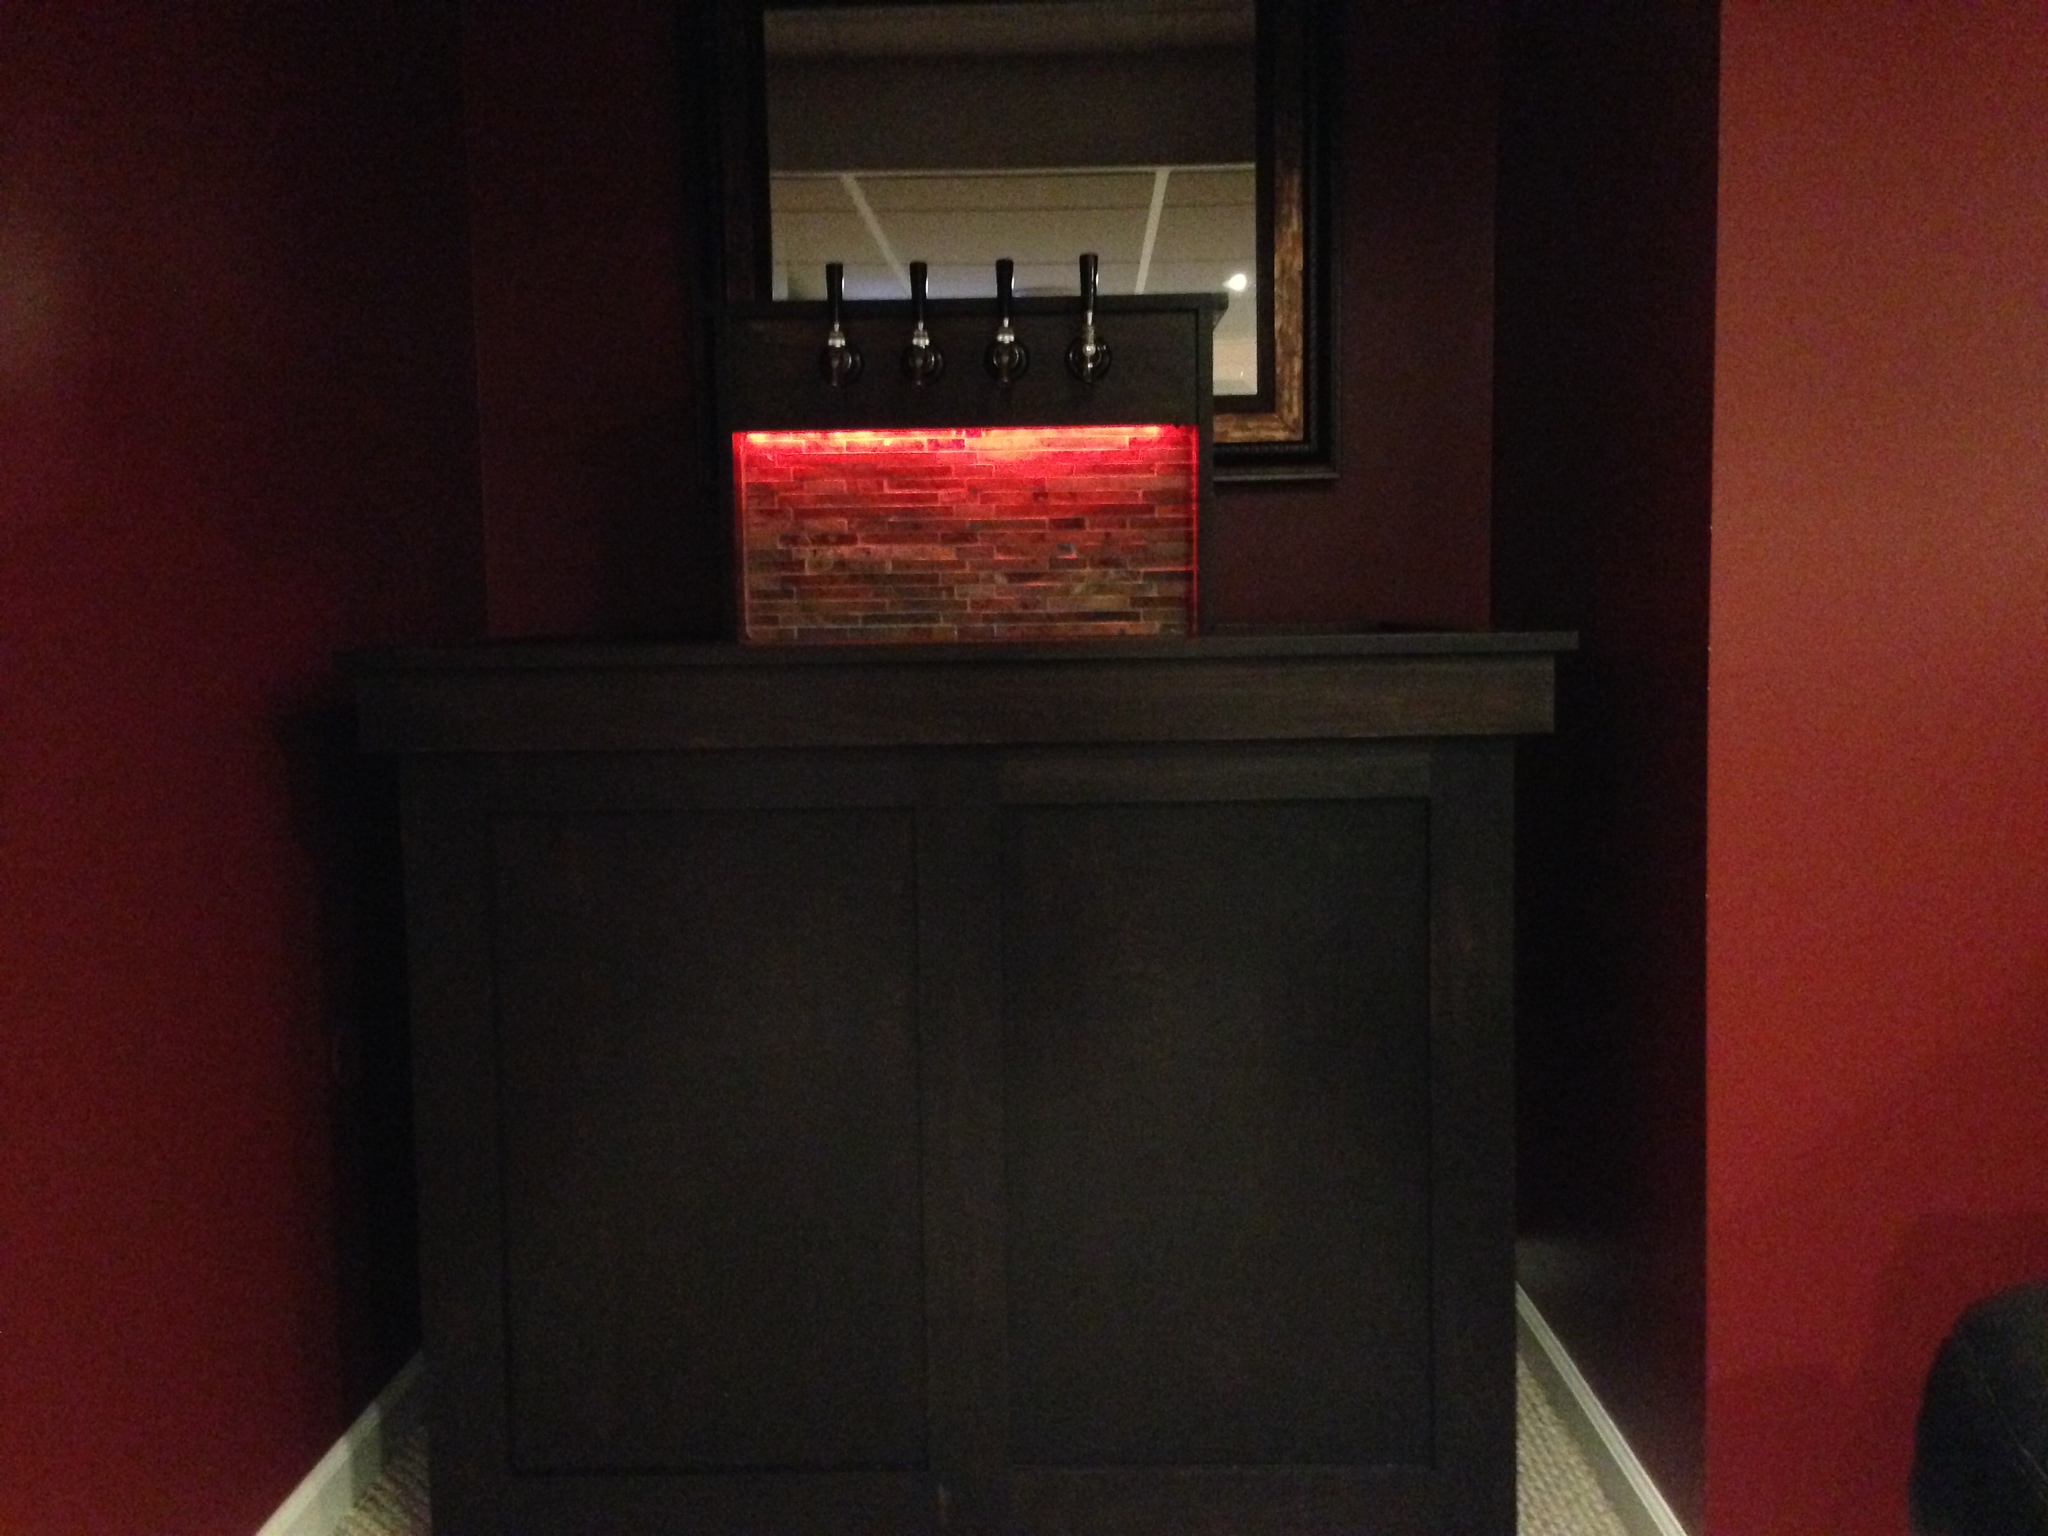
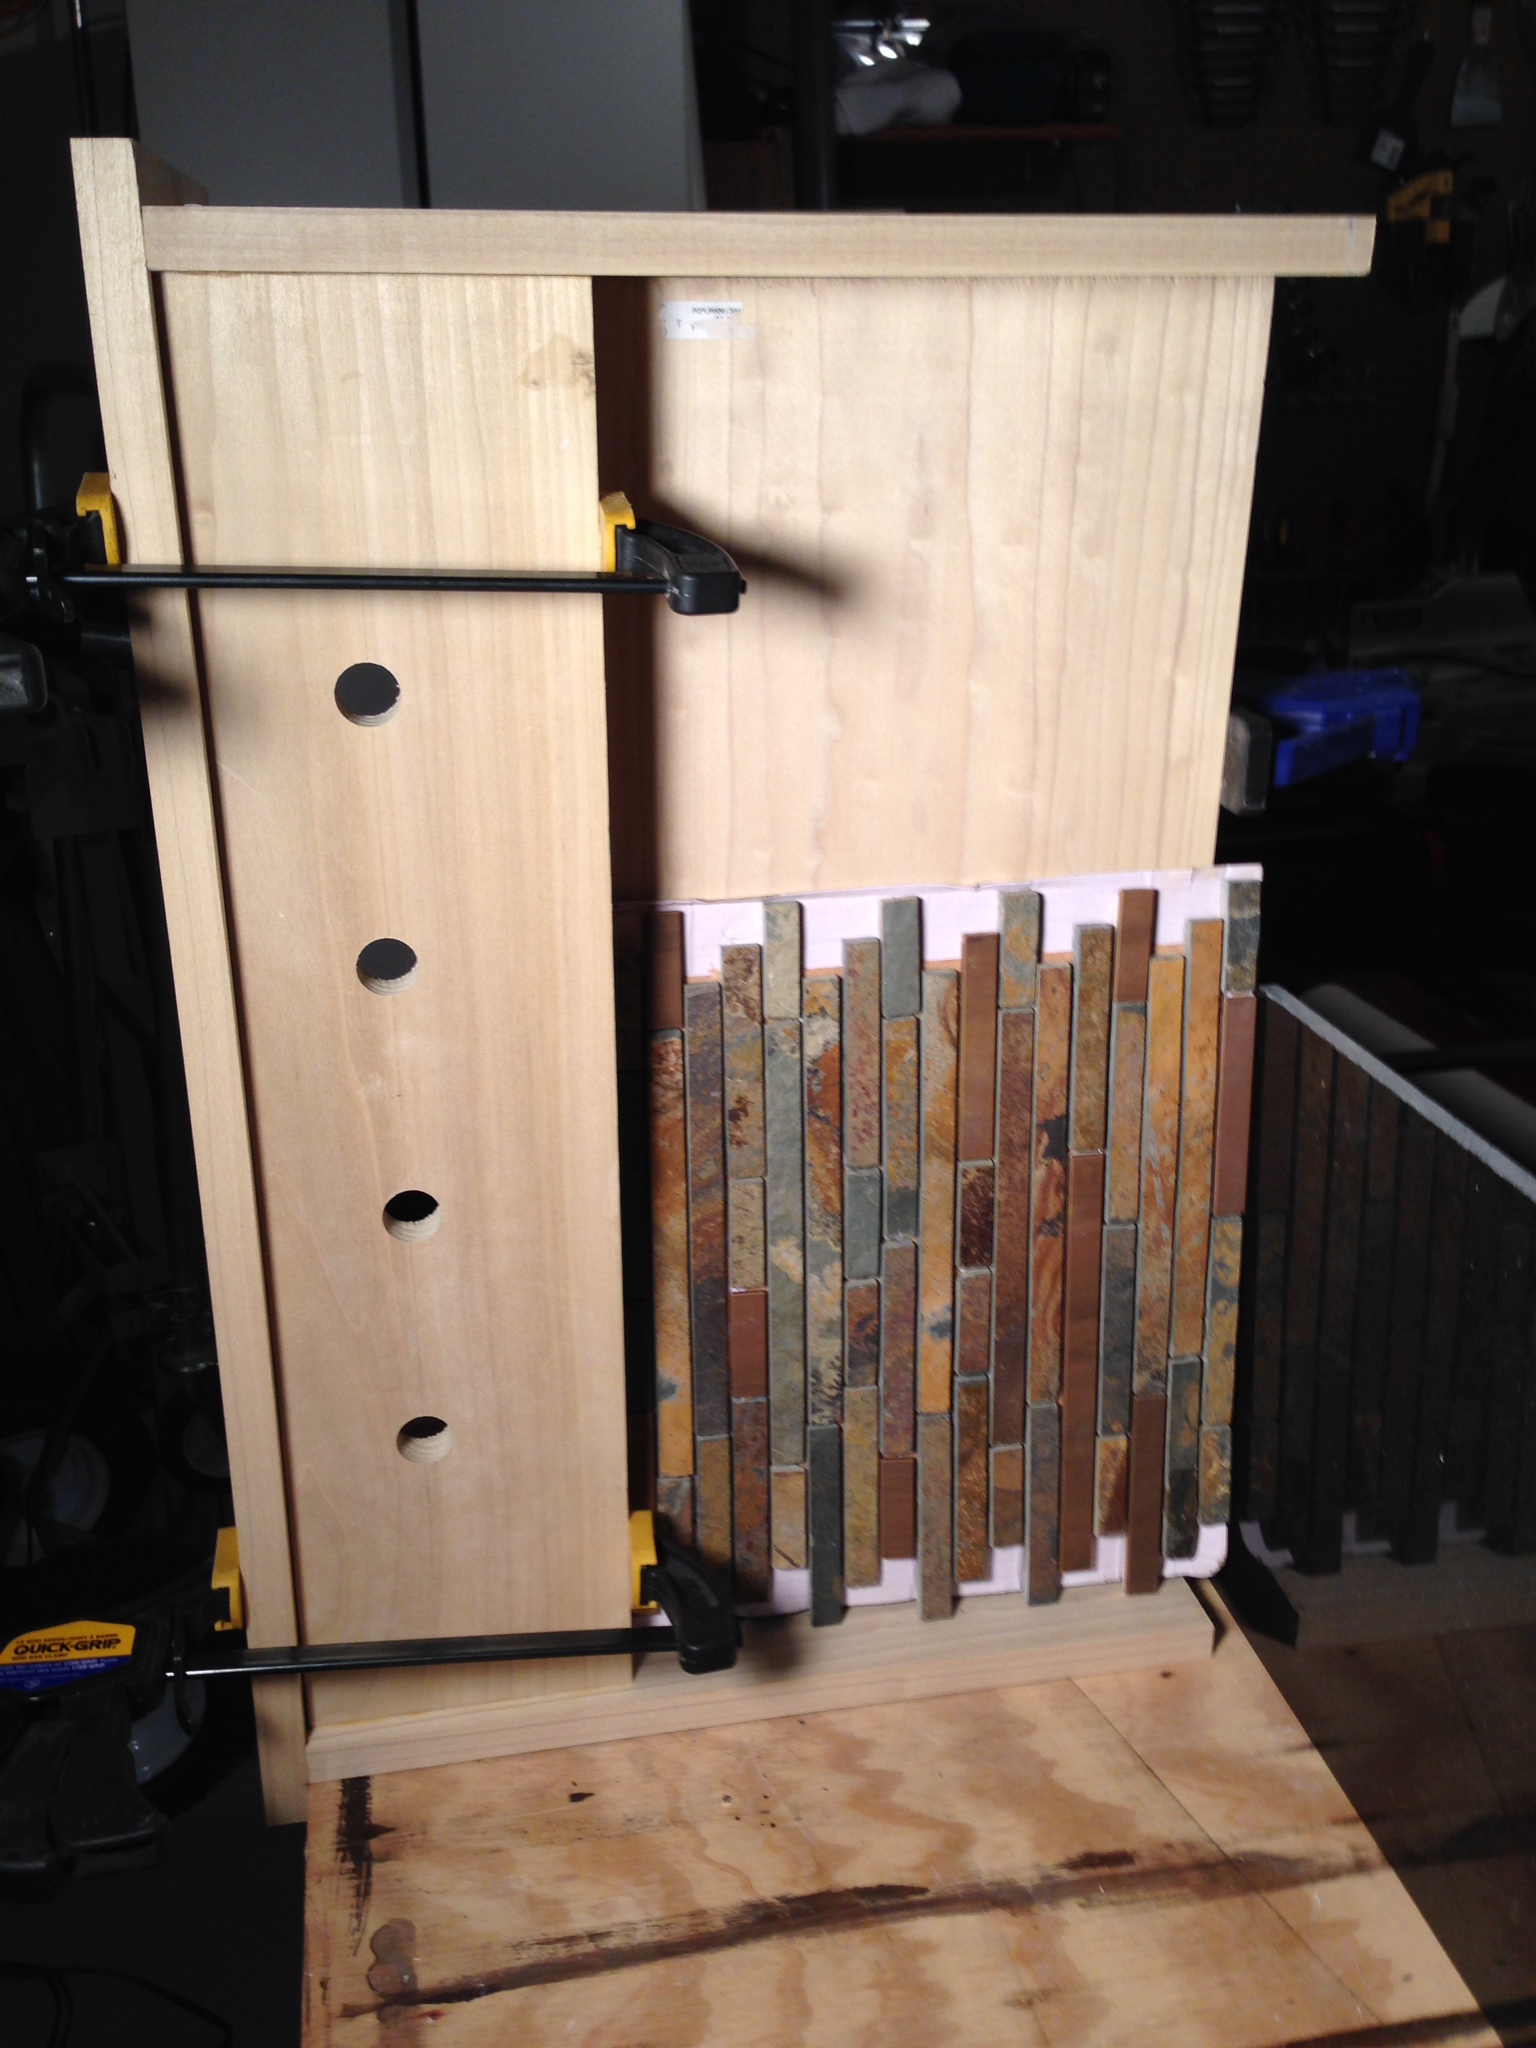
") are 7/8". The tiles are black granite.
are 7/8". The tiles are black granite.