My Frigidaire Keezer - Birdseye

Homebrew Talk - Beer, Wine, Mead, & Cider Brewing Discussion Forum

Help Support Homebrew Talk - Beer, Wine, Mead, & Cider Brewing Discussion Forum:

This site may earn a commission from merchant affiliate links, including eBay, Amazon, and others.

MW66

Supporting Member
HBT Supporter
Joined
Mar 23, 2010
Messages
250
Reaction score
17
Location
Buffalo, NY
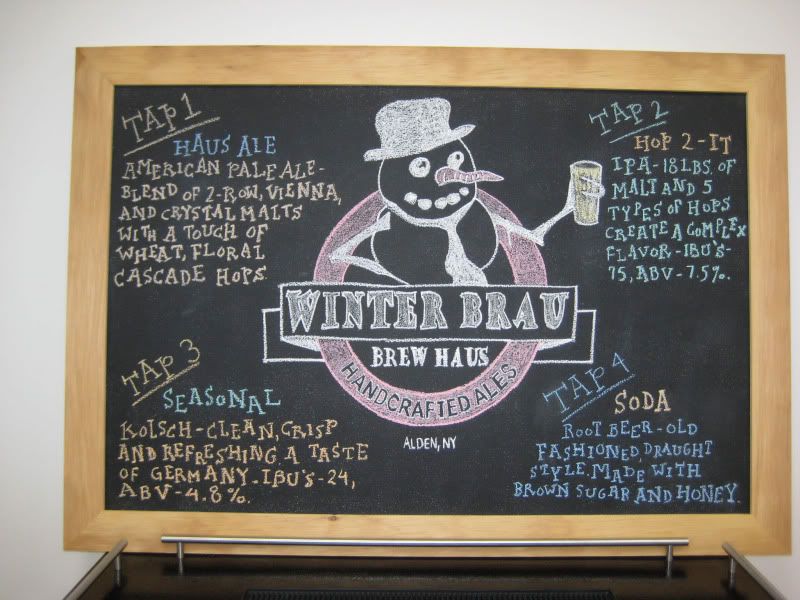
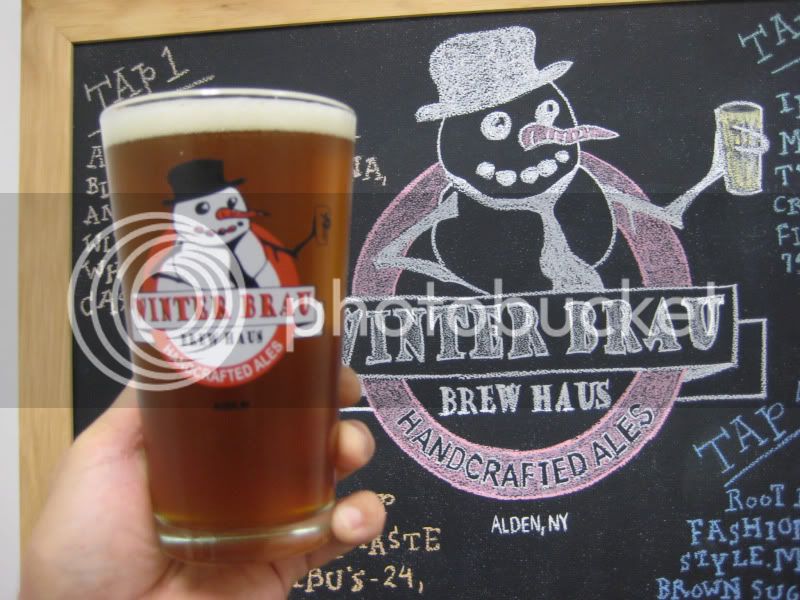
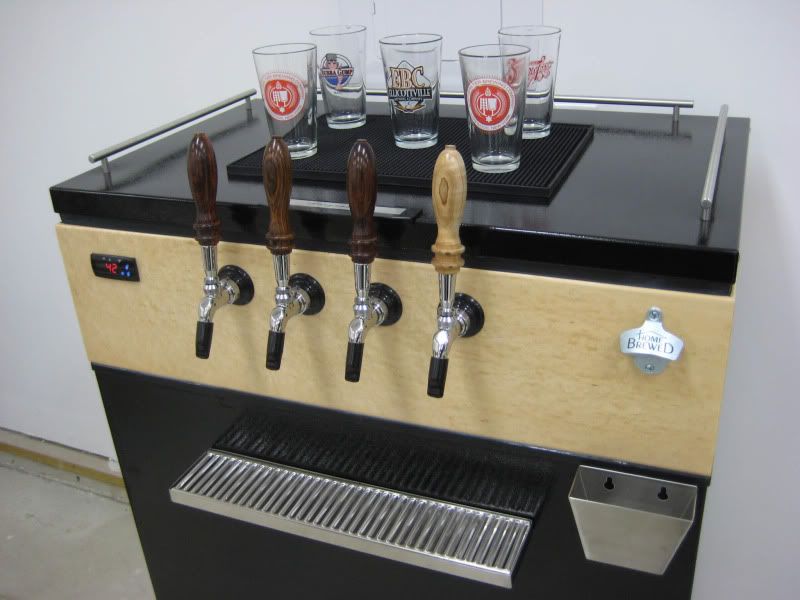
Update: I finished my new chalkboard and included the custom pint glasses that my wife gave me for Father's Day.


K1.jpg


C1.jpg


B1.jpg


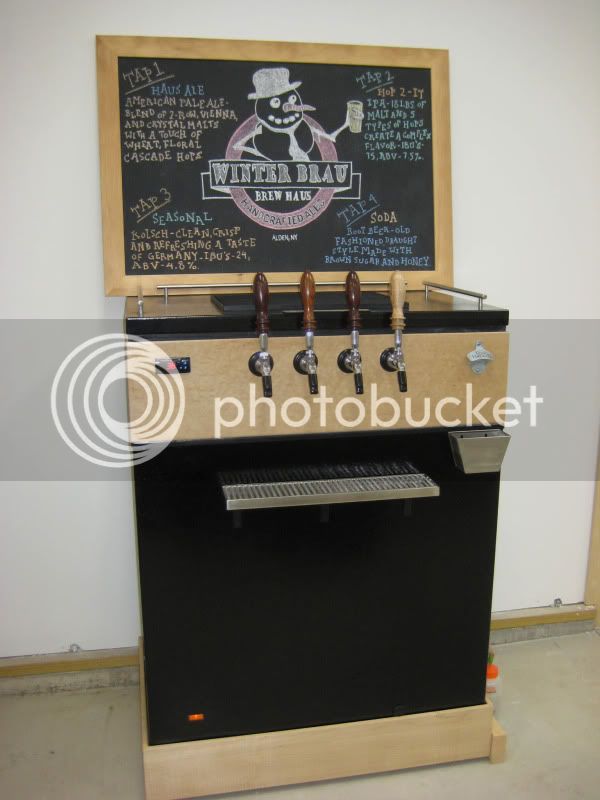
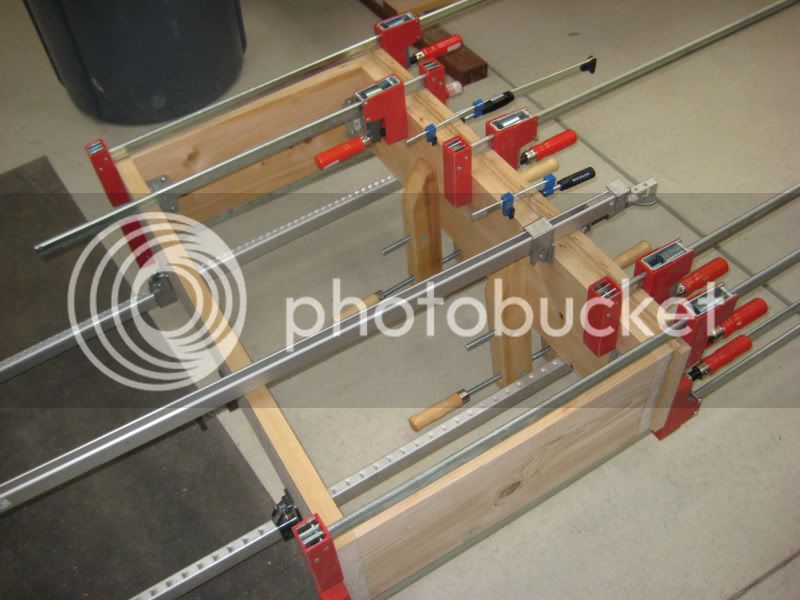
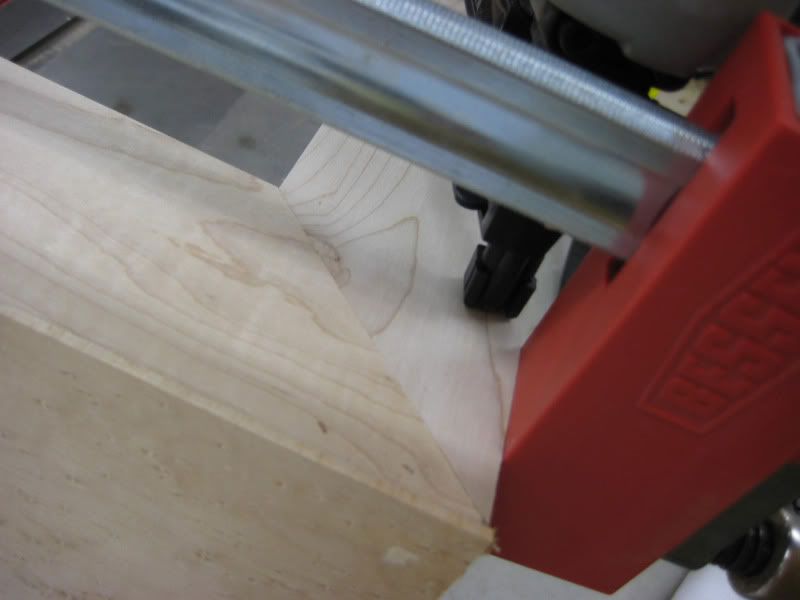
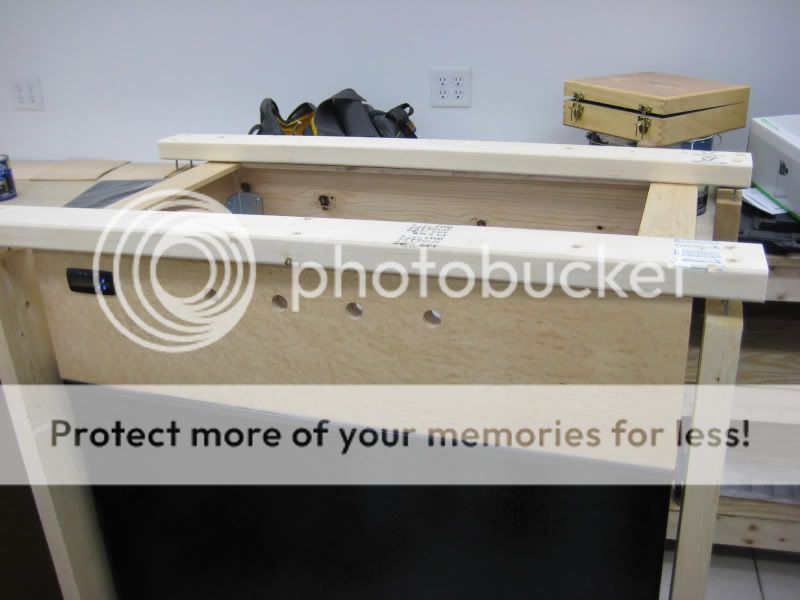
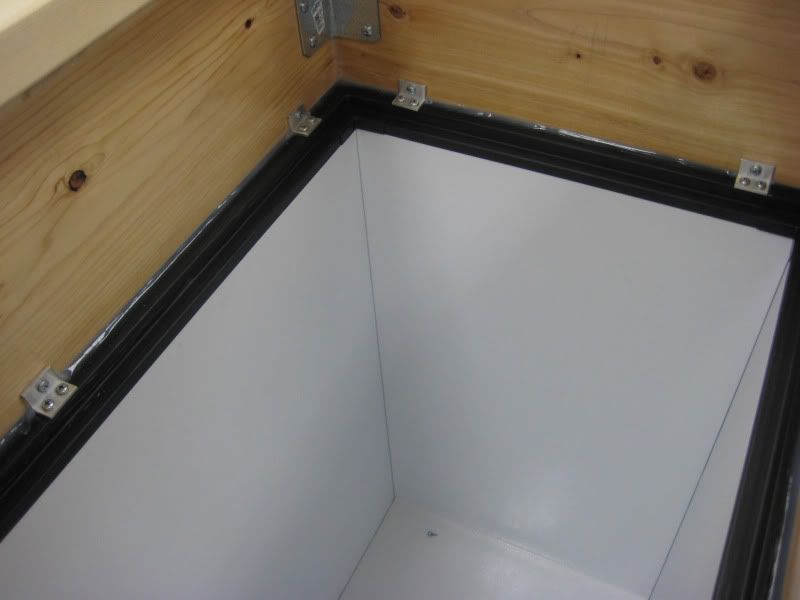
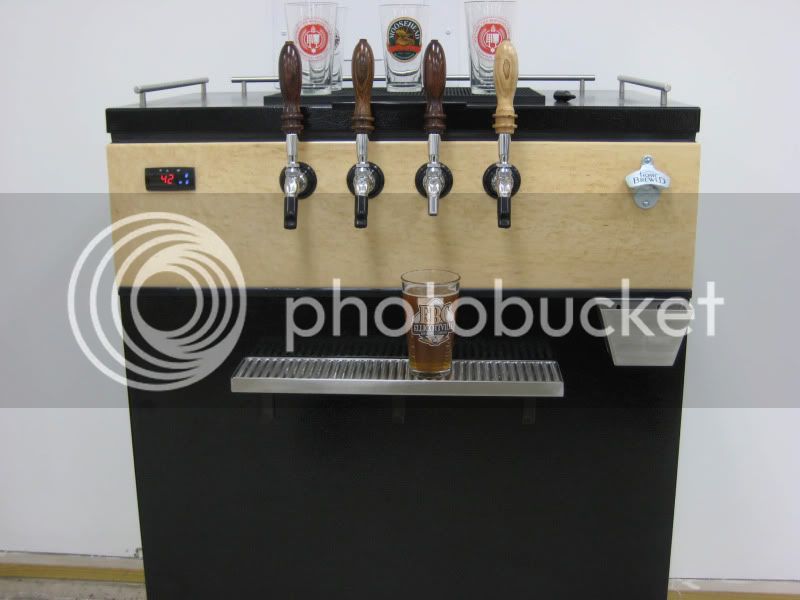
Thanks to Quaffer for his build and my inspiration. Thanks to others that have answered various questions and supplied tips. This is built from the black Frigidaire 7.2 cu ft freezer that I bought at Lowe's over the summer. It sat in my basement until about a month ago. I did not realize how much time it would take to build it the way that I envisioned. However, it's been a lot of work and a lot of fun. As a woodworker (hobbyiest), I wanted the wood portions of the build to stand out, so I selected a thin skin (1/8") birdseye maple to wrap the 2x10 (cut down to 8.5") collar. I also turned my own tap handles. Originally, I turned 4 from cocobolo, but then realized that I wanted 1 to stand apart for the single soda line, so I turned another one from figured maple.


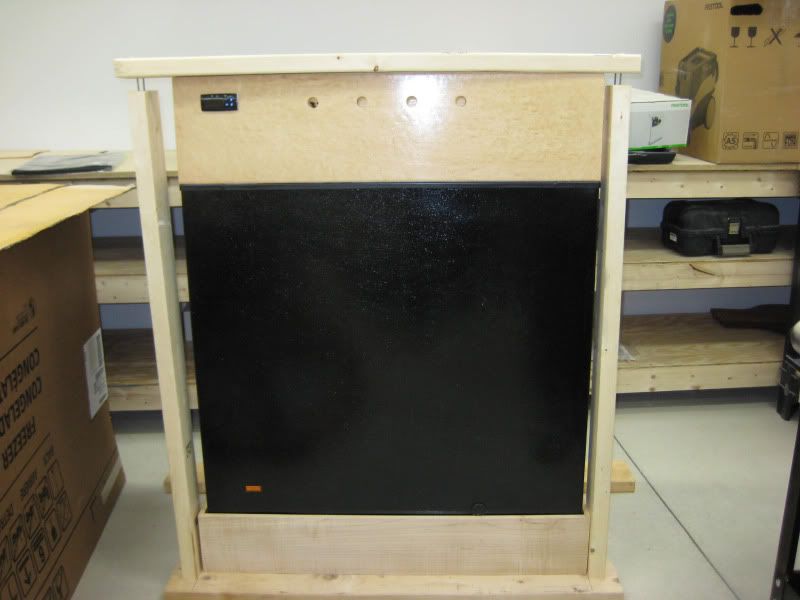
Not employing a tap tower, I wanted to get the height of the keezer to a comfort level for pouring, so I built a base and installed 3" casters. I didn't want to see the casters, so I inset them.

1Keezerbase.jpg


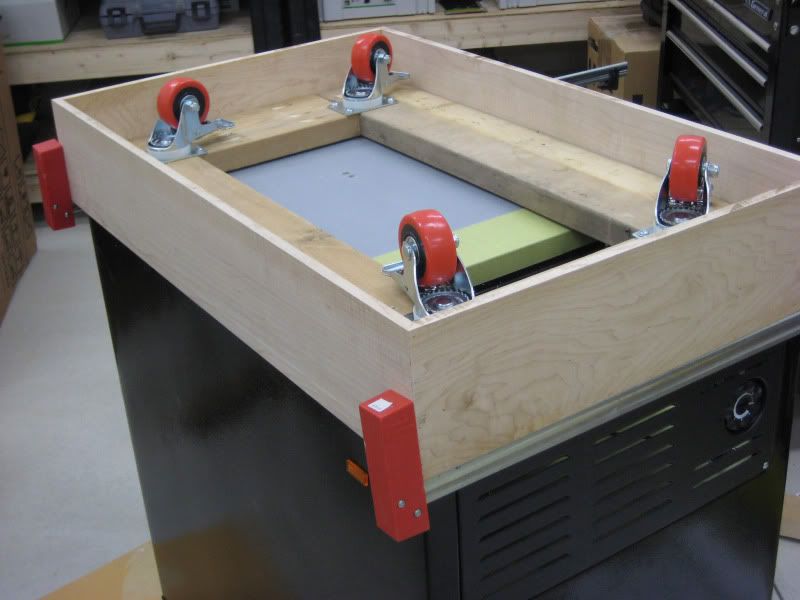
I wanted to further strengthen the base, so I attached some braces. You can see how I inset the casters so that they could swivel and just clear the maple base trim.

Here is how it stands.

3Keezerbase.jpg


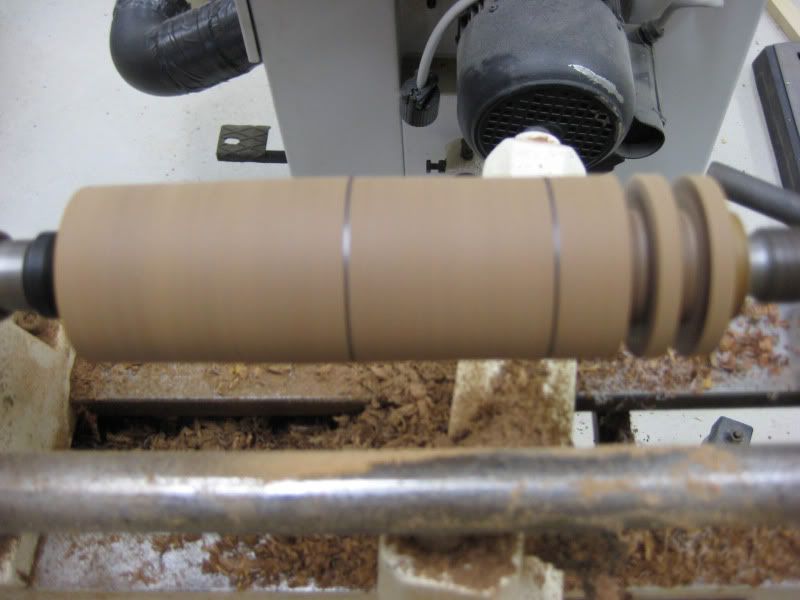
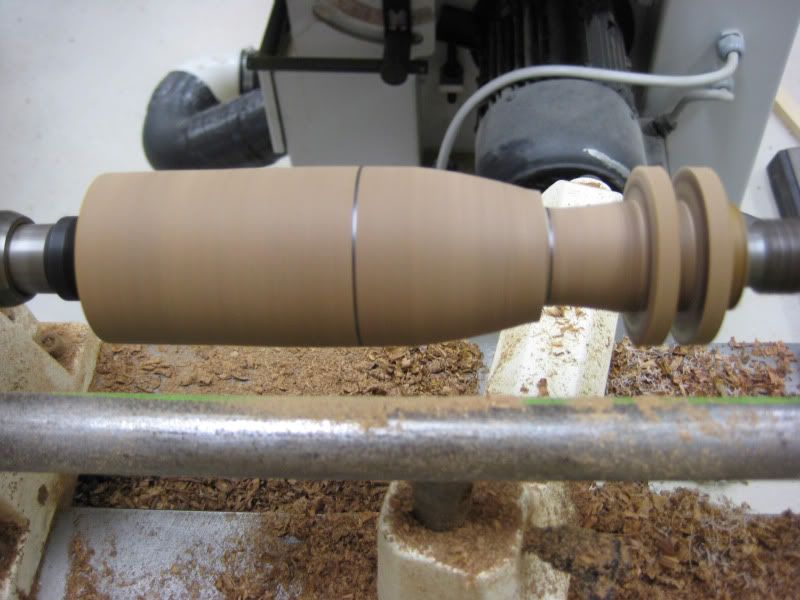
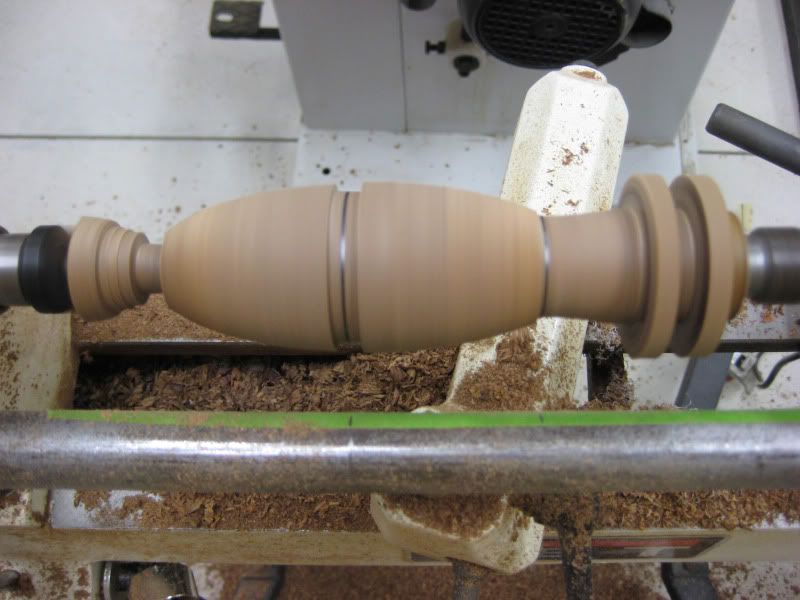
Next up, turning my tap handles on my Jet mini lathe.

4Handle.jpg


5-Handle.jpg


6-Handle.jpg


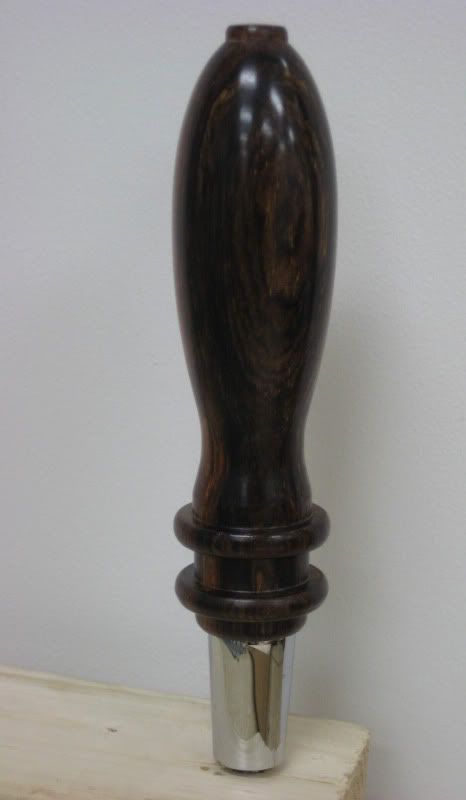
Finished sanding with 400 grit, Used some EEE Ultrashine and Shellawax (thanks Joe). Next, I drilled the handle to insert the chrome ferrule and stud.

7-Handle.jpg


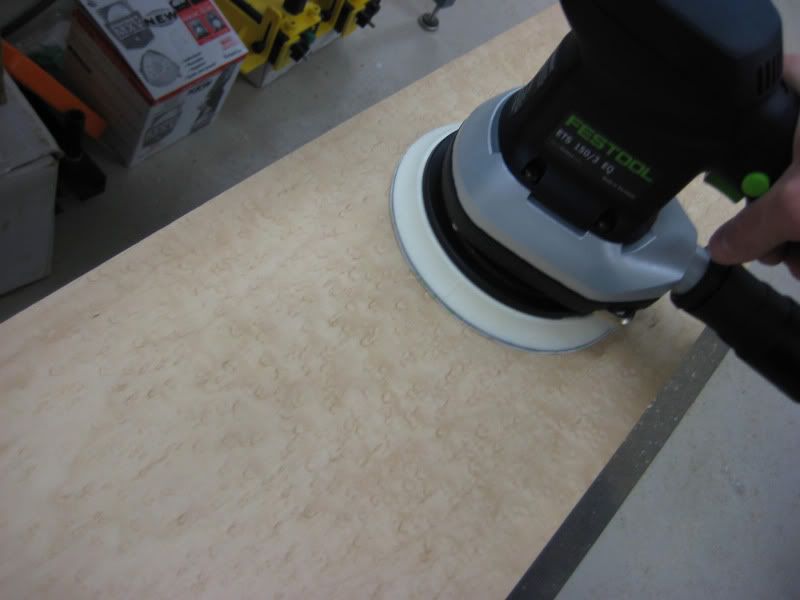
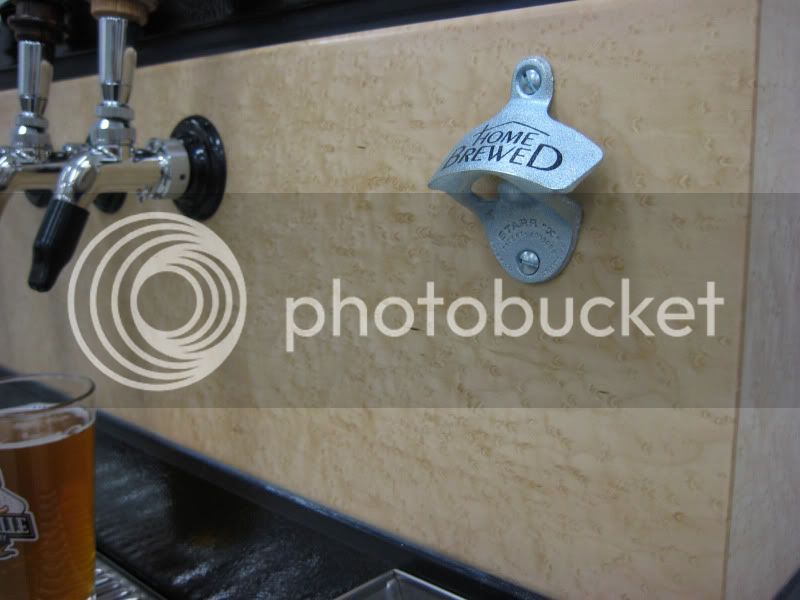
Here's the birdseye maple I bought off Ebay. Beautiful figure. I bought enough to wrap all 4 sides, but I only did the front and sides since the back will be against the wall.

9-Birdseye-Maple.jpg
 
Clamp up with glue.

10-Birdseye-Maple.jpg


I wanted to hide the pink foam insulation that I plan to adhere to the inside collar and I still had enough height on the 1/8" birdseye maple veneer, so I added a maple top frame to the exact width of the interior foam board. I then took my trim router and flushed up the edge of the veneer to the maple frame. It will give it more of a finished look in my opinion.

11-Maple-Frame.jpg


Sanding the surface to prepare for several coats of Minwax Polycrylic Gloss. I choose a water soluble finish to preserve the true color of the maple. I chose gloss to keep the finish clear and then I polished the coats through 600 grit by hand. I needed to put down the power tools once the coats have been applied or I'd run the risk of melting through the polycrylic.

12-Sanding-Birdseye.jpg


After making a jig to drill out the tap shank holes (2.25" down and 4" on center) and the opening for the Love TS-13010 temperature controller, I made another clamp jig so I could put downward pressure on the collar after I applied the hi-tech clear caulk to the surface. I just screwed in the screws to apply downward pressure until the caulk dries.

13-Clamping-collar.jpg


14-Clamping-collar.jpg


While the caulk is drying, I attached my aluminum brackets (hand cut and drilled from .75" aluminum angle iron). This baby is not going to budge! I plan to run another thin clear bead on the outside edge once I've removed the clamps.

15-Inside-collar.jpg


Next up wiring, installing the shanks, regulators, and insulation. Hope you enjoy the build so far.
 
Updated 4/17/11.

As you can see, I used a high pressure hose line with a separate high pressure regulator separate from my CO2 tank (15 lb.) to save space.

16-Regulators.jpg


Those secondary regulators made by Micromatic allow me to dial in independent pressure to each keg. I used thin sheet of insulation behind the regulators to further save space.

16-Regulators.jpg


I used a White Labs yeast vial filled with water for my temperature probe. I drilled a hole in the cap, inserted the probe, and sealed the hole with silicone,

18-Temp-probe.jpg


This picture shows how I mounted my temperature probe in the corner in a wooden block. A magnet mounted into the bottom of the wooden block secures it in place. I have a fan mounted also held by a magnet and I can shut it off with the switch (picture above) when I open the keezer. The fan runs when the compressor kicks on. The Eva Dry 500 dessicant unit will help with condensation.

19-Probe-fan-dessicant.jpg


The stainless steel drip drip is held by three L brackets which I painted with a crackle finish gloss paint. It looks a little grayish in the picture, but it matches the freezer finish very well.

20-Drip-tray.jpg
 
Updated 4/17/11.


Front shot. Soda tap on the right.

23-Keezer-front.jpg


Top shot. I added SS trim bars around the top edge and a thick black rubber drying matt for my glasses.

22-Keezer-top.jpg


Here's a profile shot that shows the birdseye maple figure pretty well.

24-Keezer-close-up.jpg


I have 1 keg conditioning a House Ale. I have 1 keg of root beer under pressure in the keezer. Next up, is an IPA and I plan to rotate a seasonal. This keezer easily fits 4 kegs. I could have done 5, but I need some room for my fan, temperature probe, and Eva Dry unit.

I hope you like it!!!!
 
Nice build, that maple looks real classy. Quick questions, where did you get the chrome ferrule and stud hardware for your tap handles?
 
That looks beautiful. But man, I could think of plenty of other projects to have used that birdseye on! I can't imagine what that piece of stock cost!
 
That looks beautiful. But man, I could think of plenty of other projects to have used that birdseye on! I can't imagine what that piece of stock cost!


Not as much as you think. I got three sheets (9x45") for $38.00. I only used a little less than 2 sheets. So, I have one more full sheet and another 9" piece to use on other projects. I think it was well served on this project IMO. :D
 
Not as much as you think. I got three sheets (9x45") for $38.00. I only used a little less than 2 sheets. So, I have one more full sheet and another 9" piece to use on other projects. I think it was well served on this project IMO. :D

well if you're going to throw that out there, at least let me know where you got it! I have a hall table I've been waiting to build, because I hadn't found stock with the figure in it that I wanted!! :D
 
well if you're going to throw that out there, at least let me know where you got it! I have a hall table I've been waiting to build, because I hadn't found stock with the figure in it that I wanted!! :D


This is the exact lot from which I purchased mine. He had 3 lots and one was sold prior to buying one for me. There is one left. However, he has other similar lots for sale. Beware, shipping is parcel post and is pretty slow.

http://cgi.ebay.com/ws/eBayISAPI.dll?ViewItem&item=190400690890&ssPageName=STRK:MEWNX:IT
 
Very nice! The frame on top of the insulation is a great addition. I am looking forward to more pictures.
 
Marvelous! You have made several improvements which I will have to borrow. For example the rails on top. The wires inside my keezer are in the way all the time, so I will do something like your yeast vial with a fixed installation and the wires tucked away. The dessicant unit is another great idea. Your beautiful woodwork on the collar and base sets it appart from the rest. Well done.
 
The bottle opener is always a nice touch. Just make sure that the slots on your screws are both vertical :D


That's too funny, you're the 2nd guy to comment on the slots of my screws. Sadly, once I had it tightened, I looked at it and wished they were in alignment. Damn OCD!!! :)
 
Very nice... How did you mount the L brackets for the drip tray? I have a drip tray for my kegerator but I haven't figured out a good way to mount it yet.
 
Very nice... How did you mount the L brackets for the drip tray? I have a drip tray for my kegerator but I haven't figured out a good way to mount it yet.

I tried rare earth magnets at first, but the freezer's surface was just too slick and it slid down. I used 3M Heavy Duty Mounting tape on the vertical sections of the L brackets. I bought the tape at Office Max, but you can get it at a number of places. Do a Google search and you'll find it. I used a couple of small pieces of velcro to secure the tray to the top part of the L brackets. I didn't use too much, because it only needs to sit in place and I want to be able to remove it to clean the tray.
 
Have you noticed any problems with the maple veneer coming apart at the miters? I work in a woodshop and love working with wood and just know wood moves alot.
 
Have you noticed any problems with the maple veneer coming apart at the miters? I work in a woodshop and love working with wood and just know wood moves alot.


I did not use miters either for the hemlock box or for the 1/8" maple veneer. It was think enough that it did not funny. That was a side benefit of using the veneer is that I did not have to use any miters at all.
 
So how did you attach the veneer to the frame and what did you do in the corners? I guess I can't tell or understand your description.

I didn't understand your latest comment : "It was think enough that it did not funny."

I think I am going to replicate your build and I noticed not every detail is listed from your build which is okay. If I have questions would you be willing to help me out?

I see you have a festool sander? Don't you just love festool, I have pretty much all the tools they sell. They are just amazing. Very expensive but great.
 
I attached the veneer to the hemlock box with Elmers wood glue max. I used a couple of pins with my pin nailer, but only on the sides, not on the face. I then used a tiny amount of wood filler to hide the pin heads. Natural color wood filler matches the maple perfectly. Lots of clamps to completely hold it flat and it was good to go. I first glued the sides flush and then glued the face so the the face's edges would overlap the sides. Then a trim router to make flush. I blended in the corner edges so you could barely tell that it was overlapped, but since it was only 1/8" thick, it was pretty easy to blend. Doing a miter on 1/8" thick material is simply not worth the trouble. My last comment like like I rushed and could have used a spell check. It should have been, "It was THIN enough that it did not look funny." That is, the veneer overlap was thin enough that it did not look funny after trimming flush and blending by hand with some sandpaper.

I have two Festool sanders and the CT 33 dust collector. I bought them a few years ago and had them in storage until I finally got my shop built. Festool product are very high quality indeed. I would love to own more of them, but they are so expensive. As with most of my wood tools, I bought them over many years to spread out the costs.

Good luck. I'll answer any questions you have.
 
I have the festool OF1400 router thats only been used twice that i'll sell less than what I paid for it.. Let me know. I have a lot of tools for sale, moved into a new house and I have no room for my shop. I actually got a table saw and bandsaw for sale but i bet I won't be able to sell them.
 
So, do you understand electrical very well? I see you barely posted anything about hooking up the controller, fan, etc.. I don't know anything about electric and will be doing this myself. If you didn't know much about electric, can you tell me where you got your information on how to wire up the controller?

As I said before I am going to be following your plans. I made the first step and bought a 4 year old freezer for 60 bucks. It's not in bad shape but it will work. I need to purchase the controller now.


Look at Quaffer's build thread: https://www.homebrewtalk.com/f51/converting-frigidaire-7-2-cu-ft-chest-freezer-162225/

He has a detailed schematic shown (post #151). He also shows his programming codes in post #189. Also, do a search for the Love controller and you'll find some information on programming and schematics. However, if you have the same freezer and same controller, follow Quaffer's and you'll be good. Once you see it, it's actually not that difficult. Let me know if you need any other information.
 
Thanks a bunch.

The one I just bought is a 4 year old Holiday freezer. Never heard of the name but I'm sure it's the same as one of these major brands but just under a different name.
 
Do you know if this love control can be used to heat this freezer? Say you don't have any beer in your kegs, which would suck, and you want to use it to ferment in.. I'm thinking I want the option to do both.

I wonder where the best place is to get a good price on this controller is.
 
WWW.drillspot.com has them back in stock. Not sure what you mean as far as getting a freezer to heat? The controller is just a sensor and the equipment does its thing (heating/cooling) when the sensor calls for power or shuts down power.
 
Back
Top