• Please visit and share your knowledge at our sister communities:
  • If you have not, please join our official Homebrewing Facebook Group!

    Homebrewing Facebook Group

My first attempt at making chillers...

Homebrew Talk

Help Support Homebrew Talk:

This site may earn a commission from merchant affiliate links, including eBay, Amazon, and others.

Chuck_Swillery

Well-Known Member
Joined
Dec 12, 2009
Messages
324
Reaction score
0
Location
Traverse City, MI
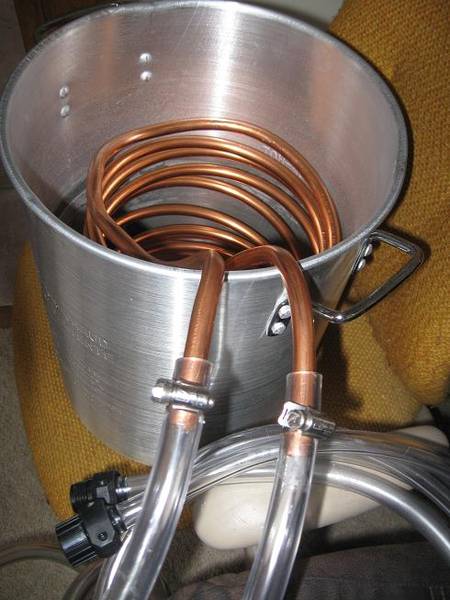
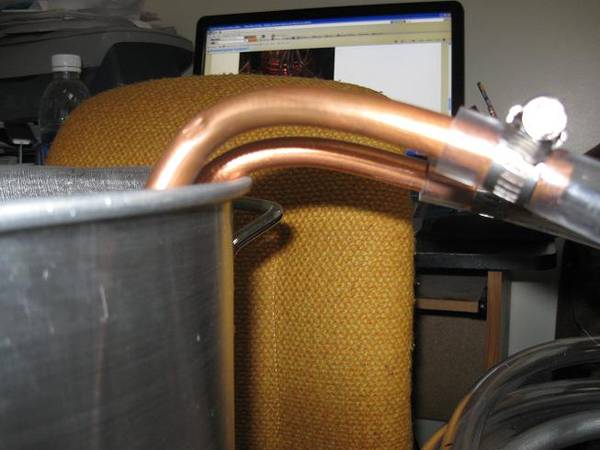
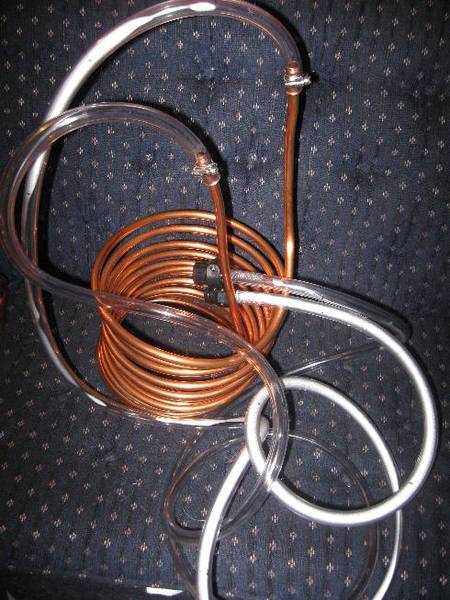
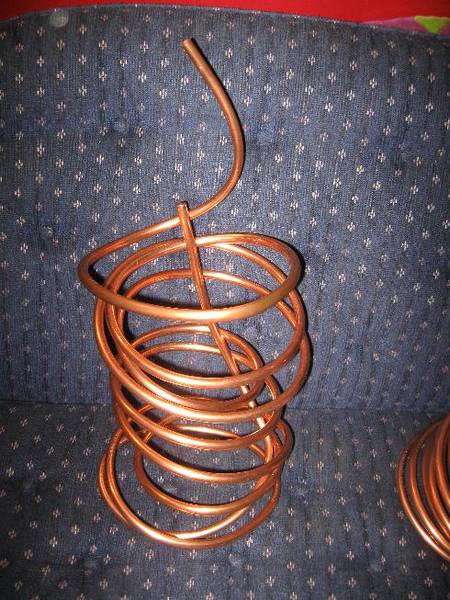
Here's my first attempt at making a wort chiller and a prechiller. Finished the chiller in a matter of about 20 minutes. Pretty straight forward process. I hadn't actually planned on putting the prechiller together today having not realized how easy it really was. I did things a little different than I've read and hope it works - mainly plastic garden hose fittings on the end of the tubing. Total cost in the chiller is around $20. Remember the 50' feet of 1/2 OD copper I bought for $9? 30 ft of copper in the chiller, two 10 ft sections of 1/2 ID vinyl tubing, and plastic garden hose connections. Should hold up to the heat just fine. The prechiller will follow the same basic plan except I won't using the 10 ft sections. The chiller looked factory made until I had to make some adjustments so it'd fit into my brewpot. The prechiller looks about the same as the planning I had put into it - LOL. Really - if anyone out there is kicking around making their own - it's not hard at all.

1st_Wort_Chiller.JPG
1st_Pre_Chiller.JPG
 
Looks good. I would recommend bending the copper out away from the brew pot because the connection between the copper and the plastic tends to leak when hot. An even better solution is to sweat on a couple of fittings to connect to the hoses with quick disconnects. You might also want to sweat together the in and out lines where they come together at the top of the kettle.
mark
www.backyardbrewer.blogspot.com
www.thebackyardbrewer.com
 
looks good!!

I used the remaining 15 or so feet to make a pre chiller as well..

I used mine the first time with no pre-chiller and was able to pitch in about 35 minutes with 68 deg hose water..

With my pre-chiller it took about 20 minutes.

Worth it IMO, going to be well worth it during the summer here in AZ.

Good job!
 
Hey Chuck,
Where did you pick up the copper tubing? I have been looking at Lowe's and Home Depot and their prices are a lot more expensive than $20. Looks great though, nice work.
 
I used 50ft of 1/2" bent around a cornie keg. That seemed to be the perfect size for my 40qt stock pot. At the bottom I soldered in a 90° elbow and ran a straight piece up the inside. I used another few elbows and made the top shoot out off the side of the pot. I held it all together with a few copper wire connections. That really helps firm the thing up. You will be glad you went through the trouble to make the elbows the first time your hose leaks. I recently ditched the plastic tubing, hooked up a nipple->garden hose connector on each end of the chiller with a garden hose quick disconnect on there. That really is the hot setup... 50ft of hose in, 50ft of hose out. Works great at killing weeds in your driveway! HA!

I think you'll find that you want to build a new larger chiller after not too long. The small ones are *ok*, but the large ones are not much more costly and they really perform better. More copper surface area = more potential heat transfer.

Go to the hardware store and pick yourself up a spiral thinset mixer from the tiling department. Hook that up to a drill, and use it to whirlpool your hot wort around the chiller. That will HEAVILY accelerate chilling, and if you really throw the coals to it once you you bring down the temp... its also aerating your wort. Two birds, one power tool.

492374314_HdNJn-X2-1.jpg
 
Shoot - just realized that was a 60ft coil of copper I used. LOL Nice paying attention on my part. So, I'd say I've got about 40ft of copper in my primary chiller and about another 20 in my prechiller.

Good advice - I will be sure to bend those connections out and away from the pot. I don't want to crimp it... will have to go easy on it.

Redhawk - I got an unbelievable deal - here's my original thread: 120 ft of copper for $17

sirsloop - Good ideas. I've got the second 60 ft section of copper that I could build a nice big chiller out of. I don't see myself getting into larger brewing in the near future but it'd be nice to have. As far as stirring the wort before its cooled - ever run into hot side aeration doing that?
 
I gently swirl the hot wort with the drill for the first minute or so, then run it on high. never had a problem with off flavors. There is an extreme temp delta when you first turn on the cold water, so the temps drop rapidly to the low 100s.
 
Ok - took the (good) advice and bent the connections over the edge of where the pot will be. I'm satisfied with the result but certainly a learning process. I spent $10 more and picked up the spring style tubing bender which worked fine and for as often as I will likely use them they were more than sufficient. I did try to make one adjustment without the tubing bender and sure enough started to crimp the pipe - so, its worth slowing down a bit if not even spending a little more for the tubing benders. Anyway, you can see the marks on the tubing from where the crimp was and I openned it back up. For reference that is a 7 gallon pot and my chiller fills it up about 3/4 up, it'll work great.

1st_Wort_Chiller_2.JPG
IMG_10222.JPG
 
That's crazy looking chiller, but I bet mine with a drill swirling the wort is more efficient just based on the fact that the wort is constantly circulating over the copper
 
Cliff - is that a wort chiller or a new style of satallite antenna?! Ever tested it next to a standard chiller? What were the results?


That's crazy looking chiller, but I bet mine with a drill swirling the wort is more efficient just based on the fact that the wort is constantly circulating over the copper

No doubt about it - similar principal to the whorlpool chiller. Get that hot fluid moving around and therefore put more hot liquid in contact w/the colder copper over a shorter time. If you're not running into oxidations problems then its a great idea. However, I bet the differences betweens some of the difference high surface contact chillers (I'm thinking the helix style wrapped or the like), recirculating chillers, and using a stirrod are incremental. Without doing the experiments myself I am (obviously) only guessing.
 
Back
Top