gmcapone
Well-Known Member
I'm currently using a chest freezer as my fermentation chamber, but I plan on converting it to a kegerator soon so I'm making my own ferm chamber to replace it. It's going to be big enough to fit 2 carboys in pretty snug. The outside dimensions are 48 x 26 x 40.
I based my design off of Hoppopotomus' so thank you for sharing your design and hopefully mine will aid someone as well. Instead of the top coming off though, I'm going to be making doors on the side so I won't have to hurt my back picking up carboys and potentially dropping them.
https://www.homebrewtalk.com/f51/hoppos-rustic-fermentation-chambers-ale-lager-301274/
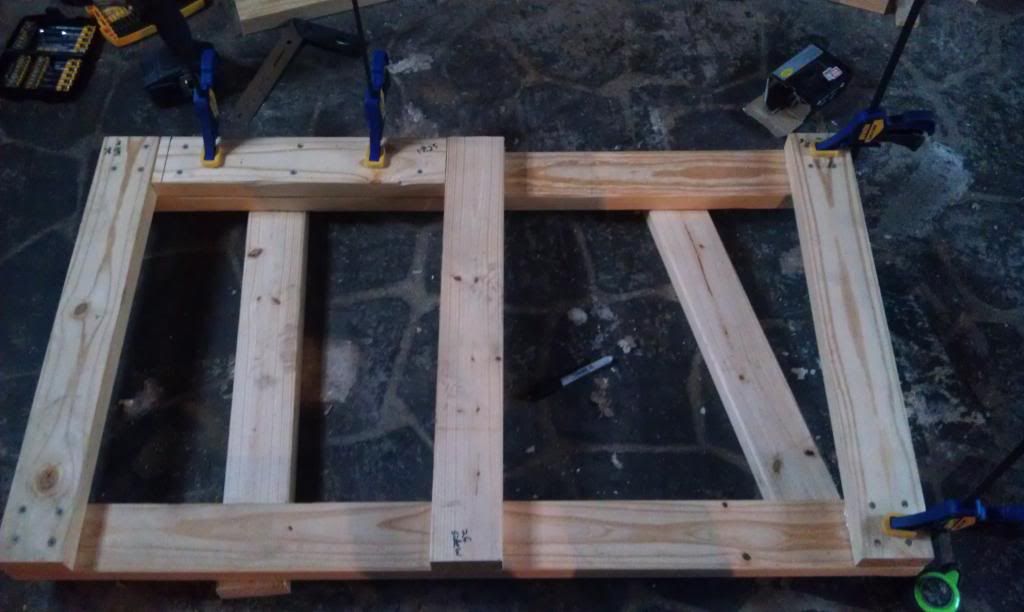
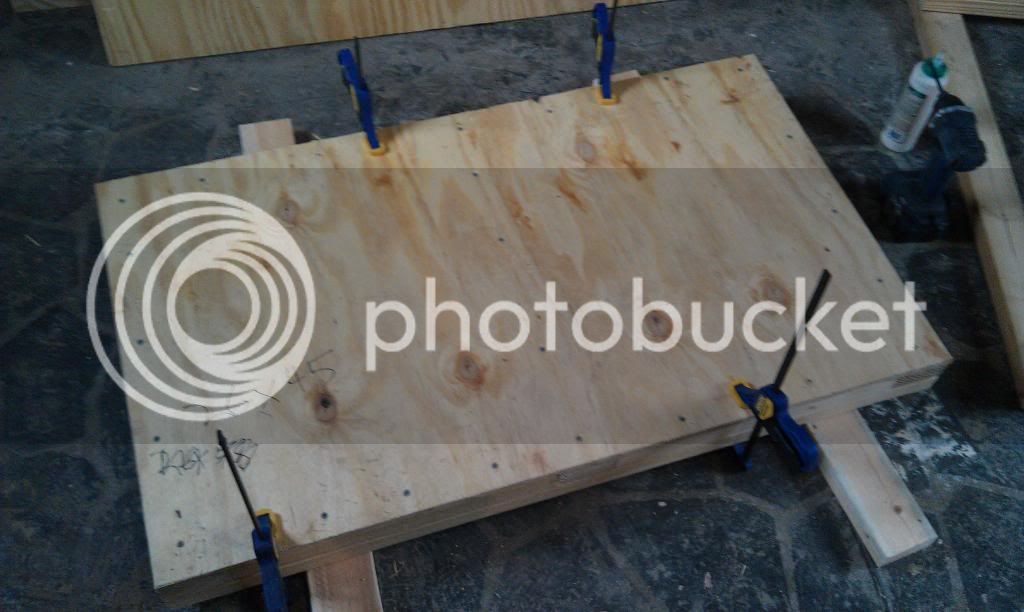
This is the start of the bottom frame.


Some plywood will be placed on top of the frame to serve as the floor, so I'm layering some more 2x4s and creating a cross beam to assure that the floor will be level and sturdy enough to hold the weight.
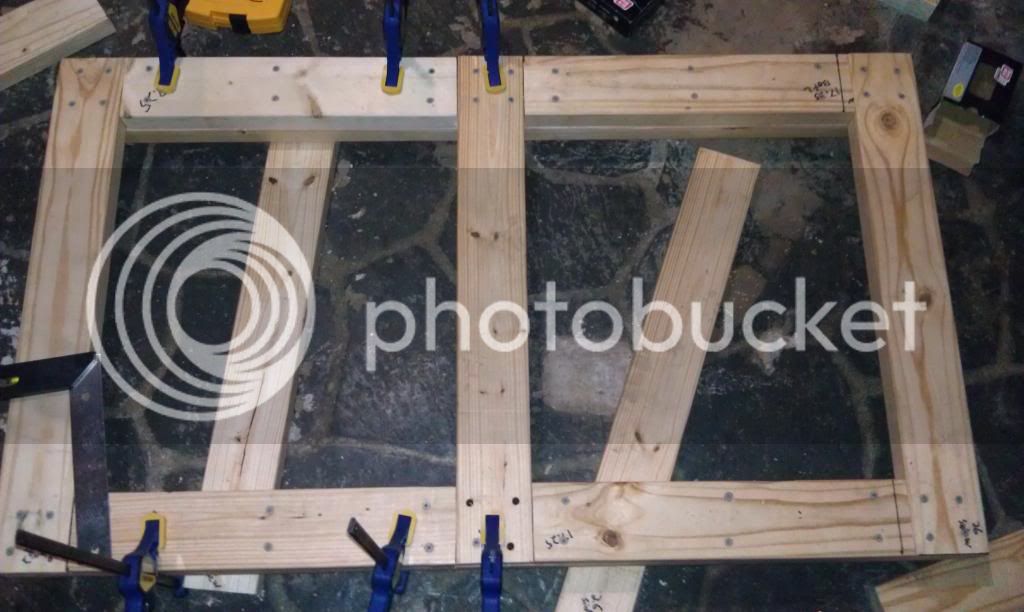
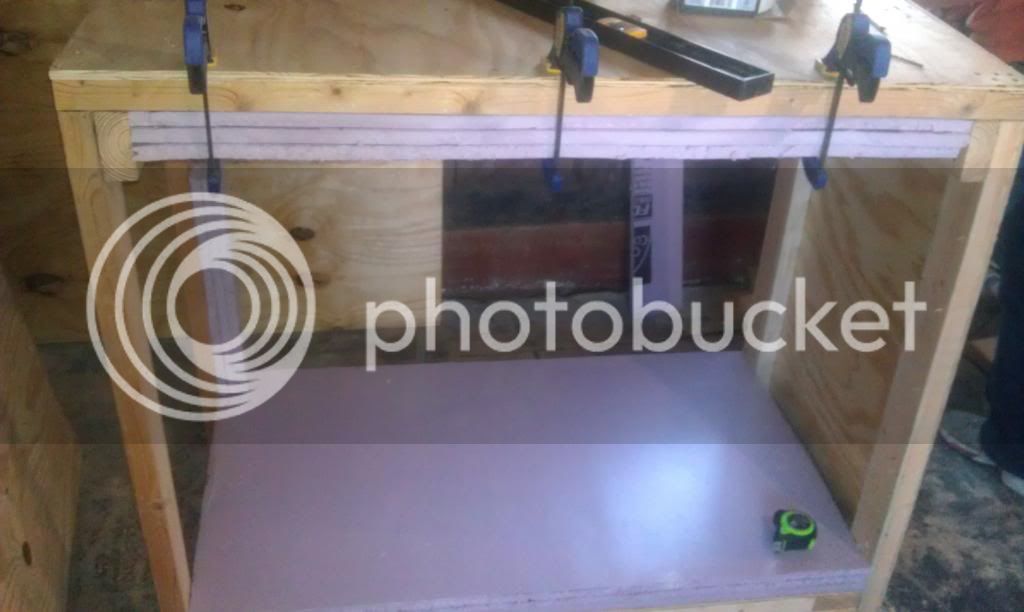
Here's the floor attached to the frame. I'm using 1/2" plywood for the top and bottom surfaces.
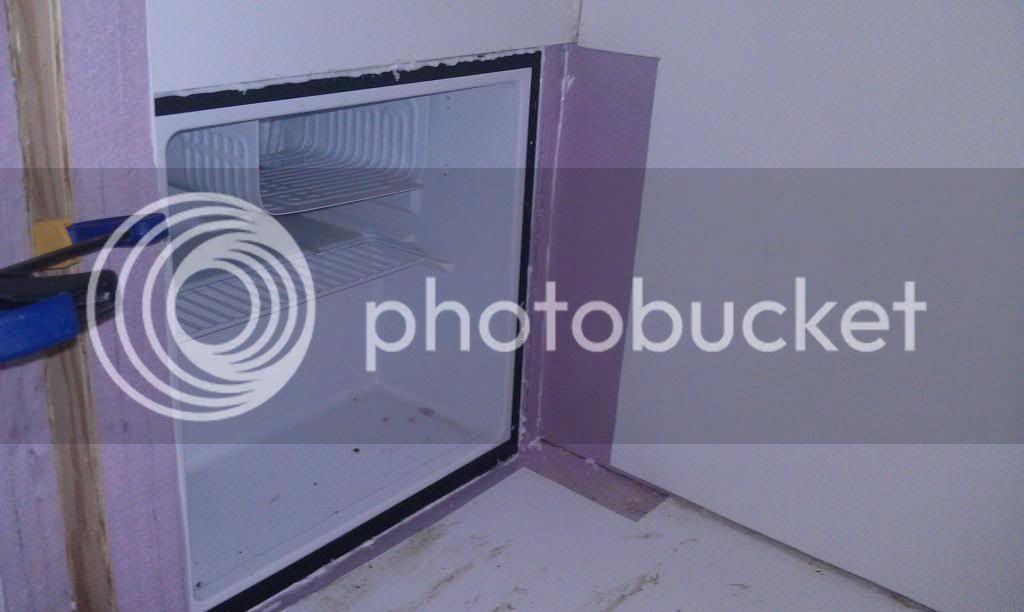
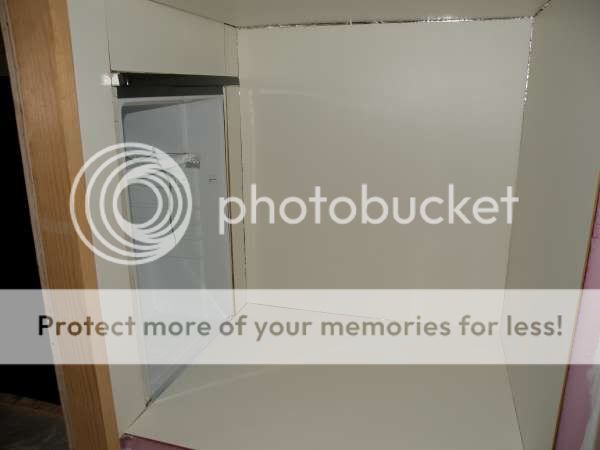
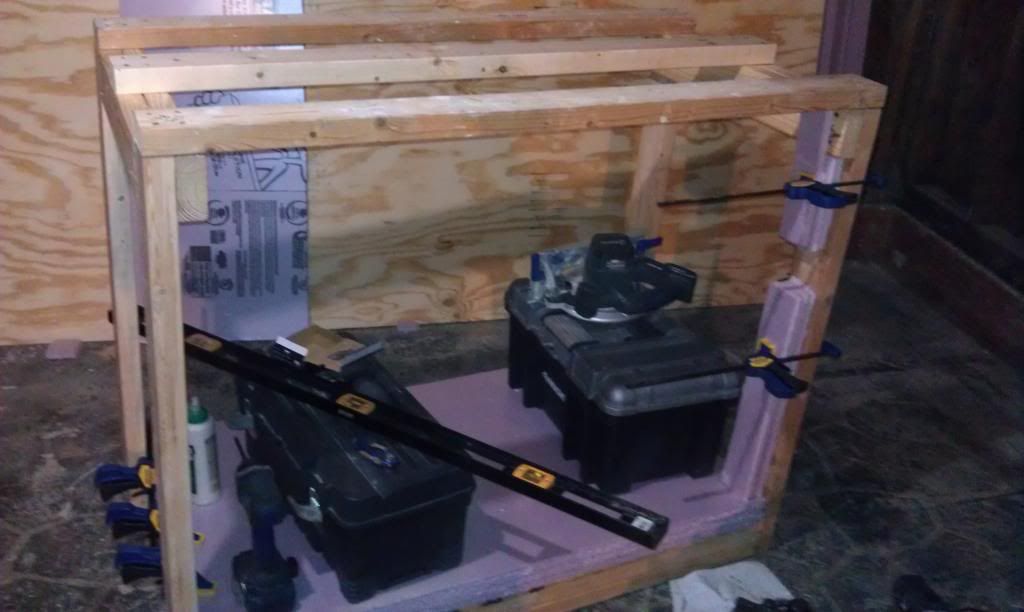
The side frame is attached now and I am starting to layer the insulation on the floor. I decided to do this now because I will be creating a cross beam on the side frame that will be on top of the mini fridge and keep it in place. In order to know for sure where this beam will be placed I will need to create the floor that the fridge will sit on.
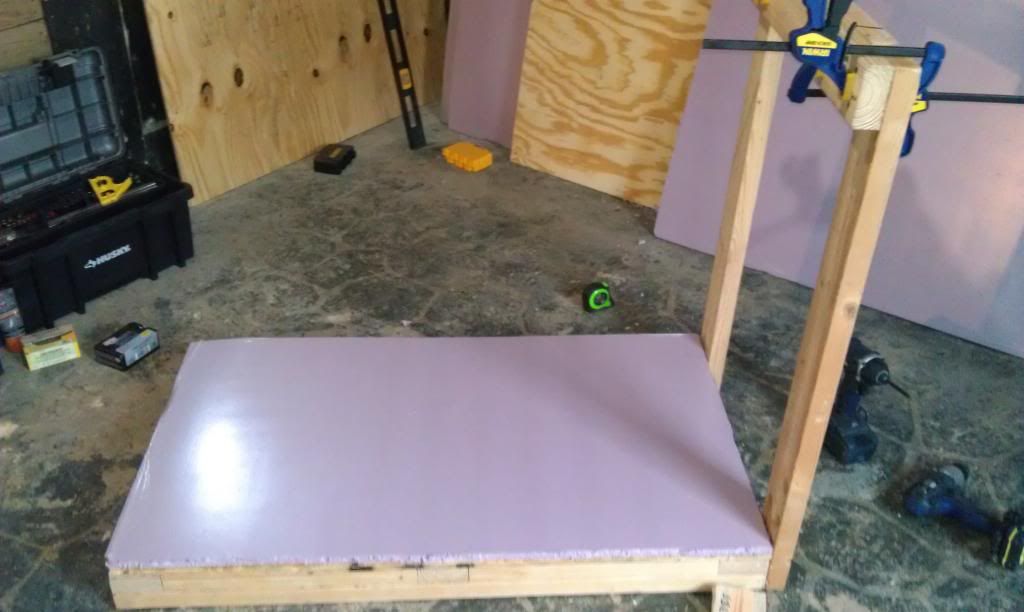
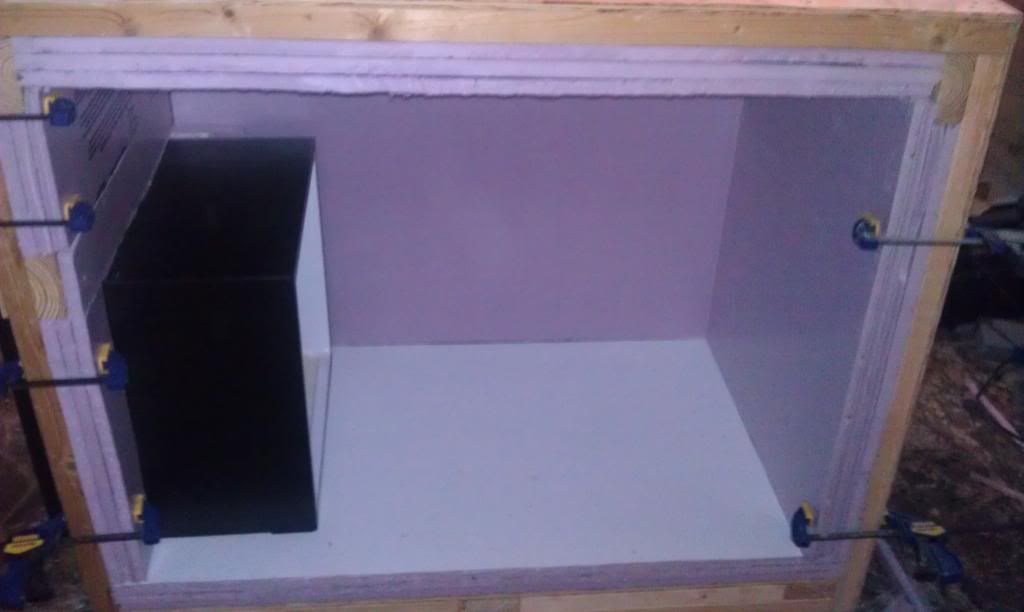
The insulation is down. I used clear power grab all purpose adhesive to glue them in place and laid some weight on it for 24 hrs.
Here I'm estimating the height that the cross beam will need to be. I will be using a plastic lining as a surface above the insulation, so I'm not actually putting the cross beam on yet.
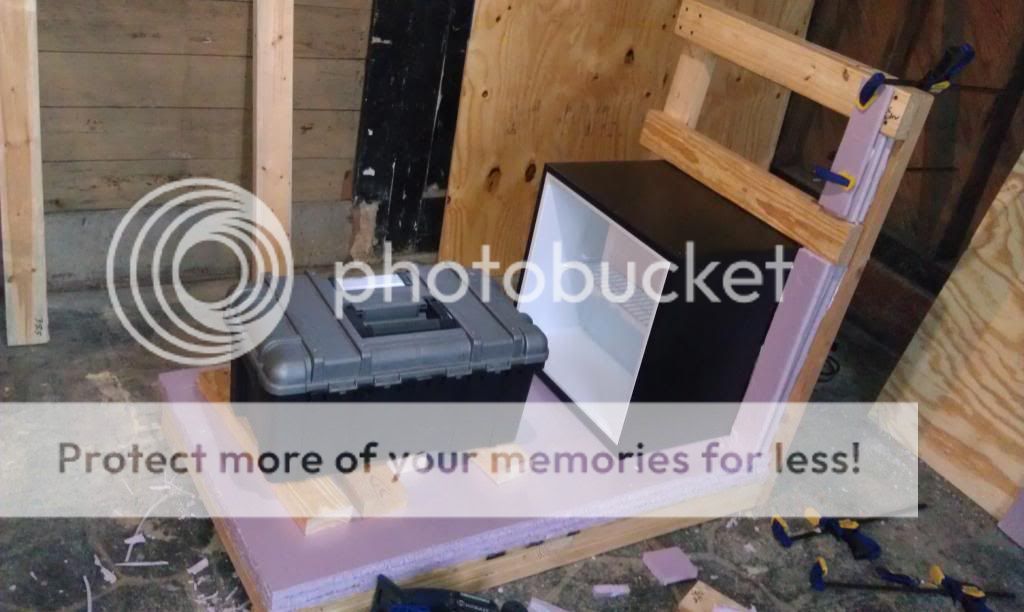
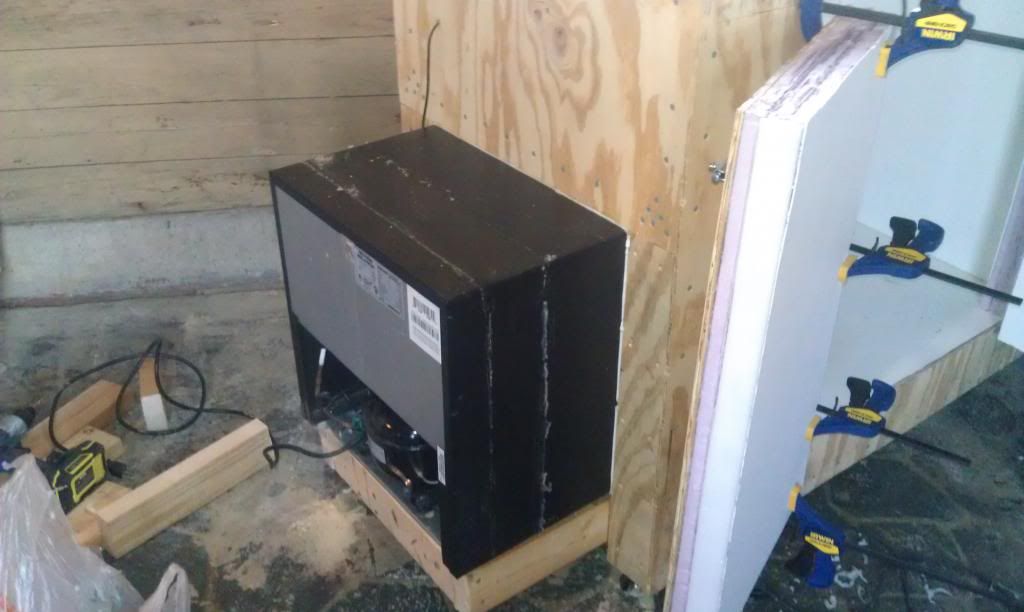
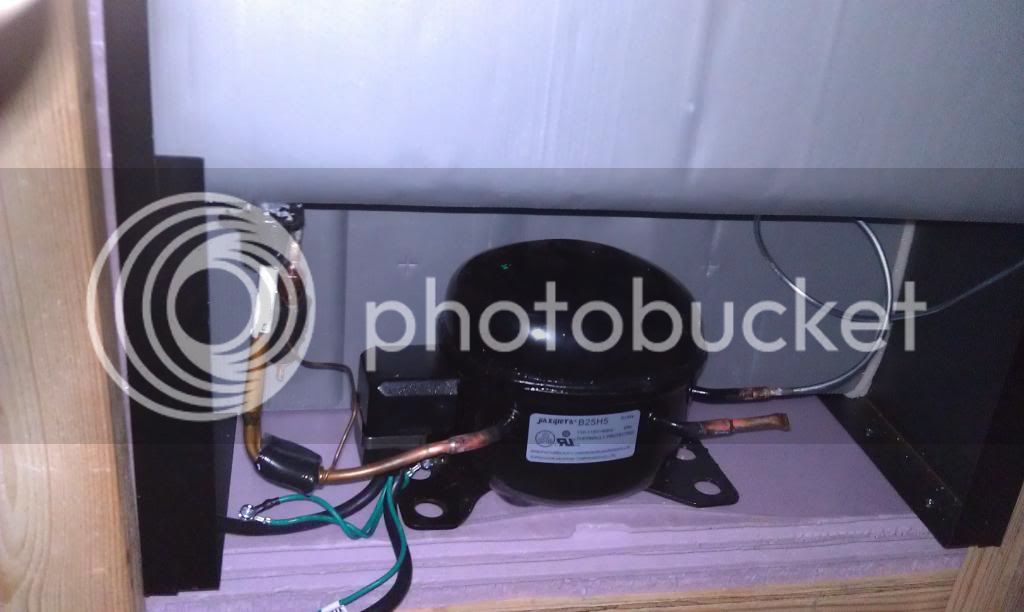
Like Hoppopotomus I removed the feet to keep the fridge flush with the floor. Unfortunately the feet for this fridge was a metal strip that anchored the compressor, so it took some work to get it off. This is the mini fridge I'm using.
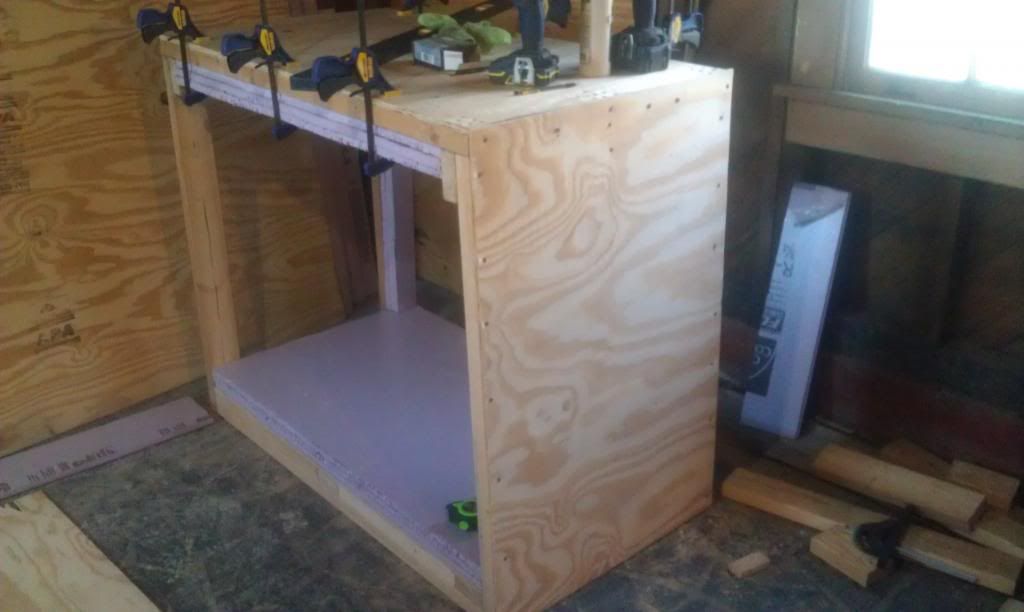
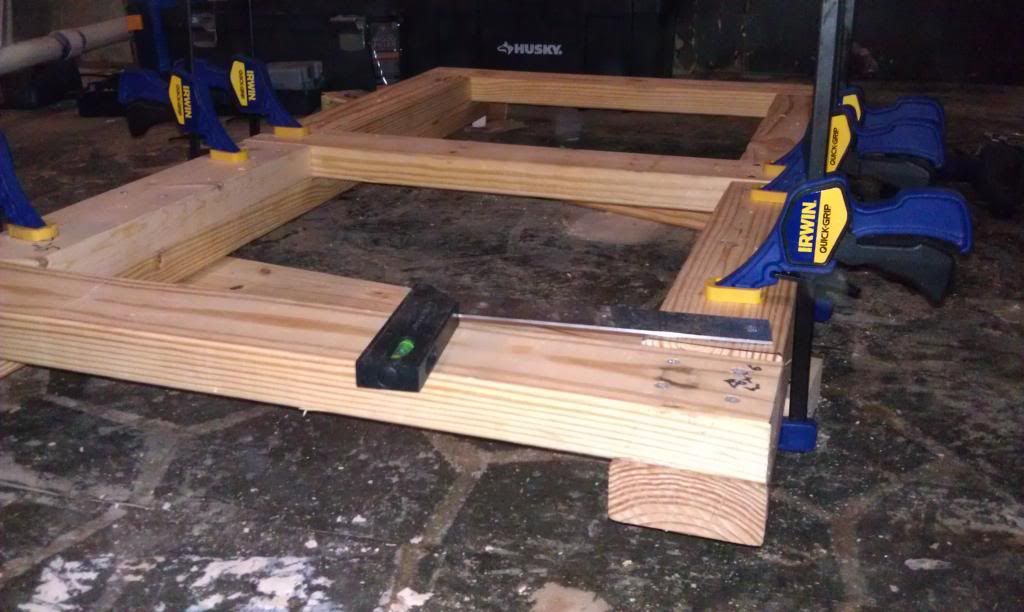
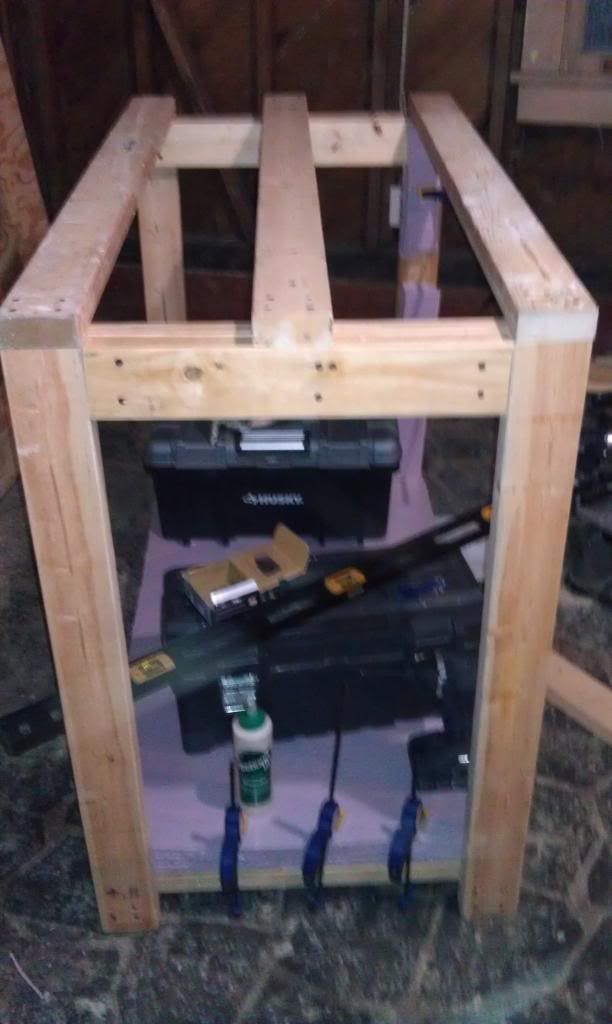
Here, I'm getting the top frame going. The side frame is attached to the side of the bottom frame, and the top frame rests on top of the side frame.
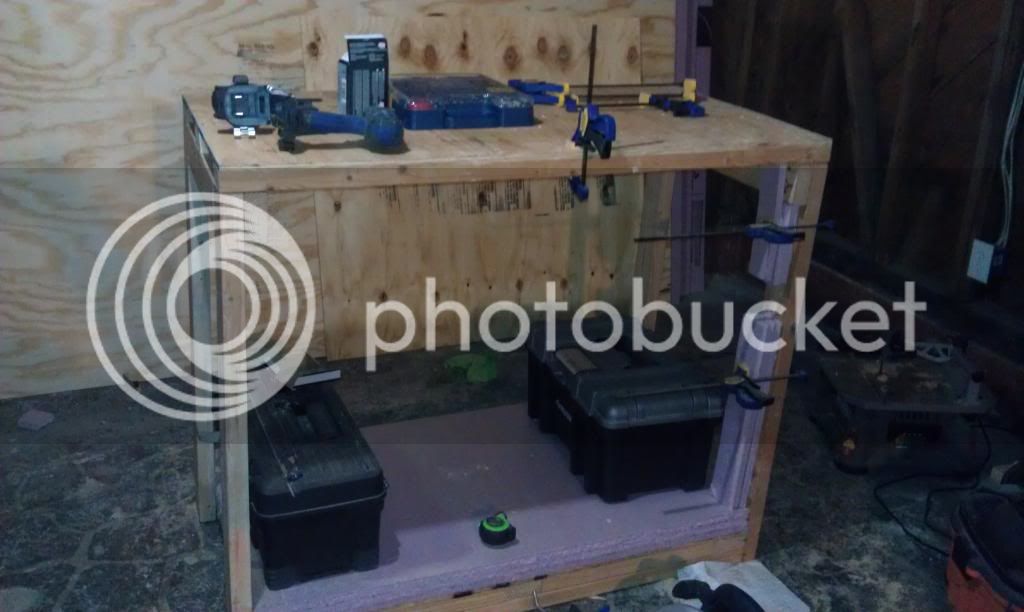
The top siding is on and I'm done for today. I'll post more soon.
I based my design off of Hoppopotomus' so thank you for sharing your design and hopefully mine will aid someone as well. Instead of the top coming off though, I'm going to be making doors on the side so I won't have to hurt my back picking up carboys and potentially dropping them.
https://www.homebrewtalk.com/f51/hoppos-rustic-fermentation-chambers-ale-lager-301274/
This is the start of the bottom frame.
Some plywood will be placed on top of the frame to serve as the floor, so I'm layering some more 2x4s and creating a cross beam to assure that the floor will be level and sturdy enough to hold the weight.
Here's the floor attached to the frame. I'm using 1/2" plywood for the top and bottom surfaces.
The side frame is attached now and I am starting to layer the insulation on the floor. I decided to do this now because I will be creating a cross beam on the side frame that will be on top of the mini fridge and keep it in place. In order to know for sure where this beam will be placed I will need to create the floor that the fridge will sit on.
The insulation is down. I used clear power grab all purpose adhesive to glue them in place and laid some weight on it for 24 hrs.
Here I'm estimating the height that the cross beam will need to be. I will be using a plastic lining as a surface above the insulation, so I'm not actually putting the cross beam on yet.
Like Hoppopotomus I removed the feet to keep the fridge flush with the floor. Unfortunately the feet for this fridge was a metal strip that anchored the compressor, so it took some work to get it off. This is the mini fridge I'm using.
Here, I'm getting the top frame going. The side frame is attached to the side of the bottom frame, and the top frame rests on top of the side frame.
The top siding is on and I'm done for today. I'll post more soon.