• Please visit and share your knowledge at our sister communities:
  • If you have not, please join our official Homebrewing Facebook Group!

    Homebrewing Facebook Group

My Electric Build...Finally....

Homebrew Talk

Help Support Homebrew Talk:

This site may earn a commission from merchant affiliate links, including eBay, Amazon, and others.
Thanks to everyone for the quick responses.

Kal, its not so much that i dont know anything about electricity, i have a decent working knowledge and have been trying to read and learn as much as i can. I am also using my electricians at work to my advantage and having them inspect my work prior to firing it all up. I think i might order the cord/plug you have listed on your website as an extra precaution, but i think this weekend i might brew just with my normal plug. I think another reason i question the use of a gfci is because if you look at a normal residential water heater its not wired into a gfci breaker on the panel (at least i've never seen one done that way). or am i way off base?

(the reason i keep questioning everyone is to learn while still being safe, please dont interpret my questions as a slight against your knowledge)
 
I would spend the cash and put a GFI breaker in your panel. That way everything on the circuit is protected and not just what's attached to that pigtail.

Please don't brew without a GFI.
 
everything would be going through that "pigtail".

I've sent the supplier an email to see how much it would cost to have it shipped to me by friday. I REALLY want to brew this weekend....
 
Thanks to everyone for the quick responses.

Kal, its not so much that i dont know anything about electricity, i have a decent working knowledge and have been trying to read and learn as much as i can. I am also using my electricians at work to my advantage and having them inspect my work prior to firing it all up. I think i might order the cord/plug you have listed on your website as an extra precaution, but i think this weekend i might brew just with my normal plug. I think another reason i question the use of a gfci is because if you look at a normal residential water heater its not wired into a gfci breaker on the panel (at least i've never seen one done that way). or am i way off base?

(the reason i keep questioning everyone is to learn while still being safe, please dont interpret my questions as a slight against your knowledge)
No issues at all! (Though I admit my knowledge is slight as compared to some others here...!). I sounds like you're doing everthing right and will get lots of differing opinions.

Can you brew without a GFI? Sure. Would I do it? No. No right or wrong answer here.

Maybe my post was mis-leading: I didn't mean for someone to think that a GFI should always be used. I simply wanted to recommend to others that the only person who can make this decision is the brewer themselves. The answer's not as black and white as ""you must have one" or "you don't need one".

Happy brewing!

Kal
 
I've sent the supplier an email to see how much it would cost to have it shipped to me by friday.

Why not just contact your local electrical distributor? Those pup's are standard stock. Forget the Home Hell, which is a rip off. But, if you live in the boonies, you may have to do mail order. Good luck with the brew.
 
Too late, lol, purchased and arriving on friday. Still on schedule to brew this weekend :mug:
 
Ok finished all wiring yesterday, I added a 4a breaker in the panel to protect my switches and lights. I also build a pump mount for my chugger. This morning as I was eating a breafast of champions, (eggs, bacon, coffee, bagel) my gfci cord arrived (kinda shocked knowing how Canada post usually operates, lol). I wired that up this morning and tested it out, no issues. I officially started my first brewday at 1:30. So far not too many issues. Missed my mash temp 154 (under at 148), I might have to add more insulation to my MLT. Vorlauf completed and 3 gal collected for first running. I just added 3.5 gal of sparge water, 5 min to go before I can start collecting again. Wish me luck :)
 
I'm jealous!! Rig is looking great!

I'm hoping to be brewing new years day on my new rig if I have any luck!

Congrats, let us know how the brew turns out!
 
Ok, I hit my first snag. Transferred all the wort to my kettle, flicked the switch, and nothing happened. I mean the indicator light turned on, I heard the contractor click and my voltmeter shows there's electricity in the line, but the 4500w element isn't doing anything. As of now I've transferred all the wort back to my hlt and am using that, problem is, the element is only 2000w, so this could take a while. Thoughts on what could have gone wrong?
 
ok so my first brewday is over. I had some successes and some failures. Now its a matter of seeing how it all turns out (fingers crossed).

Successes:

1) i didnt die (i wired everything safely and correctly, phew...)
2) HLT worked well
3) MLT worked well
4) chugger pump works really well and really quietly
5) i learned what i need to do to make things go more smoothly next time

Failures/Opportunities:

1) heating element in kettle didnt work, not sure why.
2) need to plan better
3) sparge arm would be helpful
4) hop strainer would have helped
5) i think i may have scorched my wort

Main issue i'm worried about now is such; since i had to transfer all my wort back to my HLT i think i might have a) scorched my wort, the reason i think this is the case is when i was cleaning up black flecks were peeling off the element. Second issue has to do with sediment. Now the original setup had me boiling wort in the kettle and then using the built in chiller to cool the wort (water being pumped through the chiller) since i had to use the HLT as my kettle i had no way of chilling the wort other than doing the opposite of what i just described. I had cold water/snow in the kettle and pumped wort through the chiller. problem is there was a LOT of sediment in the HLT (hops and irish moss) and i had no way to filter it out. so i have a feeling that i have hops and irish moss in my chiller and pump head and most likely also in my fermenter. ai ai ai (i must say that using the chiller in this way worked really well though, dropped the temp from 212F to 81 in about 10 min)

i guess we'll just have to wait and see
 
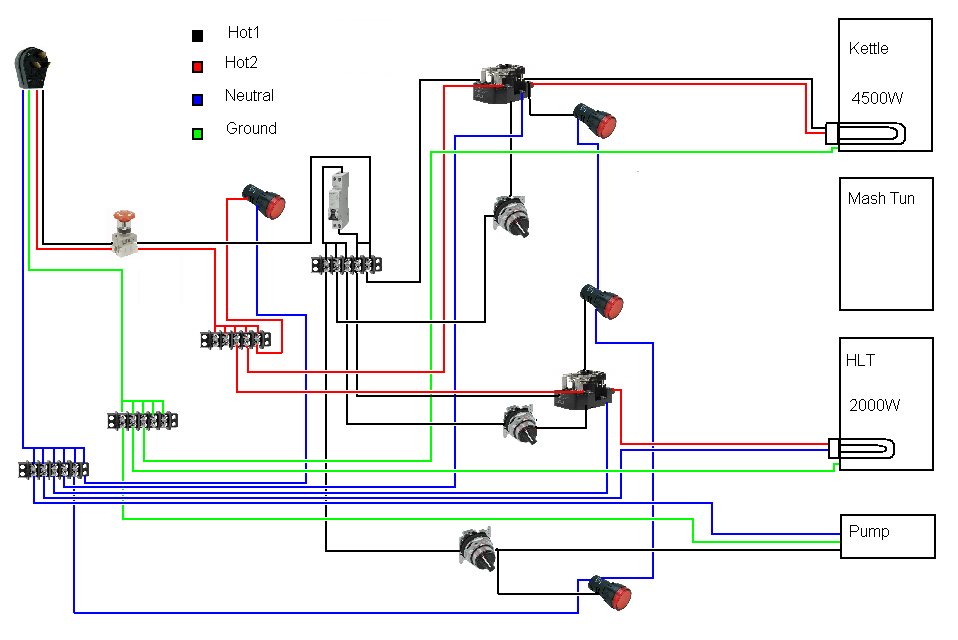
here's an updated plan of my wiring

wiring_diagram_NEW_1_11.bmp
 
I'm trying to understand how you have the breaker wired in. Would it have been easier to just add a breaker to both hot legs post E- Stop?
 
yeah the drawing is a little weird, hard to do working on MS paint while at work, lol. basically what i have is on hot leg coming from the e-stop connected to a terminal strip. the first 2 terminals are powered directly from the input power. the next 3 terminals are connected to the first 2 via the breaker, so the breaker "protects" the last 3 connection points or in my case, my AB switches. I know my drawing is poor, when i have some more time i will have to clean it up.
 
alright so its been a few weeks since my first AG brew (well first brew in general). In that time my fermentation went smoothly, other than hops making it into my fermenter. I fermented for 9 days (my recipe called for 7 but i was away and had no choice). After the 9 days i filtered the fermented beer from one corny to a second one, came out pretty clear and got rid of the excess yeast and hops in my primary. I bottled a few bottles at this stage to take to my inlaws. At this point it was already slightly more bitter than expected, but i decided to follow the recipe as it was and dry hopped in secondary. So the first taste going from primary to secondary was good, if not a little bitter and slightly under carbonated. last wee i bottled the rest of the beer from my secondary. I had to filter again before bottling since the hop pellets i used to dry hop had all but disintegrated (even though i had them in a cheese cloth). once the beer was bottled i tasted it again and POW!!! smack in the face with hops. so it definitely turned out much hoppier than expected but i think i know where i went wrong and how to fix this next time. i have let the beer sit bottled in my fridge for a week now, and oddly enough the flavours are starting to mellow out. i think i'll let a few bottles sit for another week or two and see what happens.
 
Nice to story here. Clear up the minuses and get some pids for temperature control and you'll be making award winning beers.

AIPA's take a while to mellow out. 6-12 weeks out from bottled an they are fantastic!

Keep up the good work and keep us informed.
 
Ok so SWMBO and I just moved from Ontario to BC on wednesday (i was transfered/promoted), you should have seen the movers faces when they first saw my brewing set-up...priceless, lol. but they packed everything up no problems and now its on its way here. Now the issue that arose is such, the new place we have no longer has a workshop/storage room, and we dont have a garage either. So i'm thinking one of two things right now:

a) modify my control panel so i can just brew outside (no longer use my brewstand, which is a shame), this would entail running the power cord into the house to the stove connection (which is closer that the dryer)

or

b) buy a shed and put it in the backyard and set it up in such a was that it becomes my brewshed (problem with this option is spending the money on a shed and also running power to the shed)

we take posession of the rental in a week or so, so i will have to play around with some ideas to see what happens.

cheers!
 
ok so we're moved into our new place and are just finishing unpacking the last of the boxes of "stuff" we have. In this time i have realized that i would like to do some more small batch brewing (2 gal pilot batches to develop 3 solid recipes), especially since i no longer have a basement workshop/brewery with plenty of room. Luckily i was able to secure 4 20L kegs today for this purpose (free and legal, BOOM! i love knowing the right people). So hopefully in the next 2 weeks or so i will be able to get to working on my smaller system (the original will go into the storage space under the stairs for now). Most of the parts will be reused, as will the brewstand (currently sitting under the deck). Details to follow...
 
Still no PID's or SSR's? I can't understand why your kettle wouldn't work....it's gotta be a simple matter of continuity. Trace it back all the way to the receptacle and check for voltage and solid connections.
 
Not yet, maybe sometime in the near future, though my control panel is pretty full. As for the element in the kettle, i think you're right about the continuity issue. I picked up a meter to test it and will hopefully have a chance this weekend to do some work.
 
ok so i changed my mind on reusing most of the original parts, i ended up ordering about $400 worth of stuff this past weekend, all stainless fittings (ball valve's, bulkheads, mesh hoses) and one of those lockline sets to use as a sparge arm, new 5lb co2 tank (they wouldnt move my old one) and some other fun stuff. SWMBO has an art class saturday morning so i figure i'll be able to start work then and get some stuff done in peace, lol. I will submit pictures at the end of the weekend.
 
ok so i've made a little bit of progress on my new system between going to work, studying for my final brewing exam and spending time with SWMBO.

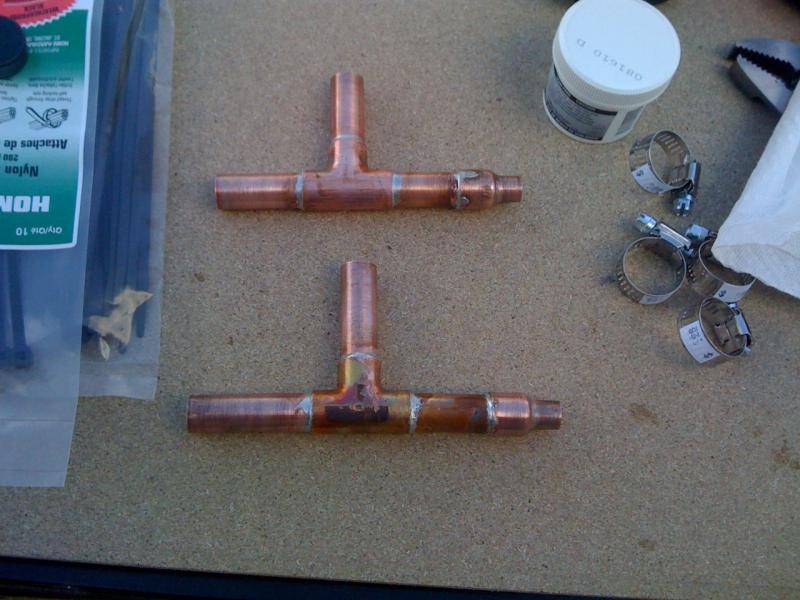
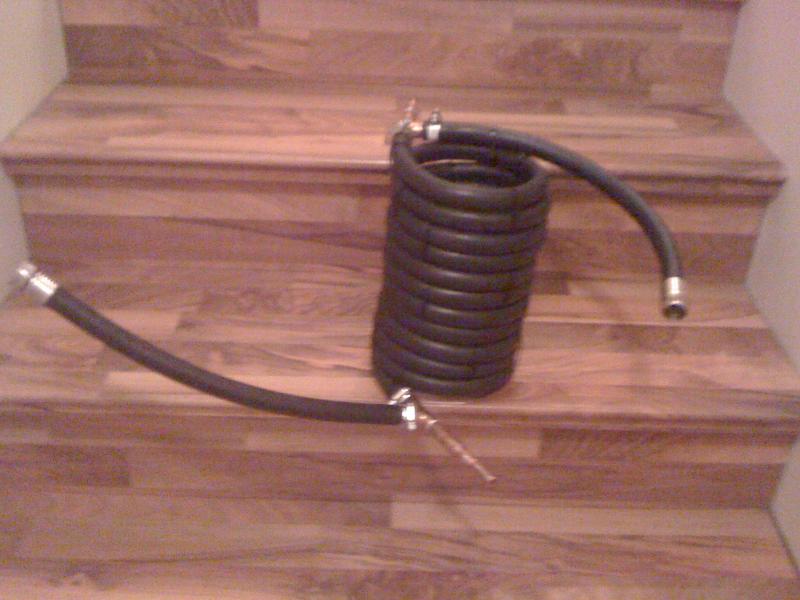
I built a counter flow wort chiller using the info on the wiki and the forum. It turned out pretty good, havent tested its cooling potential yet but i'm not worried since the source water (mountain water) is typically always VERY cool.

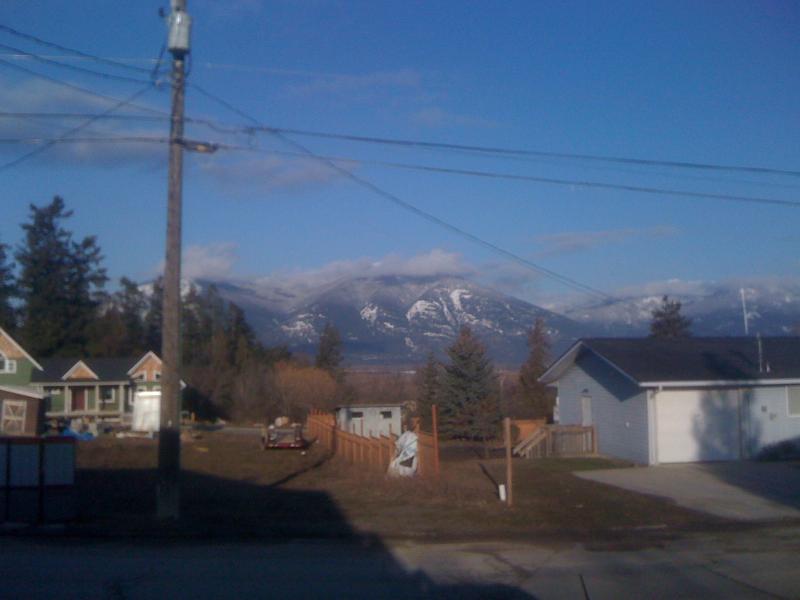
(1st picture is my new view from our new place)
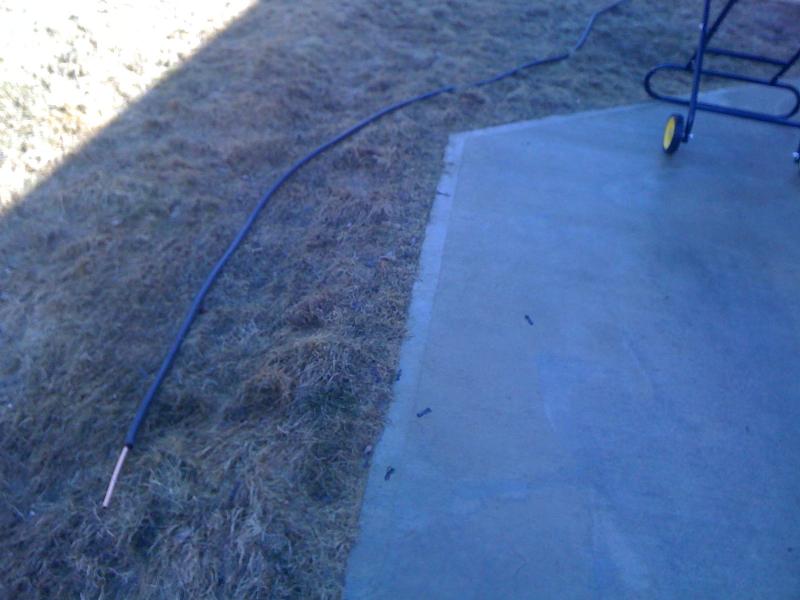
(2nd picture is the copper tubing slid through the rubber hose)
(3rd picture is the soldered copper fittings)
(4th picture is the finished product, i know i should have taken more pics)
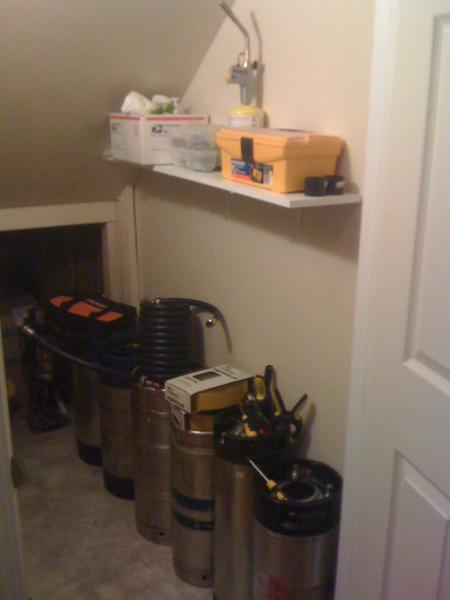
(5th picture is my "office" a.k.a. brew closet)
(6th picture is another picture of my "office" a.k.a. brew closet)

image1.jpg


image2.jpg


photo2.jpg


image3.jpg


photo4.jpg
 
Ok so it looks like i get to have double the fun starting VERY soon. To recap, my plan of action was going to be: build a smaller brewery (2-3gal) and brew numerous "test" batches. I put my original brewery in storage (under my stairs) and just recently started working on my newer smaller brewery (pictures below). I was going to do this since i wanted to try more recipes more frequently and since i like to build stuff, lol.

Things have changed though. It seems like my new boss and co-workers are pretty pumped that i brew beer and want to participate. So the new plan of action is such: I will take my "old" brewery out from under the stairs and move it to my coworkers shop (he has a workshop on his property which is about 20ft x 50ft. The shop has 240V connections throughout and has an unused paint room (never actually used to paint) in the back which will now be the Brewhouse (i'm thinking of naming it "Goat River Brewing", label design to follow). So i have a couple thing i need to fix on the "old" system and i have just designed and purchased parts for what will be a "conical" sanke fermenter. Conical is in brackets since it wont actually be conical, i debated getting some sheets of SS and cutting, rolling and welding it to the bottom of a keg i have, but i neither have the skill nor tools to do this so i came up with a variation of a design which i found here (pictures will be posted when i start work on it, soon).

The only issue is i will have to transport my control panel and pump between brew locations since i still want to brew at my new place with the new system i am making. But to be honest this is the least of my concerns, lol.

ok and now for some progress on the new system:

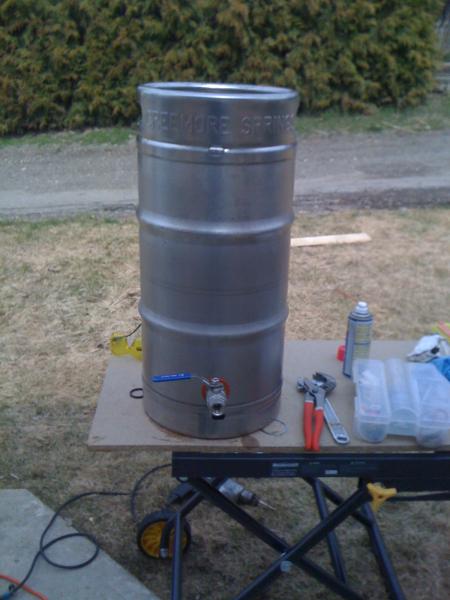
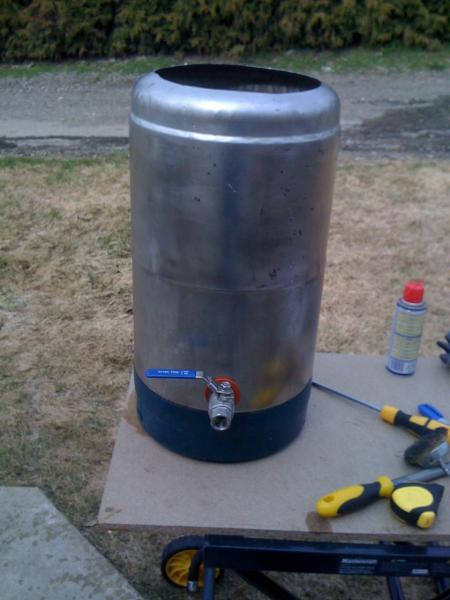
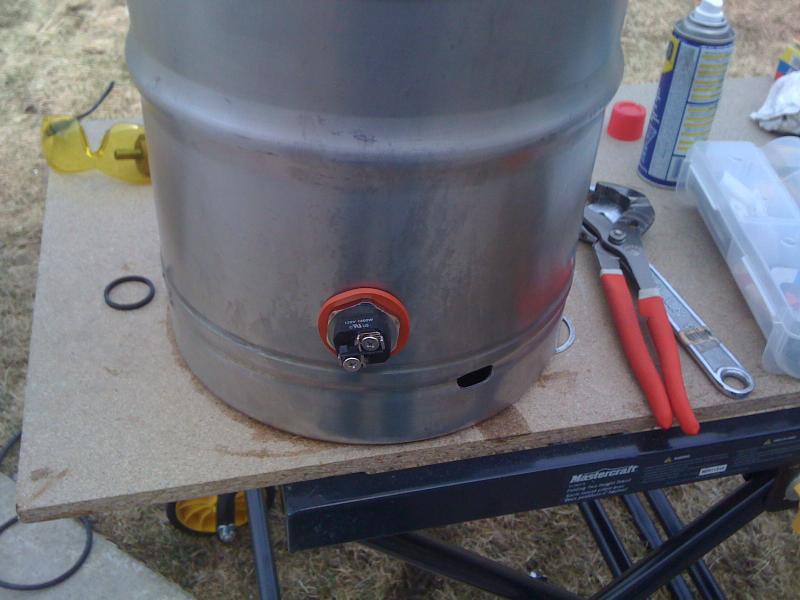
I was able to clean and cut open the keg for my kettle (using a 1/4 barrel keg). i bought a punch set from harbour freight thinking that it would be nice to use this to cut holes instead of using the step bits i have. But i ran into 2 problems, when i used the 1/2 punch it broke the bolt in 1/2 (crud!) so i finished the hole with the step bit anyways. I then figured i would try the 1" punch for the hole for my element since it had a MUCH thicker bolt. Well this time it worked, but to my shock the hole it cut was like 3/16" too big for the element. Luckily i was able to find a work around and used a silicone gasket and washer to seal the element tight enough to prevent leaking.

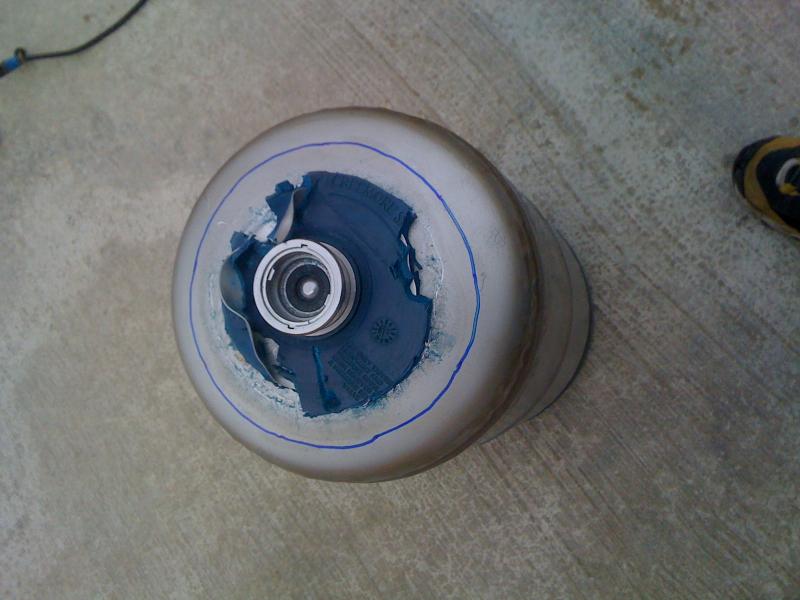
Once this was done i moved onto building my mash tun. I have 2 1/4 barrel kegs which have the plastic top and bottom (similar to a corny). Lets just say cutting through the plastic has been my BIGGEST pain the the arse since i started building/brewing. But i figured out a way to do it at low speed with a dremel (this way i didnt have blue plastic dust flying everywhere). I was then able to cut a hole in the top using my grinder (i find doing so freehand works the best, no need for jigs). Same as before i used a step bit to drill the hole for the valve (i still need to add my thermometer to the MT).

Ok thats enough writing for now. Pictures posted in the next post
 
so i was able to do some more work yesterday :rockin: I'm hoping that i will be able to finish everything up by the weekend so that i can brew on the weekend. We get both the friday and the monday off of work, so there should be plenty of opportunity to test the new system and make some tasty beer.

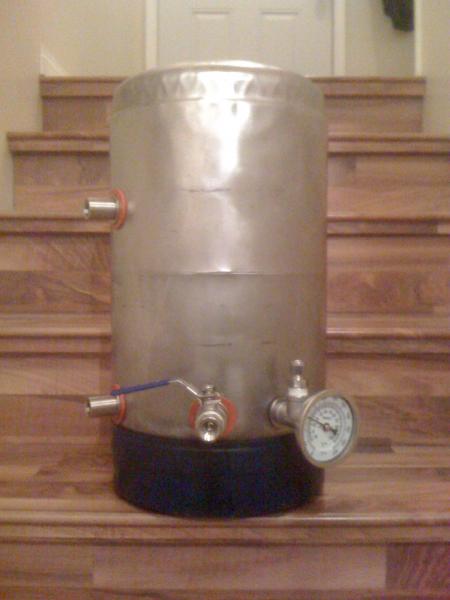
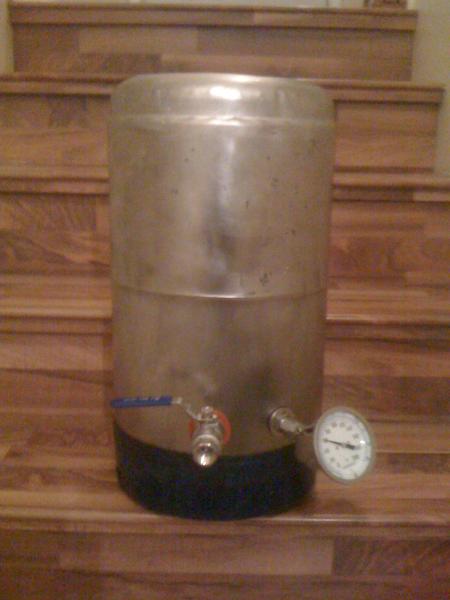
So yesterday i drilled the holes for the sight glass/thermometer combo, the in & out ports for the HERMS and the hole for the element on the HLT (pic 1). I also drilled the hole for the thermometer on my mash tun (pic 2).

I'm hoping to finish all drilling tonight/tomorrow, i still need to drill/plumb the whirlpool port on the kettle and the connection for my sparge arm on the MT. After that i just need to JB weld the elements and then its just a little clean up work to make things look nice and run a test on the system to make sure there are no leaks and everything works.

ok less talk more pictures:

photo14.jpg


image13.jpg
 
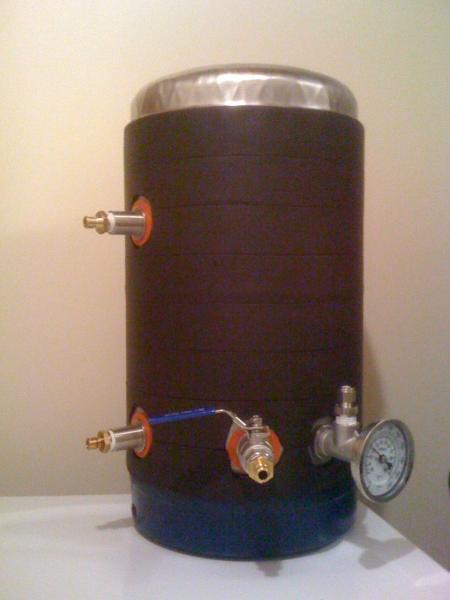
HLT wrapped in Armaflex insulation for better heat retention. I also added the quick connects i got from McMaster Carr (high temp brass).

photo15.jpg
 
McMaster Part Numbers:

6739K59 Male coupler

6739K64 Female coupler
 
Back
Top