You are using an out of date browser. It may not display this or other websites correctly.
You should upgrade or use an alternative browser.
You should upgrade or use an alternative browser.
my basement brewroom build
- Thread starter TomRep
- Start date

Help Support Homebrew Talk:
This site may earn a commission from merchant affiliate
links, including eBay, Amazon, and others.
TomRep
Well-Known Member
Me too Pascal, me too! Thanks for the kind words!
TomRep
Well-Known Member
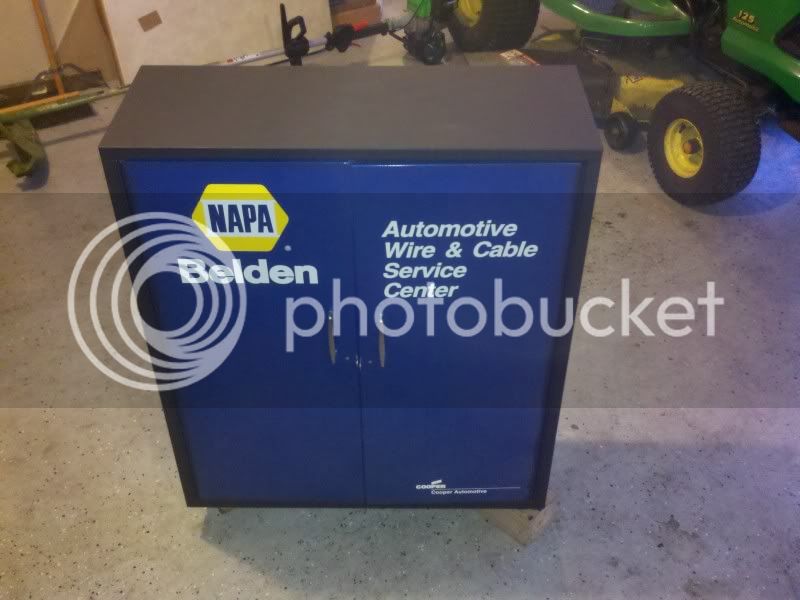
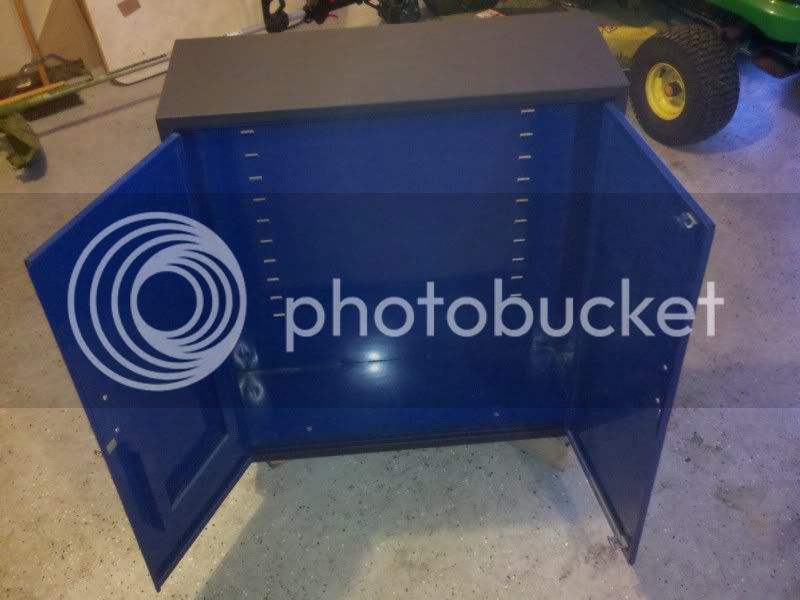
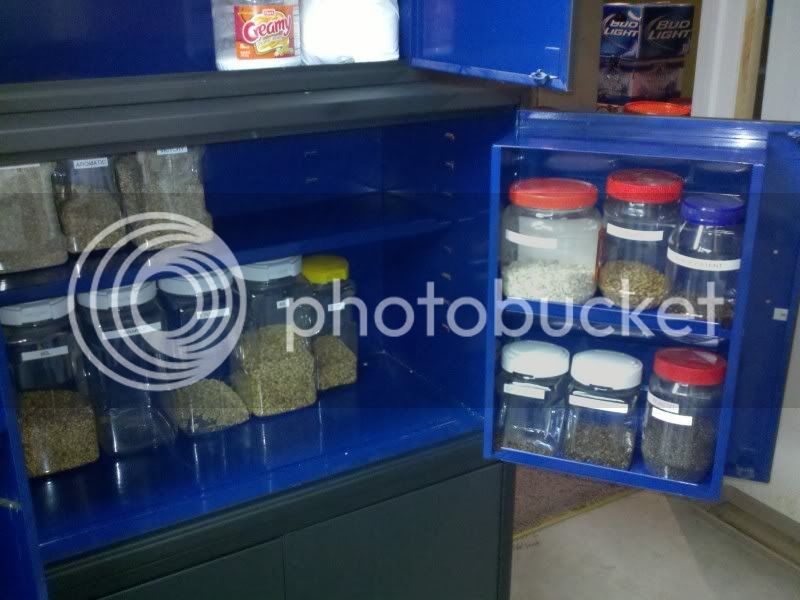
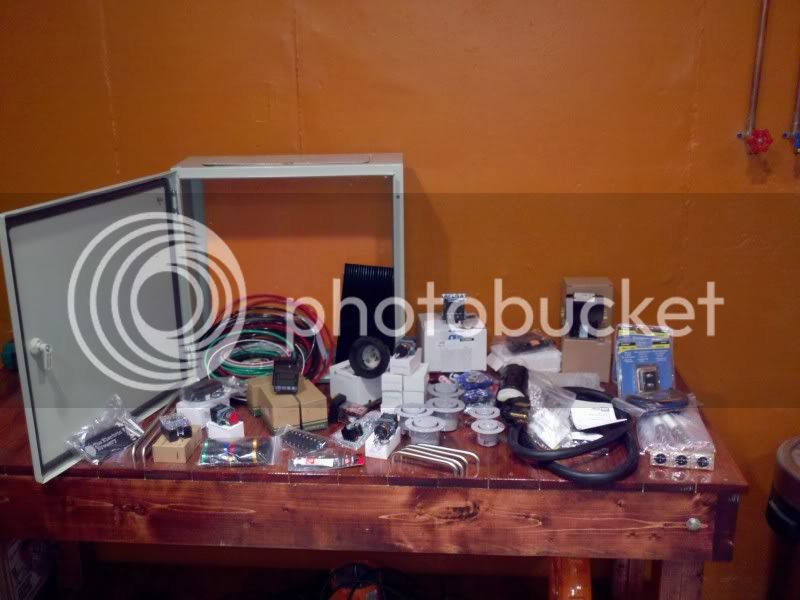
I scored some nice metal cabinets from my work yesterday to be used for my grains. Had to drill some spot welds yesterday to move the shelves in the doors and am currently working on painting them. Plan to use chalkboard paint on the doors so I can write what is in the cabinets and how much so shopping lists/making recipes will be easier. Also, officially placed the order for my 50 amp DIY control panel from theelectricbrewery.com. Mike says it will be about two weeks before I can start posting drool pics of that! Hope everyone is having a safe and enjoyable holiday weekend!
Tom
ps. there are shelves for inside the cabinets as well, just dont have them in right now
Base cabinet

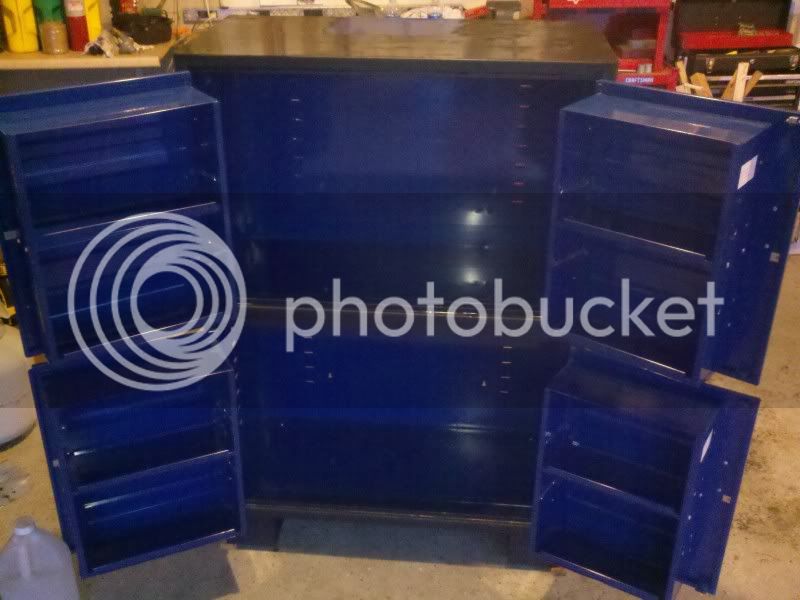
Top Cabinet
Tom
ps. there are shelves for inside the cabinets as well, just dont have them in right now
Base cabinet
Top Cabinet
milldoggy
Well-Known Member
Can't wait to see the 50 amp panel. Might sneak over and swap mine with yours when you are not looking.
TomRep
Well-Known Member
Ha, bring it on buddy! Remember, my panel's bigger then yours! 
Sent from my DROIDX using Home Brew Talk
Sent from my DROIDX using Home Brew Talk
TomRep
Well-Known Member
Cabinet is all painted and in place. So much more room in these then my last cabinet! Chalkboard paint needs to dry for a couple days before I can write on it. Not sure how many people use Snapware containers for their grains, but they work really well for me. I can fit 6 large containers (5# of grain), six medium containers (I think 2.5# of grain), and 12 small containers (1# of grain) in EACH of the base cabinets. Now I just need more of the Snapware.
Tom

top cabinet
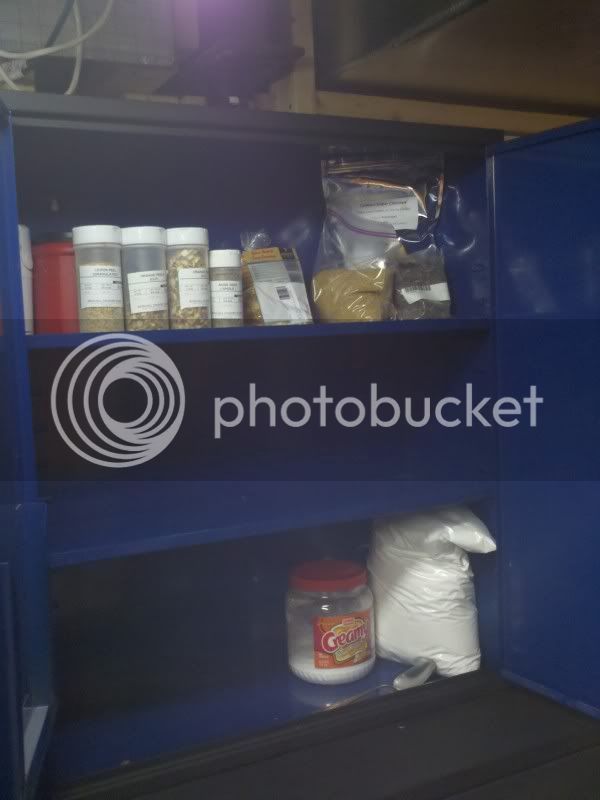
one of the base cabinets
Tom
top cabinet
one of the base cabinets

$53.24
1pc Hose Barb/MFL 1.5" Tri Clamp to Ball Lock Post Liquid Gas Homebrew Kegging Fermentation Parts Brewer Hardware SUS304(Liquid Hose Barb)
Guangshui Weilu You Trading Co., Ltd


$22.00 ($623.23 / Ounce)
AMZLMPKNTW Ball Lock Sample Faucet 30cm Reinforced Silicone Hose Secondary Fermentation Homebrew Kegging joyful
无为中南商贸有限公司


$53.24
1pc Hose Barb/MFL 1.5" Tri Clamp to Ball Lock Post Liquid Gas Homebrew Kegging Fermentation Parts Brewer Hardware SUS304(Liquid MFL)
yunchengshiyanhuqucuichendianzishangwuyouxiangongsi


$58.16
HUIZHUGS Brewing Equipment Keg Ball Lock Faucet 30cm Reinforced Silicone Hose Secondary Fermentation Homebrew Kegging Brewing Equipment
xiangshuizhenzhanglingfengshop
![Craft A Brew - Safale BE-256 Yeast - Fermentis - Belgian Ale Dry Yeast - For Belgian & Strong Ales - Ingredients for Home Brewing - Beer Making Supplies - [3 Pack]](https://m.media-amazon.com/images/I/51bcKEwQmWL._SL500_.jpg)

$20.94
$29.99
The Brew Your Own Big Book of Clone Recipes: Featuring 300 Homebrew Recipes from Your Favorite Breweries
Amazon.com


$176.97
1pc Commercial Keg Manifold 2" Tri Clamp,Ball Lock Tapping Head,Pressure Gauge/Adjustable PRV for Kegging,Fermentation Control
hanhanbaihuoxiaoshoudian


$172.35
2 Inch Tri Clamp Keg Manifold With Ball Lock Posts, Pressure Gauge, PRV (0-30 PSI) – Homebrew, Fermentation, Kegging System
wuhanshijiayangzhiyimaoyiyouxiangongsi

$28.98
Five Star - 6022b_ - Star San - 32 Ounce - High Foaming Sanitizer
Great Fermentations of Indiana


$10.99 ($31.16 / Ounce)
Hornindal Kveik Yeast for Homebrewing - Mead, Cider, Wine, Beer - 10g Packet - Saccharomyces Cerevisiae - Sold by Shadowhive.com
Shadowhive


$7.79 ($7.79 / Count)
Craft A Brew - LalBrew Voss™ - Kveik Ale Yeast - For Craft Lagers - Ingredients for Home Brewing - Beer Making Supplies - (1 Pack)
Craft a Brew


$27.29 ($13.64 / Count)
$41.99 ($21.00 / Count)
2 Pack 1 Gallon Large Fermentation Jars with 3 Airlocks and 2 SCREW Lids(100% Airtight Heavy Duty Lid w Silicone) - Wide Mouth Glass Jars w Scale Mark - Pickle Jars for Sauerkraut, Sourdough Starter
Qianfenie Direct


LoveMiBeer
Member
Very nice. Just setting my basement up myself but not nearly as nice. Maybe someday

TomRep
Well-Known Member
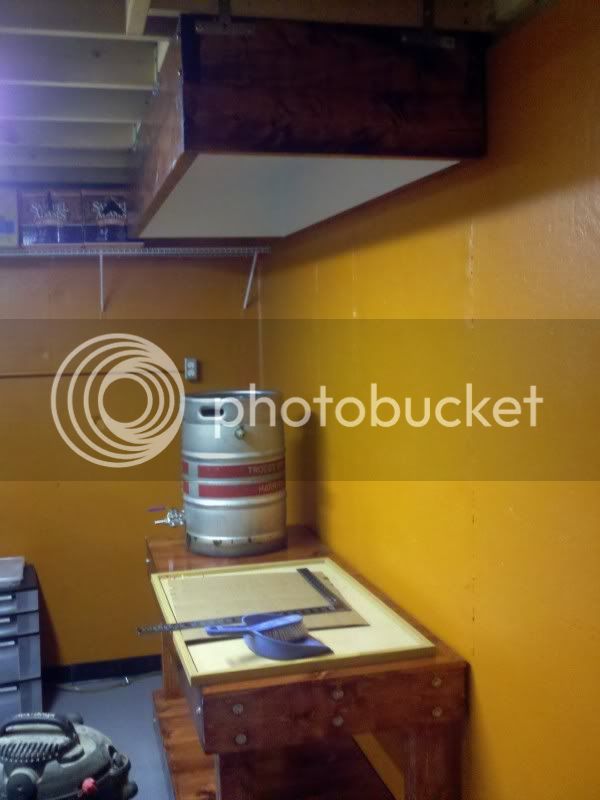
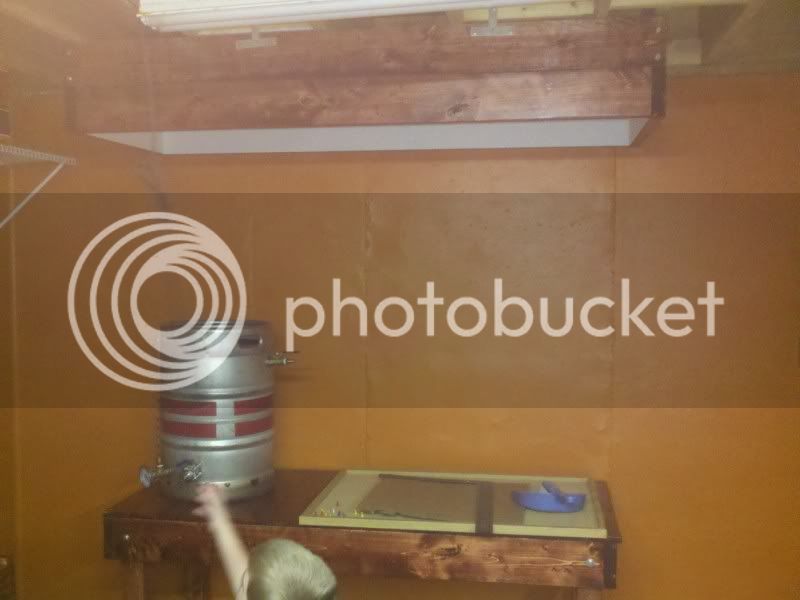
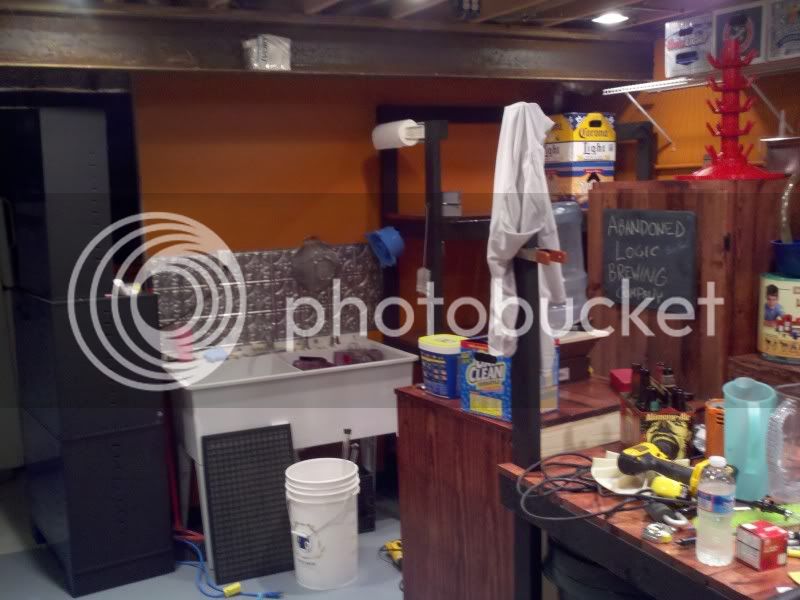
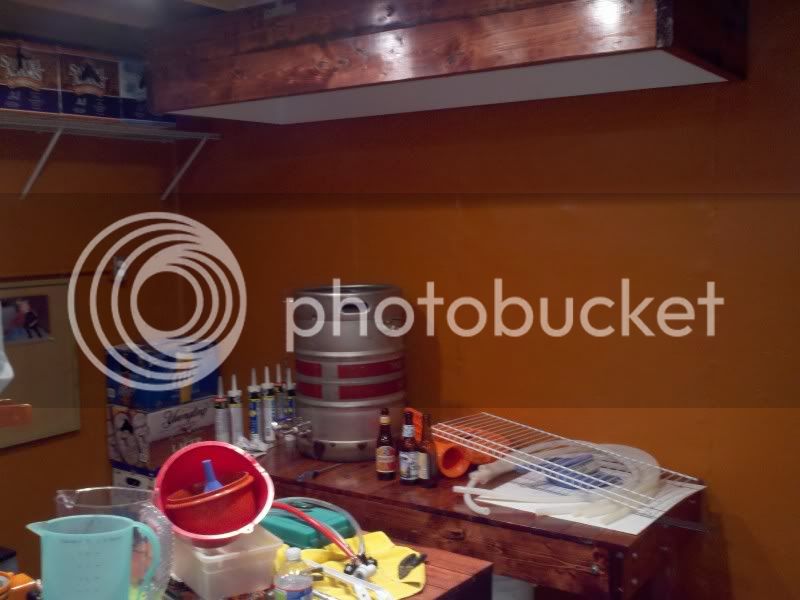
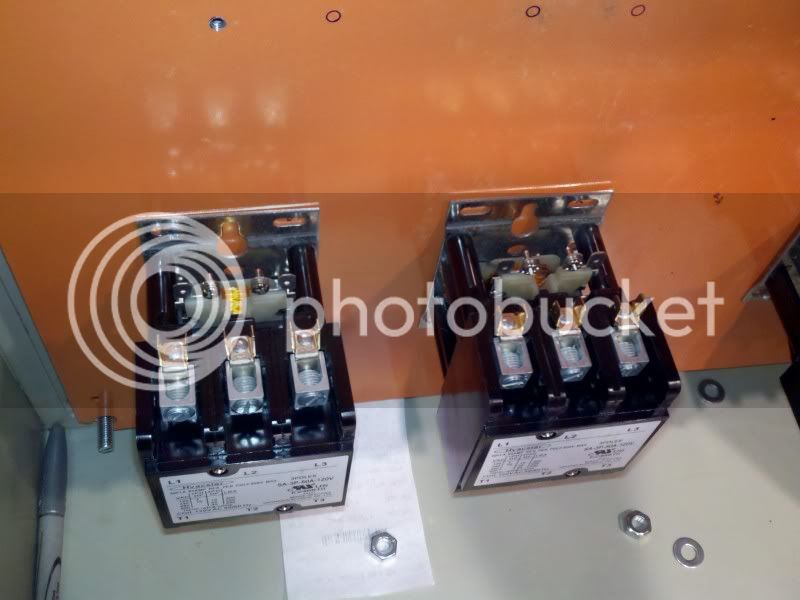
Not a whole lot of progress this weekend. Moved everything back in the room after the floor coating. Also made up my element boxes for the keggles. And lastly I got my DIY hood installed. I need to do the ductwork for it yet, but I think it turned out pretty good. Hopefully I'll be getting my panel kit the end of this week.
Tom

Tom
TomRep
Well-Known Member
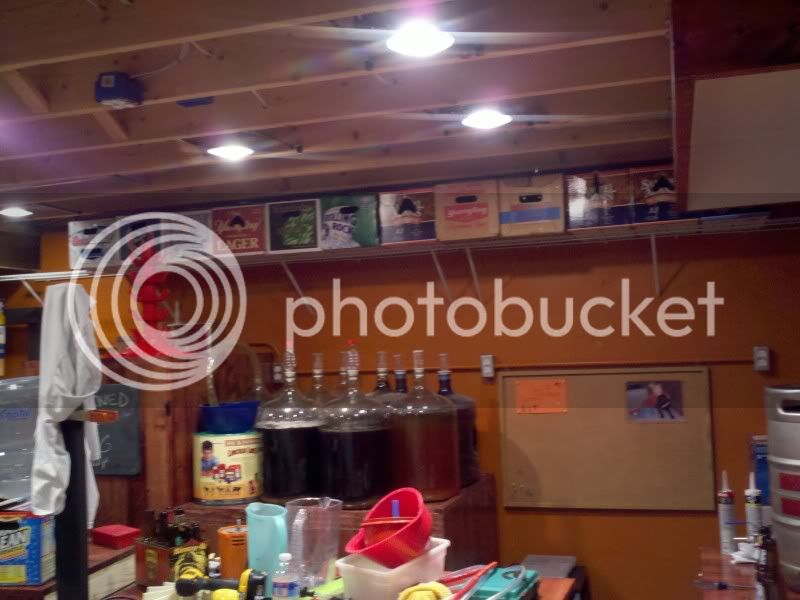
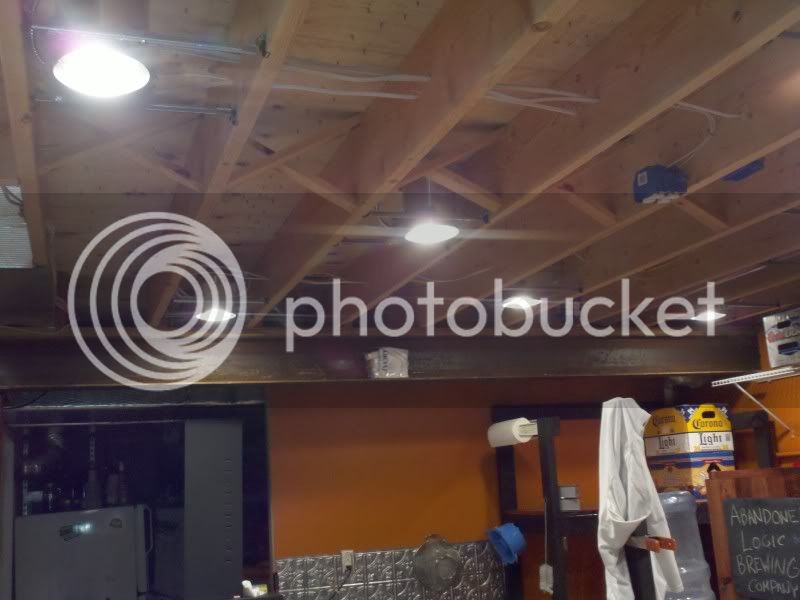
Another weekend goes by and I again didn't get as much done as I would have liked in the brewery. I did get the new can lights installed and I picked up the drywall, but didn't get to hang any yet. hope to get some hung tonight and I'll snap a couple pictures of the progress so far. Also didn't get my panel yet. hopefully the end of this week that will arrive.
tom
tom
Very cool Tom. I'm converting a cold room into a brewery setup and am using some of Kal's ideas as inspiration, although I'm going to be going with natural gas instead of electric. I'm thinking of painting the concrete room as you have done, did you do anything to prep the concrete?
TomRep
Well-Known Member
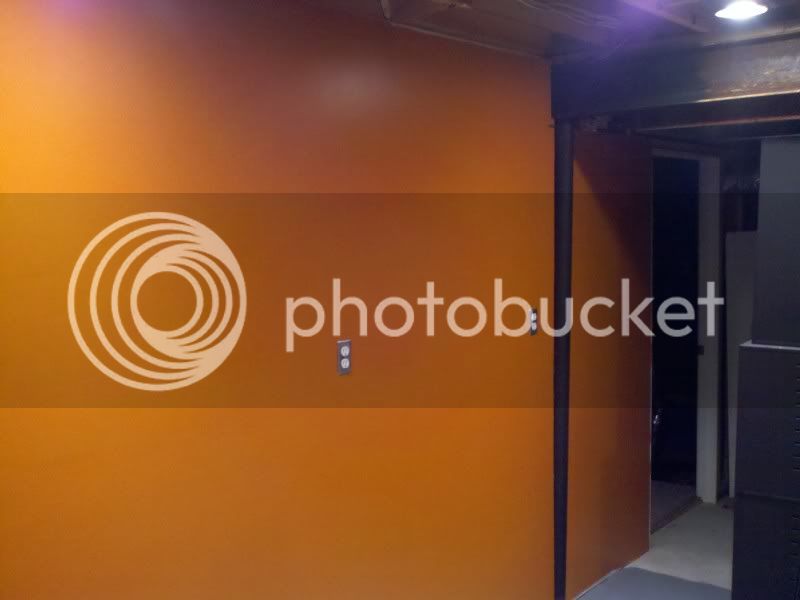
Actually its kinda funny. The whole process of painting the walls was brought on by finding an almost full can of drylock I had used on the finished side of the basement. So in turn, I used two coats of drylock, a coat of primer (due to the bright color i used, not so much for any kind of prep), and two coats of paint. I was considering going propane in the basement with very good ventilation, but due to my 5 year old and my dog being low to the ground and the fact that i have bilco doors, i opted against it. Rather be safe then sorry.
Tom
Sent from my DROIDX using Home Brew Talk
Tom
Sent from my DROIDX using Home Brew Talk
TomRep
Well-Known Member
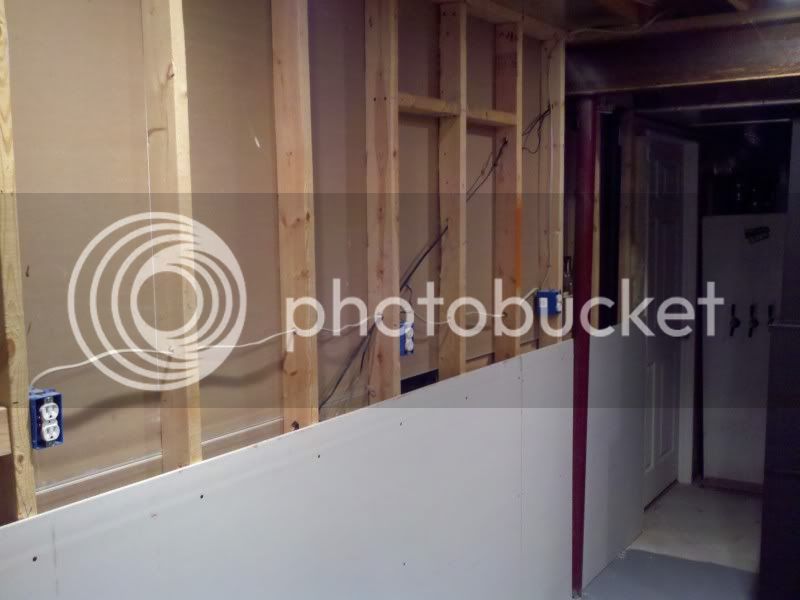
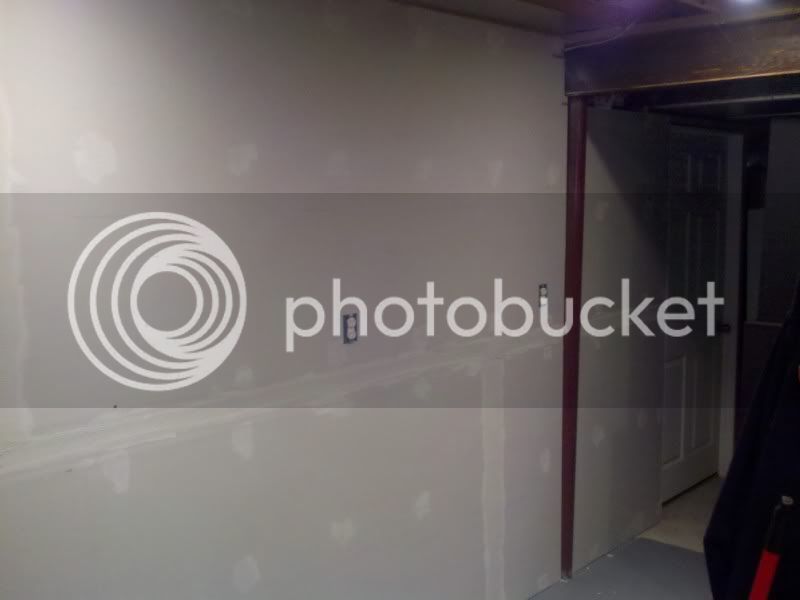
Got a couple pieces of drywall hung tonight. Unfortunately the next step is going to be making some noise and everyone else was in bed, so it will have to wait. Progress so far:
TomRep
Well-Known Member
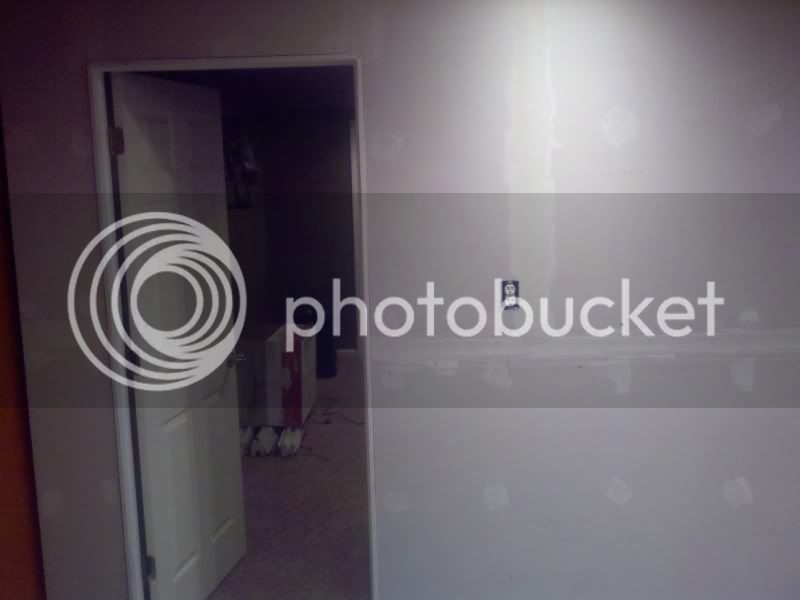
All the drywall up and now spackle time. Got the first coat on tonight. With any luck, this wall will be done and painted by the end of the weekend. Oh, and the wall I put up is actually plumb. It's the pole the builders put up that is not!
tom
tom
TomRep
Well-Known Member
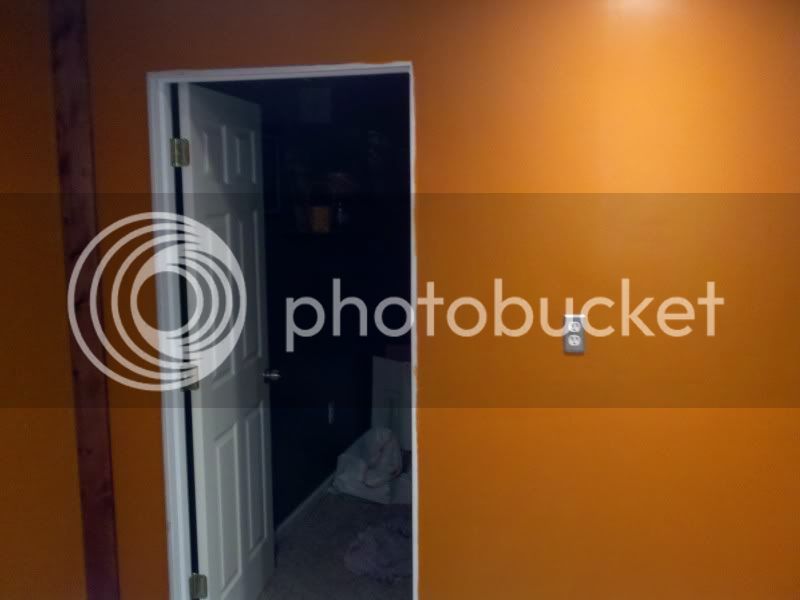
Wall is done. Need to get more of the base trim and some trim for around the doors, then I can move everything back in place.
tom
tom
TomRep
Well-Known Member
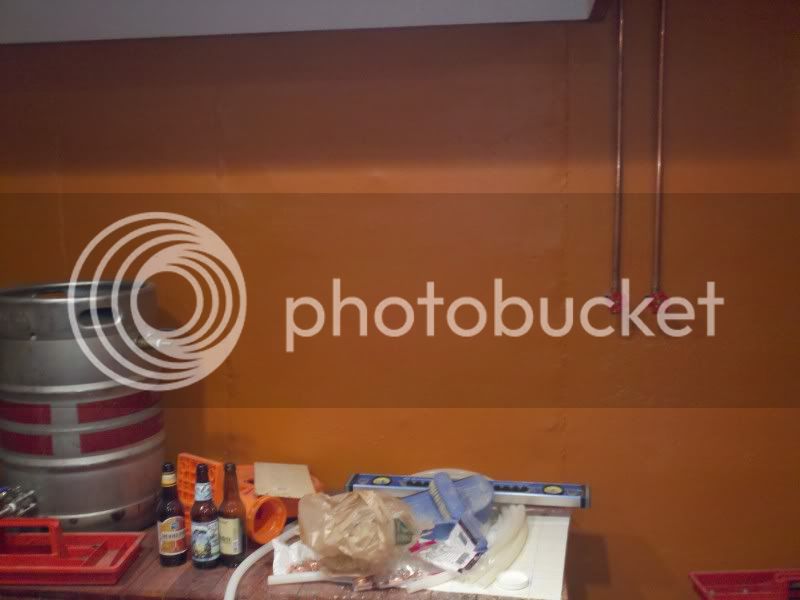
Still no panel. Mike at Spike Innovations is having some problems with his supplier. With any luck I should see it Thursday or Friday of this week. I did get a little bit done so far this weekend. Ran my hot and cold water lines so I now have running water directly at the brew table.
tom
tom
upperNY01brewer
Well-Known Member
I'm liking it. I'm working on my own area in my garage since I've kinda out grown my kitchen. Mine is in my garage, and I'm at the very early stage of getting it done. Next big project with the winter months bearing down on me is getting the walls insulated and drywalled, then a actual brew stand built, cause right now I have a hodge podge stand put together.
KES
Active Member
Looking good Tom. I'm jealous! Just getting a start on my brew space. 
TomRep
Well-Known Member
Thanks for the kind words! getting there little by litte. It's kind of obvious I really only get to make bigger steps on the weekends. When I get the panel I'll be able to work on that a little each night. hope to have that built in a month or so, whenever I get the dang thing! After that, its just run a 240 line, finish the ceiling, polish the keggles, and change all my hardware over to stainless. Oh, and get my pumps. I'm hoping to have things finished off by January or February. Not a lot to do yet but it's all high dollar stuff.
Tom
Tom
TomRep
Well-Known Member
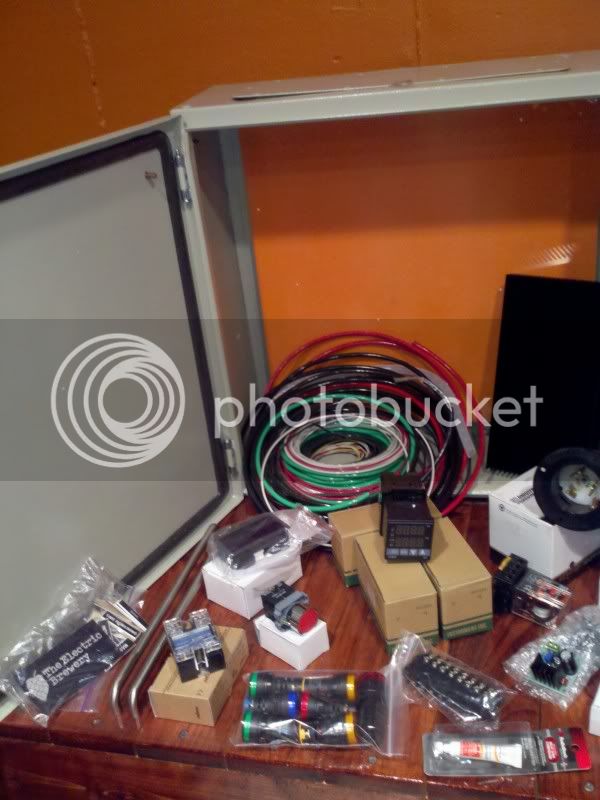
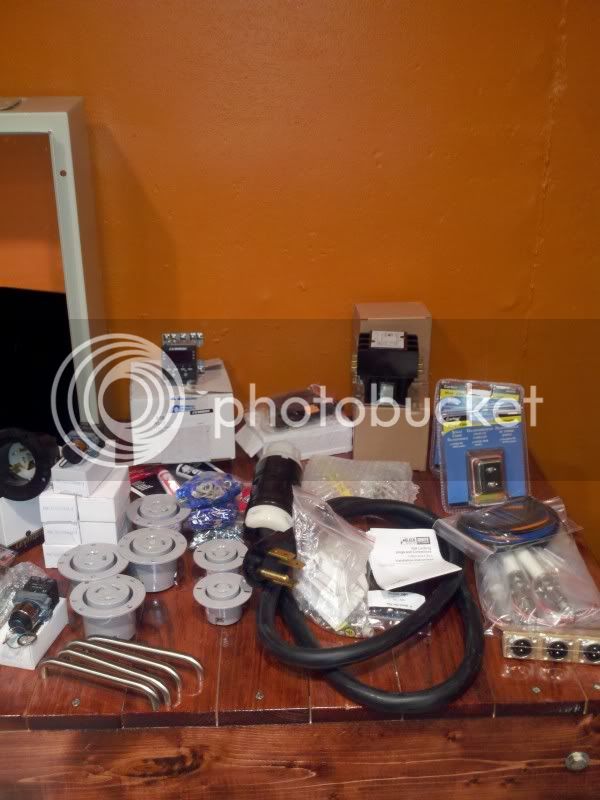
DIY panel kit will be here tomorrow according to ups.
Sent from my DROIDX using Home Brew Talk
Sent from my DROIDX using Home Brew Talk
- Joined
- Dec 9, 2008
- Messages
- 559
- Reaction score
- 51
Starting to get jealous.....
TomRep
Well-Known Member
Umm...yeah...I'm happy...
TomRep
Well-Known Member
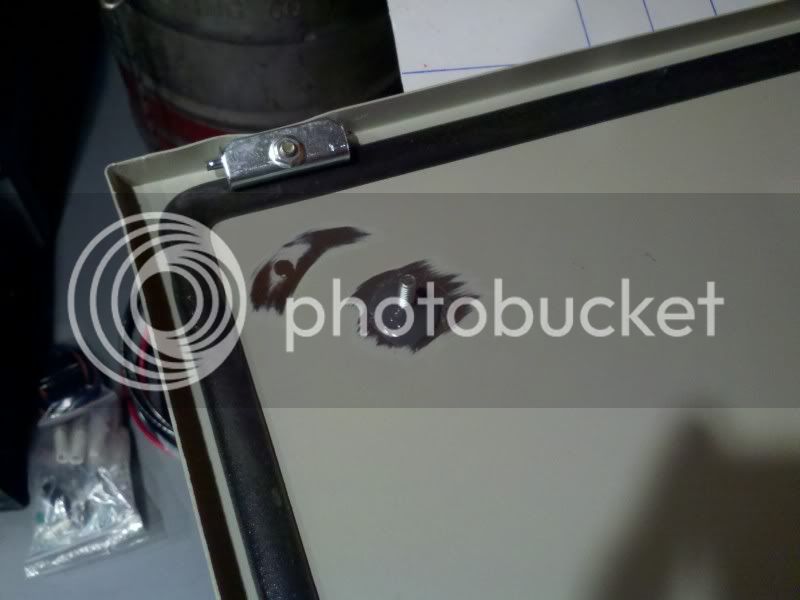
Some pictures of the progress from today. Ground off the bolts for the wire plate at work today, JB Welded the ground post, and started drilling some mounting holes in the backplate to start mounting stuff. I need to go to my grandfathers this weekend to use his drill press. I can only do limited holes with the one I'm using due to the throat depth. Have to measure for all my switches and stuff and will probably drill the pilot holes for them as well.
Tom


Tom
milldoggy
Well-Known Member
Tom,
Looks great. Reminds me of my build. Can't wait to come over and see the 50 amp in action.
Looks great. Reminds me of my build. Can't wait to come over and see the 50 amp in action.
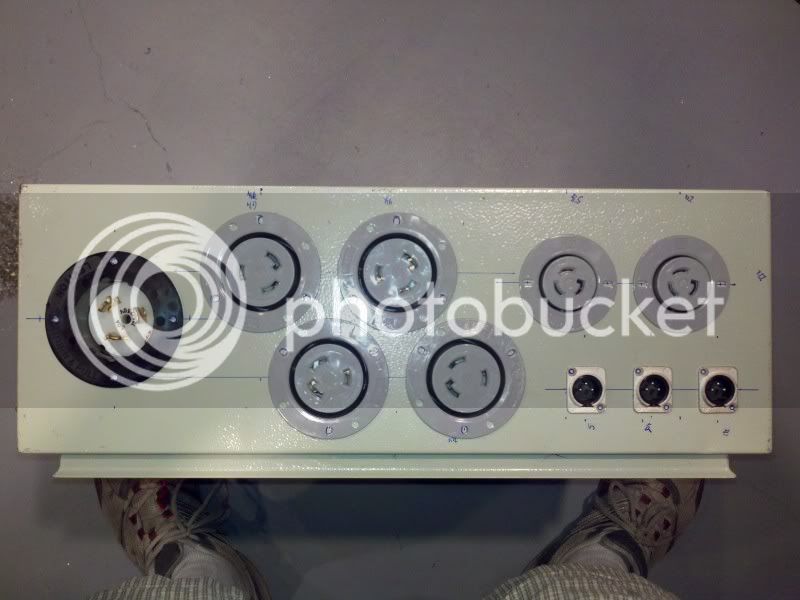
TomRep
Well-Known Member
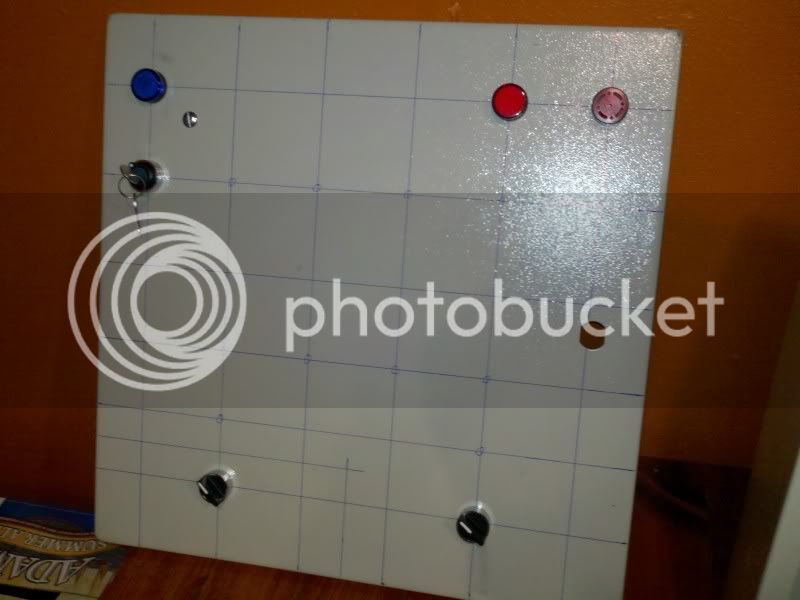
Thanks Mike! Working on cutting all the holes I need today and hopefully get a coat of primer on it tonight. hope to have it all painted up tomorrow and start installing the lights and switches and the wiring on Monday. I'm off work on Monday, so I should be able to get quite a bit done. Where I stand as of now:
milldoggy
Well-Known Member
looking nice!
Here is some inspiration

Here is some inspiration
TomRep
Well-Known Member
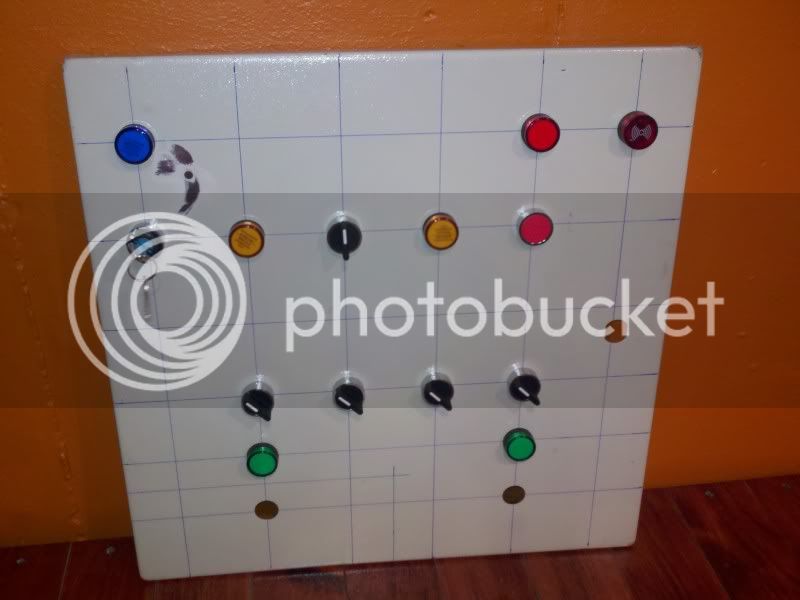
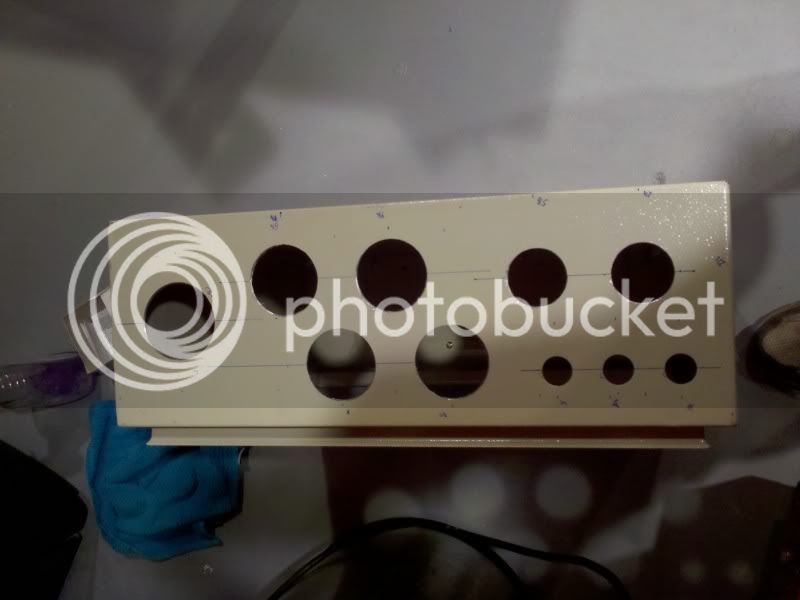
Didn't get to the priming or painting today, but I did get quite a bit done. Have to drill the holes for the handles on the front yet and all the jigsaw work, then it will me time to change the color. Progress from today:
Holter
Well-Known Member
looks great! what tools are you using to cut all of the holes?
TomRep
Well-Known Member
I used a punch similar to a Greenlee for all the holes for the 22mm switches and bi metal hole saws for the large electrical plug holes. Thanks for the compliment.
tom
tom
Similar threads
- Replies
- 7
- Views
- 2K
- Replies
- 6
- Views
- 1K
