The Mad Brewer
The mad brewer
- Joined
- Jan 8, 2022
- Messages
- 159
- Reaction score
- 143
Anyone have recommendations of tool for checking moisture tester for malting grains?

Anyone have recommendations of tool for checking moisture tester for malting grains?
All of that said, unless the OP is malting his own, there’s no good reason to test the moisture content of malted grains. The kilning phase of the malting process removes almost all of the moisture from the grain.
There are probably testers designed specifically for the malting industry but the cost would be prohibitive for homebrewers. And, since the type of testers in the Amazon link are intended for use on the farm, they only display results within a narrow range which corresponds to the range within which grain can be stored safely. Those won’t display a reading above or below that range. When soaking the grain, prior to germination, the moisture content would probably be out of range for the farm use testers.if you are malting, just using your eyeball is good enough to keep it wet....and yeah 12 hours in the oven at 160f-200f, dries it out pretty thoroughly.....(after air drying at room temp of course)
When soaking the grain, prior to germination, the moisture content would probably be out of range for the farm use testers.
![Craft A Brew - Safale S-04 Dry Yeast - Fermentis - English Ale Dry Yeast - For English and American Ales and Hard Apple Ciders - Ingredients for Home Brewing - Beer Making Supplies - [1 Pack]](https://m.media-amazon.com/images/I/41fVGNh6JfL._SL500_.jpg)


Do you do anything after 24 hours? up the temp for a few hours? Toast them? Im working on building a drying rack but if my batch im malting now is ready before i have something I may have to use my dehydrator which only goes down to 95Fgood point, and as far as drying before kilning to lock the enzymes. i find just air drying with a box fan until the kernels are firm, usually 24 hours with a box fan, is good enough and works...
Also is your racks stackable, how easy is it to get grains off it when dry?good point, and as far as drying before kilning to lock the enzymes. i find just air drying with a box fan until the kernels are firm, usually 24 hours with a box fan, is good enough and works...


Also is your racks stackable, how easy is it to get grains off it when dry?
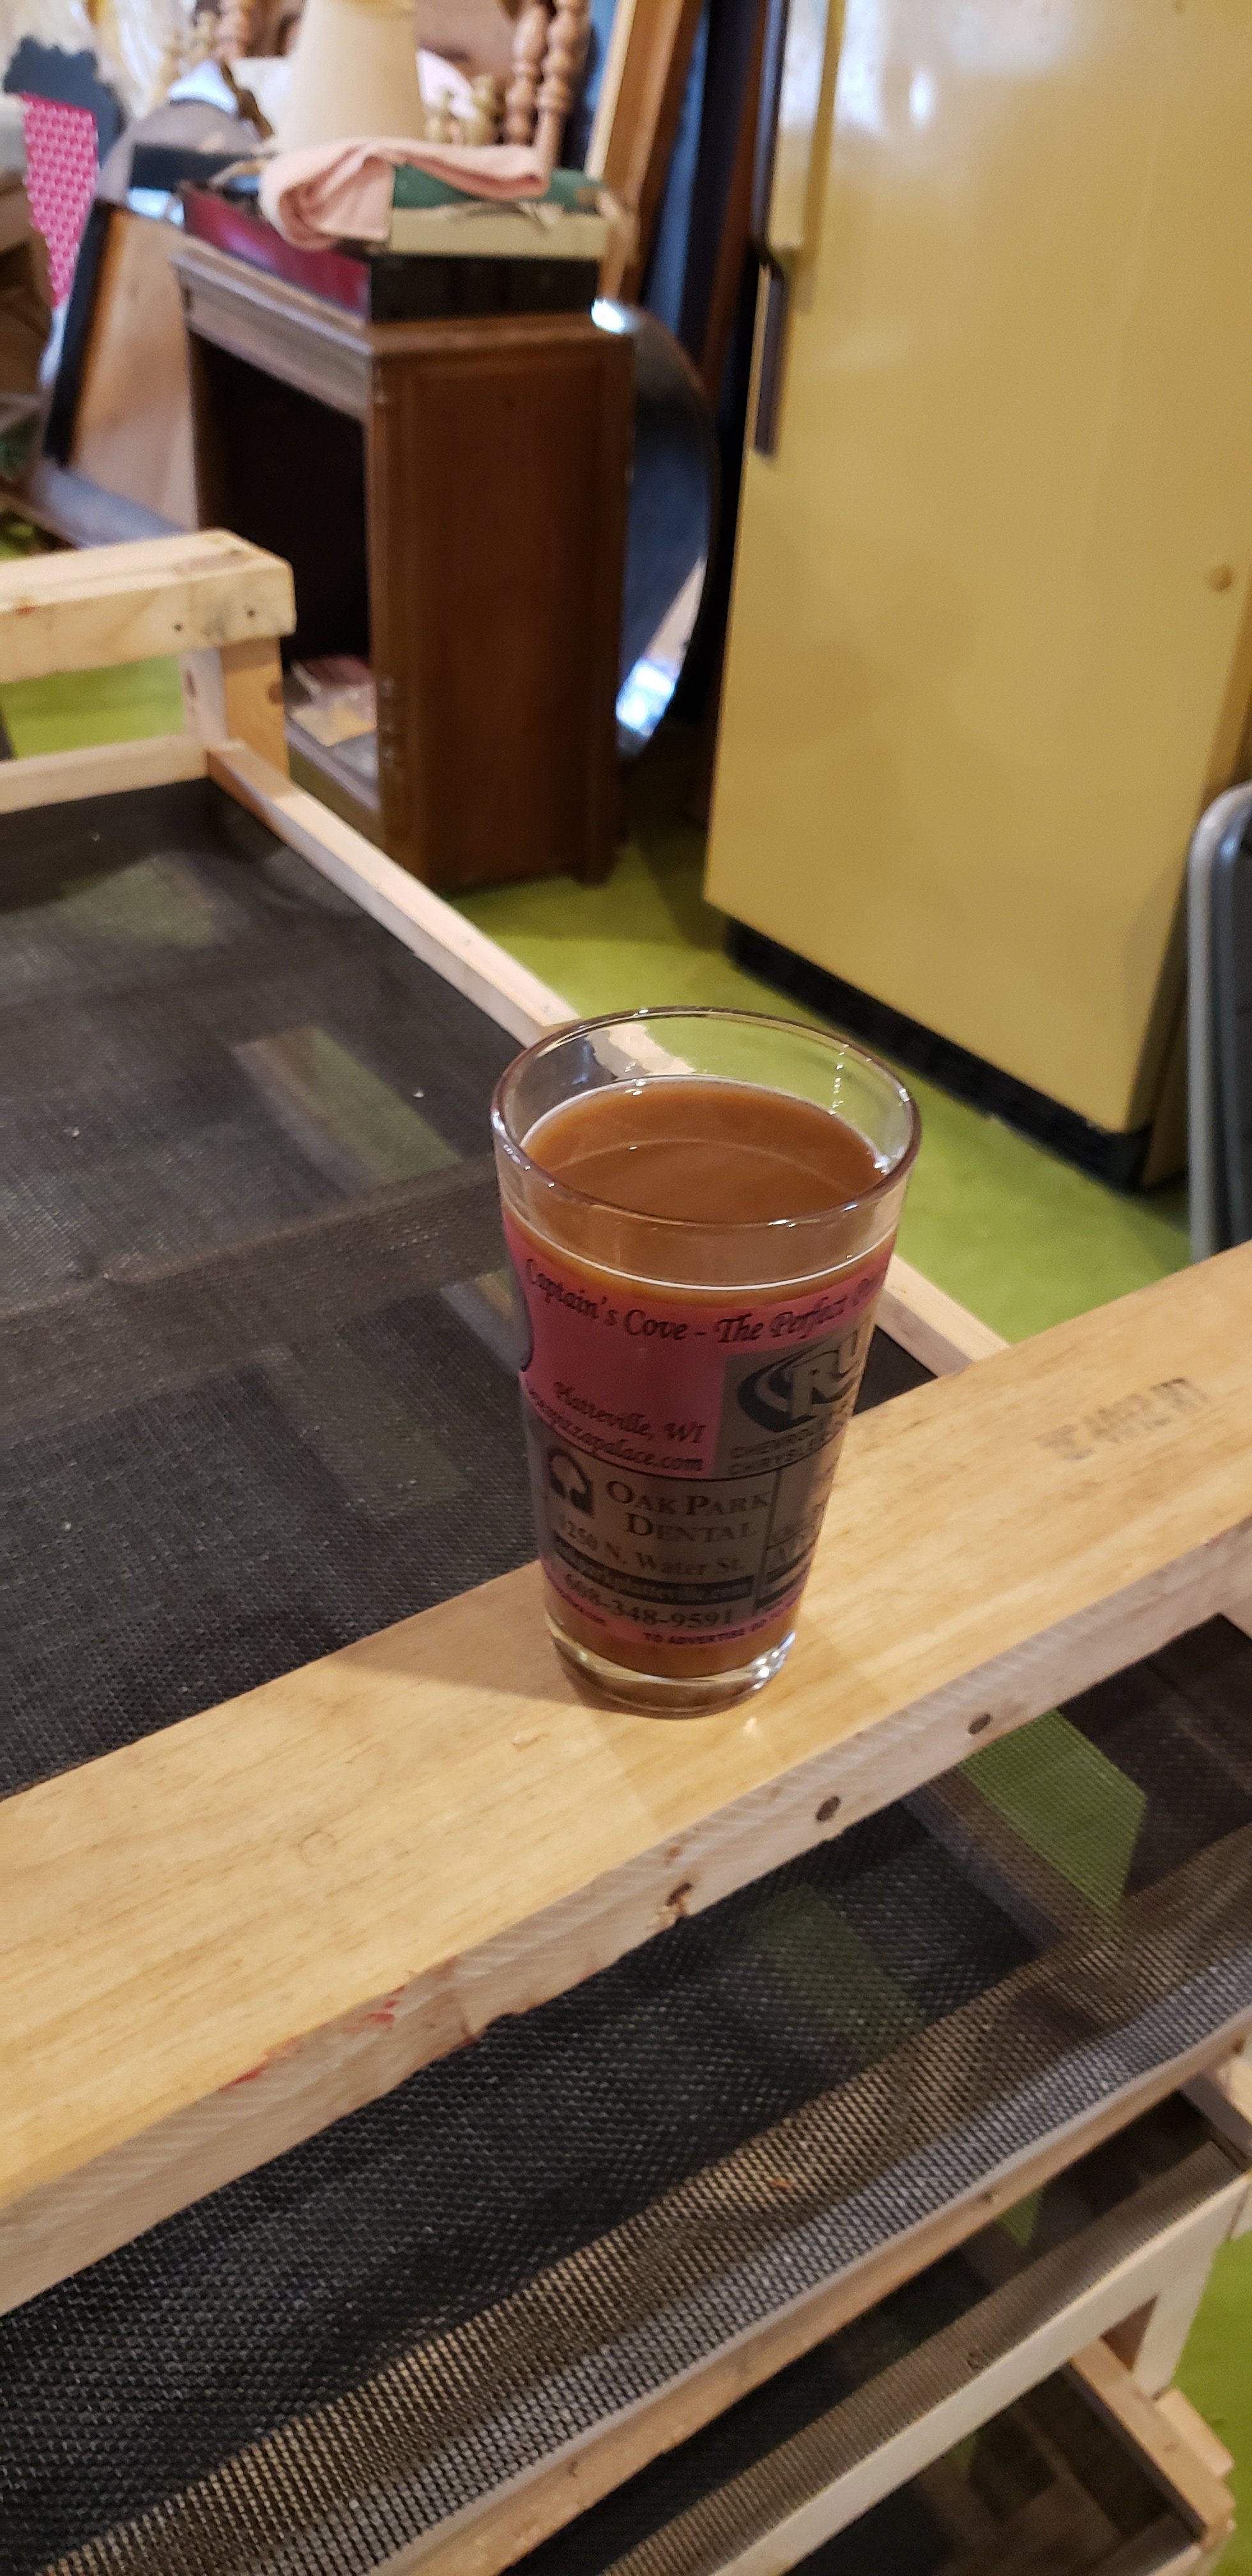
So 24hrs at room temp, 170 for another 12hrs?View attachment 766219
https://www.ebay.com/itm/353972738967?hash=item526a6b5b97:g:q14AAOSwcGpiOsRK
View attachment 766220
after drying i put it in the oven at the lowest setting. i also used a resistor and toggle switch so that the oven will go down to 90f, but that isn't nessesary per se.
just leave it in the oven at 170f until turns off automatically, 12 hours...
sorry for the bad photos. that's a 20lb batch of malt.
also because im inherently cheap (racks online for like 3 are 60-8$$) I will probably build something like pic with scraps I have laying around, im not a hoarder but a re-purposer HAHA, just not this bigView attachment 766219
https://www.ebay.com/itm/353972738967?hash=item526a6b5b97:g:q14AAOSwcGpiOsRK
View attachment 766220
after drying i put it in the oven at the lowest setting. i also used a resistor and toggle switch so that the oven will go down to 90f, but that isn't nessesary per se.
just leave it in the oven at 170f until turns off automatically, 12 hours...
sorry for the bad photos. that's a 20lb batch of malt.

So 24hrs at room temp, 170 for another 12hrs?
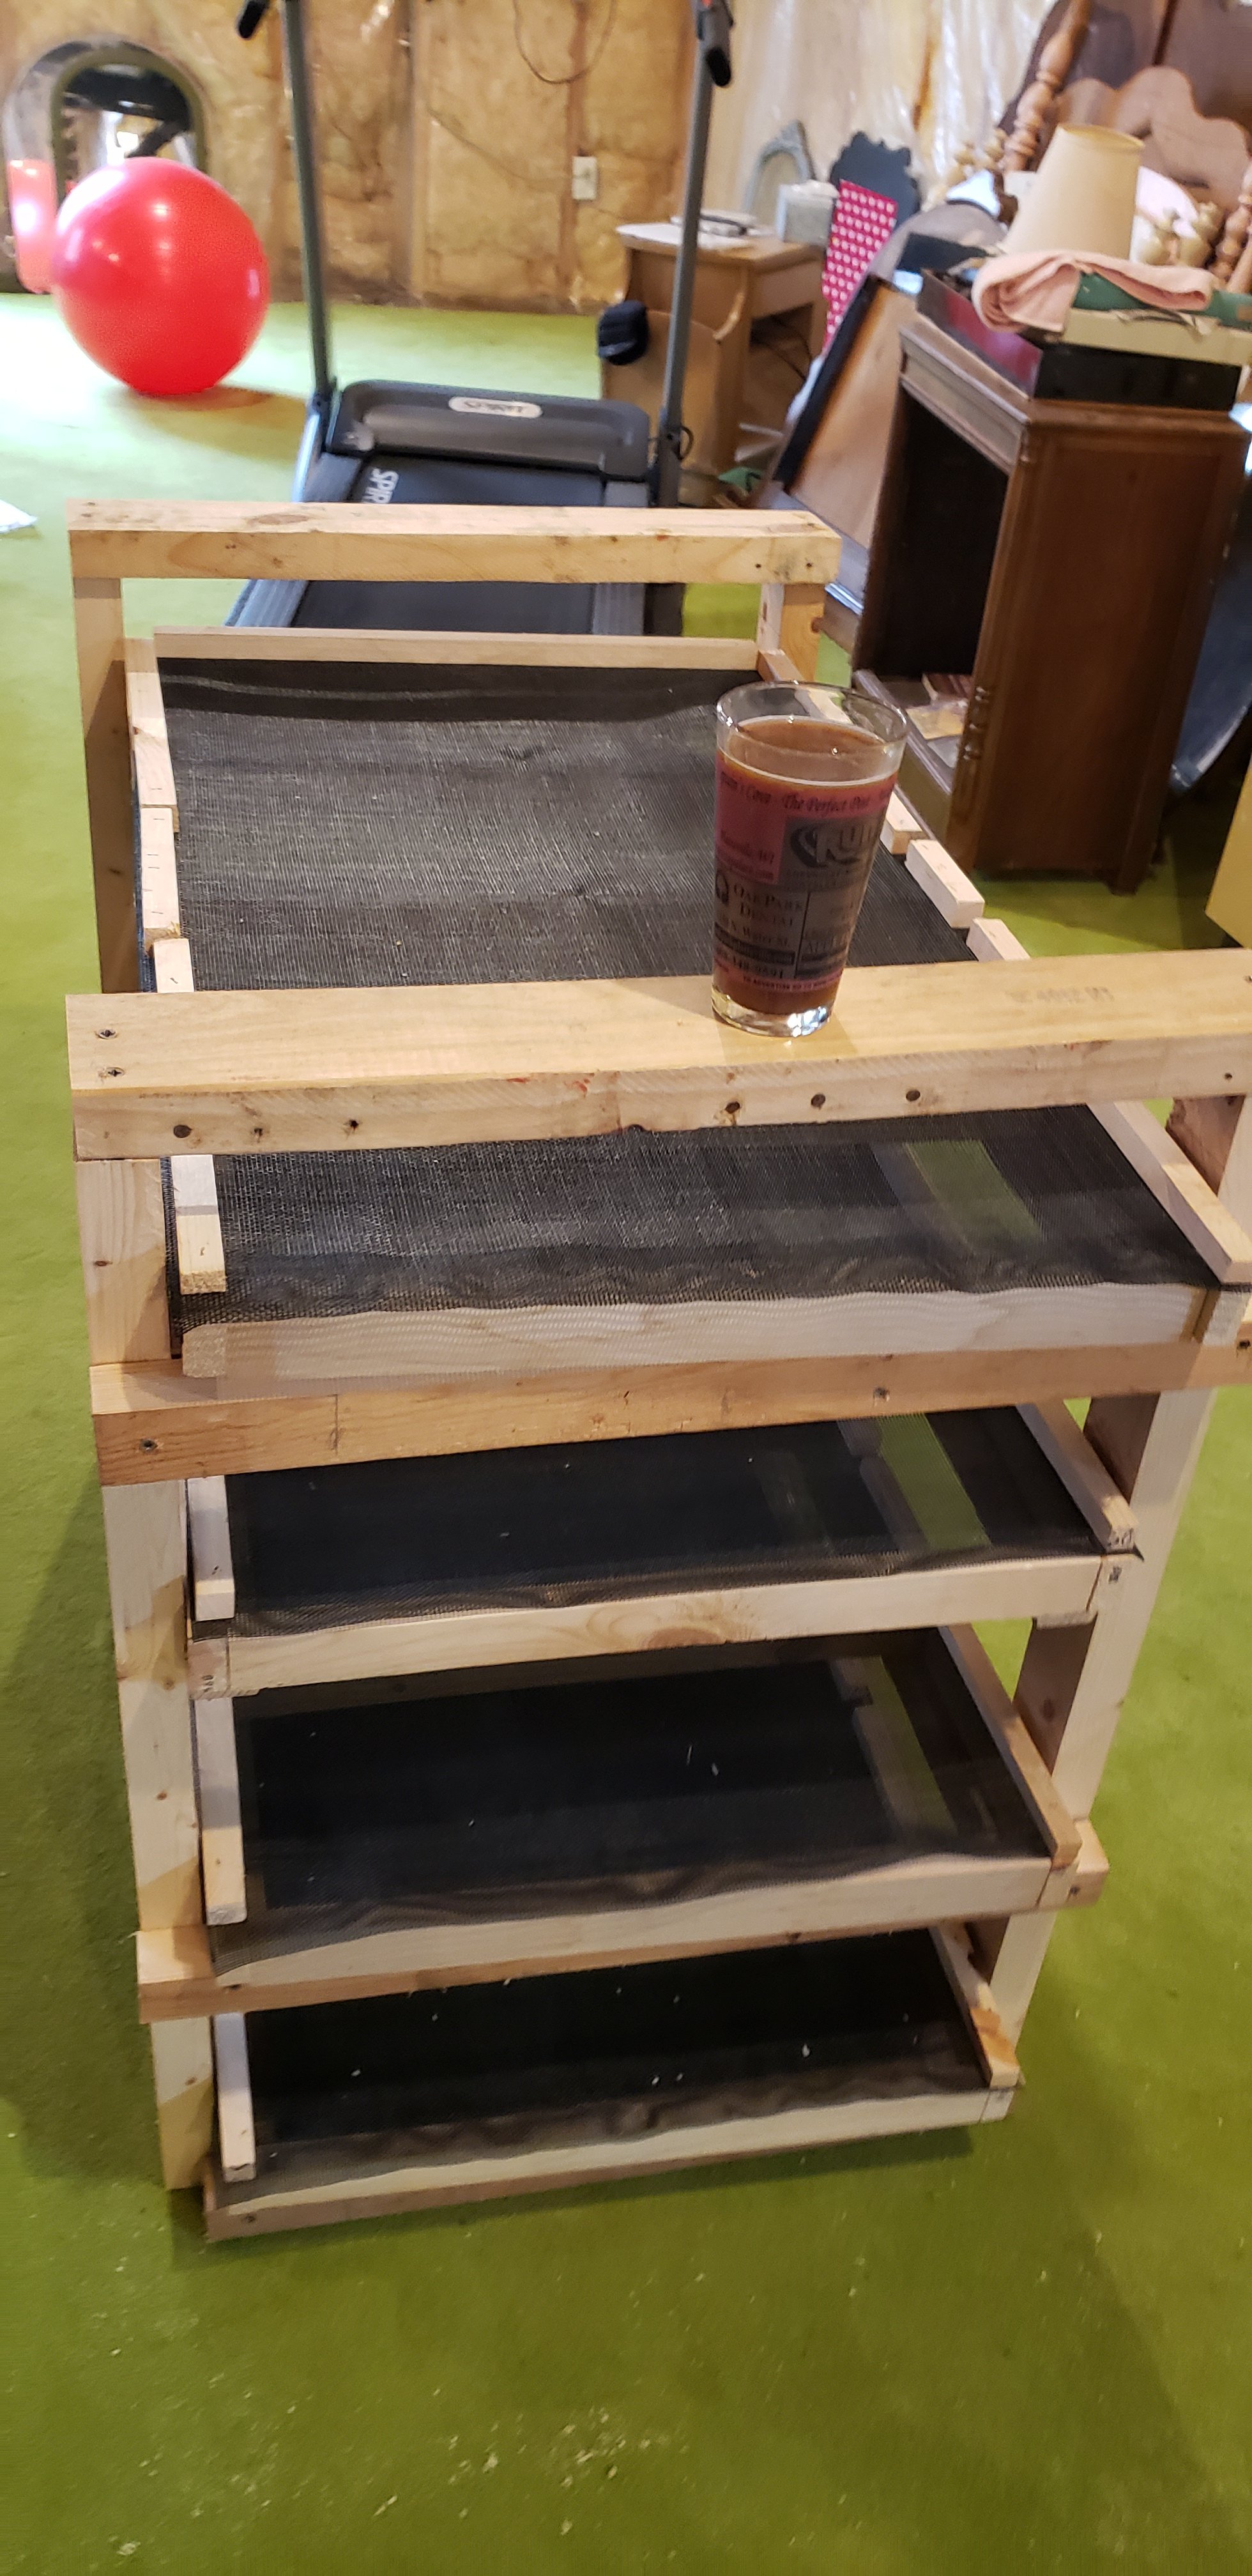
Also how do you get the grains off the SS rack for the oven?

Im going to build the rack stand, then make the screens and frames separate so they slide in n out, atleast thats the plan.going to be hard if you can't take the top ones off as you unload them....
probably be nice if you cut a 'V' in the top of the legs, and a wedge in the bottom....
Im going to build the rack stand, then make the screens and frames separate so they slide in n out, atleast thats the plan.
 sounds like you'll get the hang of it! (i'd make rectangles and not square, so that there's more length for the box fan to blow over)
That is the plan, I am going to cover the sides to keep air flow going thru, I m determined to keep it under $20. I m going to have to rob from peter to pay Paul as it were.... have to steal some 2x4's from the garage shelving to finish it and replace them with OSB.....ah
I feel like Im reedy to get my Yellow belt in or what ever is one up from beginner
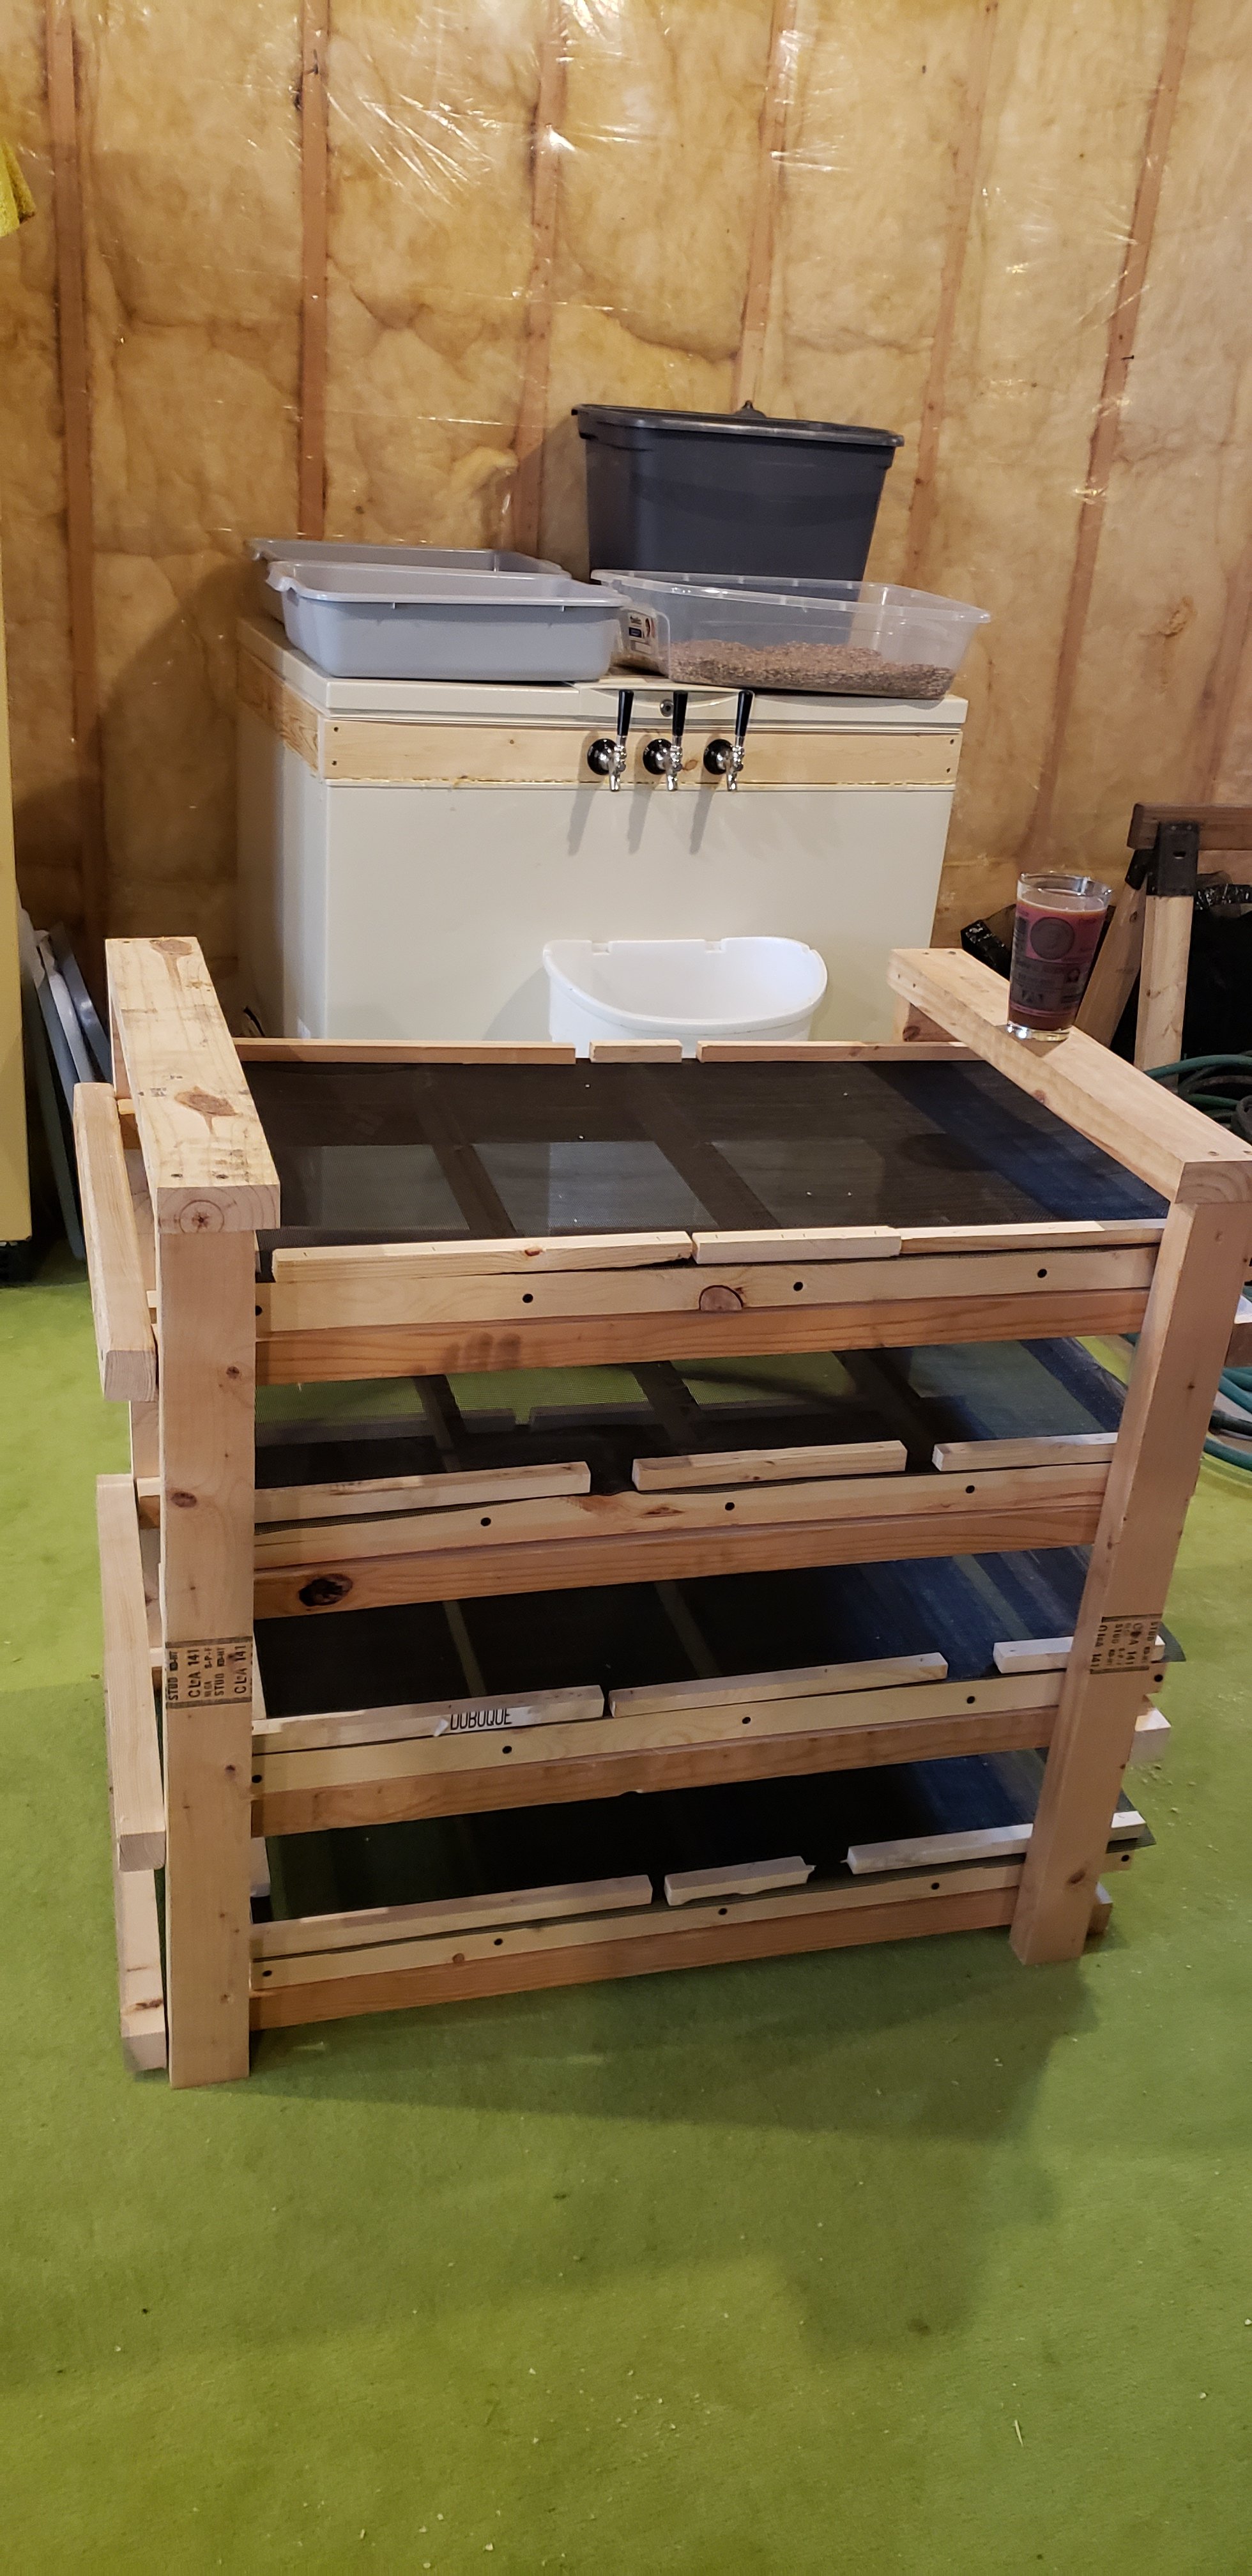
Here is sort of the finished product not sure what I'm gonna do about the sides. Not perfect but cost me about 15 bucks using up scrap what I had. Little heavier than I wanted. You can see my keeezer in the background. And MyBrown ale which is a lot cloudier which is probably because I didn't use barley. And some grains germinating in the background.
Here is sort of the finished product not sure what I'm gonna do about the sides. Not perfect but cost me about 15 bucks using up scrap what I had. Little heavier than I wanted. You can see my keeezer in the background. And MyBrown ale which is a lot cloudier which is probably because I didn't use barley. And some grains germinating in the background.
I could remove the bottom cross brace to let the air go underneath, And move it upi was looking at it again, started thinking about wether there would be enough air flow going under the bottom rack?
edit: of course some casters would solve that! and make it mobile....
But I do like the idea of casters because if I need to move it upstairs or down it might be a painI could remove the bottom cross brace to let the air go underneath, And move it up
But I do like the idea of casters because if I need to move it upstairs or down it might be a pain
Walk out basement so I can just wheel it around the outside.i find the K.I.S.S. principle is the best when malting your own..the pros may worry about moister content, i get fine results, just getting it wet.
and i don't know how casters will traverse stairs? but looking at what you rigged up in a day i'm sure you could repurpose a treadmill pad as a tank sorta stair crawler!
i admire your tenacity!
THe nice thing about my Heatpump water heater is it acts a dehumidifyer, con is it Cools the basement, so it will be really dry just cooler.
")
with warm weather coming my basement temp should be 60’s which I may try kilning there.
Thats the plani want to make sure you know there's two phases to this, drying at low temp. THEN kilning at high temp 160-200f.
the enymes needed for brewing are like spounges. when wet they're pliable and high temp will rip them to shreds. but when dry they're rocks, and although 160f in the oven might seem weird, because heck you're going to boil it at 212 right? dry heat and wet heat create completly different flavors. i still don't really understand why, but it's fact.
Thats the plan