PowerSchlitz
Member
- Joined
- Dec 16, 2018
- Messages
- 7
- Reaction score
- 8
New to the forum but researched this topic and wanted to share my results.
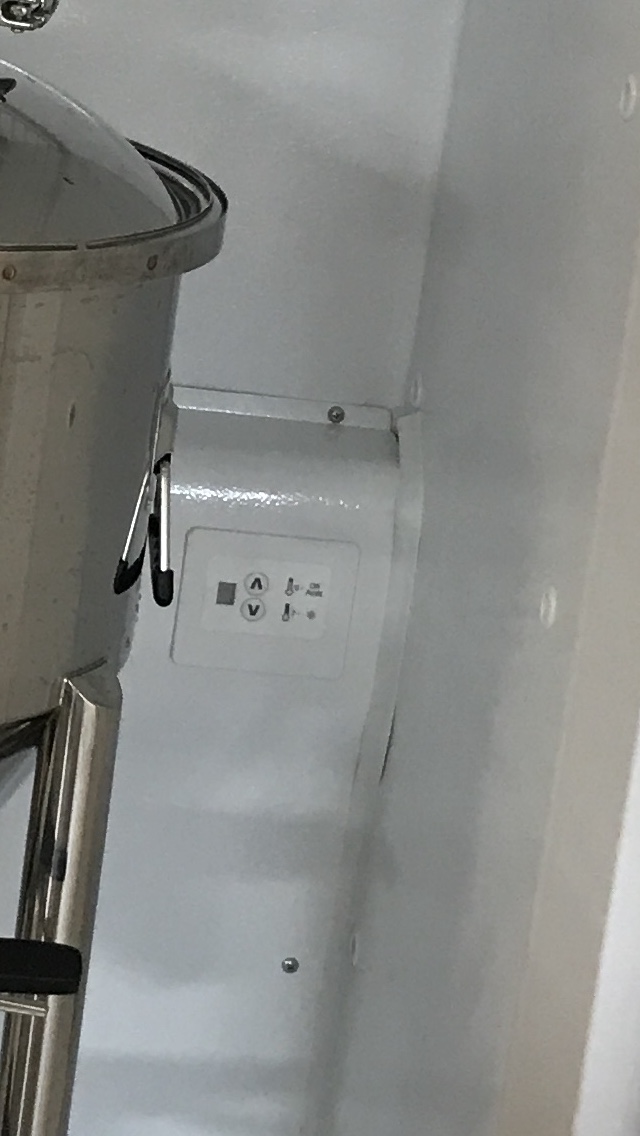
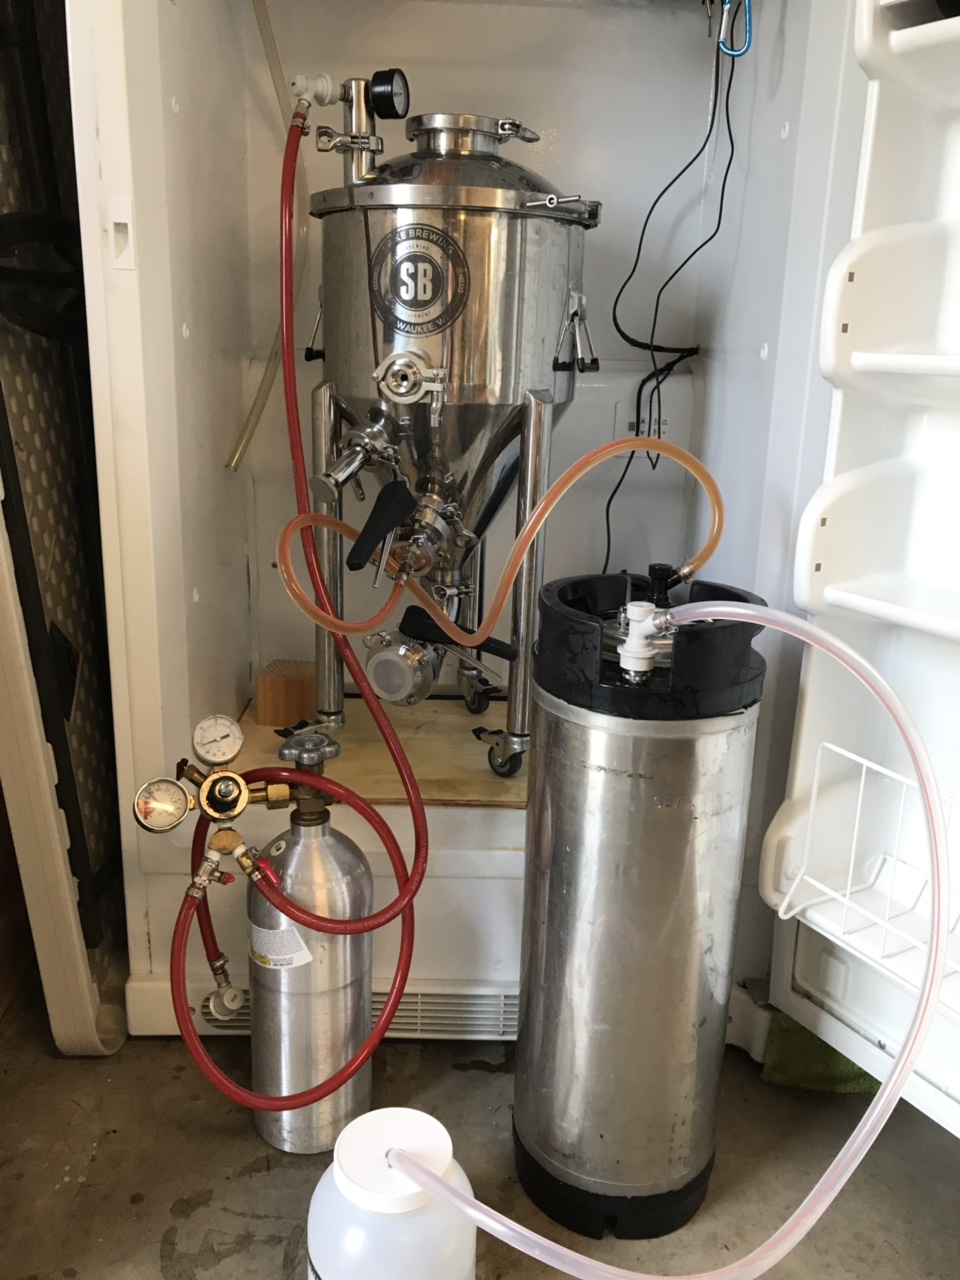
I converted a Kenmore upright freezer model 253.xxxxxx into a fermenter. I’m using an Inkbird 308 as external thermostat. Everything worked perfect for 2 batches but then my internal thermostat failed. When my Inkbird tried to start cooling, the compressor and fan would start up but 3 seconds later it would cut out and an E error code flashed on my internal control panel. It seems that digital internal controller/thermostat don’t like external thermostats like the Inkbird taking over. Why? I don’t know but instead of buying a new internal thermostat I wanted to bypass it. Since I’m not an electrician I consulted a friend and he figured it out.
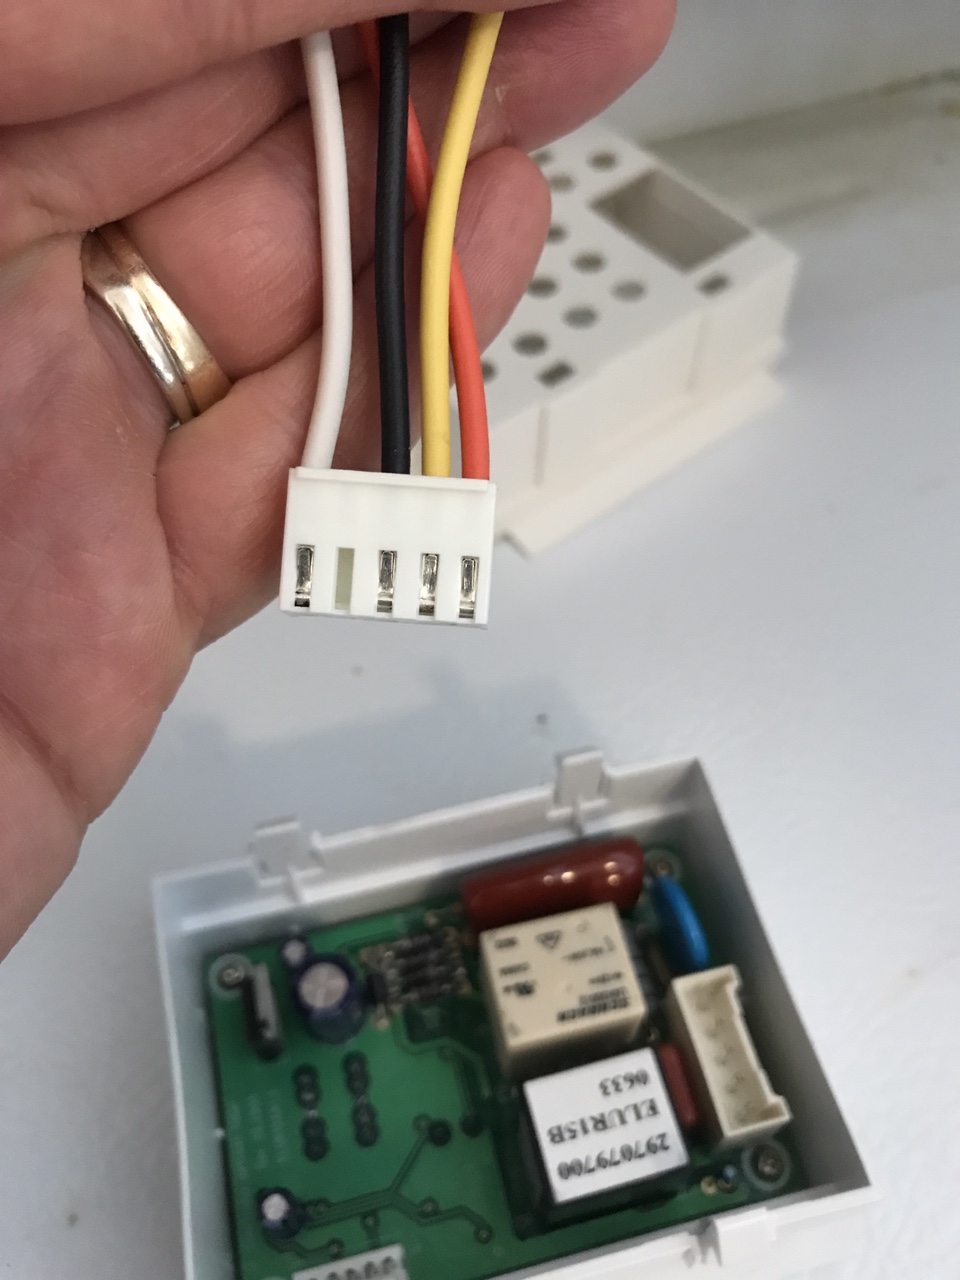
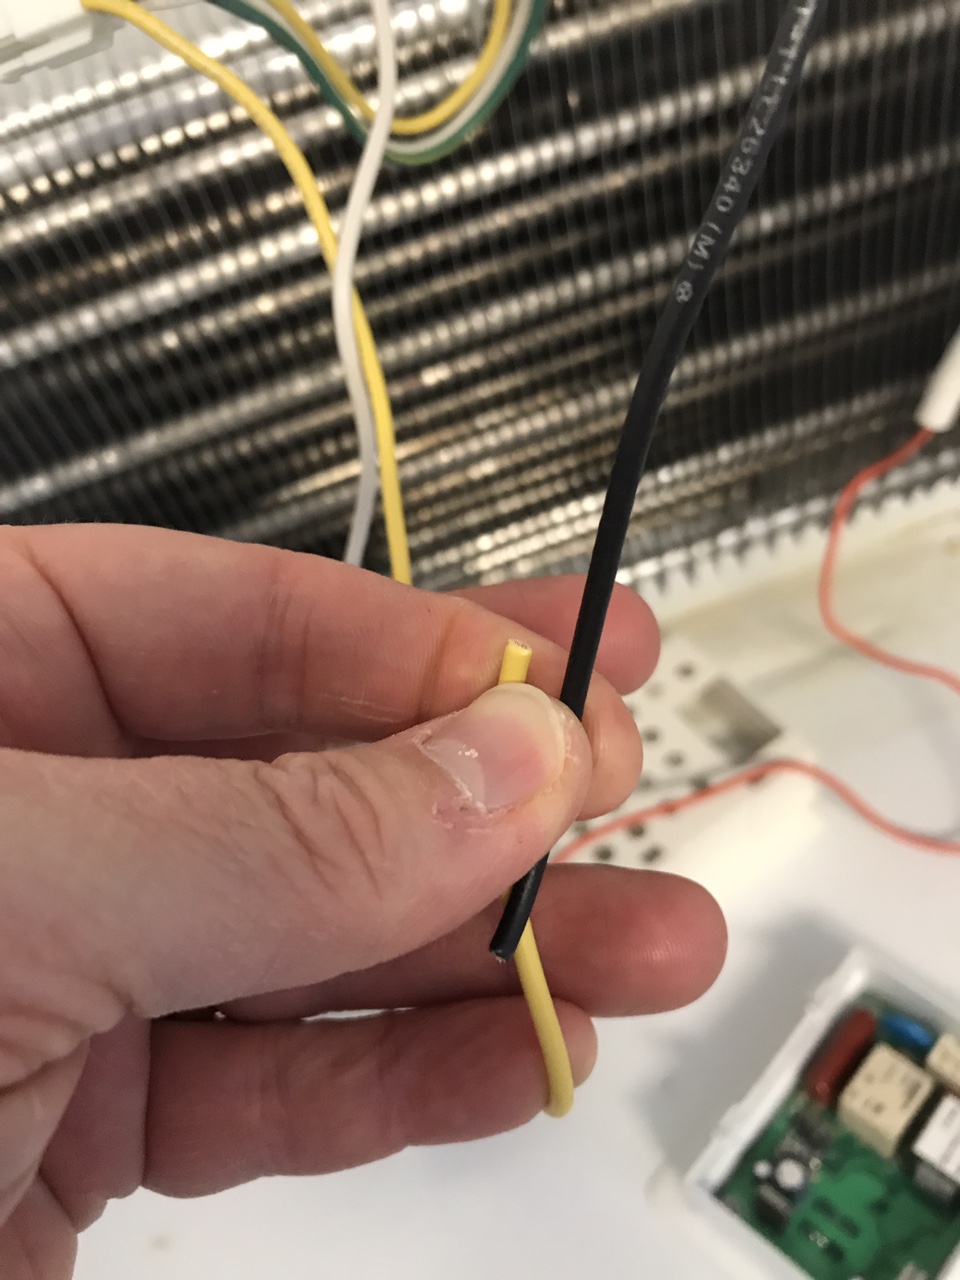
Below are pictures of what I did and a diagram and it worked!! Obviously not all freezers are like this but if this common freezer is what you have I hope this helps.


Basically cut the black and yellow and splice together (my picture doesn’t show them spliced but they are now. This was my final picture to my electrician friend before powering up) like I said, it works as does the fan and light.
Cheers and hope this helps someone!!!
I converted a Kenmore upright freezer model 253.xxxxxx into a fermenter. I’m using an Inkbird 308 as external thermostat. Everything worked perfect for 2 batches but then my internal thermostat failed. When my Inkbird tried to start cooling, the compressor and fan would start up but 3 seconds later it would cut out and an E error code flashed on my internal control panel. It seems that digital internal controller/thermostat don’t like external thermostats like the Inkbird taking over. Why? I don’t know but instead of buying a new internal thermostat I wanted to bypass it. Since I’m not an electrician I consulted a friend and he figured it out.
Below are pictures of what I did and a diagram and it worked!! Obviously not all freezers are like this but if this common freezer is what you have I hope this helps.


Basically cut the black and yellow and splice together (my picture doesn’t show them spliced but they are now. This was my final picture to my electrician friend before powering up) like I said, it works as does the fan and light.
Cheers and hope this helps someone!!!


