
nopride
Well-Known Member
So, thanks to the many great threads here, I finally started my keezer. It's a collar keezer in a 5 cu ft freezer. It's tight, but I can fit three kegs in there. I'm starting with just two taps, with a third spot for aging. However, I never seem to have enough in the pipeline, so I think I'll be fine with two taps.
I had kid number 2 three months ago, so I haven't done a great job of documenting this. I've just chipped away at it here and there a few minutes a time, but I thought I'd throw up what I have. Hopefully I'm able to make more progress soon, as it's close!
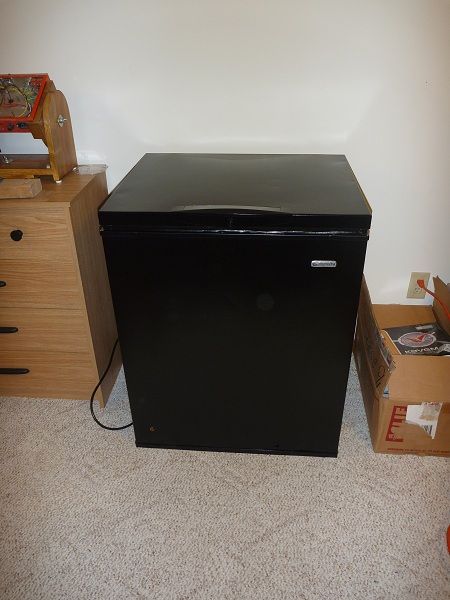
Here's the freezer. It's a Kenmore that I got off of craigslist for $30. It was in pretty good shape, a few dings. I gave it a paint job in October while we still had some warm days.
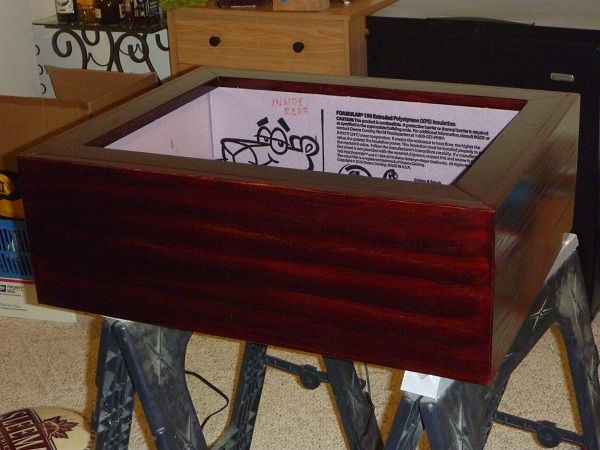
Here is the constructed collar. I used 1x10 oak for the sides. I also took a 1x8 pine board and ripped it down to 2 inch wide pieces. I used mitered edges and glue the collar together. The pine was attached to the oak boards using pocket holes. The edges were all cleaned up with a 45 degree chamfer. It was finished with minwax bombay mahogany 1 step. I like the color, but am not a fan of this stuff. It's impossible to get an even color, and sucks to work with. However, for this project, it came out well enough.
This design lets me put two layers of 1 inch thick pink insulation, but have sturdy edges where the collar meets the freezer and lid. This is the front. I haven't drilled the holes for the taps yet, but that is next.
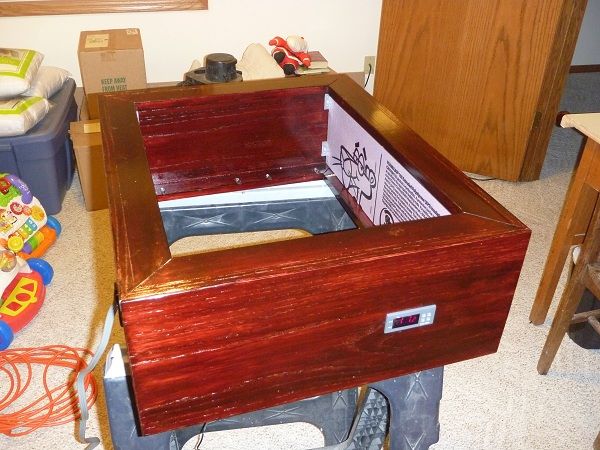
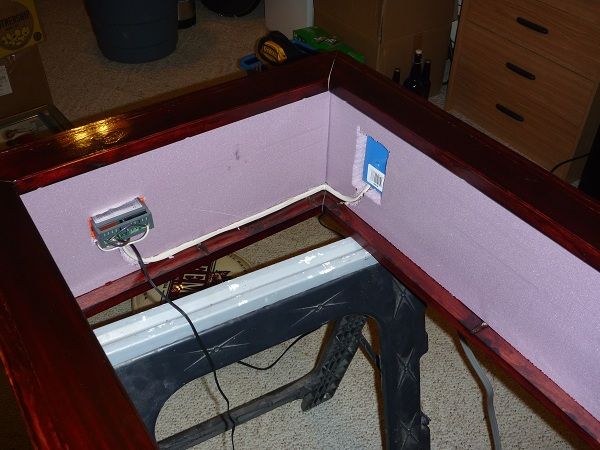
Here I am putting in the outside layer of insulation. I have also mounted the STC-1000 in the side.
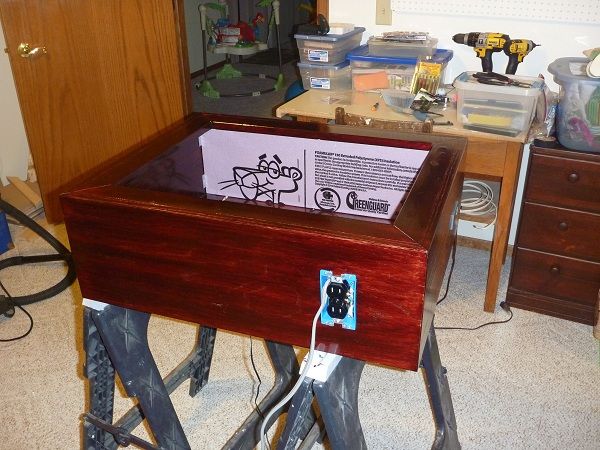
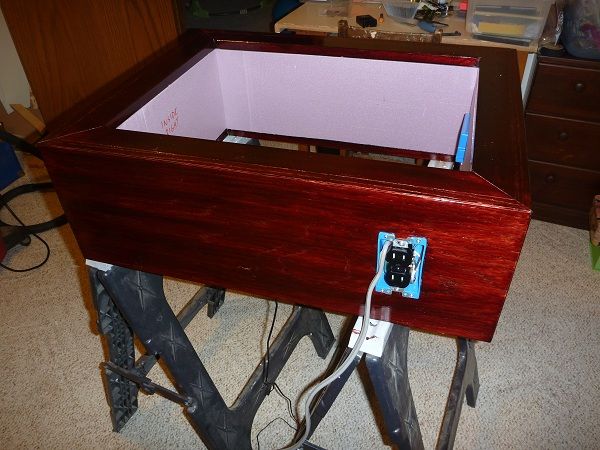
The power cord and outlet are on the back. The top will always be hot which will be used for a fan if I feel it's needed, and the bottom will be run by the STC-1000 for the freezer. I plan on drilling a hole in the outlet cover to run the power cord through.
The wire is run through channels in the outside layer of insulation.
Here is the inside layer of insulation added. I covered the back of the STC-1000 with an electric box. I plan on sealing around the electric box with a little silicon.
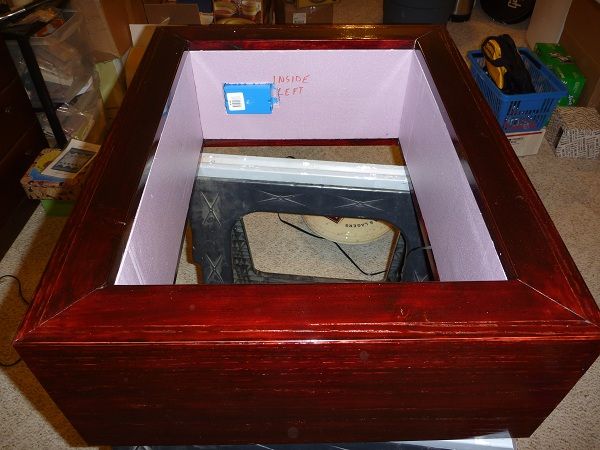
Another view with the inside layer of insulation in. The insulation is just held in by the tight fit, so I can remove it if I need to.
Next step is putting in the taps. I picked up a couple of the new ventmatics. However, there is a recent thread on these where it sounds like they have problems. So, I'm anxious to get these on to see if I have the same issue.
I had kid number 2 three months ago, so I haven't done a great job of documenting this. I've just chipped away at it here and there a few minutes a time, but I thought I'd throw up what I have. Hopefully I'm able to make more progress soon, as it's close!
Here's the freezer. It's a Kenmore that I got off of craigslist for $30. It was in pretty good shape, a few dings. I gave it a paint job in October while we still had some warm days.
Here is the constructed collar. I used 1x10 oak for the sides. I also took a 1x8 pine board and ripped it down to 2 inch wide pieces. I used mitered edges and glue the collar together. The pine was attached to the oak boards using pocket holes. The edges were all cleaned up with a 45 degree chamfer. It was finished with minwax bombay mahogany 1 step. I like the color, but am not a fan of this stuff. It's impossible to get an even color, and sucks to work with. However, for this project, it came out well enough.
This design lets me put two layers of 1 inch thick pink insulation, but have sturdy edges where the collar meets the freezer and lid. This is the front. I haven't drilled the holes for the taps yet, but that is next.
Here I am putting in the outside layer of insulation. I have also mounted the STC-1000 in the side.
The power cord and outlet are on the back. The top will always be hot which will be used for a fan if I feel it's needed, and the bottom will be run by the STC-1000 for the freezer. I plan on drilling a hole in the outlet cover to run the power cord through.
The wire is run through channels in the outside layer of insulation.
Here is the inside layer of insulation added. I covered the back of the STC-1000 with an electric box. I plan on sealing around the electric box with a little silicon.
Another view with the inside layer of insulation in. The insulation is just held in by the tight fit, so I can remove it if I need to.
Next step is putting in the taps. I picked up a couple of the new ventmatics. However, there is a recent thread on these where it sounds like they have problems. So, I'm anxious to get these on to see if I have the same issue.
