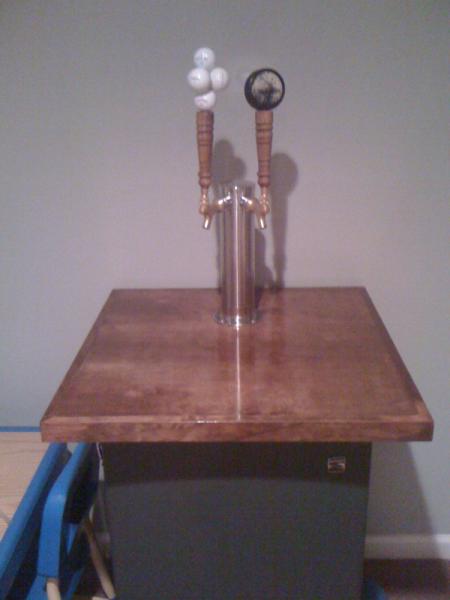
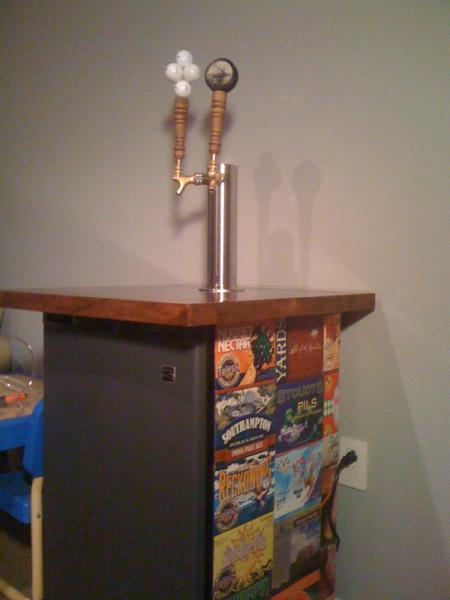
So I just purchased the same fridge and am in midst of the conversion. I have a few findings and alternative methods to add to the mix.
The Door - I removed the door, then the plastic inside and rubber weather stripping via the screws. The plastic is thin enough that a new Razor in a sturdy utility knife will cut it like butter. I cut to the inside of the screw holes right when the plastic makes the 90 degree turn towards the inside of the fridge. Be careful with you free hand. I'm pretty good with a razor knife, but snagged my finger pretty good.
The Top - I wasn't sure of where the lines where located (and I wanted to reinforce the lid for the tower. I carefully removed the plastic lid. Go slow. It help to use a putty knife around the edged. I also used a block of wood and hammer to tap the side up. Then I SLOWLY peeled the top off. **Start in one of the front corners. A wedge piece of wood (like a door stop) helped a lot. I carved out small area from a 1/2 piece of wood to reinforce the lid for the tower.
Big observation I found. With the lid removed, on the underside there is a circle in the plastic and three preset "screw holes". It is dead center from side to side and about 3/4 back from the front of the fridge.
After digging out some of the foam insulation I found that the center of the circle is directly between two condenser lines. Translate this to the inside- You can see the Big bumps in the fridge and a few on the roof have a small bump in between them. The big bumps have the Lines the little one are in between them. So you can drill from the inside out using he small bump as a guide. The condenser lines are about 1/2" from the center of the small bump.
***So in short the big bumps on the inside of the fridge are the lines***Stay away from them****
Cutting the shelf rails - again you can use a good sharp utility knife.
Now I have pin locks and they do not reach as high as the cornies the OP has So I dd not have to cut the freezer section, only the bottom rail/shelf support for the freezer section.
Thanks to the OP - his worked greatly helped mine, and I hope my 2-cents can help someone else.


![Craft A Brew - Safale BE-256 Yeast - Fermentis - Belgian Ale Dry Yeast - For Belgian & Strong Ales - Ingredients for Home Brewing - Beer Making Supplies - [3 Pack]](https://m.media-amazon.com/images/I/51bcKEwQmWL._SL500_.jpg)


