
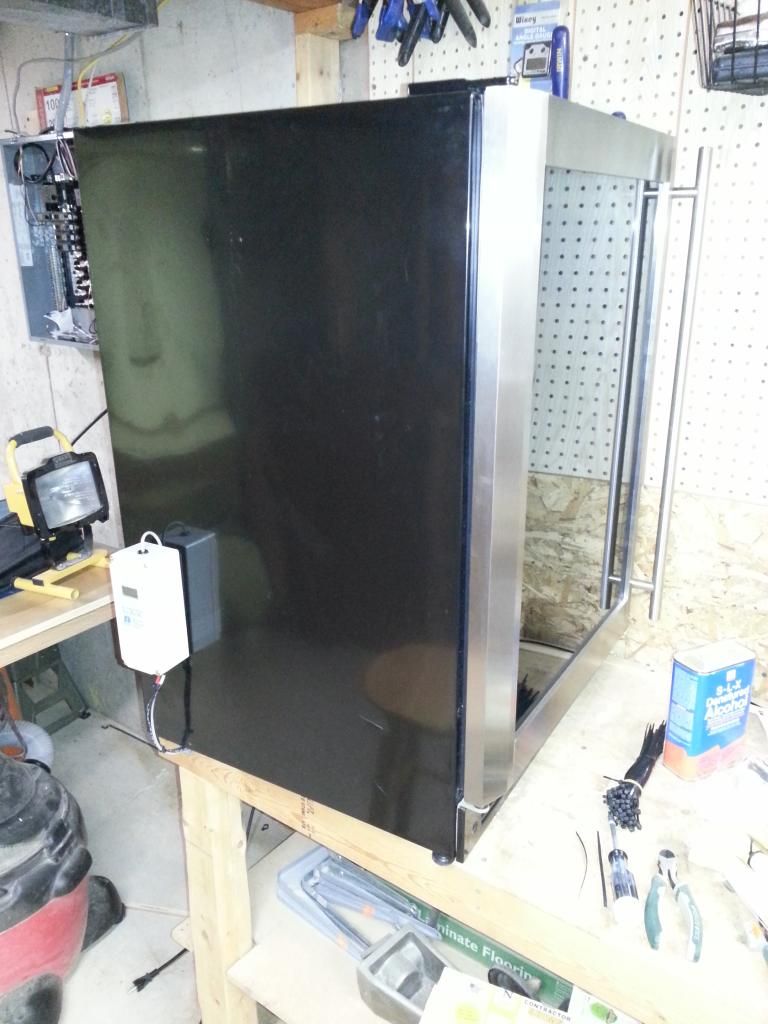
I am very new in the homebrew world, at this point I have only brewed (3) 5gal extract kits, 2 of which I just put in the kegs. What kicked this off was the opportunity to purchase a Magic Chef/Vissani 5.8cuft Beverage Cooler Model# MCBC58DST from a neighbor for $100 and it was basically new. The biggest downside to this cooler, and the reason he sold it, is the temperature range. The coldest it goes is 39F; however, it has a 5F swing before it kicks on so the actually beer temp would be closer to 42F. Not okay for me. This is a build of how I fixed the temp issue and my kegs.
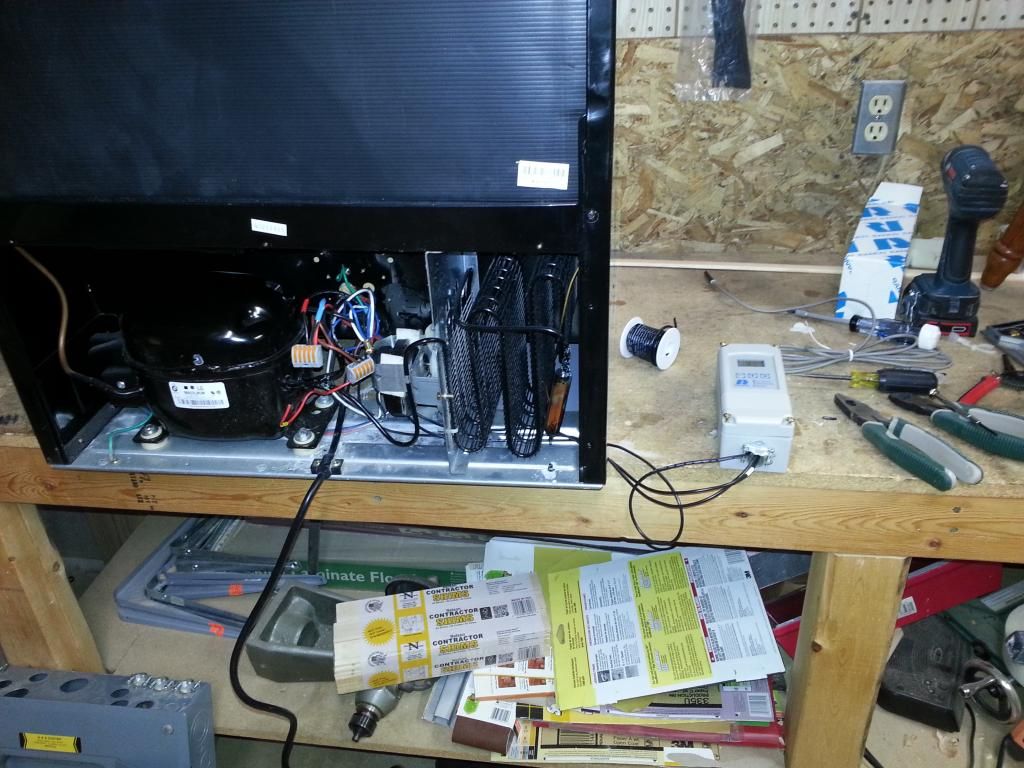
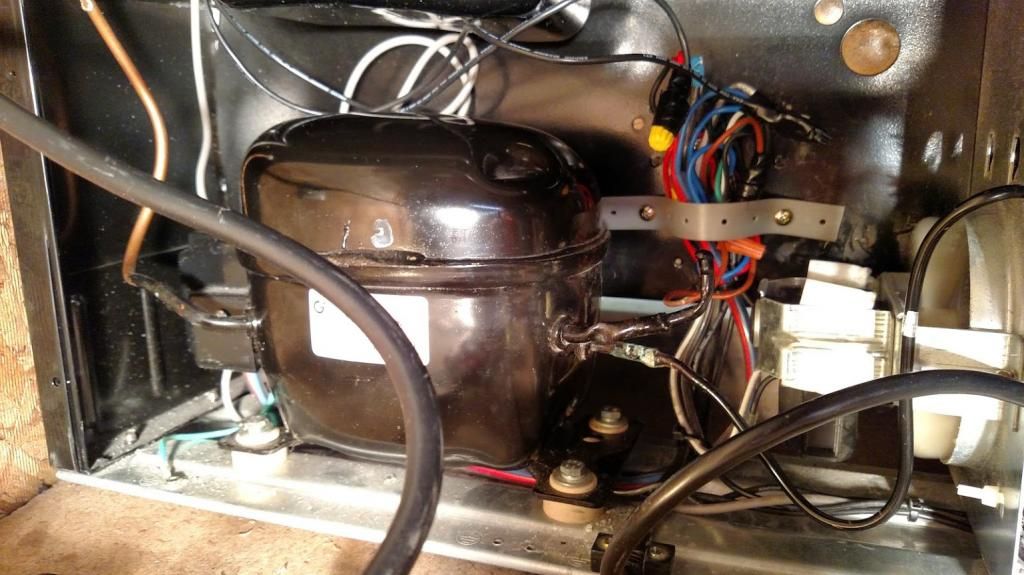
The back of the cooler with panel removed before I started any work.

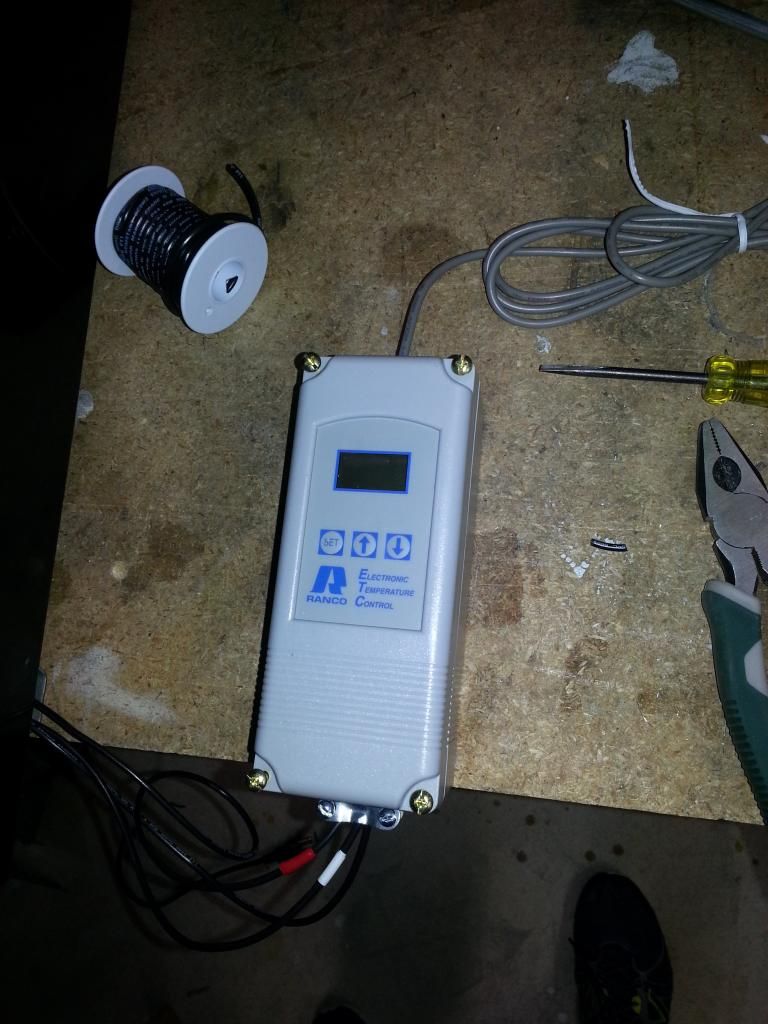
I used this controller. I offers a lot of functionality from tight temp control ( i have it set at only 2 degrees of warming before it kicks on) to heating or cooling setting.
Ranco
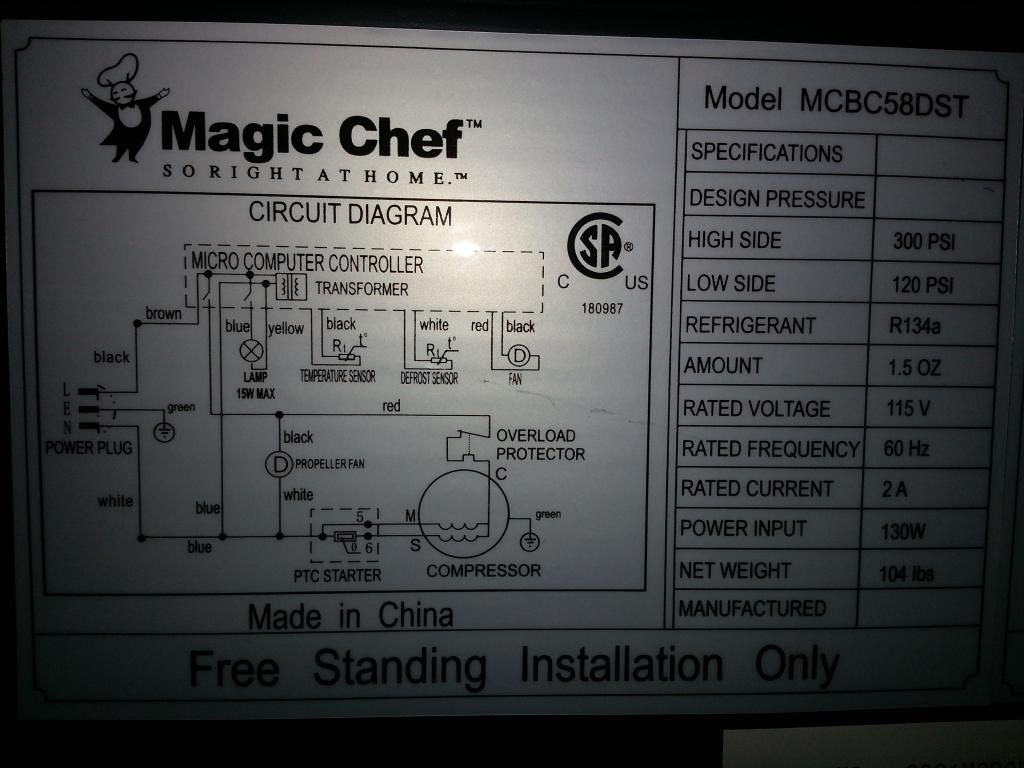
This is the schematic. There is more than one way to wire this cooler. I elected to keep power to the "micro computer controller" The only reason I did this is for the light; otherwise, you do not have to do this.
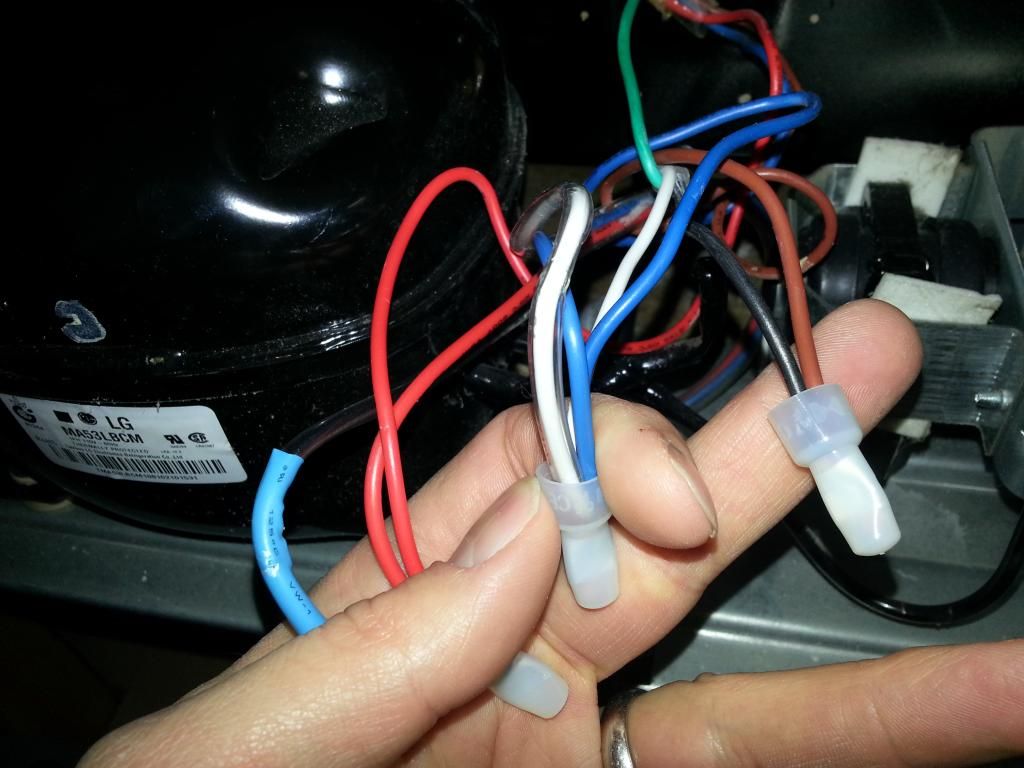
In this picture, the left 3 wires are the hot wires: one is a feed from the control board and the other two feed the compressor and condenser fan. The middle wires are the neutrals. The right wires, black is hot from the wall and brown goes the the control board.
This is the temperature controller. The controlled steals the hot from the wall and only releases electricity when the temperature parameters are met. (sorry I only had black wire) Follow the directions in the manual. I think the neutral and hot wires on the right are to power the meter, but the actuall controller is on the left, hence the jumper from both sides.
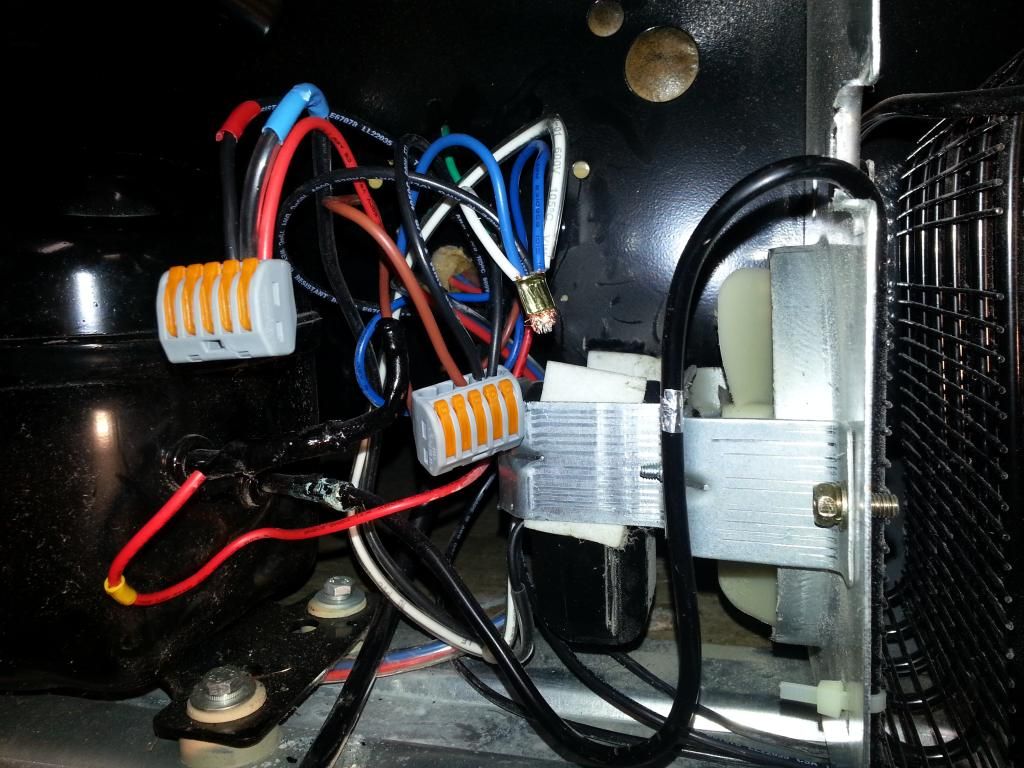
So this jumbled mess is the after birth. I used the removable wire clamps so I could make sure everything works. On the left we have: hot wire from controller tied with the compressor and condenser fan (one more wire will be added, stay tuned) The middle wires: the hot from the wall, hot going to the temperature controller and brown wire going to internal control board. Neutrals on right. That red wire hanging out is the hot wire from the "micro computre controller" to run the compressor and fan, we don't need this, I put a wire nut on it later.
Temp controller buttoned up with a wire clamp.
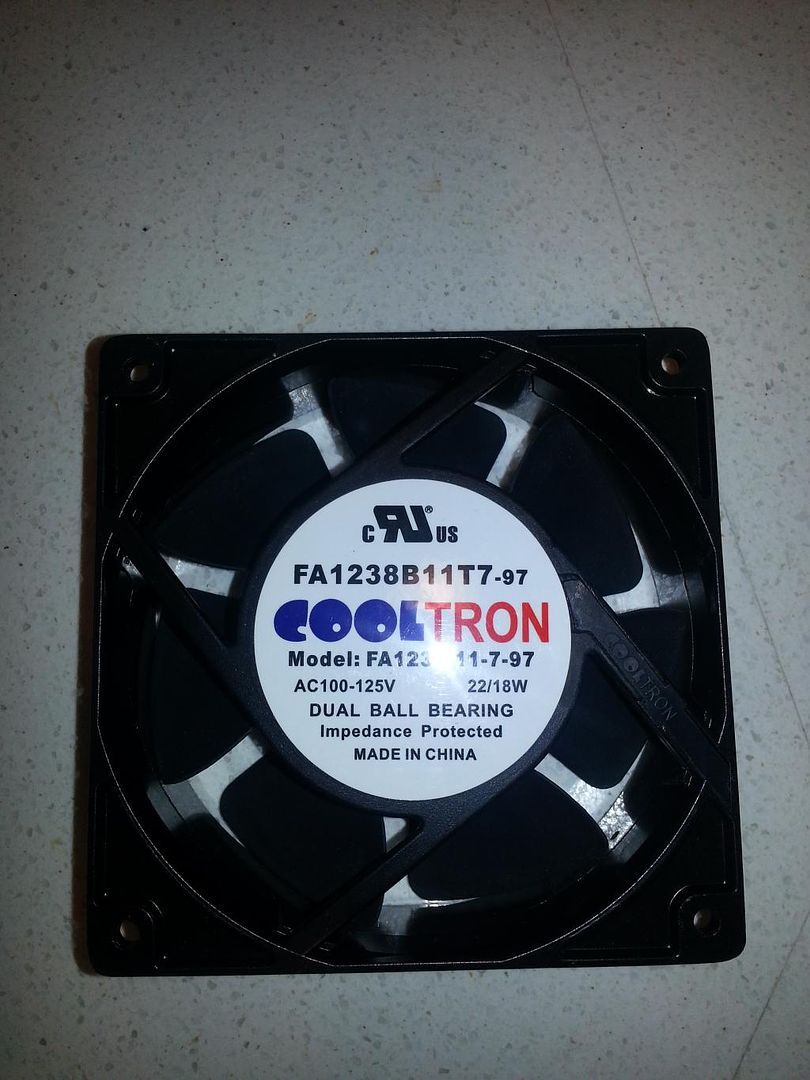
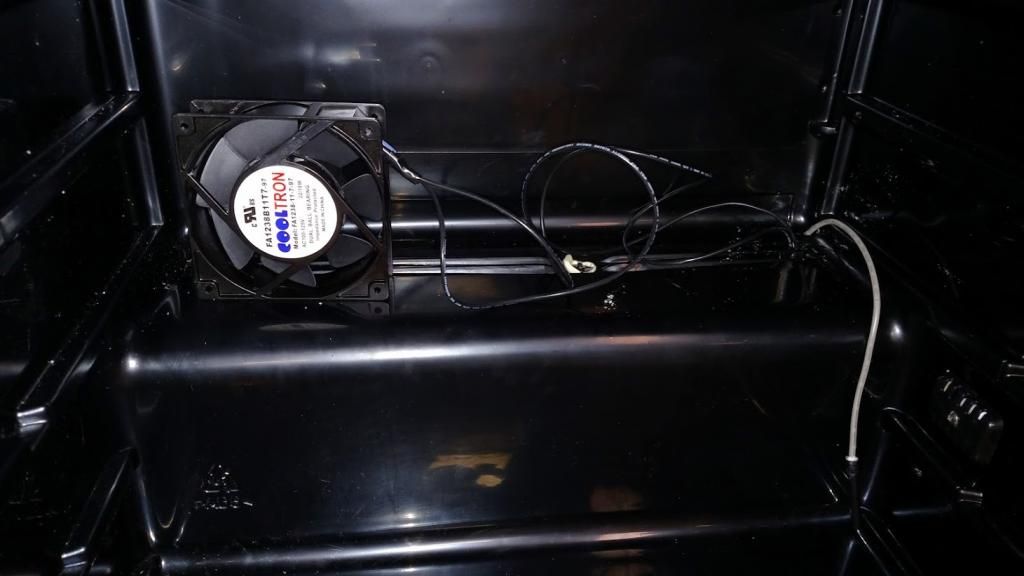
If anyone caught this, because I didn't, the fan in the cooler will only run when it thinks the compressor should run. Now that I have it set colder than the set points, it will never run, so I bought this. I wired this in the same bundle of wires as the hot wires for compressor and condenser fan. Has to be a 120vAC fan, it's the same size as a common computer fan but those are DC.
This is the original fan I removed.
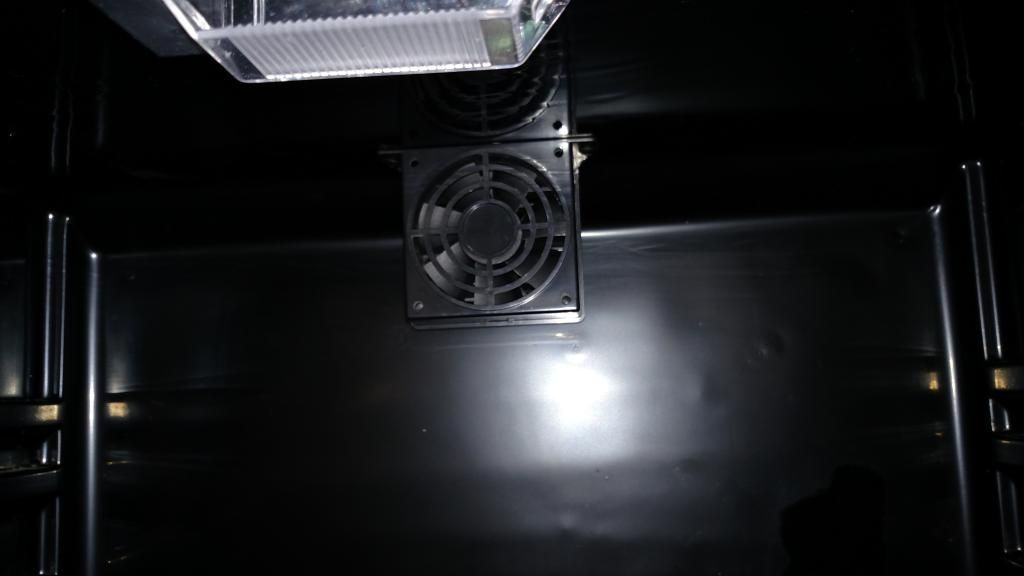
Cleaned up a little.
I have the temperature probe in a cup of water now, it's the grey wire on the right.
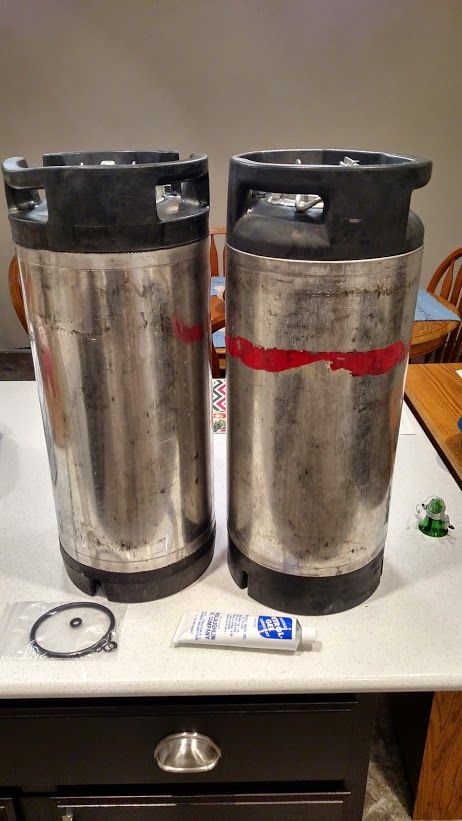
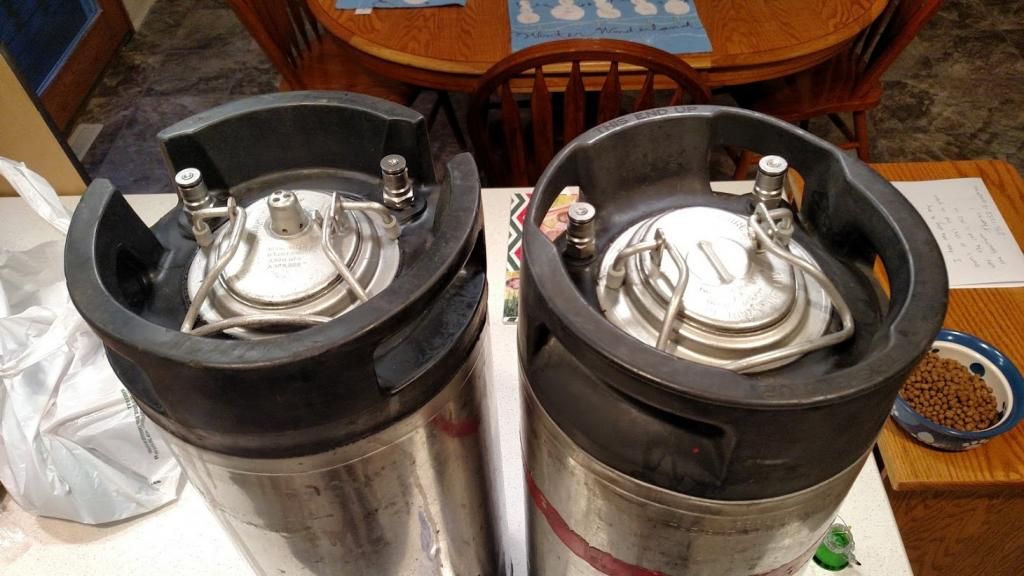
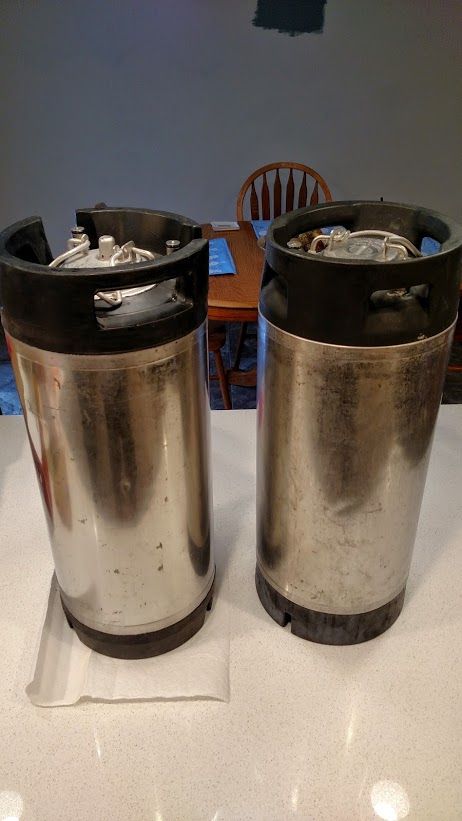
Time for beer. I bought two converted kegs from cornykeg.com. Before and after.
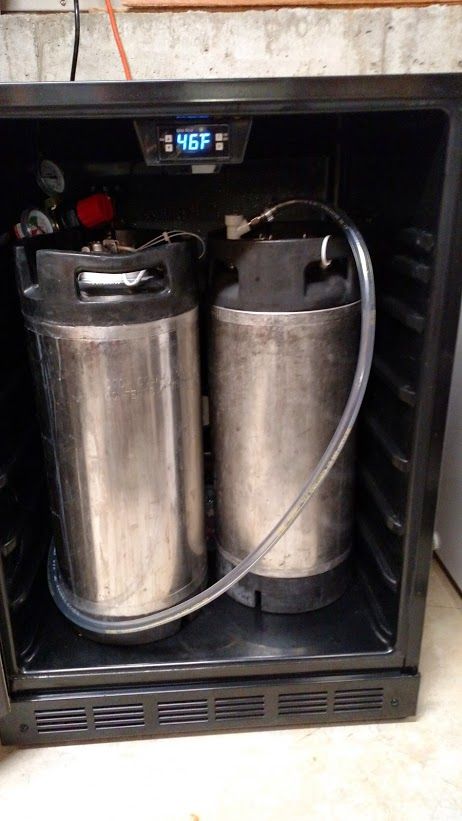
I kegged two batches on this day, this is the second. Both were Caribou Slobber from NB. The CO2 Tank is from Amazon, regulator is taprite. I lucked out and had the CO2 filled for free from the spouse of one of my coworkers who services fire extinguishers.
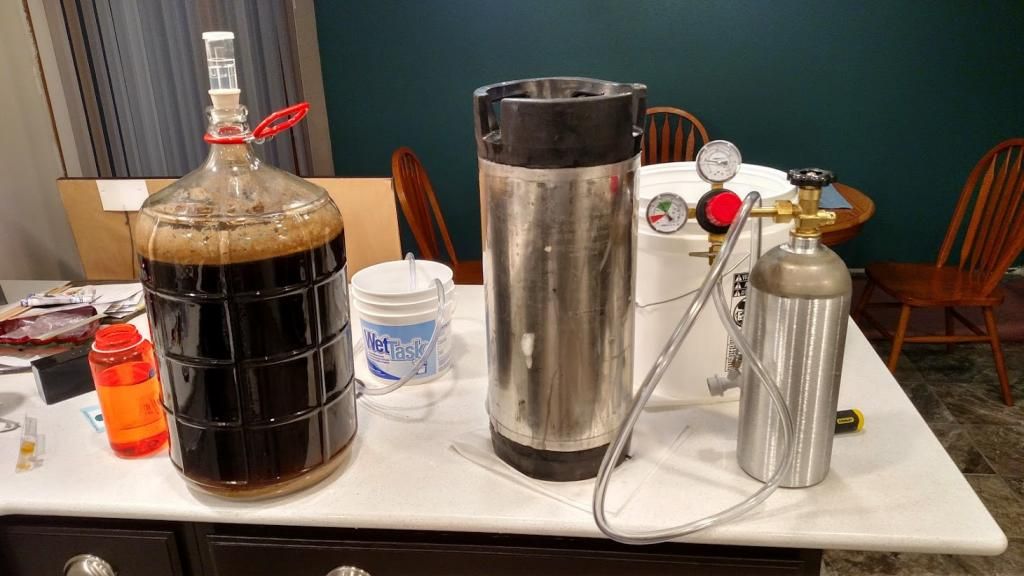
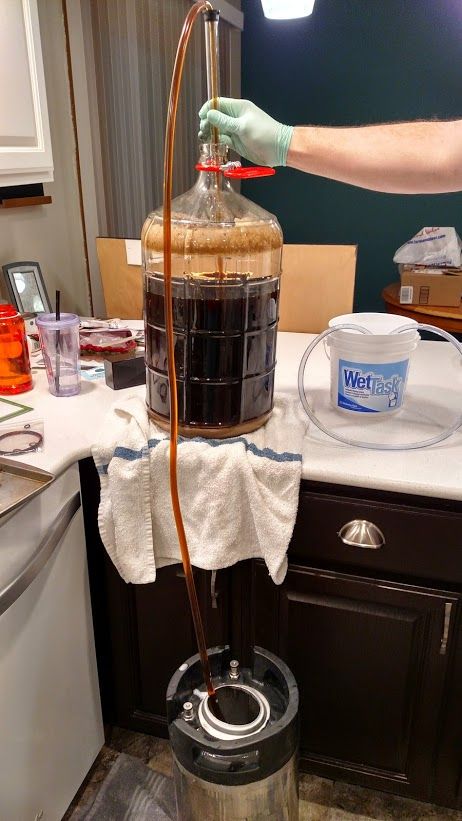
The keg that is hooked up is set to 11lbs. I chilled the beer in the cooler while it was still in the bottling bucket so it would take up that CO2 a little better. I also rocked it back and forth on an off for about 15 mins just to get it a head start, but I only did this at 11 lbs. I don't get the setting it real high, force carbing it, over shooting, then spending days getting it back to where it should be. The other tank I put 30 lbs on. I will bleed the 30 lb keg in 36 hours then put 11 lbs on it and let it sit. My next project is to build a manifold.
Thanks for following along. I had a lot of fun doing this, I like figuring things out for myself and having it work out. Total materails: Cooler $100, Temp controller $50, CO2 Tank $65, Kegs, lines, fan, misc $150... so for under $300, not too bad I think.
The back of the cooler with panel removed before I started any work.

I used this controller. I offers a lot of functionality from tight temp control ( i have it set at only 2 degrees of warming before it kicks on) to heating or cooling setting.
Ranco
This is the schematic. There is more than one way to wire this cooler. I elected to keep power to the "micro computer controller" The only reason I did this is for the light; otherwise, you do not have to do this.

In this picture, the left 3 wires are the hot wires: one is a feed from the control board and the other two feed the compressor and condenser fan. The middle wires are the neutrals. The right wires, black is hot from the wall and brown goes the the control board.

This is the temperature controller. The controlled steals the hot from the wall and only releases electricity when the temperature parameters are met. (sorry I only had black wire) Follow the directions in the manual. I think the neutral and hot wires on the right are to power the meter, but the actuall controller is on the left, hence the jumper from both sides.

So this jumbled mess is the after birth. I used the removable wire clamps so I could make sure everything works. On the left we have: hot wire from controller tied with the compressor and condenser fan (one more wire will be added, stay tuned) The middle wires: the hot from the wall, hot going to the temperature controller and brown wire going to internal control board. Neutrals on right. That red wire hanging out is the hot wire from the "micro computre controller" to run the compressor and fan, we don't need this, I put a wire nut on it later.

Temp controller buttoned up with a wire clamp.

If anyone caught this, because I didn't, the fan in the cooler will only run when it thinks the compressor should run. Now that I have it set colder than the set points, it will never run, so I bought this. I wired this in the same bundle of wires as the hot wires for compressor and condenser fan. Has to be a 120vAC fan, it's the same size as a common computer fan but those are DC.

This is the original fan I removed.


Cleaned up a little.

I have the temperature probe in a cup of water now, it's the grey wire on the right.


Time for beer. I bought two converted kegs from cornykeg.com. Before and after.


I kegged two batches on this day, this is the second. Both were Caribou Slobber from NB. The CO2 Tank is from Amazon, regulator is taprite. I lucked out and had the CO2 filled for free from the spouse of one of my coworkers who services fire extinguishers.


The keg that is hooked up is set to 11lbs. I chilled the beer in the cooler while it was still in the bottling bucket so it would take up that CO2 a little better. I also rocked it back and forth on an off for about 15 mins just to get it a head start, but I only did this at 11 lbs. I don't get the setting it real high, force carbing it, over shooting, then spending days getting it back to where it should be. The other tank I put 30 lbs on. I will bleed the 30 lb keg in 36 hours then put 11 lbs on it and let it sit. My next project is to build a manifold.

Thanks for following along. I had a lot of fun doing this, I like figuring things out for myself and having it work out. Total materails: Cooler $100, Temp controller $50, CO2 Tank $65, Kegs, lines, fan, misc $150... so for under $300, not too bad I think.
Last edited by a moderator:
")
