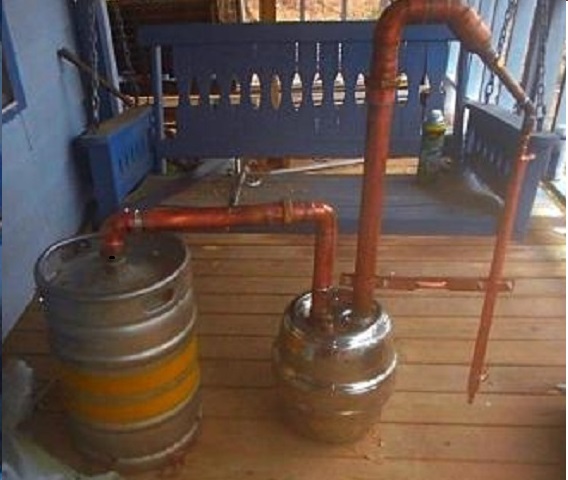
Keg still.

Homebrew Talk - Beer, Wine, Mead, & Cider Brewing Discussion Forum

Help Support Homebrew Talk - Beer, Wine, Mead, & Cider Brewing Discussion Forum:

This site may earn a commission from merchant affiliate links, including eBay, Amazon, and others.

vsawmike

Member
Joined
Sep 20, 2012
Messages
13
Reaction score
4
I am about to do a keg still. I'm wondering what the best place for the temp gauge sensor would be. Should it be up in the vapor or down in the liquid or maybe one high and one low?

I'm going to put a 1/2" bung in the side/bottom for drain and a 3" bung in the top. Thoughts?

Thanks
 
While it might be fun to play with you don't really need it. Let taste be your guide. It won't work out that you can control the quality by temp alone. I'd skip it.
 
I would only need the temp gauge to know when I get to the correct temp. Just wondering if it's better to have one in the liquid or the vapor. Don't want to get temp too high but for sure need to be above 172 I think.
 
Just put the heat to it. It’ll hold the right temp as the run progresses. You’ll feel the heat coming thru the Lyme arm, when it starts running turn the heat down if you need to so it’s a pencil lead sized stream. Easier than it sounds. If I put a probe in it would be in the vapor path. You can feel the heat with your hand but tech can be fun.
 
You wouldn't need temp reading on a potstill, on a reflux colum you would but not necessary either.

Play with the still and learn how to drive it, it will boil when it boils. Pure etho boils at 173 and water at 212 so in between there will be the boiling point of a mash/wash.

It's a very rewarding hobby but a little research is definitely mandatory, go check out homedistiller.org forums and do a little reading.
 
"Boil temps".......I know how much my water boil temps changed, when I moved to altitude........

Wonder what the Ethanol did, since I've not run since........?

Moved from 1000ft. ele. to 7880 ele.
 
A temp gauge in the boiler liquid and one at the top of the column provide useful feedback on how the system is performing and how far along you are. Or so I've read. A cooking thermometer with an alarm placed in the column is convenient, because you can set it to go off a little below 172.
 
I have a temp sensor in the liquid and also one at the top of the column to tell me where my vapor temps are. I find that having both is useful. Can help with knowing when to discard the heads and start saving the liquid.
 
One in each works best if you have the option for it.

For the most part cuts will be by taste and amounts once you get a hang of it, though temp gauges can be a godsend for learning and dealing with foreshots.

Just don't become reliant on them
 
still2.jpg
using a keg is a great idea, I would suggest also using a thumper here is one i saw on someones porch, I have no idea who owned it, but if you wold like a few tips
i think i can help out
add a 1'' ss half coupling 6'' from the bottom for an element. on the 15 gal keg
on the 7.5 keg, add 2 - 2'' triclamp flange to the top
and on the side, add a flange where the old fill is...
 
If you really want to go all out get a same sized thumper so you can run more at once and makes cuts easier.

That is a nice looking rig tho!
 
oppsy,,,triclamp flange, please excuse my mistake

it is very easy, you need a ,crescent wrench and a smooth faced hammer

for 2'' and i use a torch for 3''

set the gap on the crescent wrench the width of the copper.
place the crescent wrench onto the end of the pipe 1/4'' and bend the copper out
A LITTLE AT A TIME, go around the pipe numerous times SLOWLY
when you have it bent out about at a 45 degree angle
start working it with the hammer, tap tap, around and around
caution, if you try and go to fast, the copper will split.

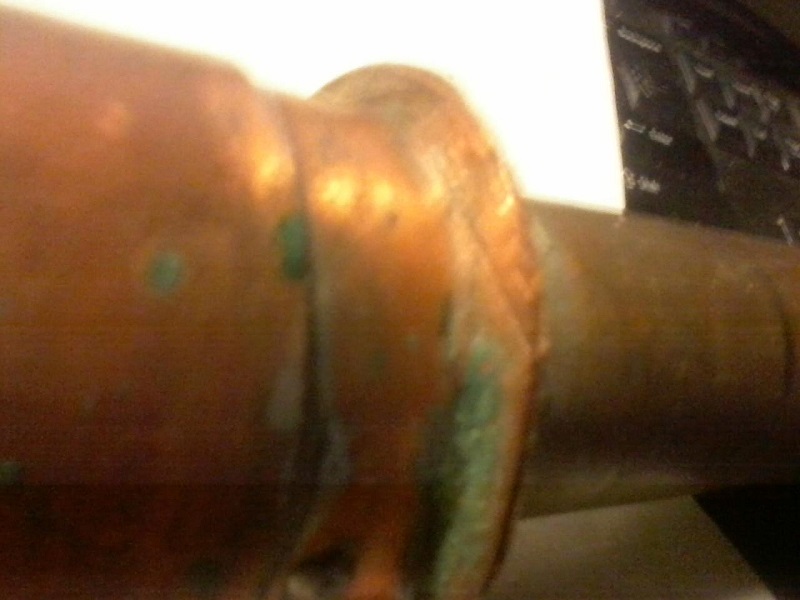
I took a picture of a completed flange, when the battery is charged i will post it here

flange.jpg
 
Last edited:
If you really want to go all out get a same sized thumper so you can run more at once and makes cuts easier.

That is a nice looking rig tho!
thanks, you are looking at a 2 year build,
little here little there.
funny story
I took the 1/2 keg to the welding shop to have it welded.
he asked what it was, so i was spinning a good tail about building a hot rod and it is a fuel tank and yadda yadda.
he turns around and yells, "hey Frank I got another still for you to weld up"
LOL LOL...busted,
 
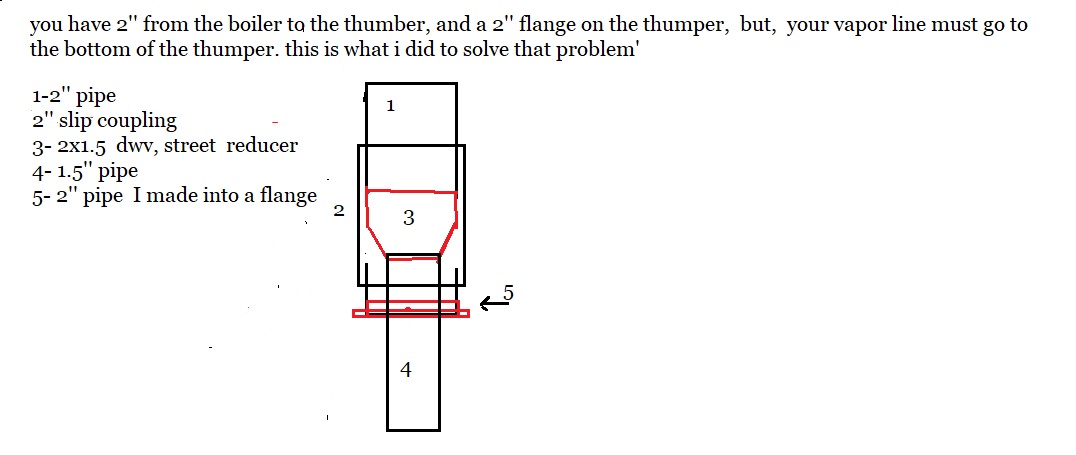
right, a $4000 to a solution a $10 problem. make an ez flange or figure out how to connect theses two pieces. A 2" keg flange will do it.
 
EZ flanges are great for low columns but for tall reflux stills I like to use the copper ferrule and silver solder.
 
Very sexy. didn’t mean to dis it, just feeling poor this week.
Ha HA ha... I didn't take it as you dissing it brother! Not at all. That's just me playing. :) But I do appreciate the clarification totally! I tossed it out there as a total joke anyway, but I gather you know that..LOL

Cheers
Jay
 
thanks, you are looking at a 2 year build,
little here little there.
funny story
I took the 1/2 keg to the welding shop to have it welded.
he asked what it was, so i was spinning a good tail about building a hot rod and it is a fuel tank and yadda yadda.
he turns around and yells, "hey Frank I got another still for you to weld up"
LOL LOL...busted,
Funny!
 
I only use temp in the top of the column. I agree with above mentioned it will regulate its self then turn down flame to slow the drip. But hey I put a huge sight glass in my new column for the bling factor so have at it and enjoy. I also invested in a proofing parrot which I always thought was for show offs until I discovered how danged handy it really was.
 
Back
Top