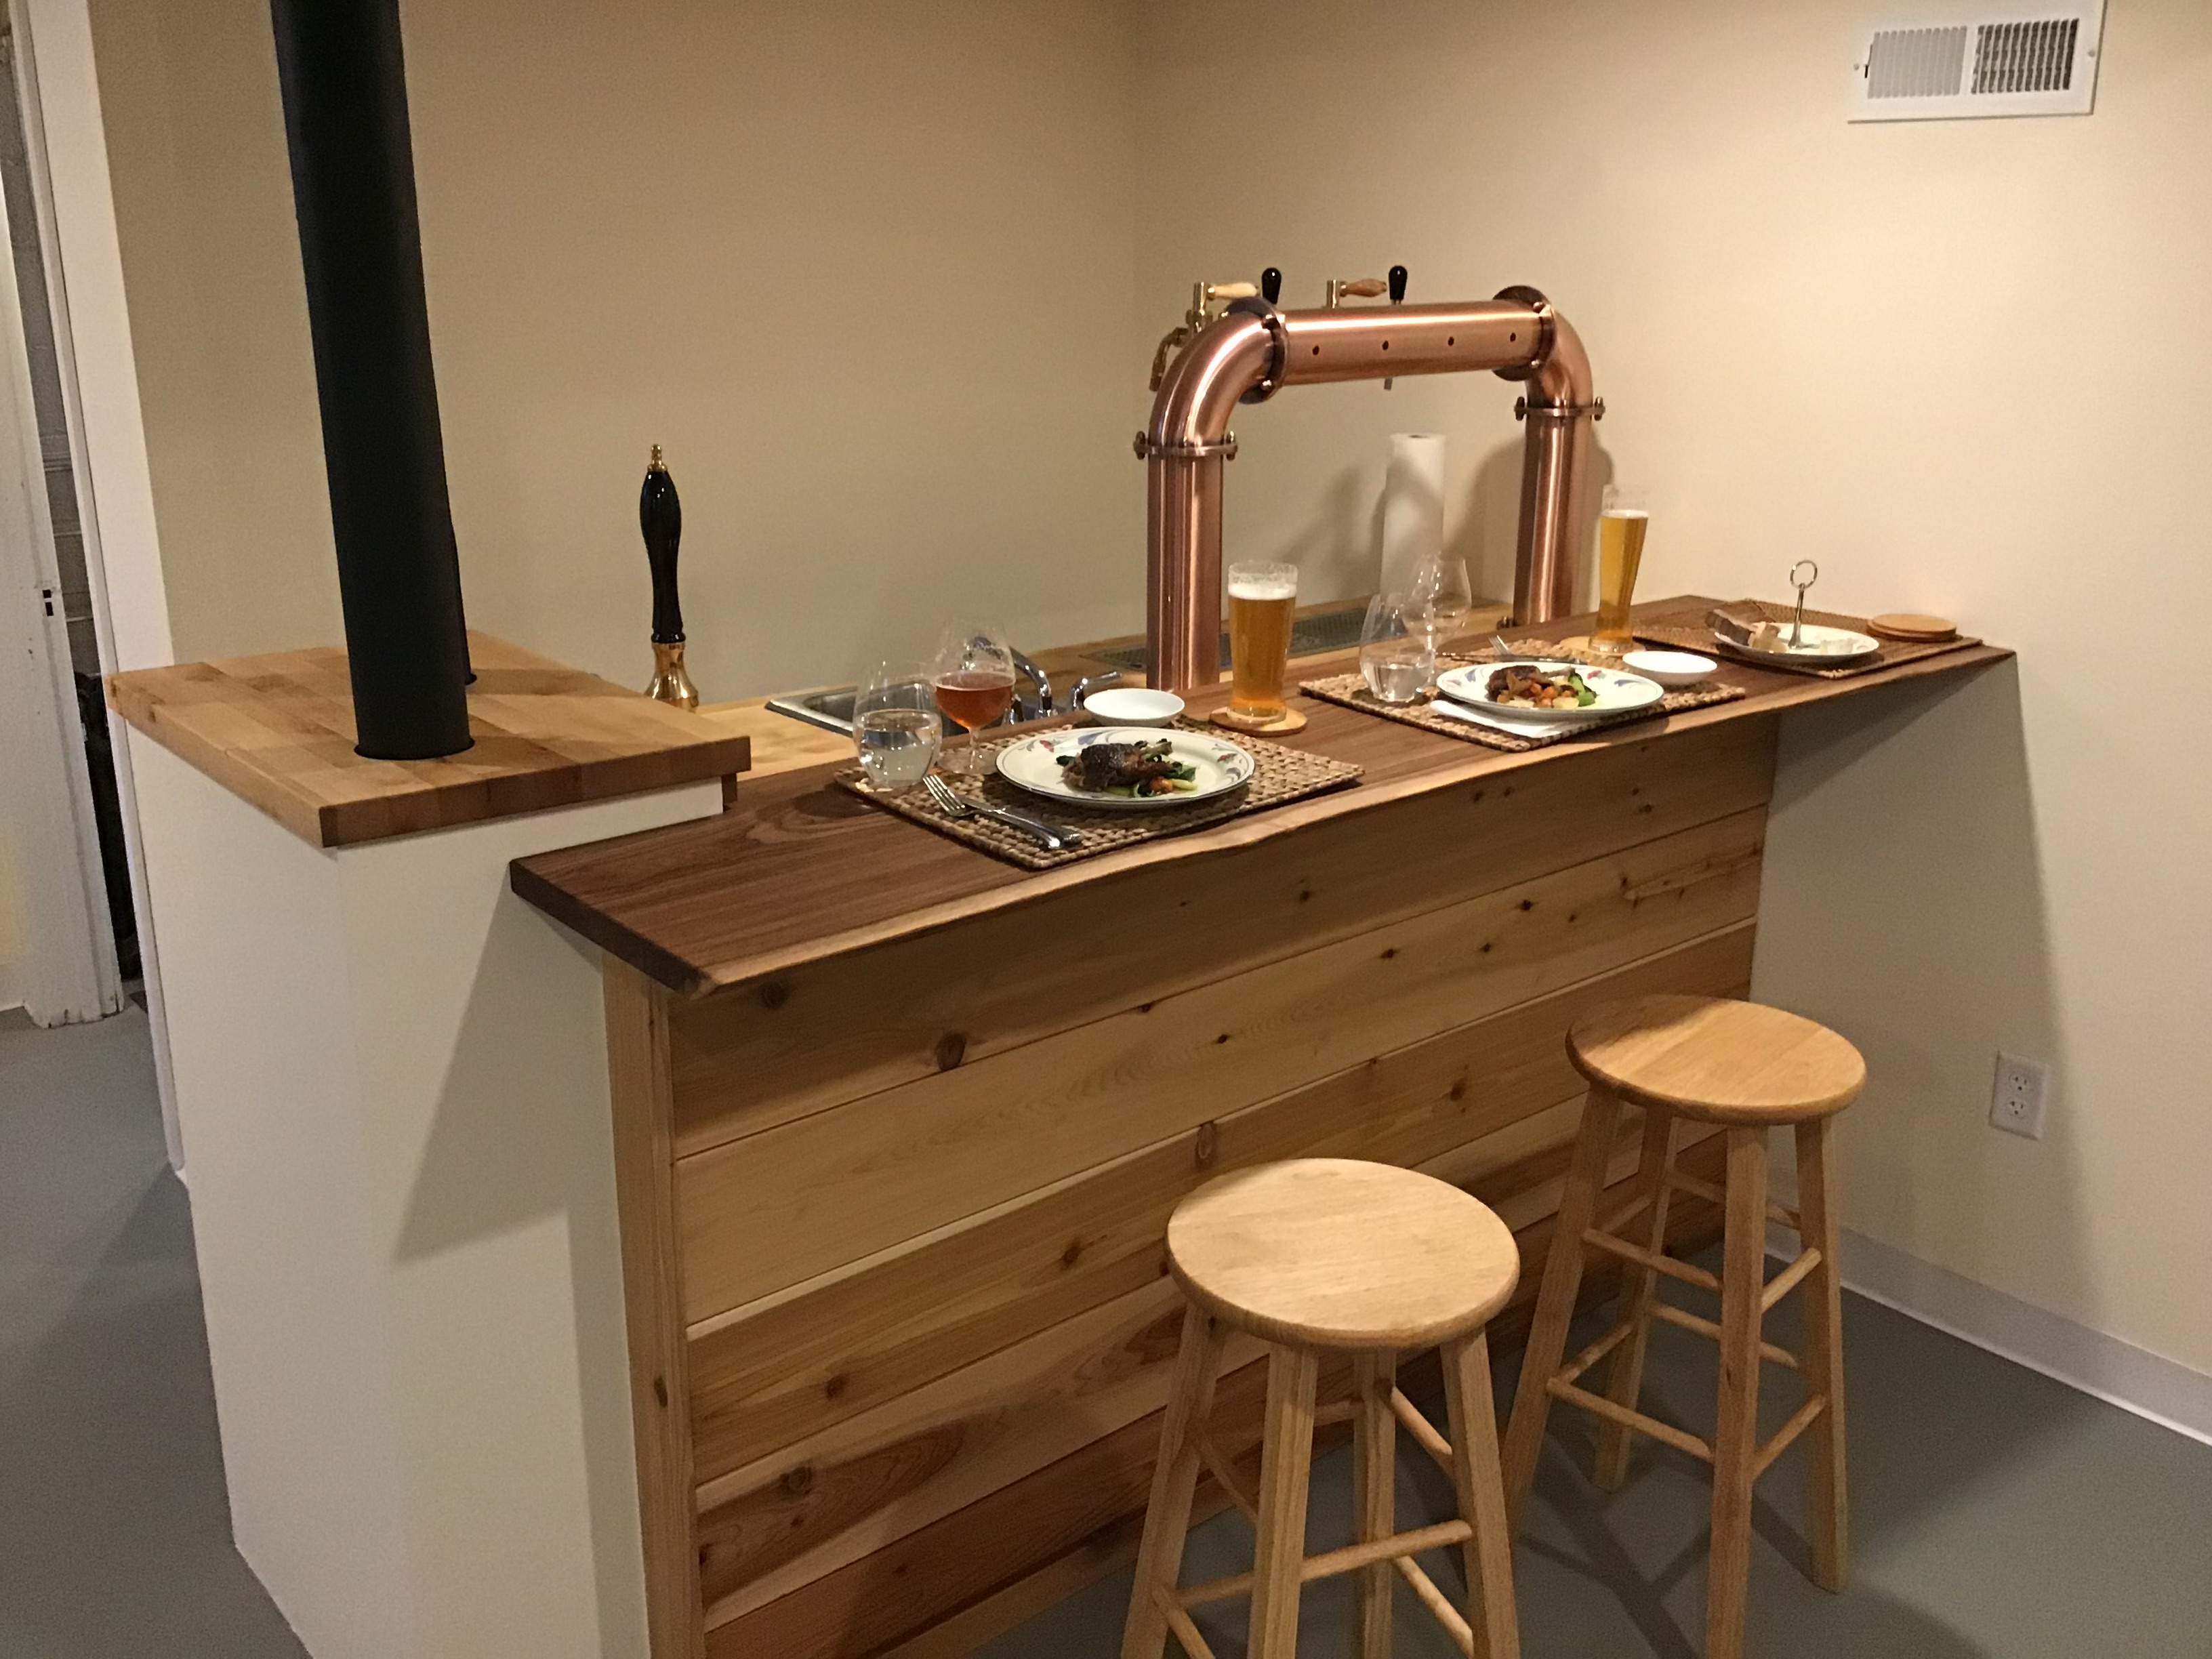
I've picked up a bunch of useful information on how to build a keezer on these forums, so I thought I'd create a post to document my build incase it's useful to others. The keezer sits in front of the wall that divides the back part of our basement (where the brewery is) to the front (where the bar is), so I run my serving lines from the keezer, through the wall, and into my taps.
Keezer build
The base of my keezer/bar is a Frigidaire 8.7 cu ft chest freezer (Model number FFFC09M1RW). This is a good size as it fits four 5 gal corny kegs in the main part of the freezer, leaving the hump over the compressor as free space. I build the collar from 2"x10"x12' Douglas fir lumber from Home Depot. Using a table saw, I cut the 2"x10" down to 2"x8.25" to give flat edges on the top and bottom. The lid is two 43 13/16" x 8.25" x 2" and two 19 1/16" x 8.25" x 2" joined together using pocket hole screws (#8 2 1/2" blue plated). To get the draught lines through the wall between the keezer and the bar, I run them through a 3" PVC Sch. 40 pipe. I drilled a 3 1/2" hole in the back of the collar, since the pipe has a 3 1/2" OD. The wood is painted with Behr Marquee interior semi-gloss (which is only supposed to take one coat, but I have the collar two coats anyway).
I made a frame to sit on top of the wood from 3/4" x 2 1/2" x 8' Cellular PVC Trim, trimming to down to 2" wide with the table saw, so that the lid fit inside the rectangular frame. The PVC was cut with miter joints and glued together with Gorilla glue. I taped 2" foam insulation tape to the bottom of the PVC frame, and then used pocket hole screws to attach the to frame to the wood. I applied some Frost King 1 1/4" x 7/16" Black High-Density Rubber Foam Weatherstrip Tape to the top of the freezer and placed the wooden collar on top. I had some freezer hinges from my old (now dead) kegerator that I used to attach the freezer to the wooden collar with #10 wood screws. The original hinges from this fridge are used to attach the freezer lid to the collar with #10 wood screws.
Before lifting the keezer into place, I drilled a 3 1/2" hole through the basement wall. The interior basement walls are made of 0.42" Hardie Board, so after going through two of those, my Milwaukee 3 1/2" Hole Dozer was pretty toothless. The PVC pipe was a snug fit, so I used a rubber mallet to knock it through the hole in the wall and into the hole in the back of the keezer collar (which was lined with 2" foam insulation tape), once the keezer was lined up.
Finally, I cut some 1 1/2" R-7.5 Rigid Foam Board Insulation Sheathing to fit between the top of the freezer and the PVC frame to line the collar. I trimmed the foam board with 2.5" foil HVAC tape and pushed them into the collar. They sit rigidly, so I didn't bother gluing them to the wood.
Here are the pictures of the collar build:


The picture below shows the freezer, a layer of the thick foam tape, the wooden collar, thin foam tape, PVC frame, and the freezer lid.

Bar build
On the bar side of the wall, my beer lines come out of the 3" PVC pipe connected to the back of the keezer:

Given the styles of beer I drink, I was looking for a bar with two lager taps, two taps for ales, and a beer engine. I decided to go all in with my dream tower, the BTD-BR4V four-tap bridge from Czech Brewery Systems. These guys were great to deal with and sent me a system with two standard compensator taps for regular beers and two nostalgia beer taps with side-pull handles for lagers. The side pull taps are awesome and, with a bit of practice, you can easily do the three Czech pours with them. I also picked up a flush mount 8" x 24" x 3/4" drip tray, rinser, and water pressure regulator from American Coffee Urn. These guys had great service and customer support. Growing up in England, I'm a big fan of cask conditioned ales, so I purchased an Anagram CM 1/4 pint beer engine from UK Brewing Supplies (also great service) as well as a cask breather because I can't drink 2.5 gallons of ale in three days. Don't tell CAMRA.
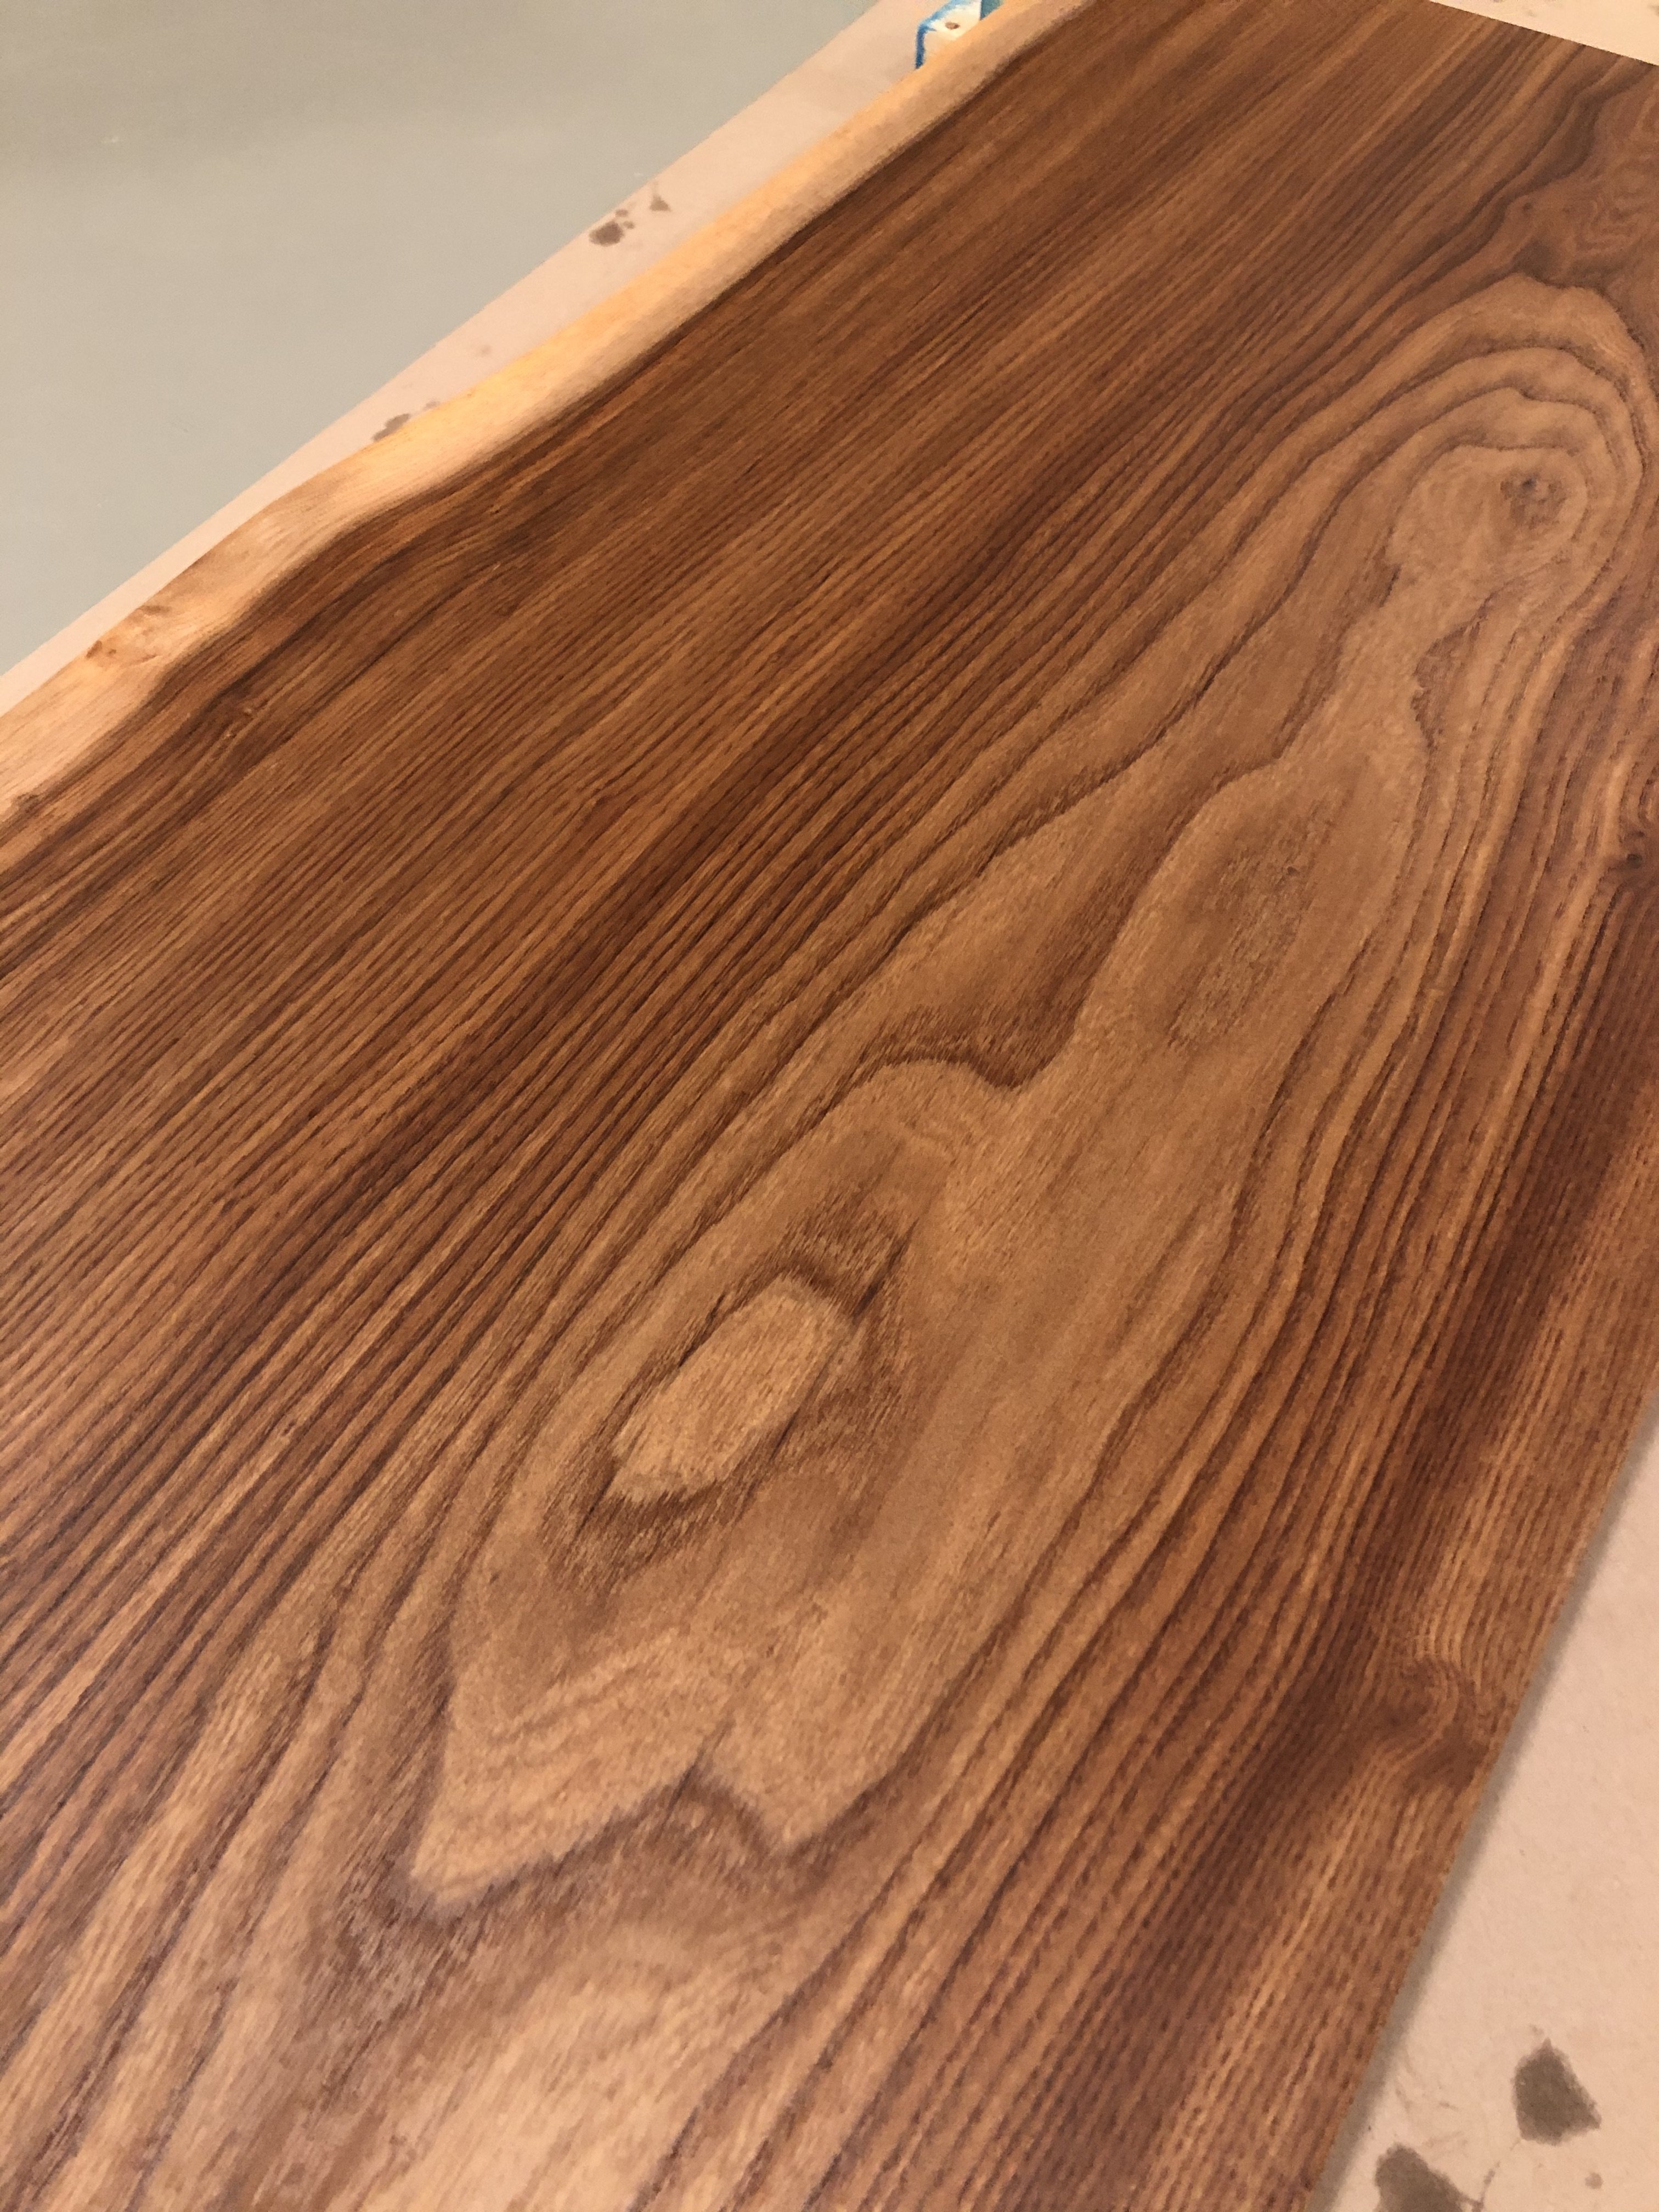
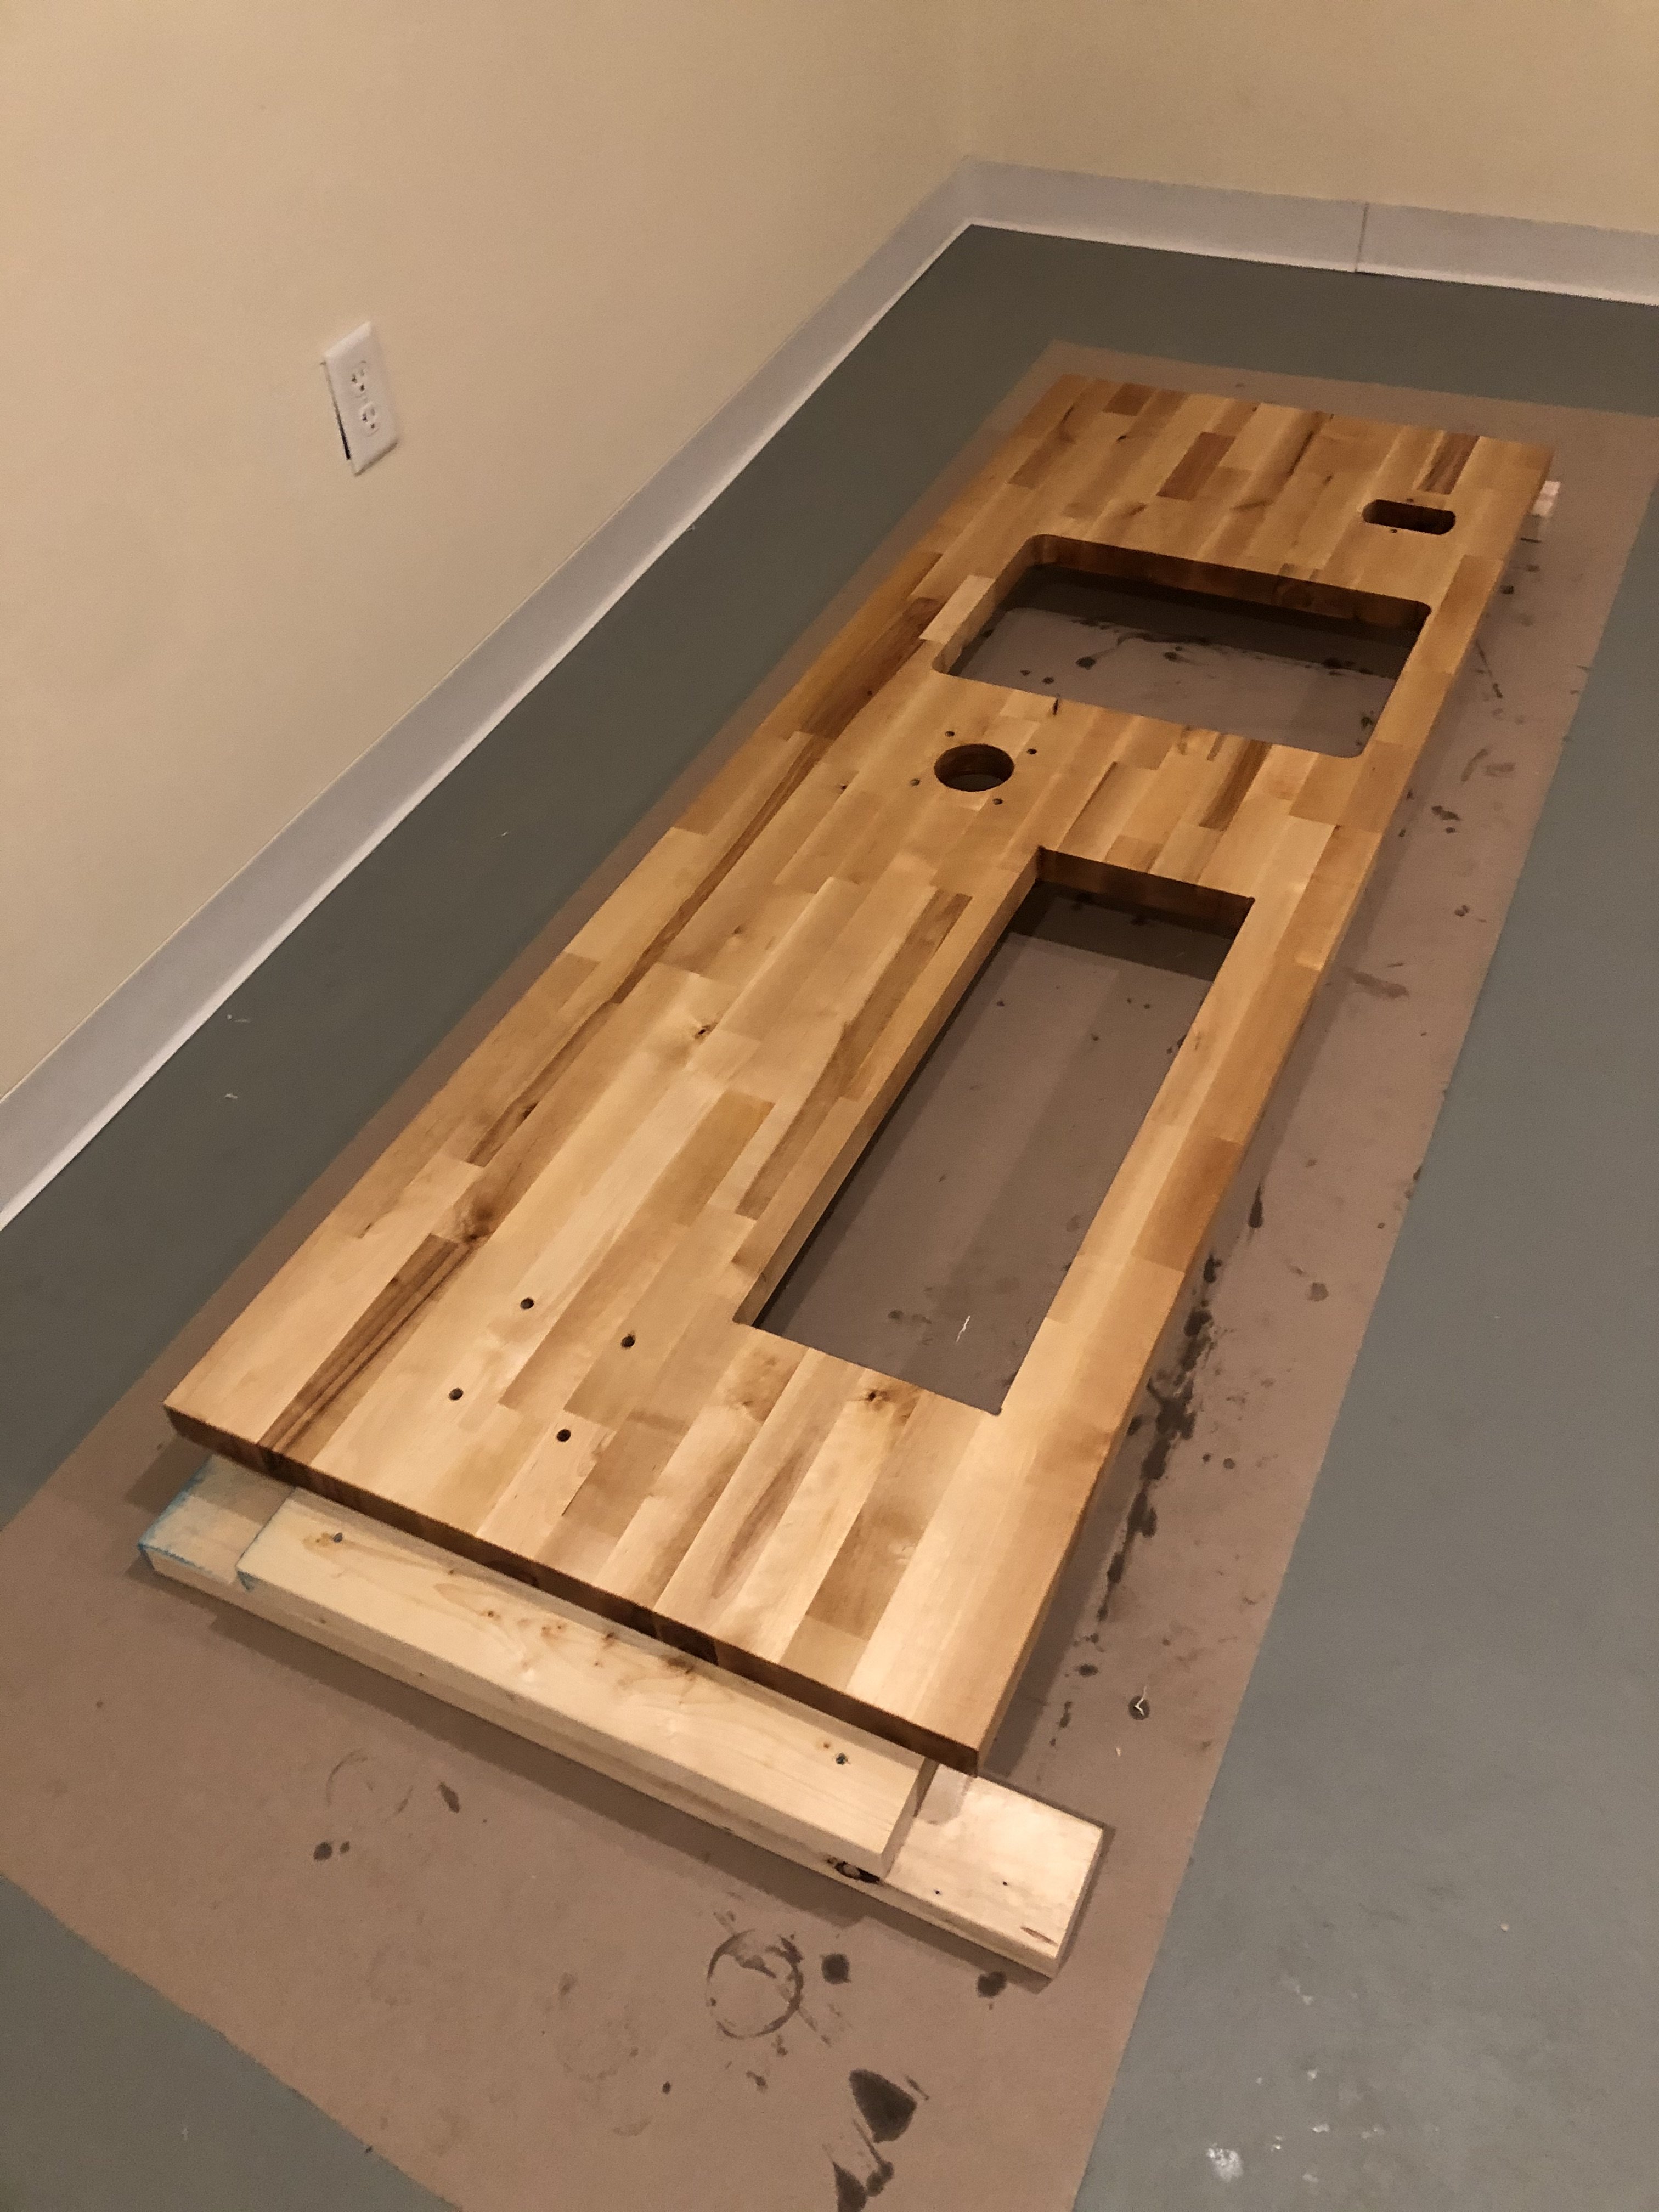
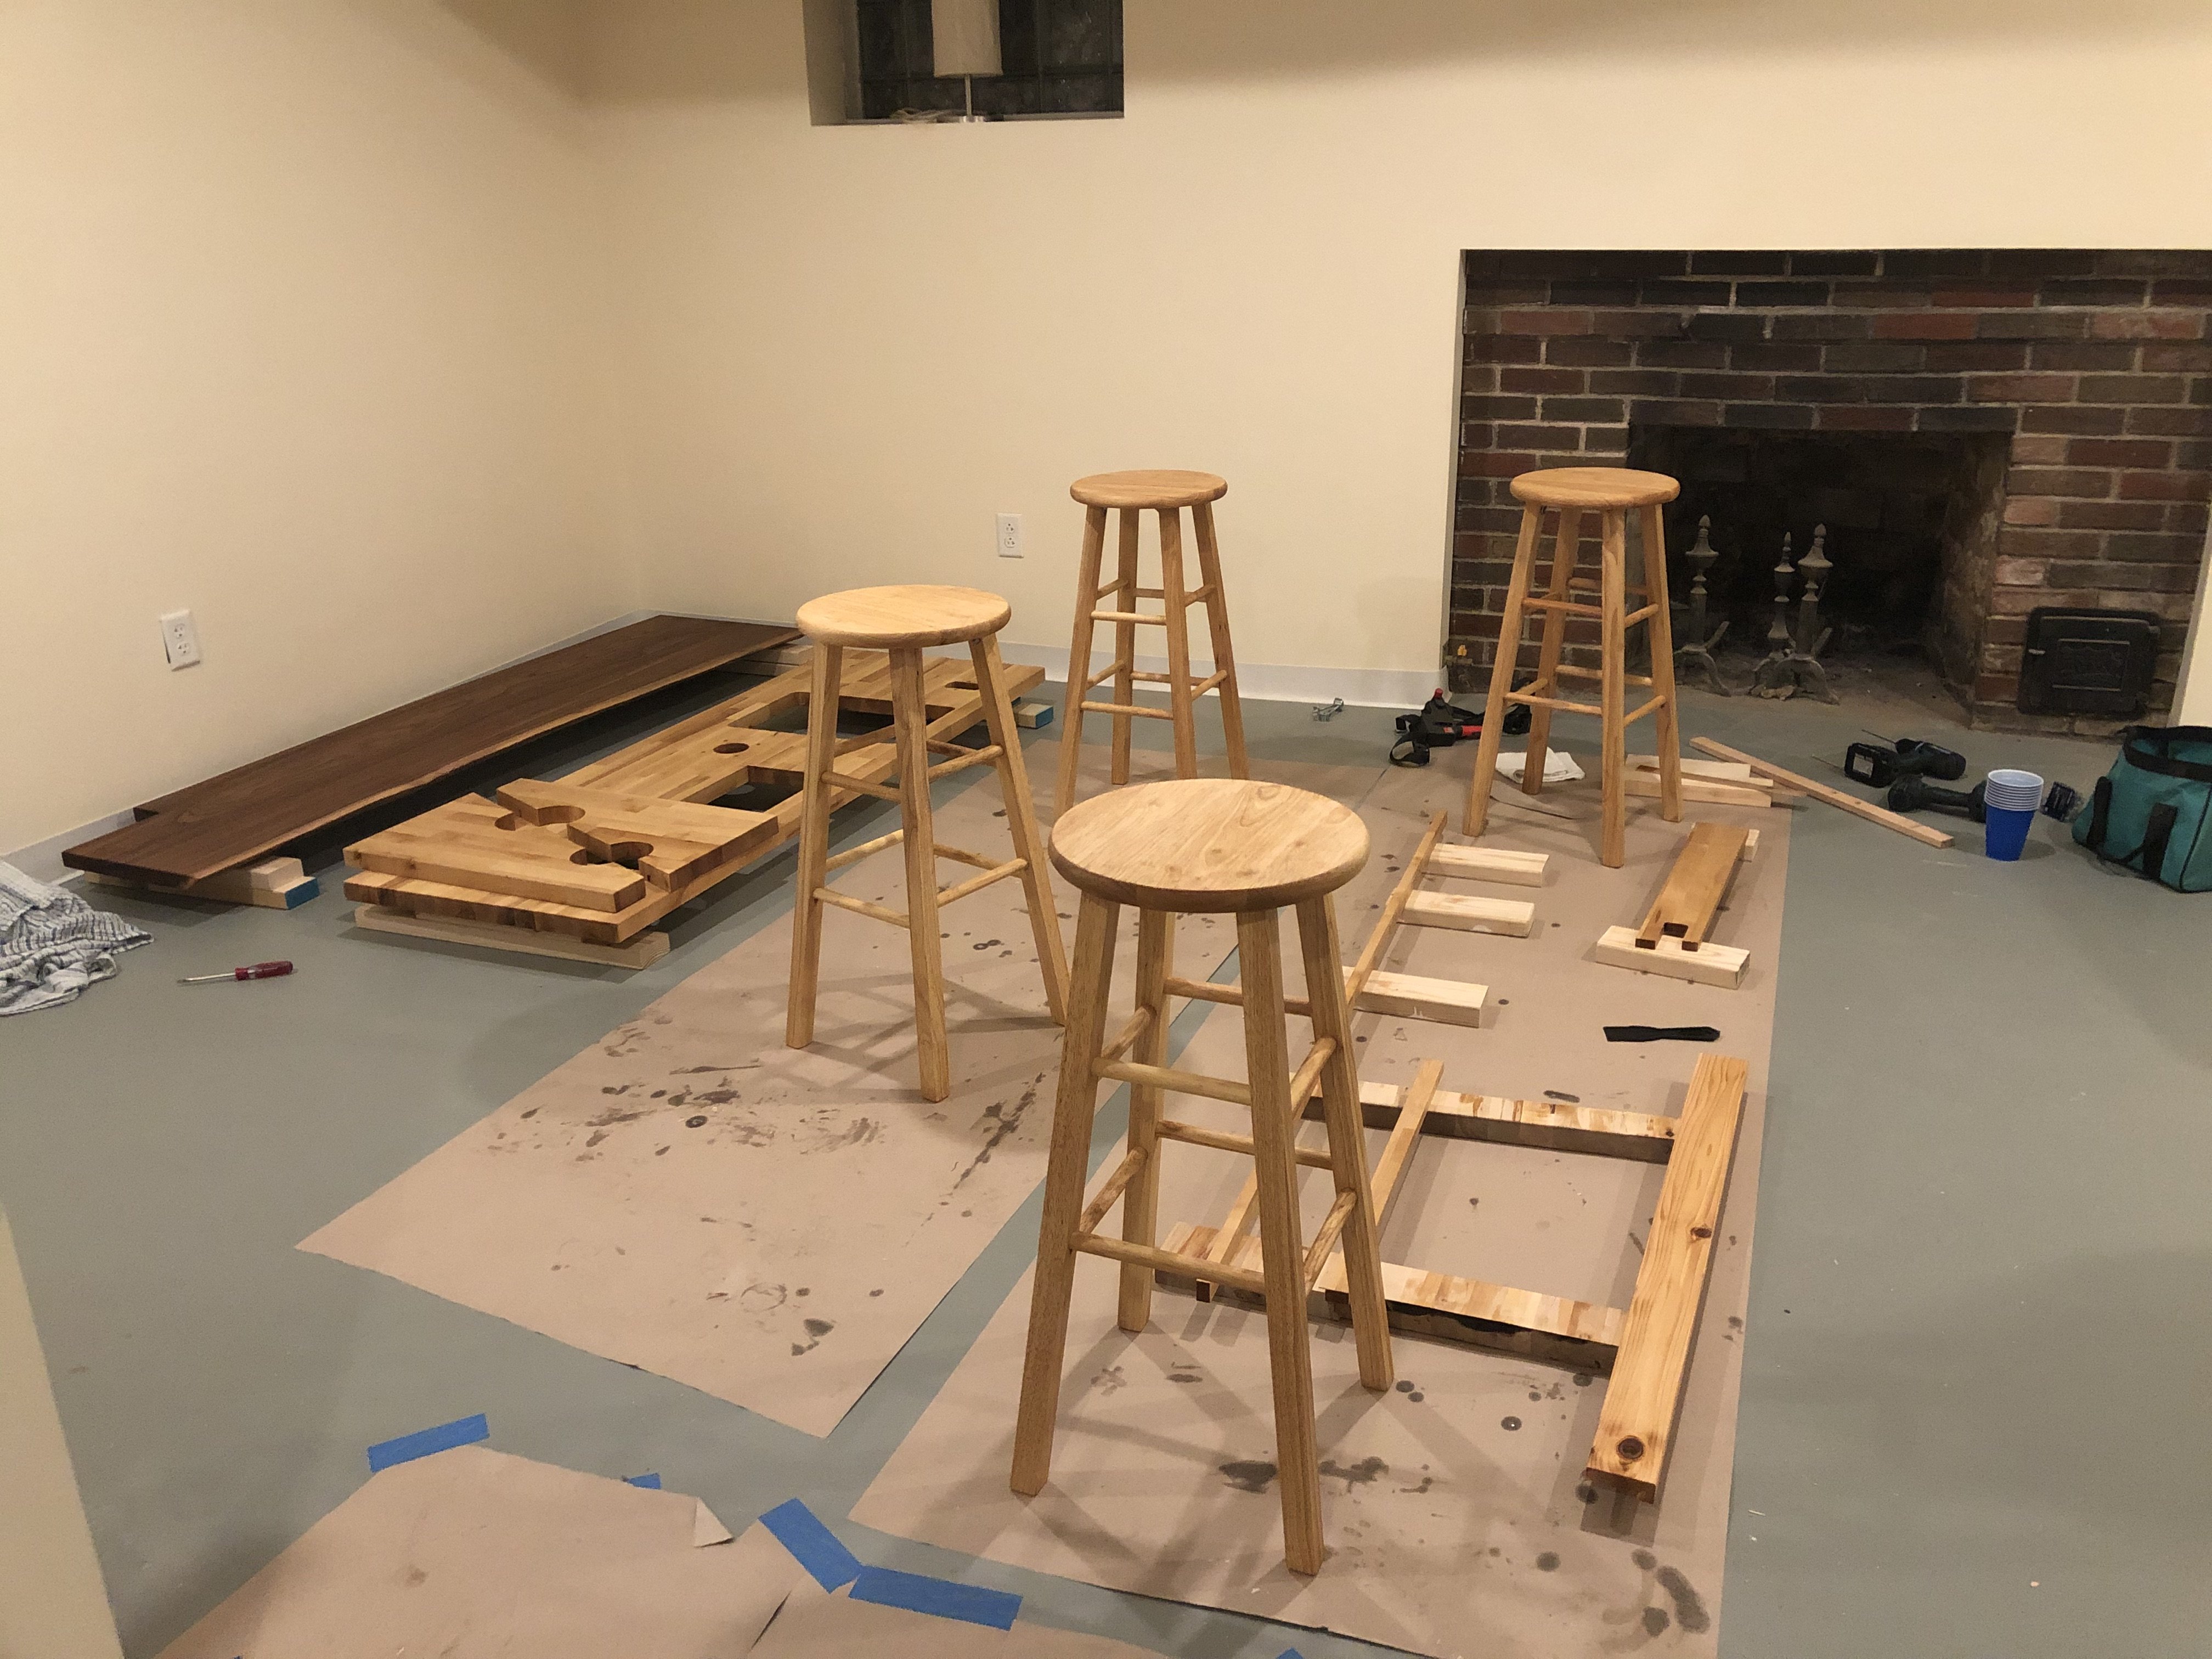
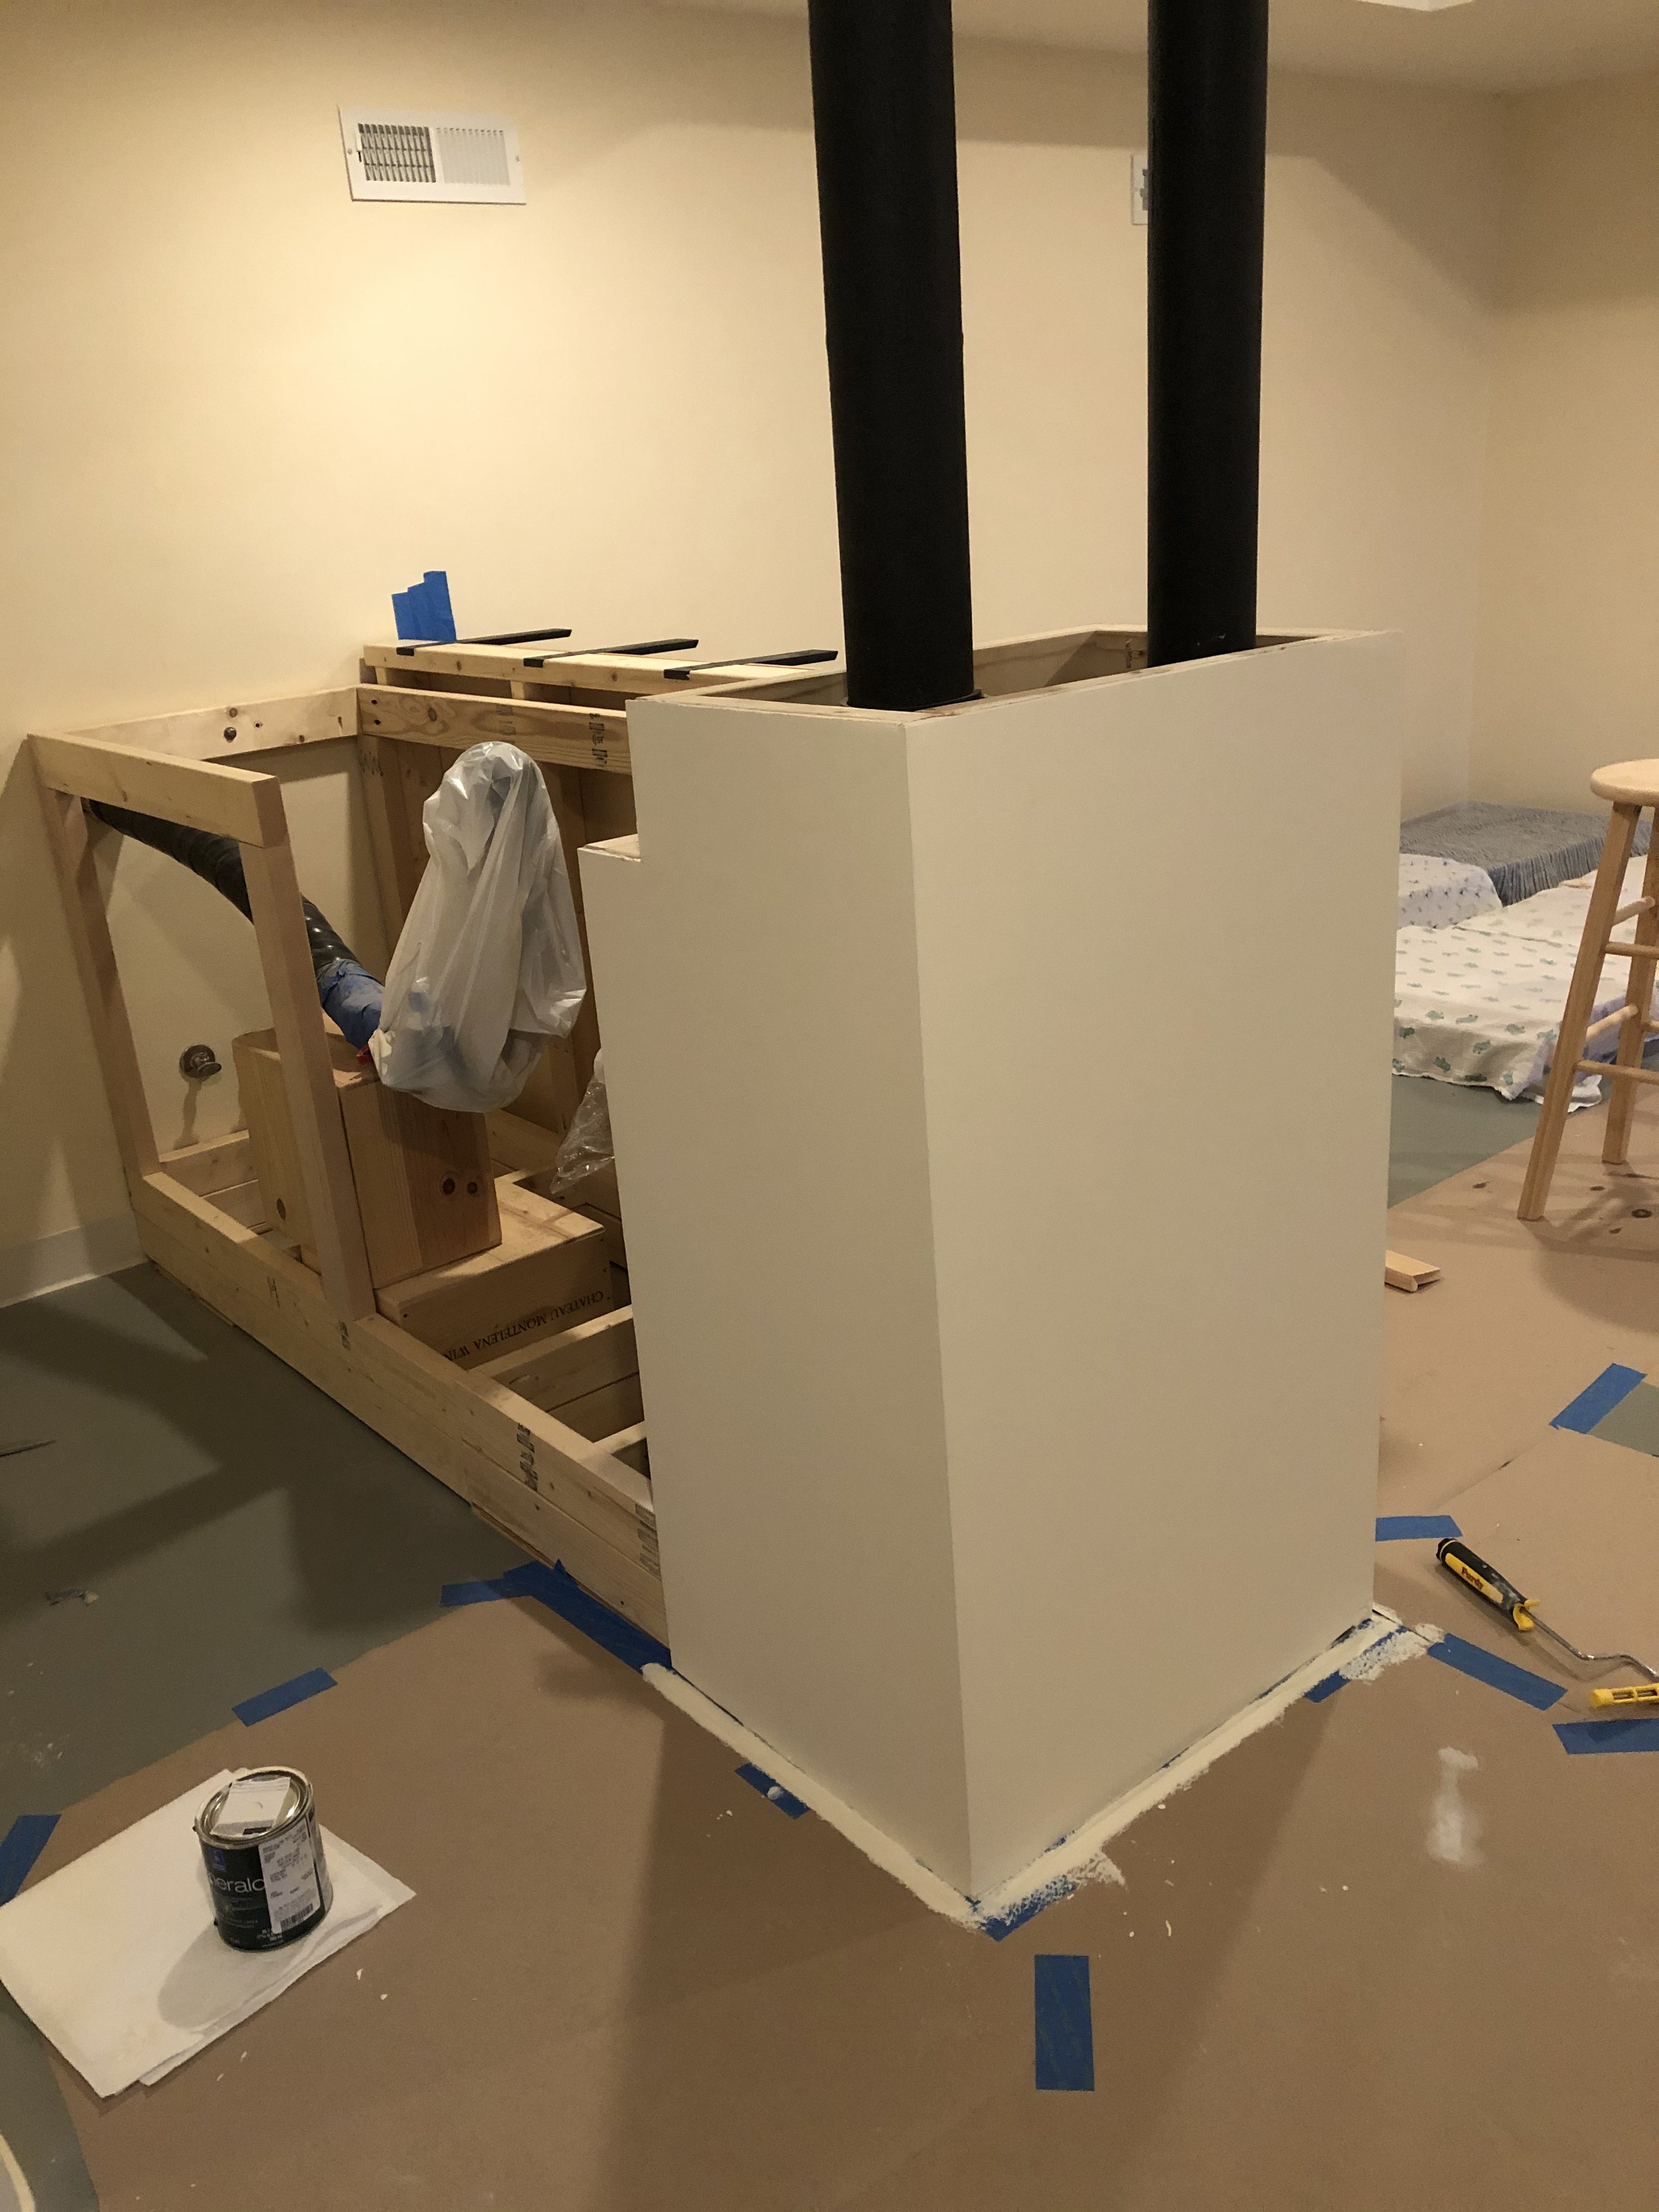
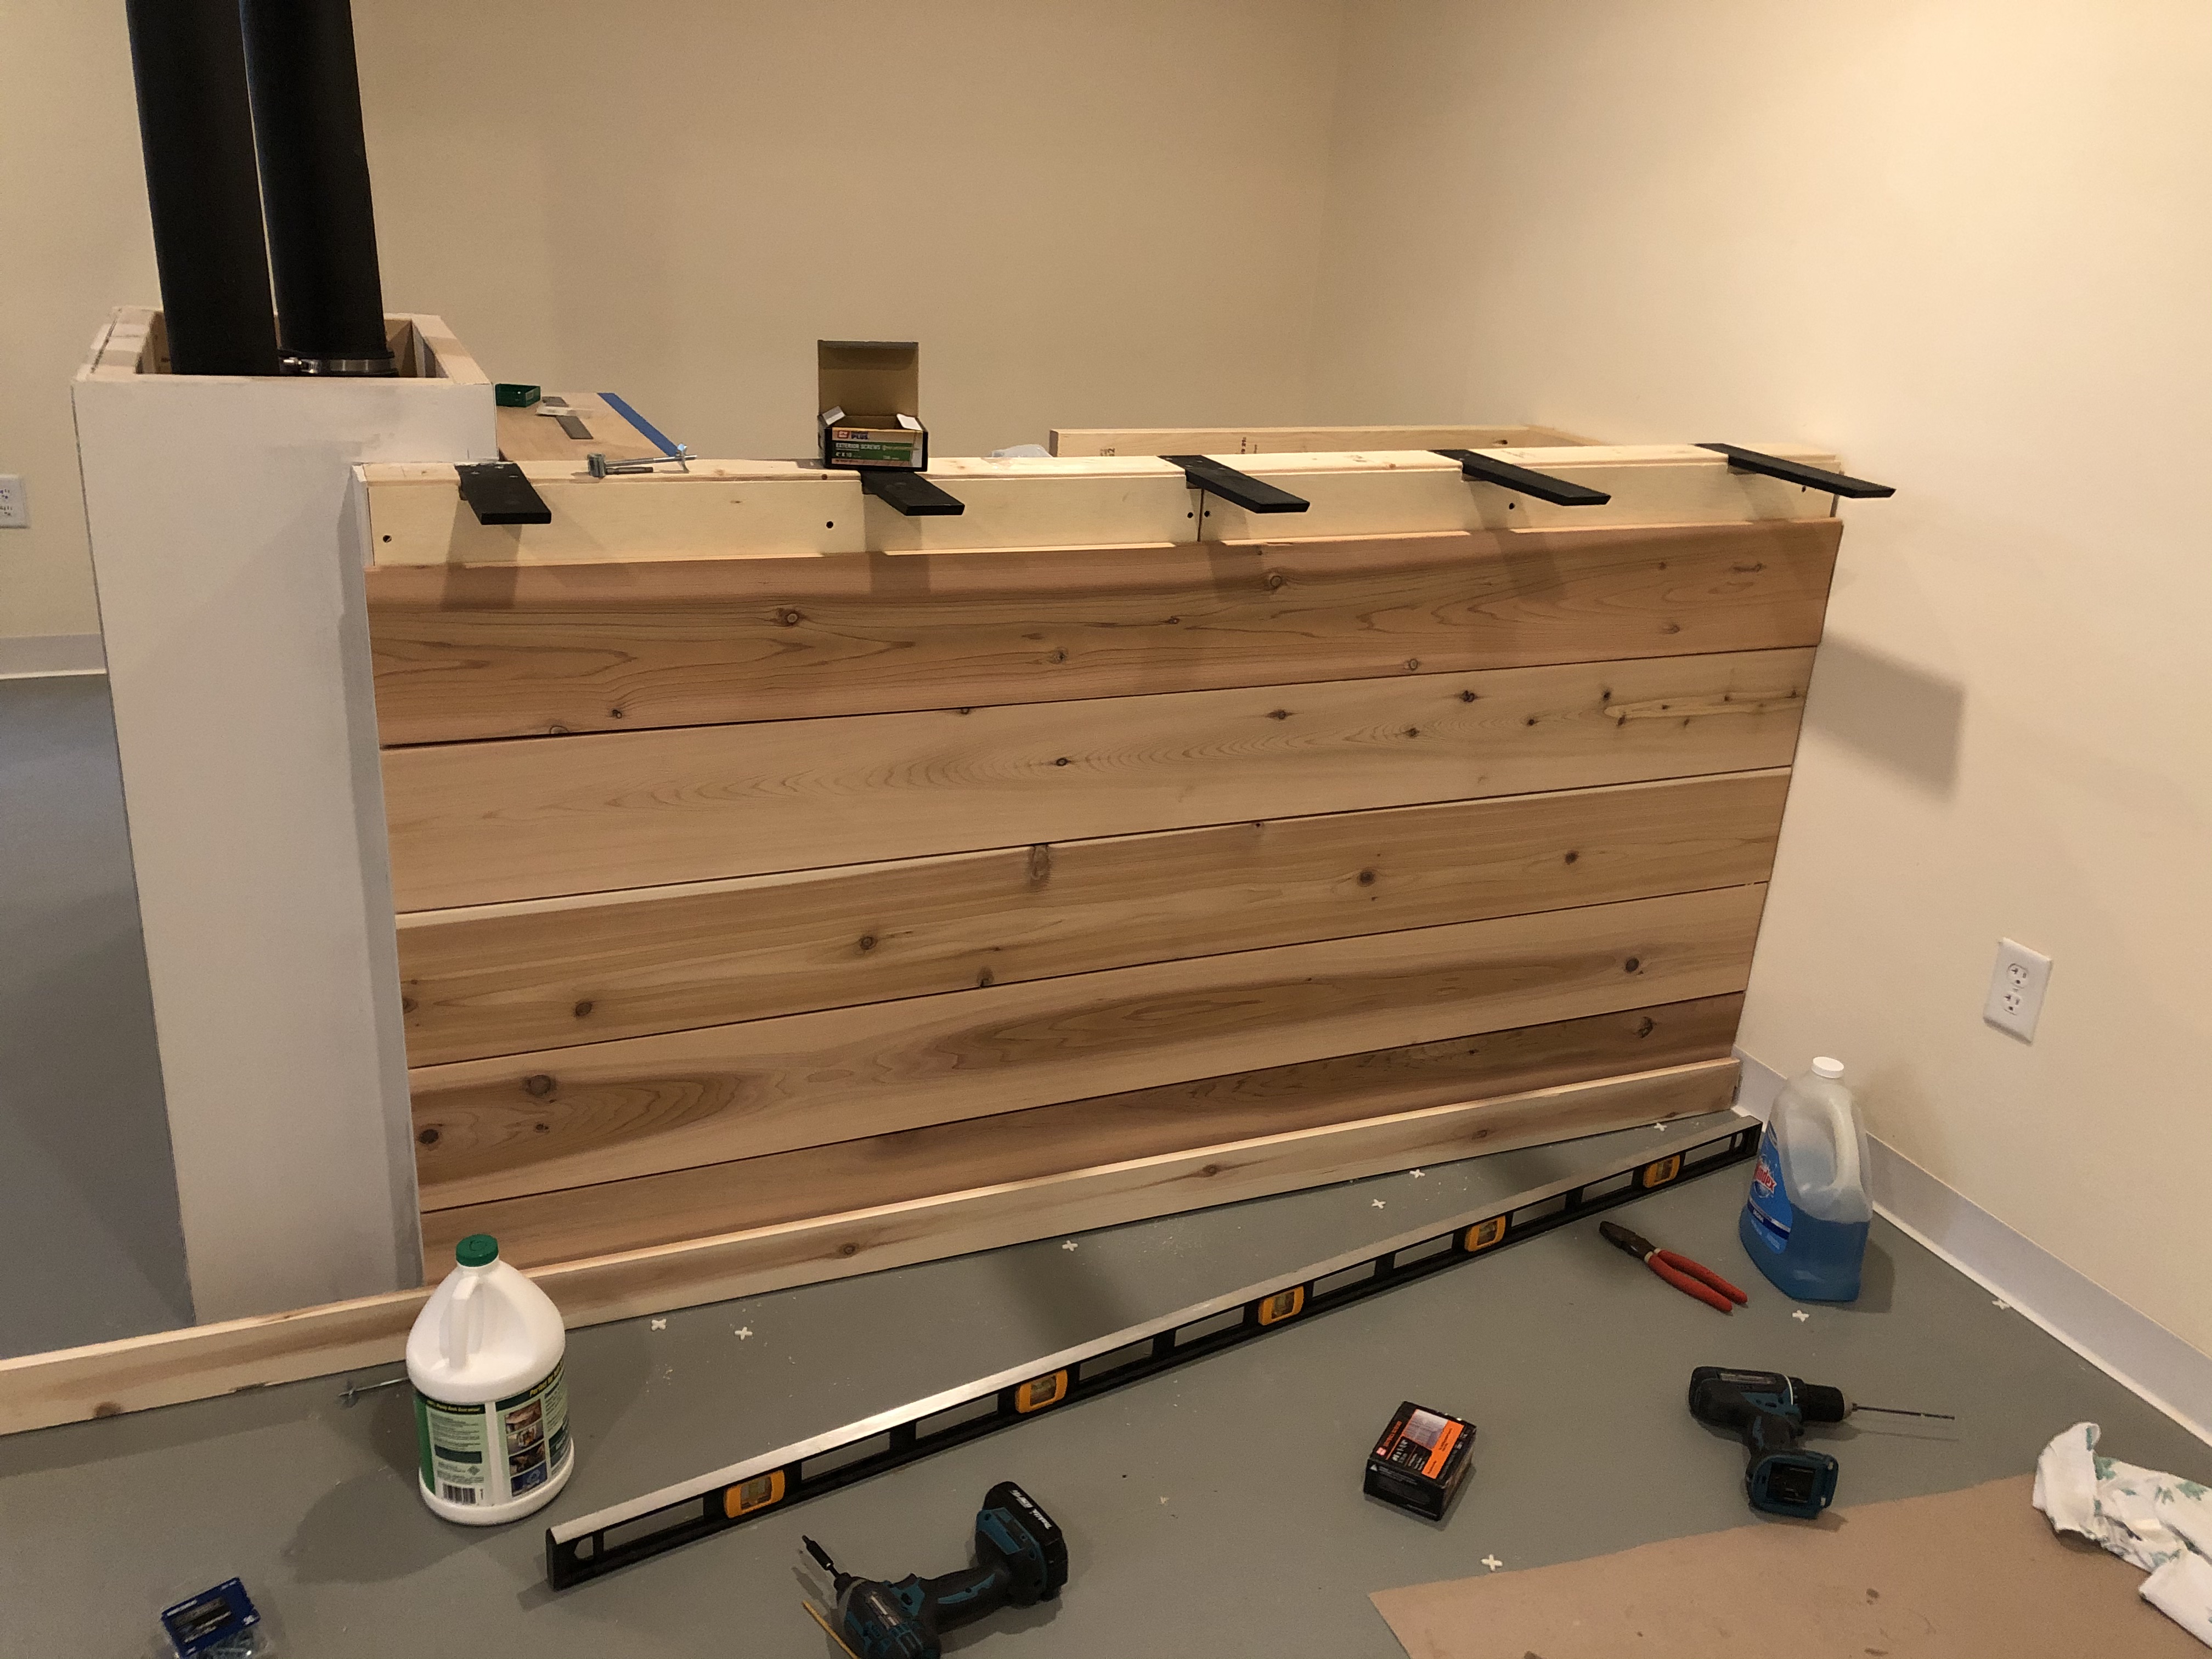
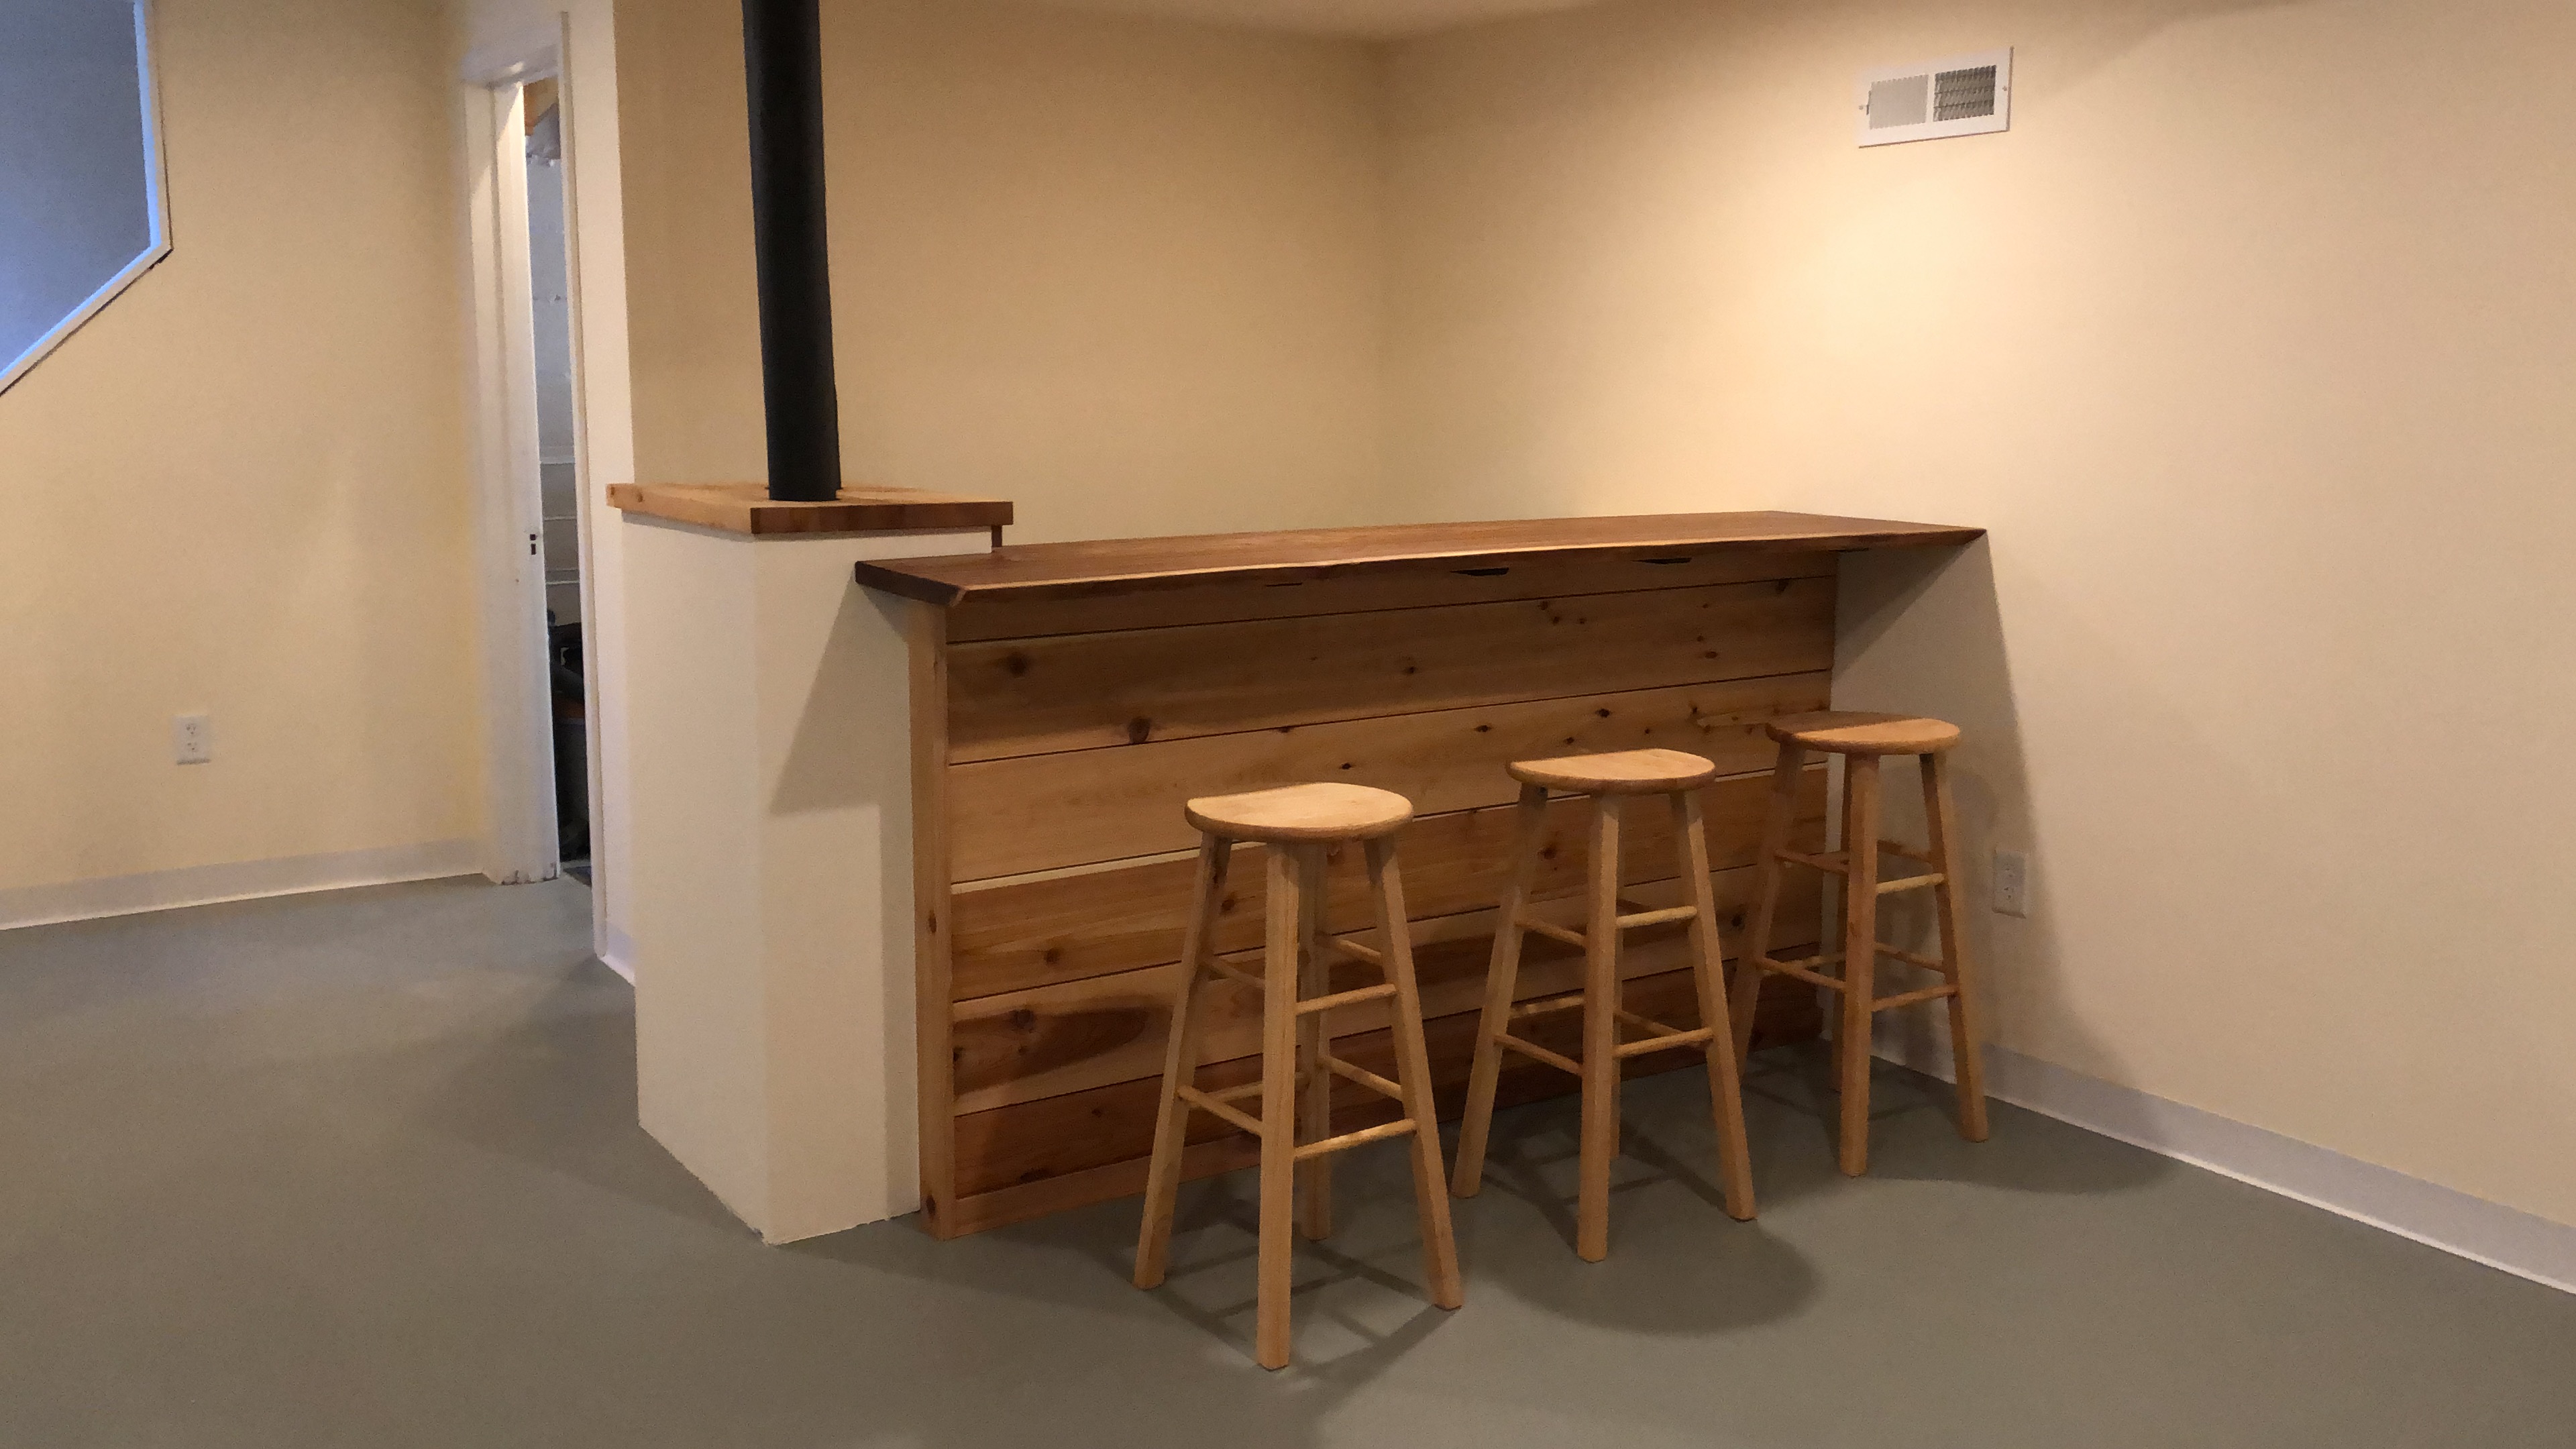
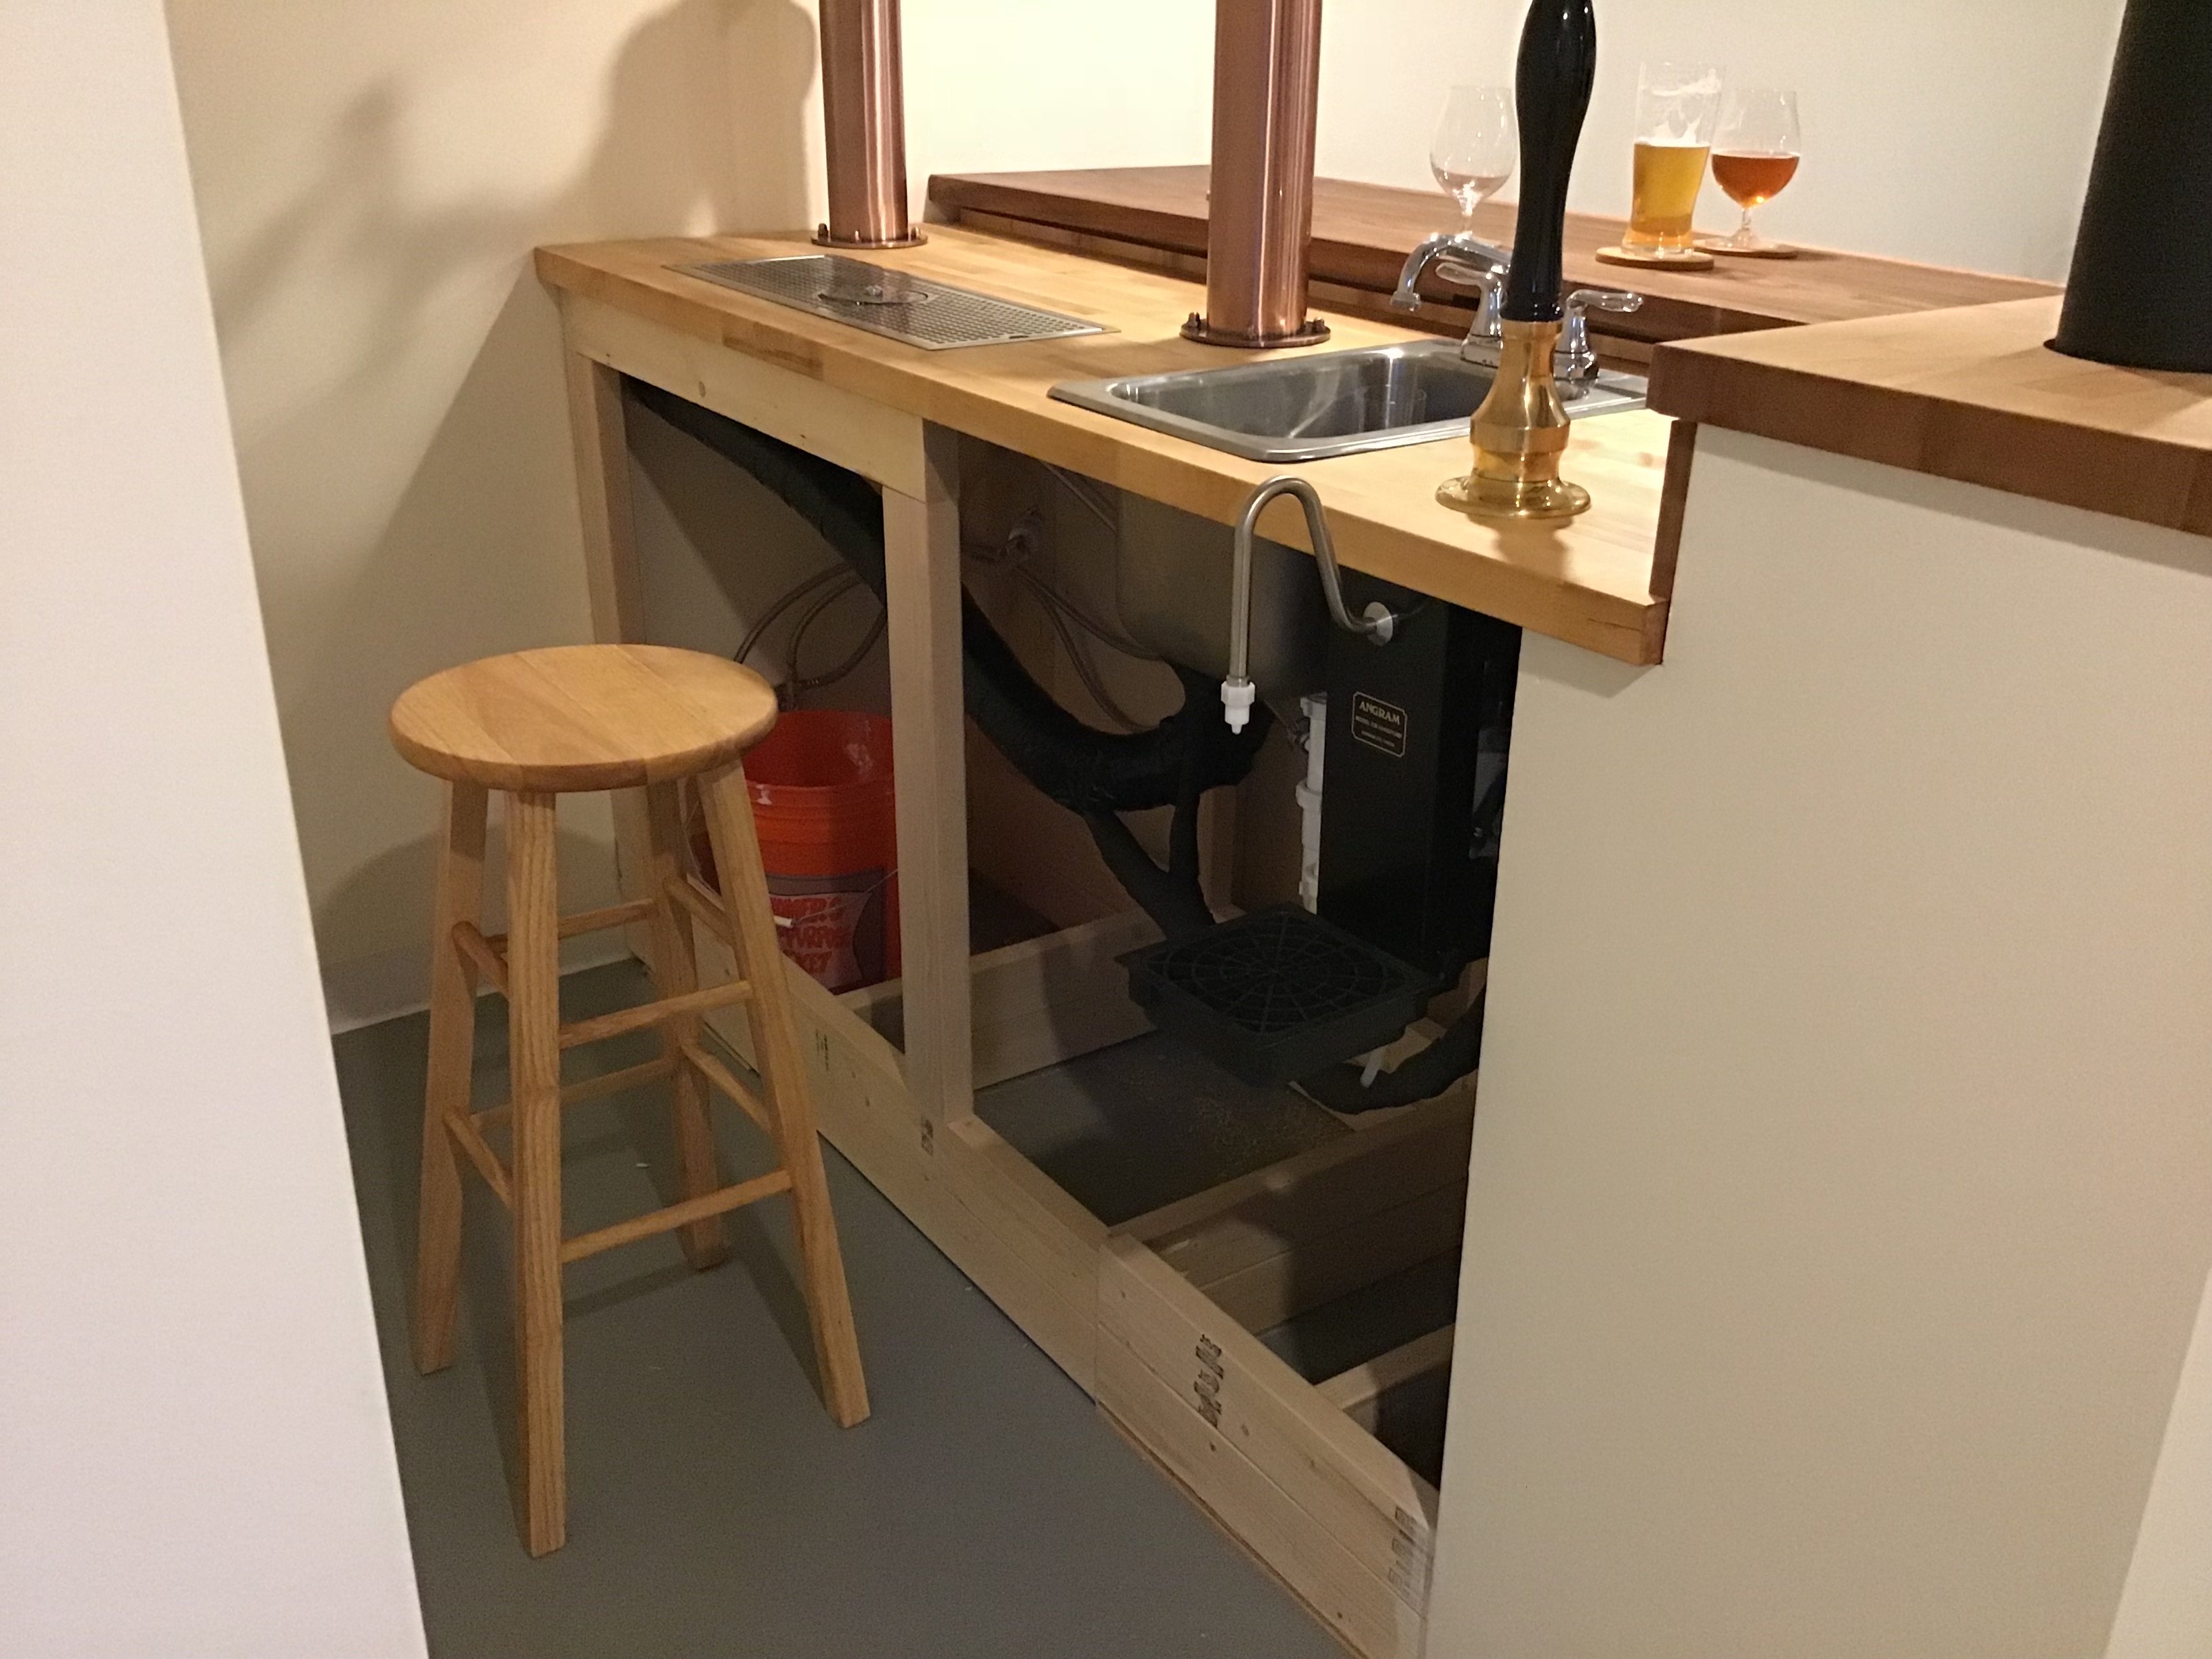
My current bar is a temporary set up made of 2x4s and a 3/4" piece of plywood for the underbar. Eventually the underbar will be a butchers block countertop with a proper bar made of a live-edge slab of English elm above it, but that's a project for the fall. I also wanted to prototype with plywood before I start drilling and curtting butcher's block. To mount the beer engine, I drilled a 2" hole for the beer lines coming out of the bottom of the tower and holes for the bolts that hold the tower to the bar. I found an online video that walks through the installation of an counter-mount beer engine. I used a jigsaw to cut out the beer engine mount hole, and cut a rectangular hole for the flush-mount drip tray. The drip tray drips into a bucket until get the full bar installed and plumb it into the drain.

Draught line build
For the beer lines I purchased Bev-Seal Ultra 1/4" ID barrier tubing, after reading Kal's awesome posts on beer line tests (I also hate vinyl taste and dumping beer). I ended up getting 500' from Installation Parts Supply for just over $100, which is way more tubing that I will ever need but was the best deal on line length and shipping that I could find.
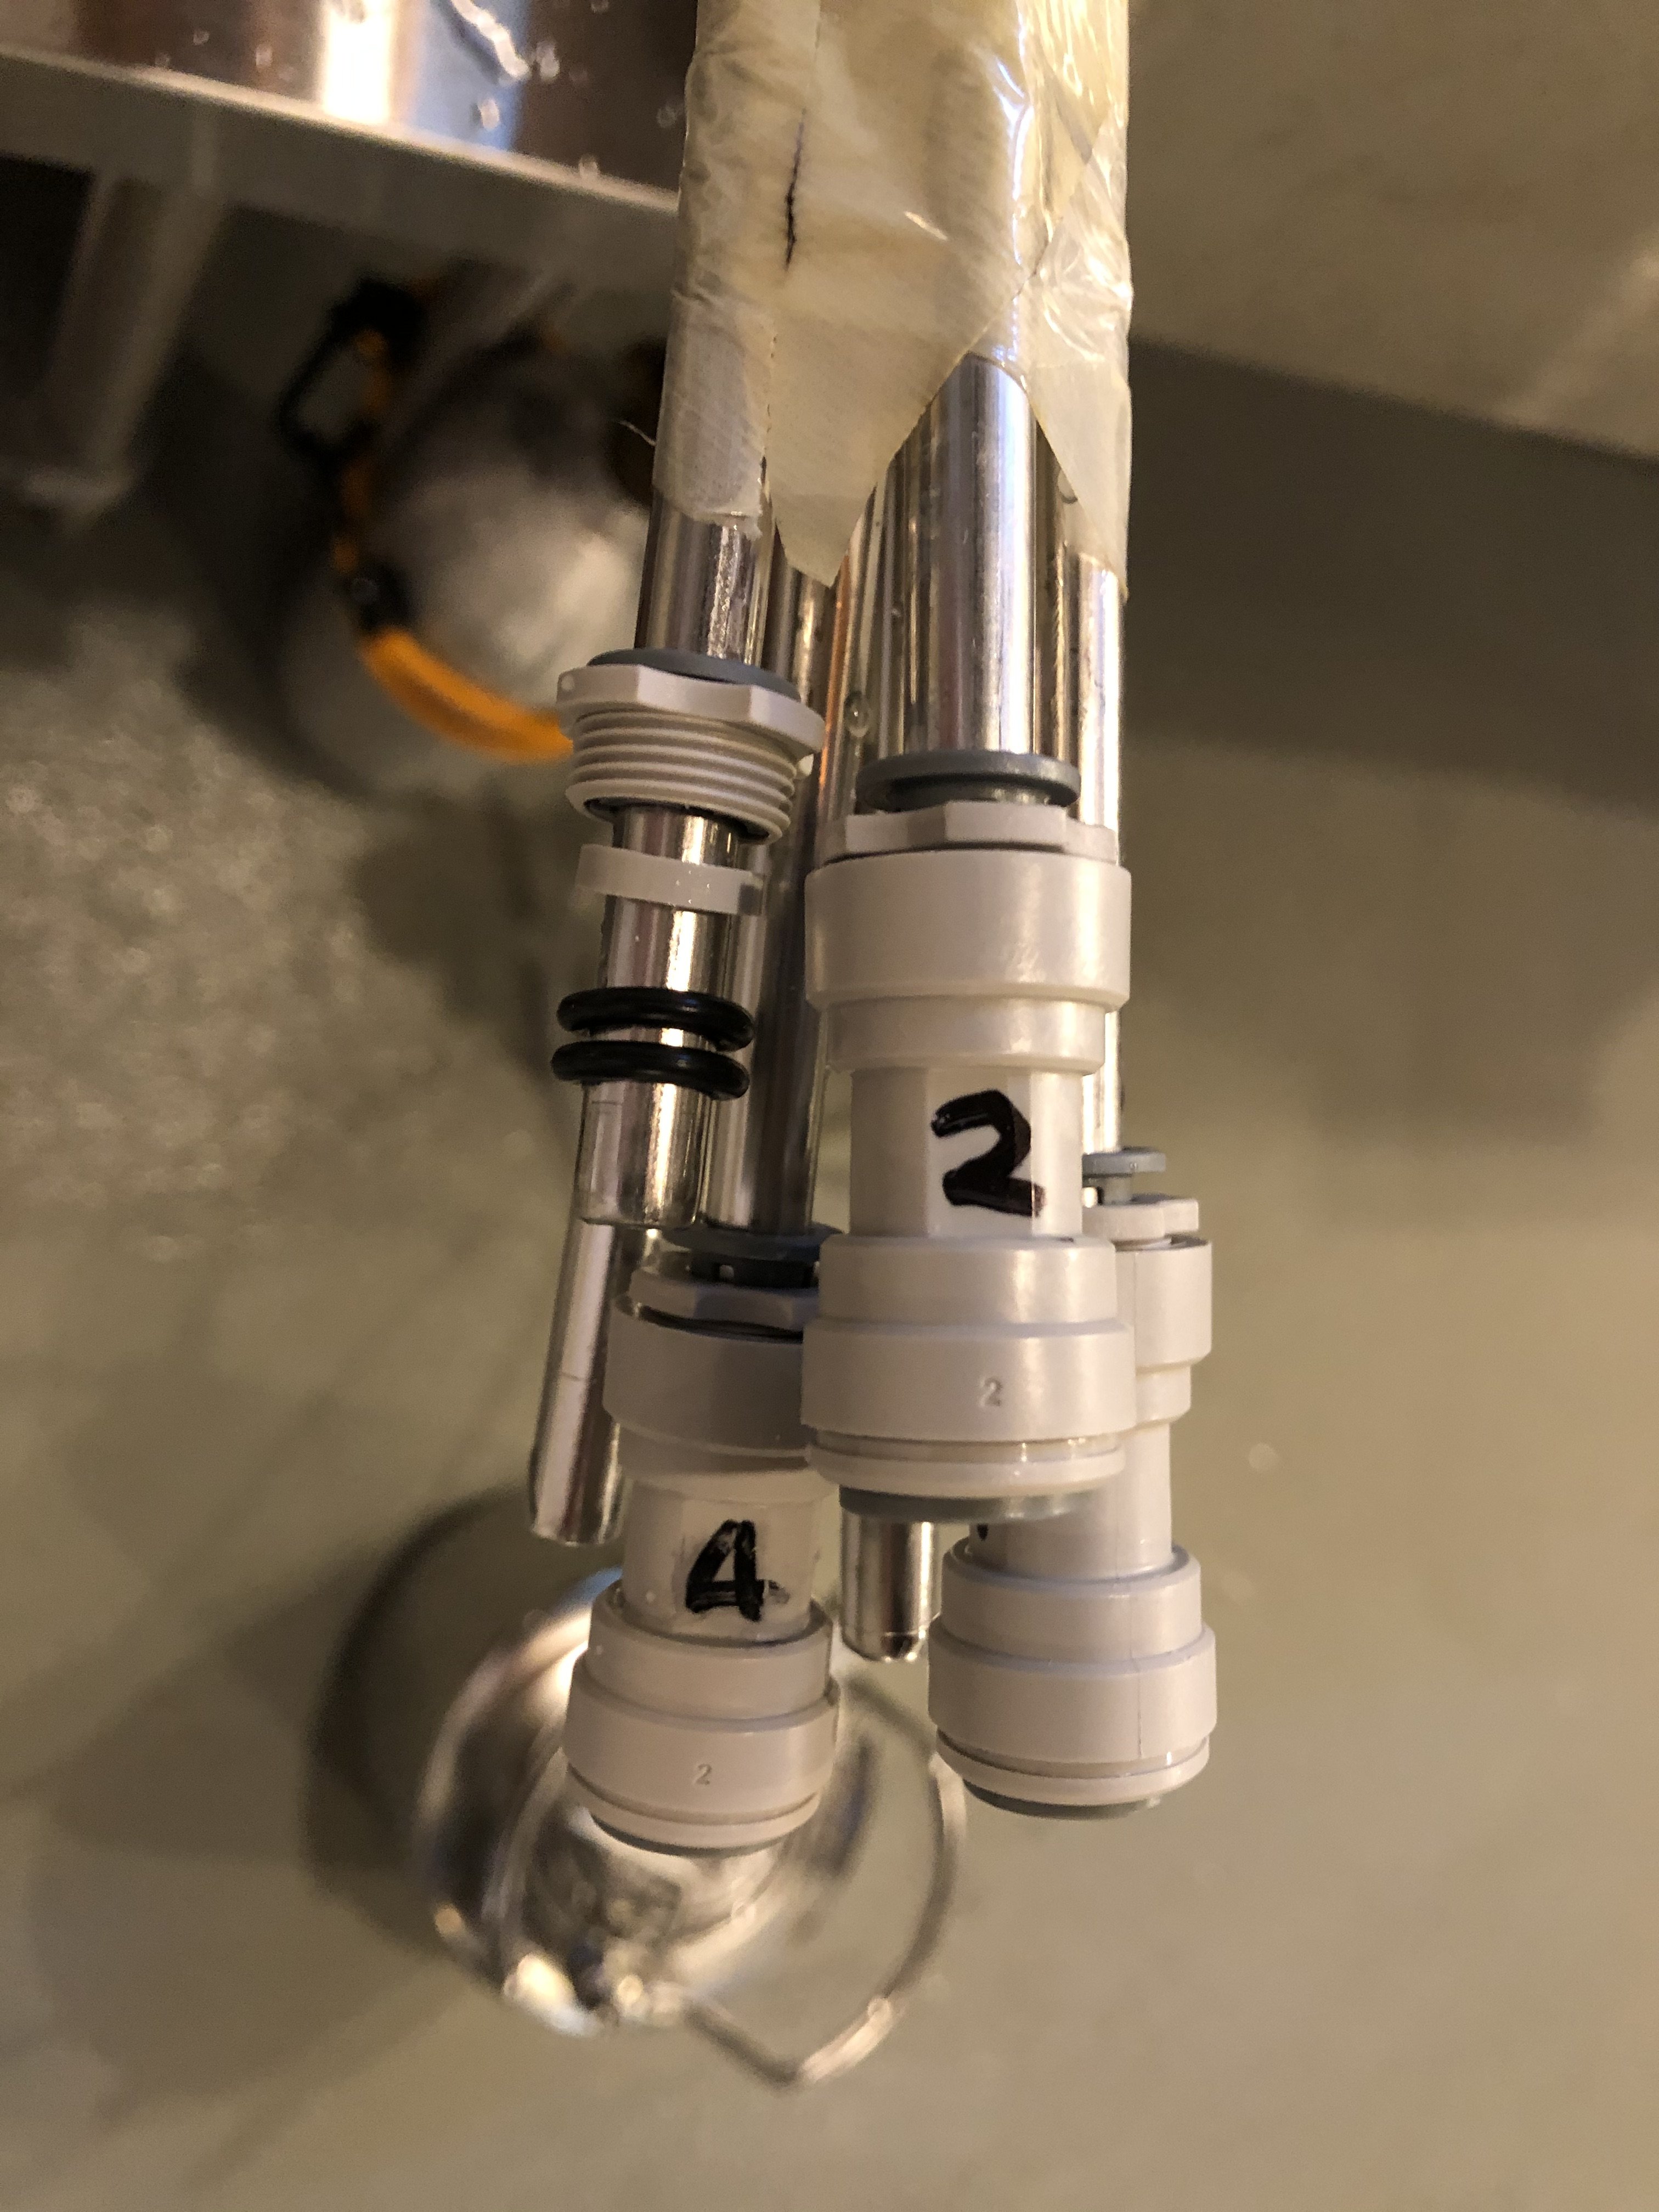
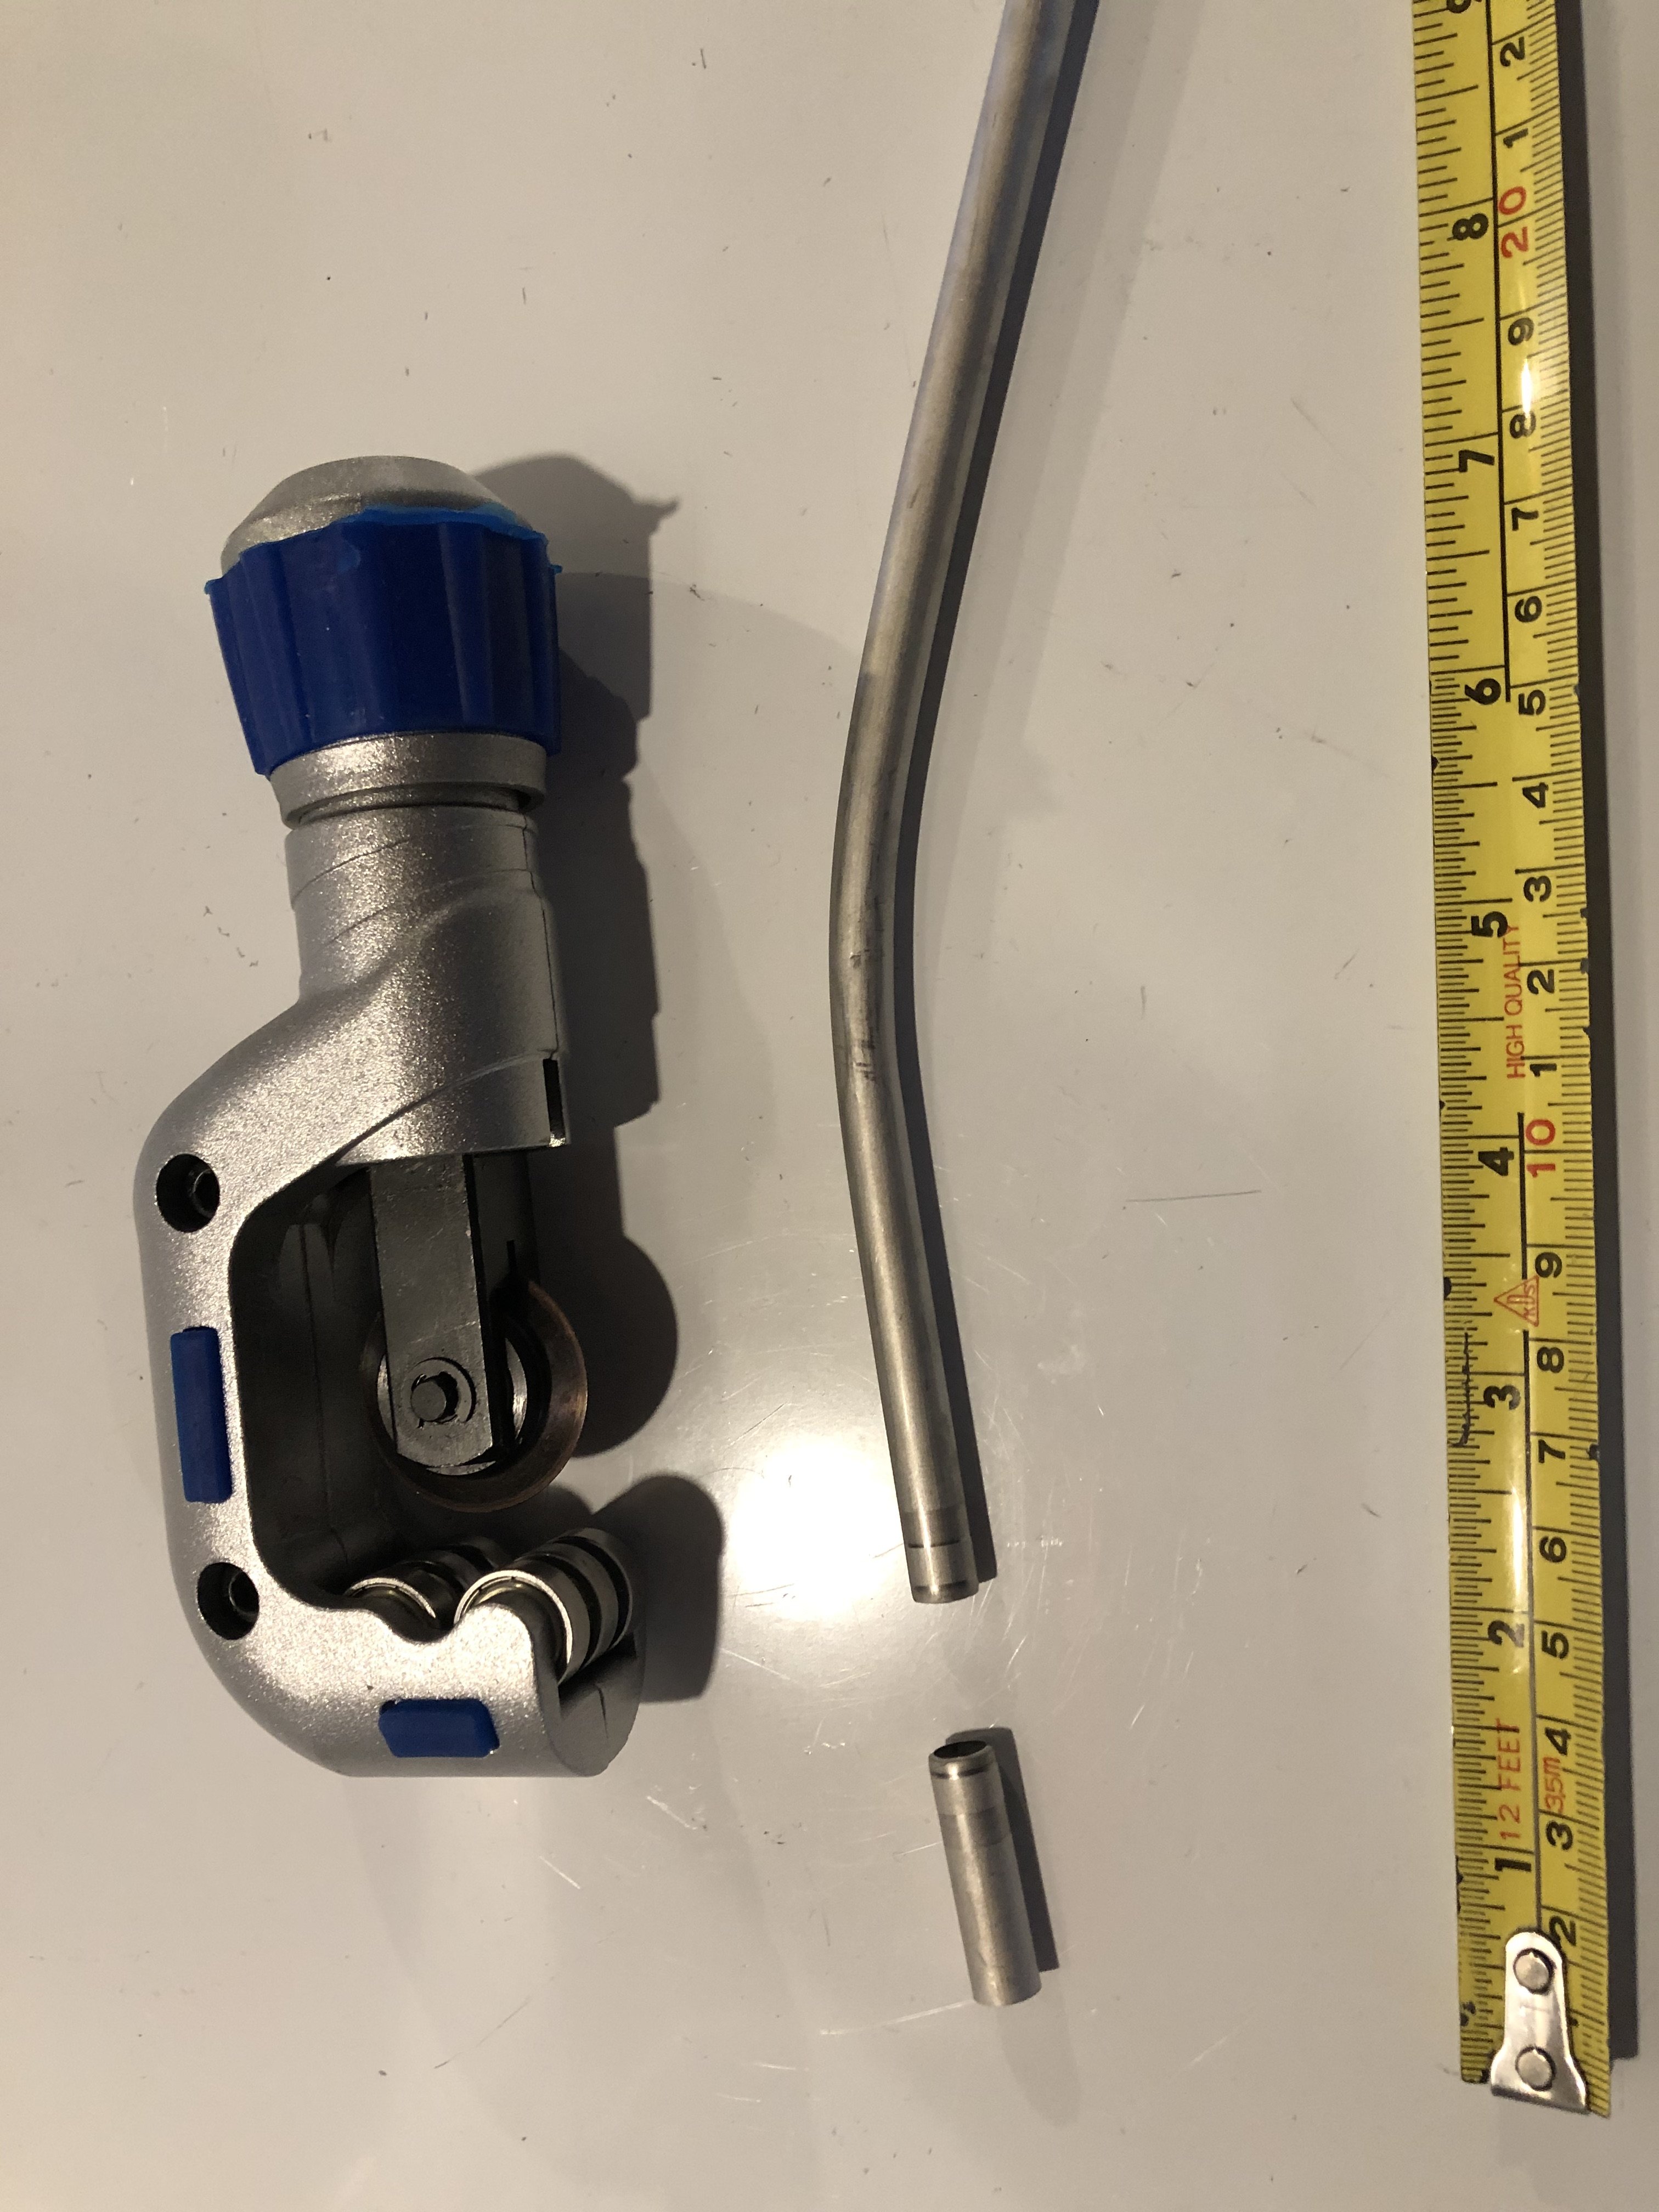
All my fittings are John Guest acetyl-copolymer speed-fit fittings from Freshwater Systems. My corny keg ball lock fittings are screwed into 3/8 OD x 1/4 Flare fittings (JG part number PI4512F4S) which connect to the Bev Seal tube. At the other end, the BTD-BR4V beer tower came with 8mm stainless steel pipe, which is almost exactly 5/16". John Guest recommend the super-seal fittings if you are connecting to stainless steel, so I connect the Bev Seal tubing to a 5/16" Superseal - 3/8" union (JG part number SI041012S). The connection on the bottom of the Angram is slightly larger and needs a 1/2" Superseal - 3/8" union (JG part number SI041012S). The Superseal spanner is also really helpful in getting these tightened up.
Here are a couple of pictures of the John Guest fittings in action:


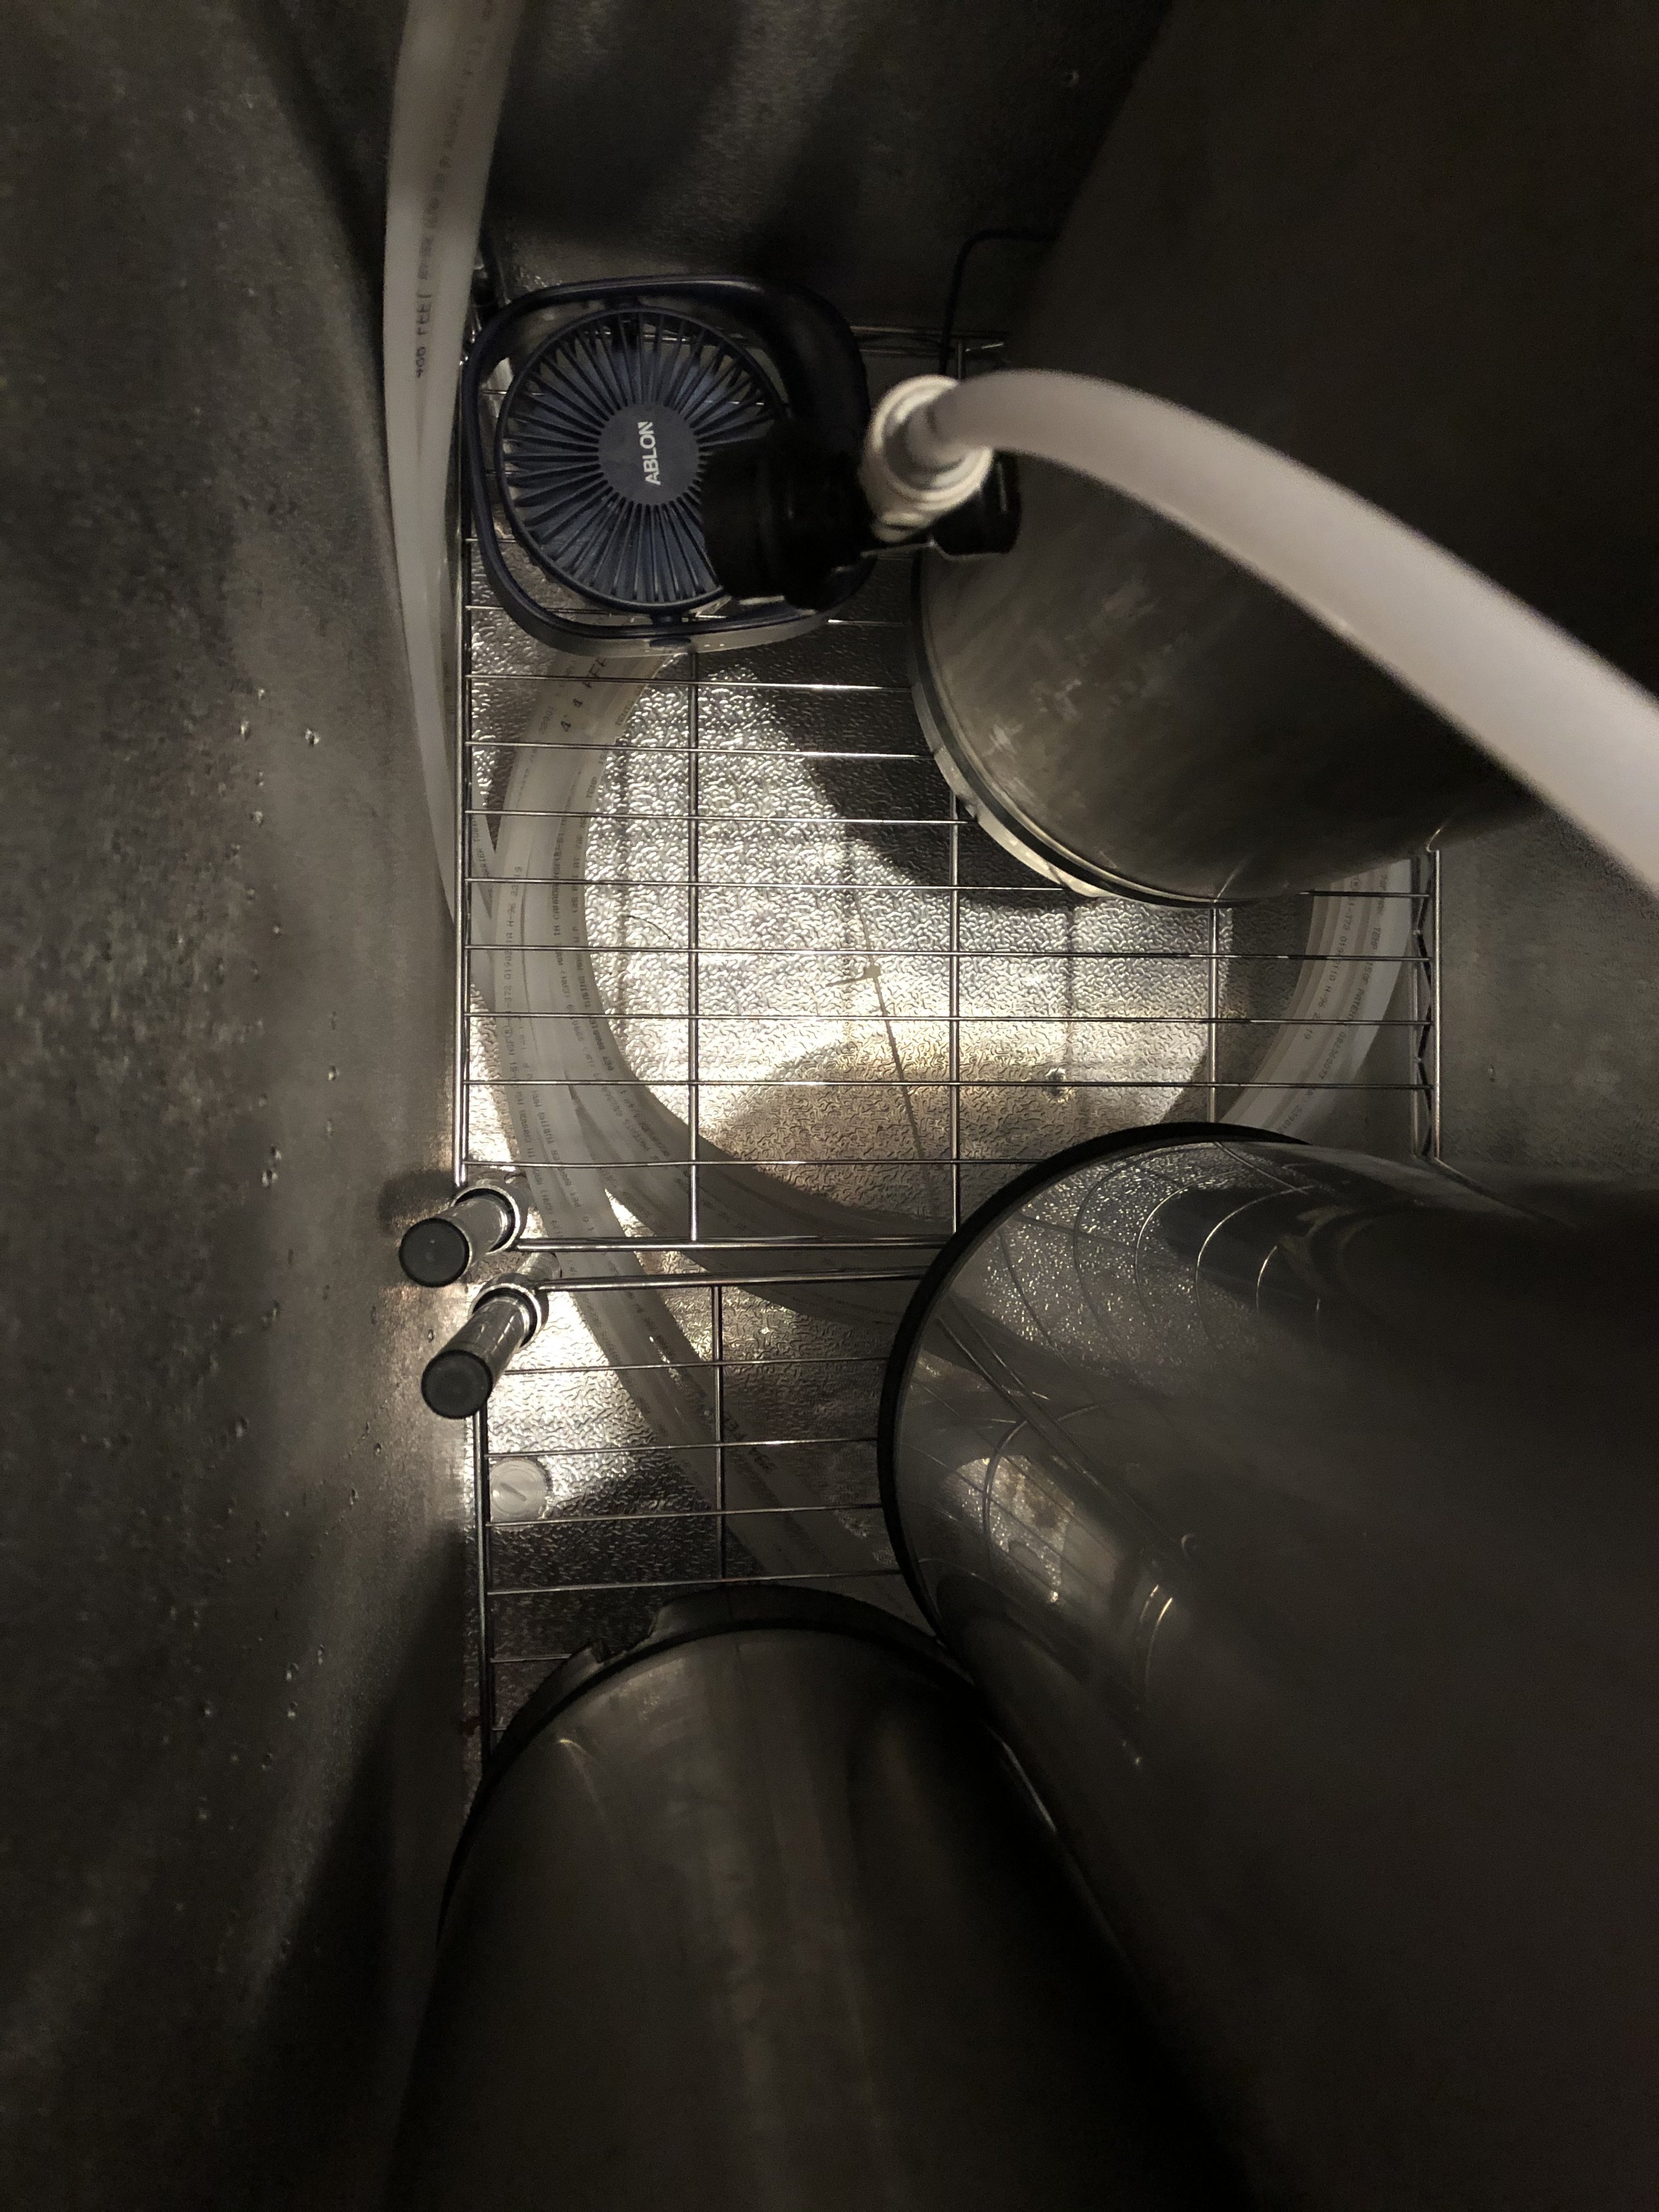
Since my tower can't be air cooled by the keezer, I went with a glycol cooled long-draw system for the beer lines. I already had an SS Brewtech 1/5 HP glycol chiller for my fermenter, so I used a couple of free ports on this to cool the line, beer engine, and beer tower.
I made my own trunk line by running two pieces of 3/8" OD copper tubing from the keezer, through the wall, and to the bottom of the beer tower. The overall distance from the keezer to the beer tower is relatively short and straight, so I went with copper for better thermal conductivity, rather than the PEX that is used in Micromatic's trunk line. The 3/8" copper can be used with the 3/8" John Guest fittings that I had for the Bev Seal (copper is soft and so doesn't need the Superseal fittings).
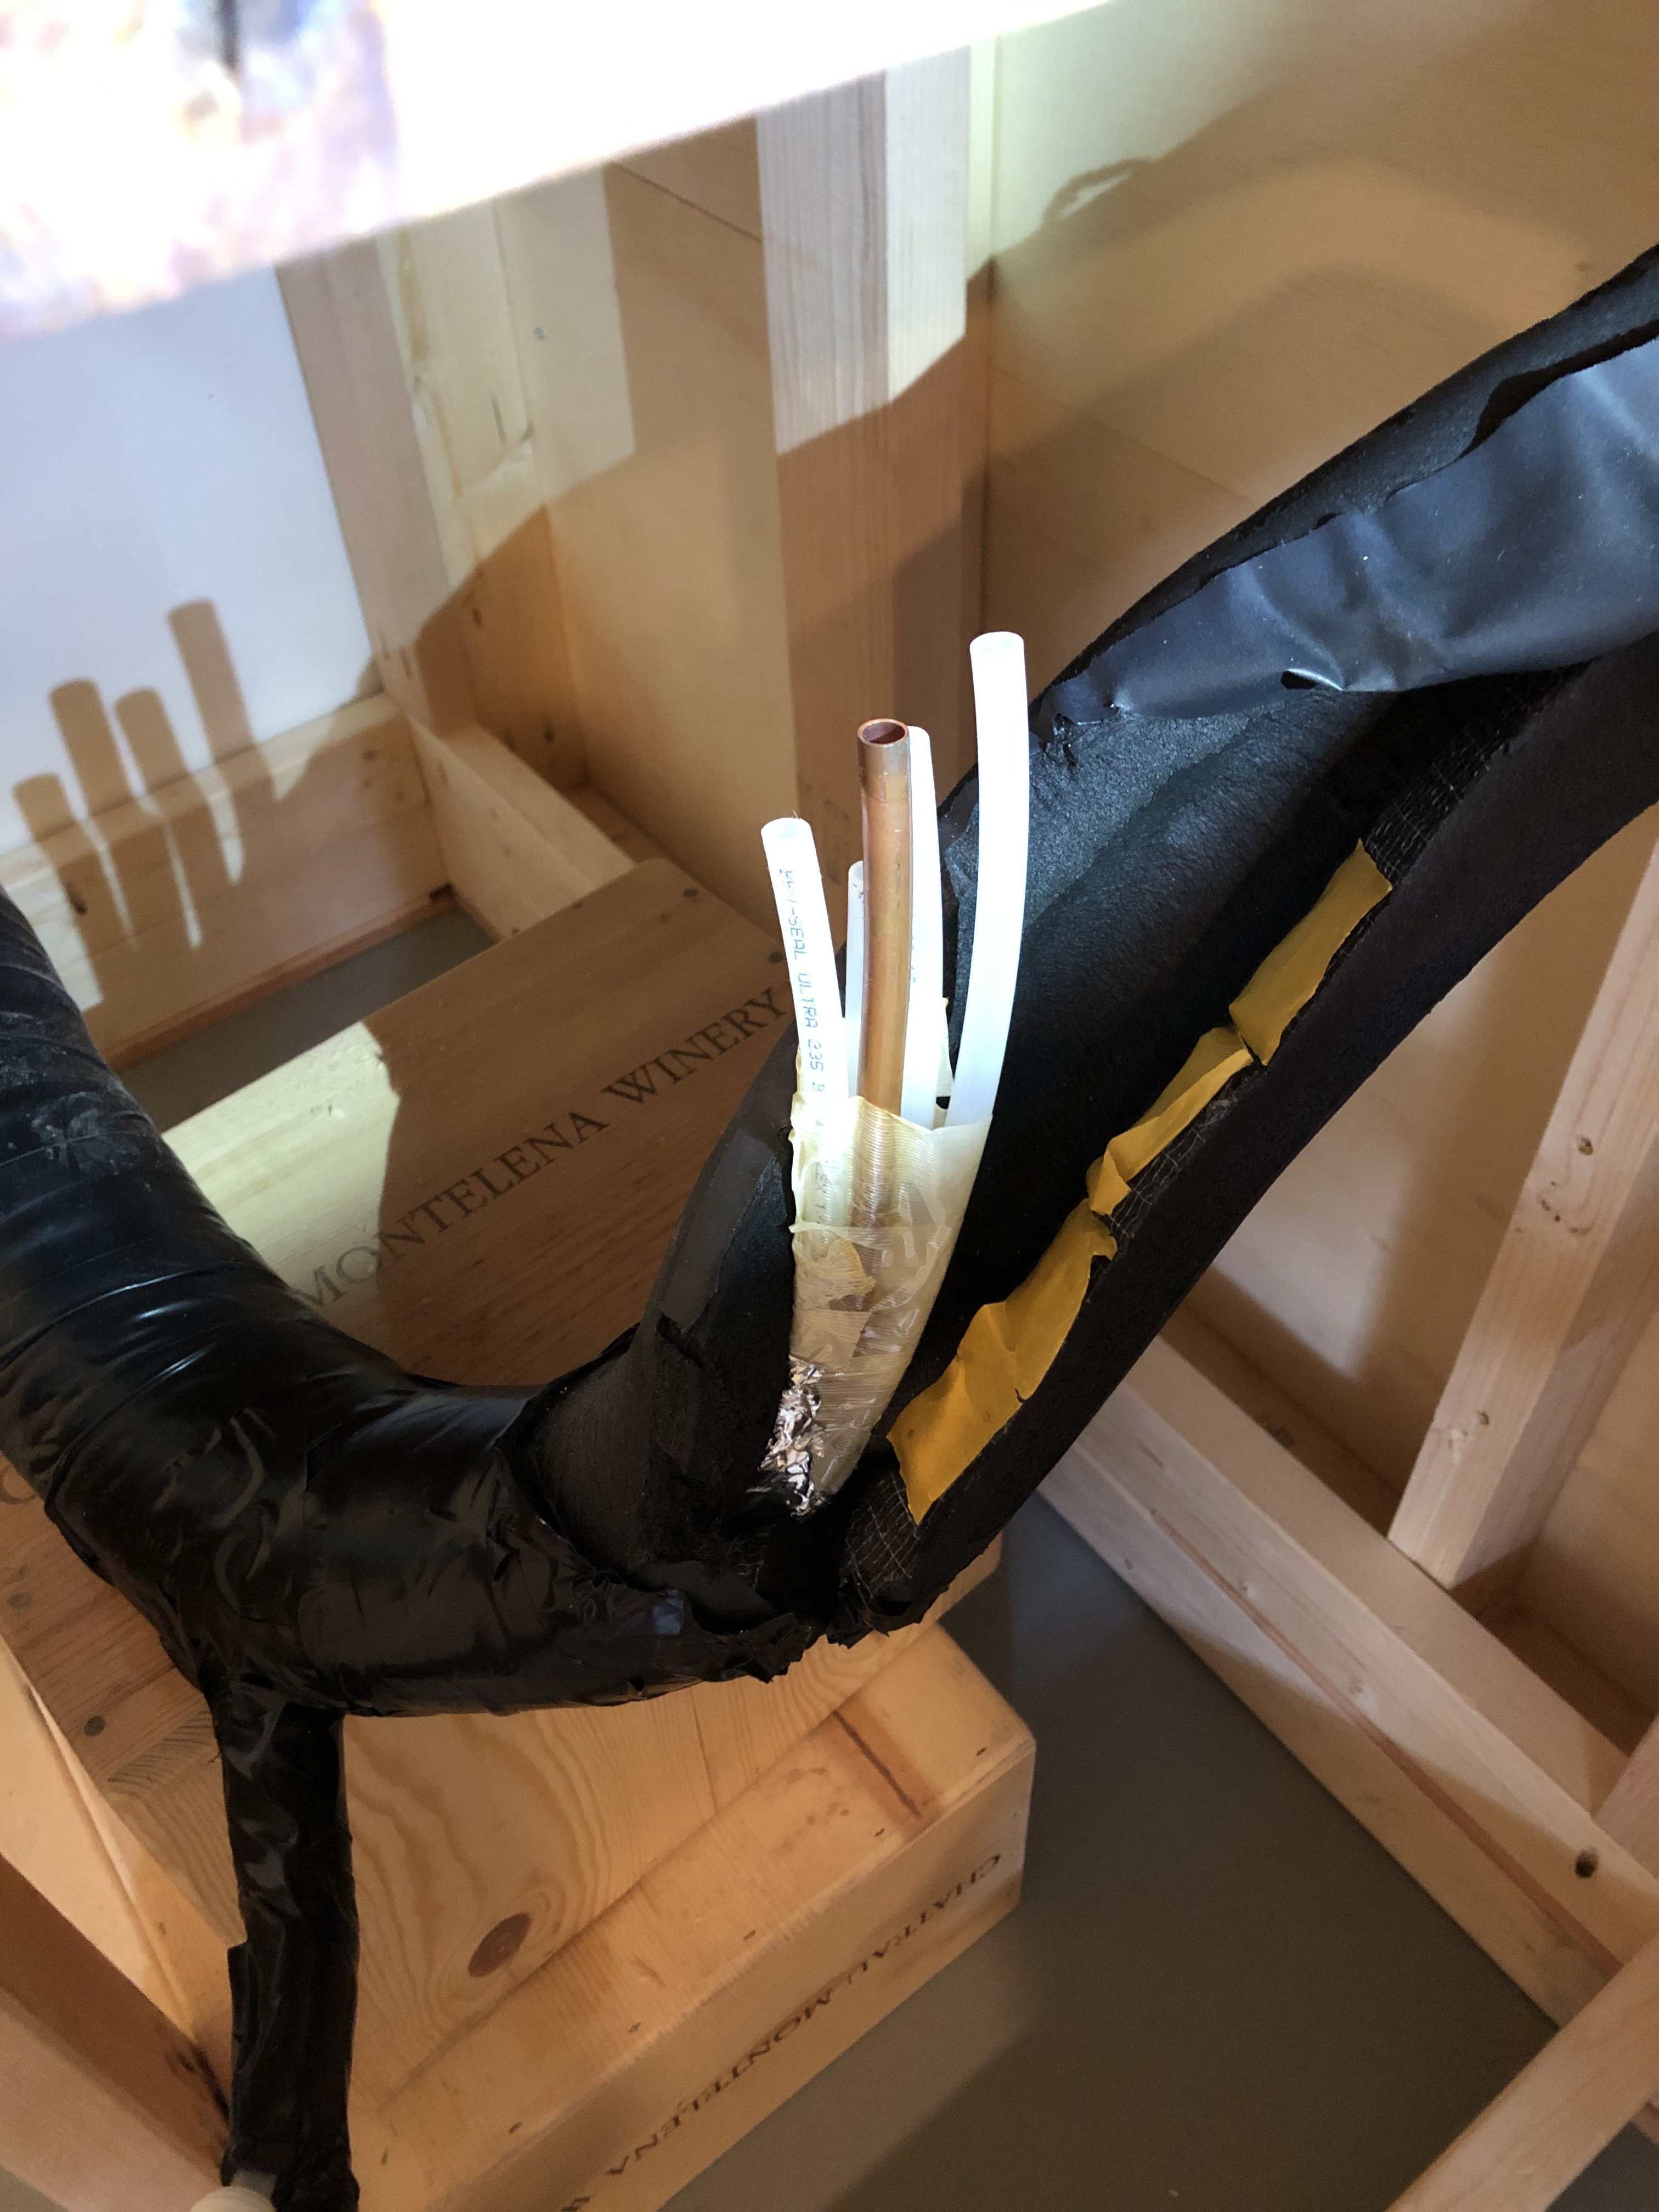
Having run the copper roughly to shaped, I ran the Bev Seal tubes from the keezer along side the copper. I used cable ties to temporarily make a bundle of tubes, then wrapped the tubing in 2" moisture strapping tape, then 2" foil tape, both from Micromatic. The section of tubing that went through the PVC pipe was double wrapped in Micromatic's 2" insulation tape. The rest of the beer line was wrapped in 1 1/8" x 1" K-Flex Insul-Lock (Pre-Split Rubber Pipe Insulation w/ Self Sealing Lap) from Express Insulation. I shoved the end of this into the 3" PVC pipe to seal it up on the bar side, and cut a short plug of the insulation to seal up the keezer side of the PVC pipe.
Finally, the trunk line was wrapped in Micromatic's 2" Barrier Tape. I don't have any pictures of the construction of the trunk line, but here's the finished product:


I added a one-way John Guest check valve just before the beer engine to prevent beer flowing back into the cask.
Balancing the beer lines
The biggest pain in the system was finding the correct beer line length. Since I used the 1/4" ID Bev Seal Ultra, my lines have pretty low resistance. However, I couldn't find the correct roughness to use in Mike Solty's beer line calculator. I found a post on the Electric Brewery forum that does the simpler form of the calculation, using a resistance of 0.45. The Draught Beer Quality Manual quotes a resistance of 0.35 for 1/4" ID barrier tubing, so I split the difference and went with 0.4. I also had compensators in all four of my beer taps, which needs to be taken into account.
In the end, I went with the simple calculation L = ( P - (H / 2) - p ) / R from the Electric Brewery post, as that roughly matched what I found in Handbook of Brewing: Processes, Technology, Markets (Wiley, Edited by Eßlinger). Reinhold Merten's chapter on beer dispensing (Chapter 14) in this book states that a compensator tap has a pressure drop of 0.88 bar (12.7 psi).
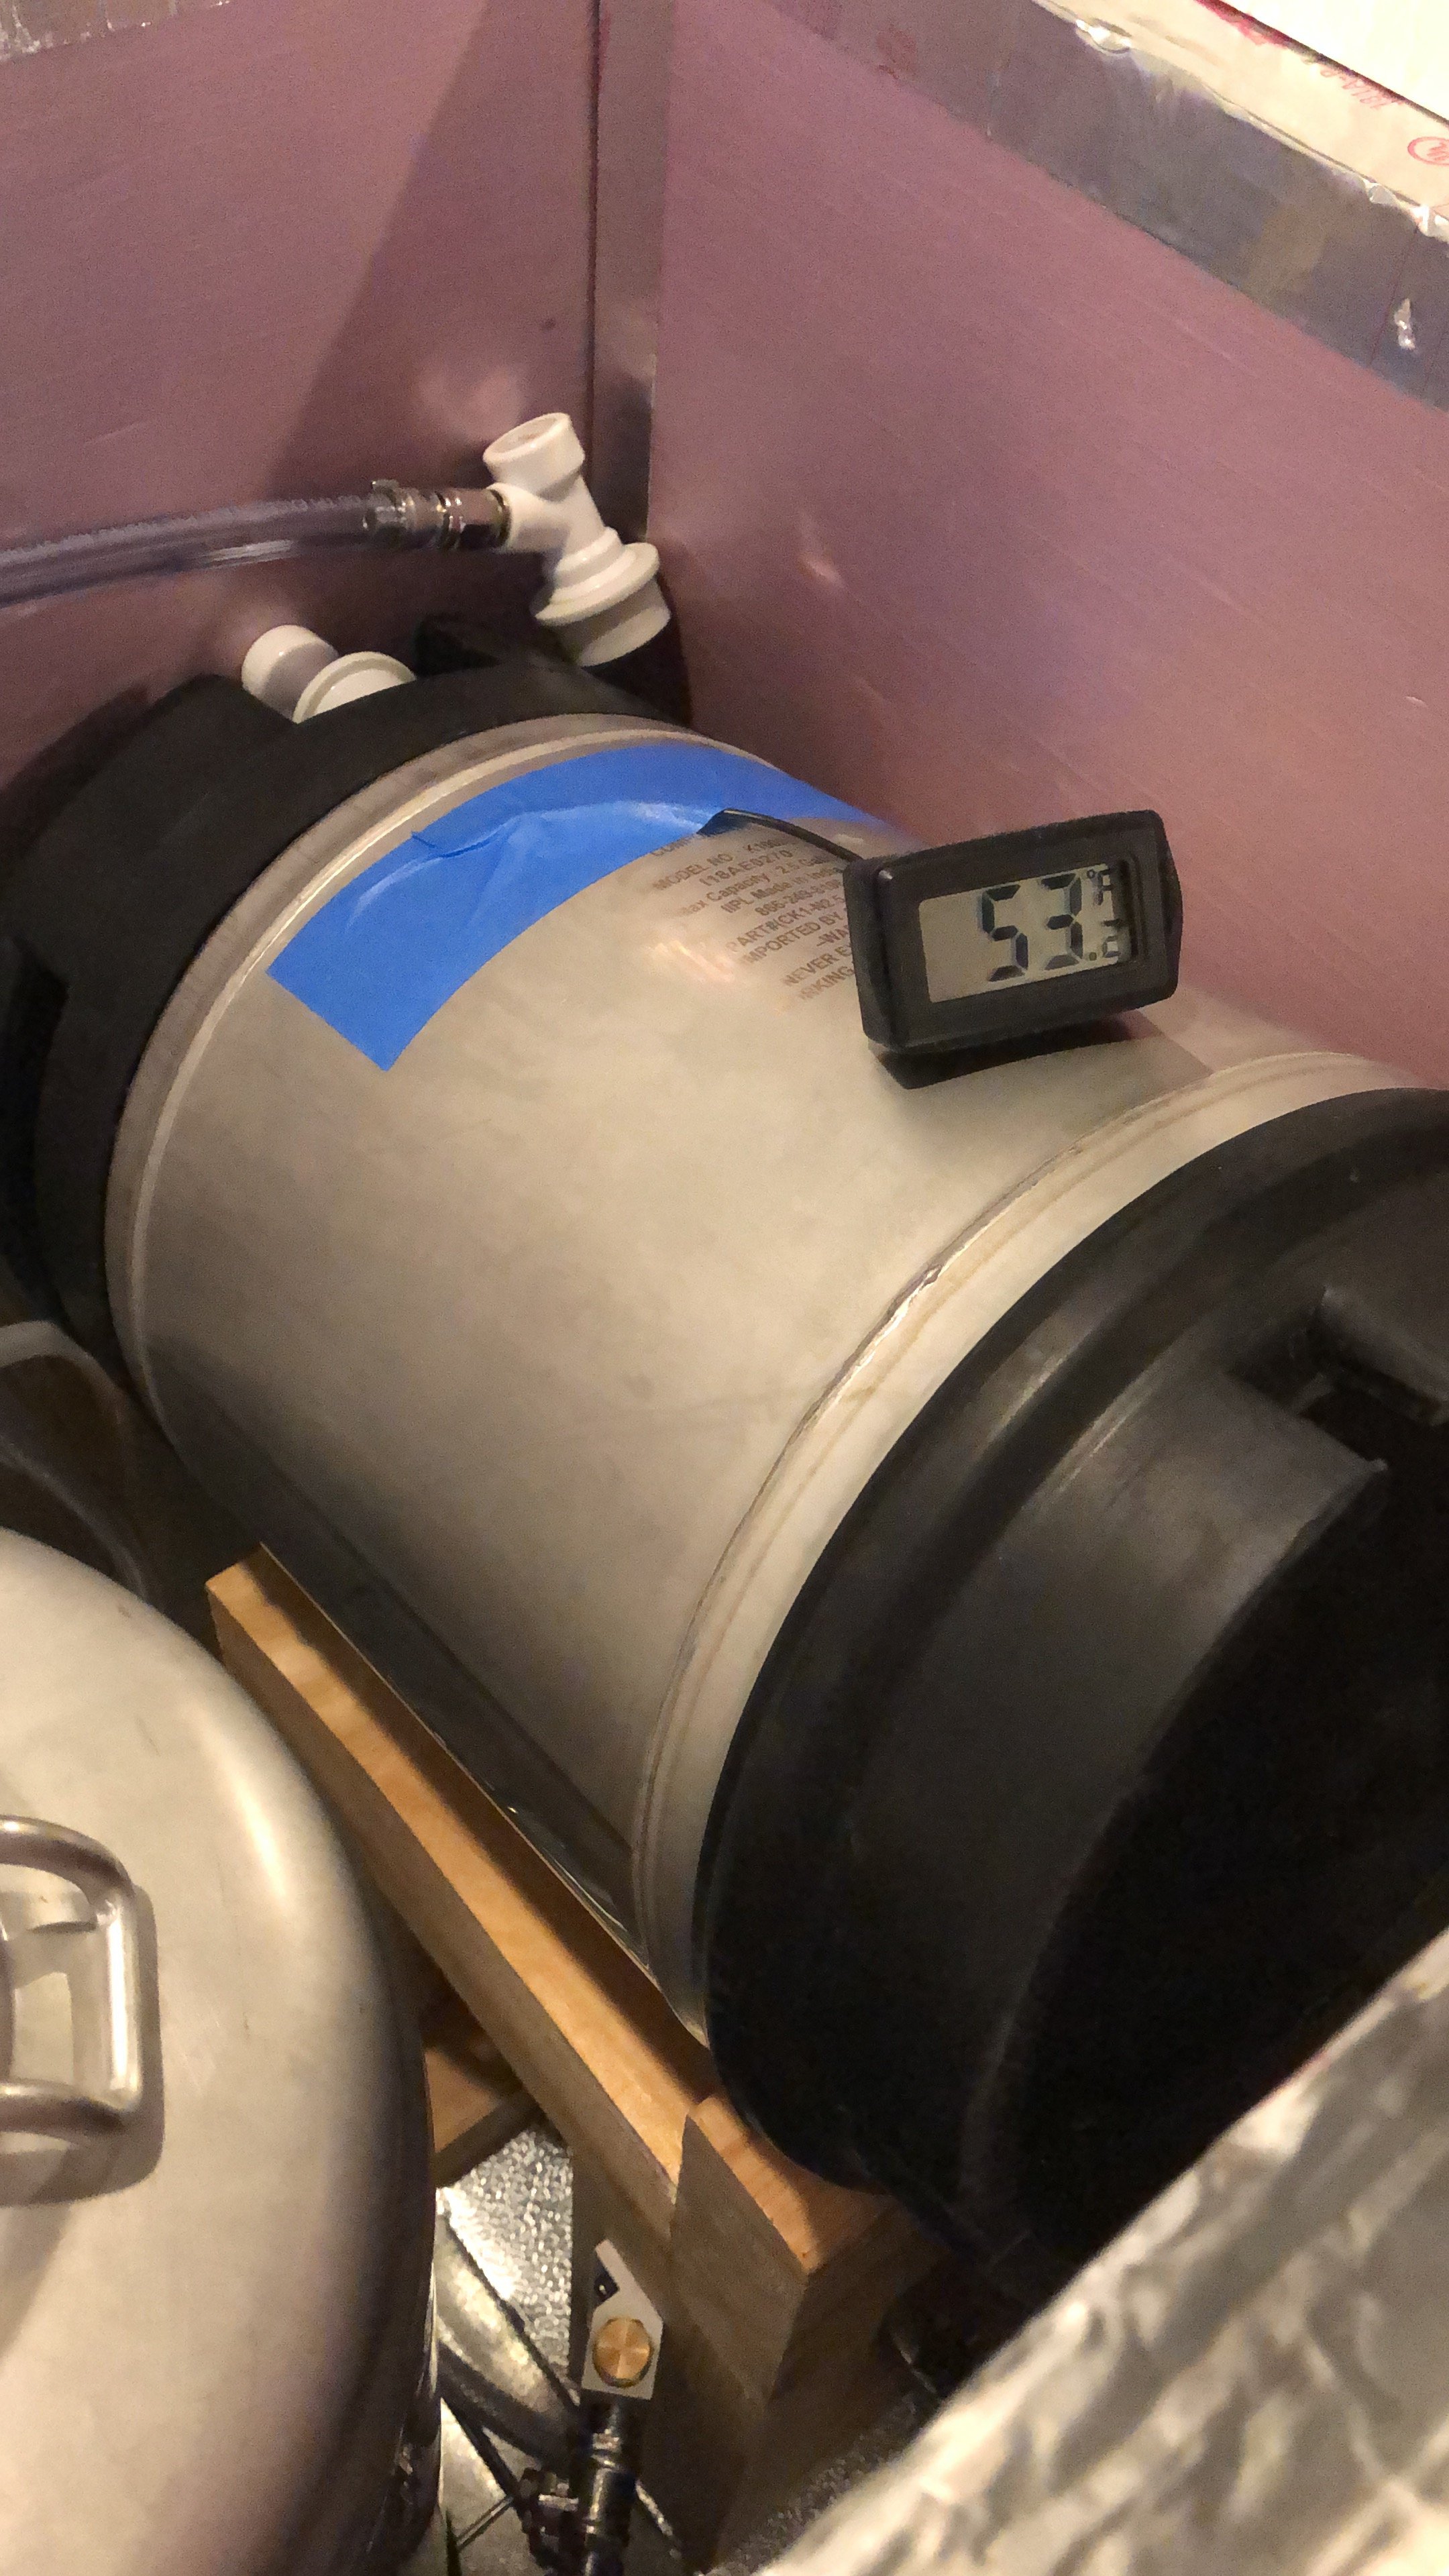
Merten's states that the temperature of the beer at the tap should be 5 C (41 F) for a drinking temperature of 5-7 C (41 - 45 F). Given that I have a short, glycol cooled line, I set the keg refrigeration Johnson Controls A419 thermostat at 41 F with a differential of 2 F and the glycol chiller at 29 F. I typically drink kegged beers at 2.5-2.7 vol, but I wanted a bit of slack to also serve some Belgian-style beers on draught at 3.0 vols. Using the standard carbonation charts, a beer with lagers 2.6 volumes of CO2 at 41F needs 14 psi of head pressure.
This means that for my setup:
I went with 20 ft of beer line for each of the taps on the tower. Using a timing test, a 15 second pour on the standard taps delivers with a dispensing pressure of 15 psi delivers just under 750 ml of liquid with the compensator fully open. This is almost exactly the 3 litres / min Marten's said that I should aim for. It also gives me some flexibility with the compensator for more highly carbonated beers.
The beer engine operates at roughly atmospheric pressure, so I used a short length of line for that.
Putting everything together, I have two lager taps, two keg ale taps, and a beer engine for casks.
Cheers!
Keezer build
The base of my keezer/bar is a Frigidaire 8.7 cu ft chest freezer (Model number FFFC09M1RW). This is a good size as it fits four 5 gal corny kegs in the main part of the freezer, leaving the hump over the compressor as free space. I build the collar from 2"x10"x12' Douglas fir lumber from Home Depot. Using a table saw, I cut the 2"x10" down to 2"x8.25" to give flat edges on the top and bottom. The lid is two 43 13/16" x 8.25" x 2" and two 19 1/16" x 8.25" x 2" joined together using pocket hole screws (#8 2 1/2" blue plated). To get the draught lines through the wall between the keezer and the bar, I run them through a 3" PVC Sch. 40 pipe. I drilled a 3 1/2" hole in the back of the collar, since the pipe has a 3 1/2" OD. The wood is painted with Behr Marquee interior semi-gloss (which is only supposed to take one coat, but I have the collar two coats anyway).
I made a frame to sit on top of the wood from 3/4" x 2 1/2" x 8' Cellular PVC Trim, trimming to down to 2" wide with the table saw, so that the lid fit inside the rectangular frame. The PVC was cut with miter joints and glued together with Gorilla glue. I taped 2" foam insulation tape to the bottom of the PVC frame, and then used pocket hole screws to attach the to frame to the wood. I applied some Frost King 1 1/4" x 7/16" Black High-Density Rubber Foam Weatherstrip Tape to the top of the freezer and placed the wooden collar on top. I had some freezer hinges from my old (now dead) kegerator that I used to attach the freezer to the wooden collar with #10 wood screws. The original hinges from this fridge are used to attach the freezer lid to the collar with #10 wood screws.
Before lifting the keezer into place, I drilled a 3 1/2" hole through the basement wall. The interior basement walls are made of 0.42" Hardie Board, so after going through two of those, my Milwaukee 3 1/2" Hole Dozer was pretty toothless. The PVC pipe was a snug fit, so I used a rubber mallet to knock it through the hole in the wall and into the hole in the back of the keezer collar (which was lined with 2" foam insulation tape), once the keezer was lined up.
Finally, I cut some 1 1/2" R-7.5 Rigid Foam Board Insulation Sheathing to fit between the top of the freezer and the PVC frame to line the collar. I trimmed the foam board with 2.5" foil HVAC tape and pushed them into the collar. They sit rigidly, so I didn't bother gluing them to the wood.
Here are the pictures of the collar build:


The picture below shows the freezer, a layer of the thick foam tape, the wooden collar, thin foam tape, PVC frame, and the freezer lid.

Bar build
On the bar side of the wall, my beer lines come out of the 3" PVC pipe connected to the back of the keezer:

Given the styles of beer I drink, I was looking for a bar with two lager taps, two taps for ales, and a beer engine. I decided to go all in with my dream tower, the BTD-BR4V four-tap bridge from Czech Brewery Systems. These guys were great to deal with and sent me a system with two standard compensator taps for regular beers and two nostalgia beer taps with side-pull handles for lagers. The side pull taps are awesome and, with a bit of practice, you can easily do the three Czech pours with them. I also picked up a flush mount 8" x 24" x 3/4" drip tray, rinser, and water pressure regulator from American Coffee Urn. These guys had great service and customer support. Growing up in England, I'm a big fan of cask conditioned ales, so I purchased an Anagram CM 1/4 pint beer engine from UK Brewing Supplies (also great service) as well as a cask breather because I can't drink 2.5 gallons of ale in three days. Don't tell CAMRA.
My current bar is a temporary set up made of 2x4s and a 3/4" piece of plywood for the underbar. Eventually the underbar will be a butchers block countertop with a proper bar made of a live-edge slab of English elm above it, but that's a project for the fall. I also wanted to prototype with plywood before I start drilling and curtting butcher's block. To mount the beer engine, I drilled a 2" hole for the beer lines coming out of the bottom of the tower and holes for the bolts that hold the tower to the bar. I found an online video that walks through the installation of an counter-mount beer engine. I used a jigsaw to cut out the beer engine mount hole, and cut a rectangular hole for the flush-mount drip tray. The drip tray drips into a bucket until get the full bar installed and plumb it into the drain.

Draught line build
For the beer lines I purchased Bev-Seal Ultra 1/4" ID barrier tubing, after reading Kal's awesome posts on beer line tests (I also hate vinyl taste and dumping beer). I ended up getting 500' from Installation Parts Supply for just over $100, which is way more tubing that I will ever need but was the best deal on line length and shipping that I could find.
All my fittings are John Guest acetyl-copolymer speed-fit fittings from Freshwater Systems. My corny keg ball lock fittings are screwed into 3/8 OD x 1/4 Flare fittings (JG part number PI4512F4S) which connect to the Bev Seal tube. At the other end, the BTD-BR4V beer tower came with 8mm stainless steel pipe, which is almost exactly 5/16". John Guest recommend the super-seal fittings if you are connecting to stainless steel, so I connect the Bev Seal tubing to a 5/16" Superseal - 3/8" union (JG part number SI041012S). The connection on the bottom of the Angram is slightly larger and needs a 1/2" Superseal - 3/8" union (JG part number SI041012S). The Superseal spanner is also really helpful in getting these tightened up.
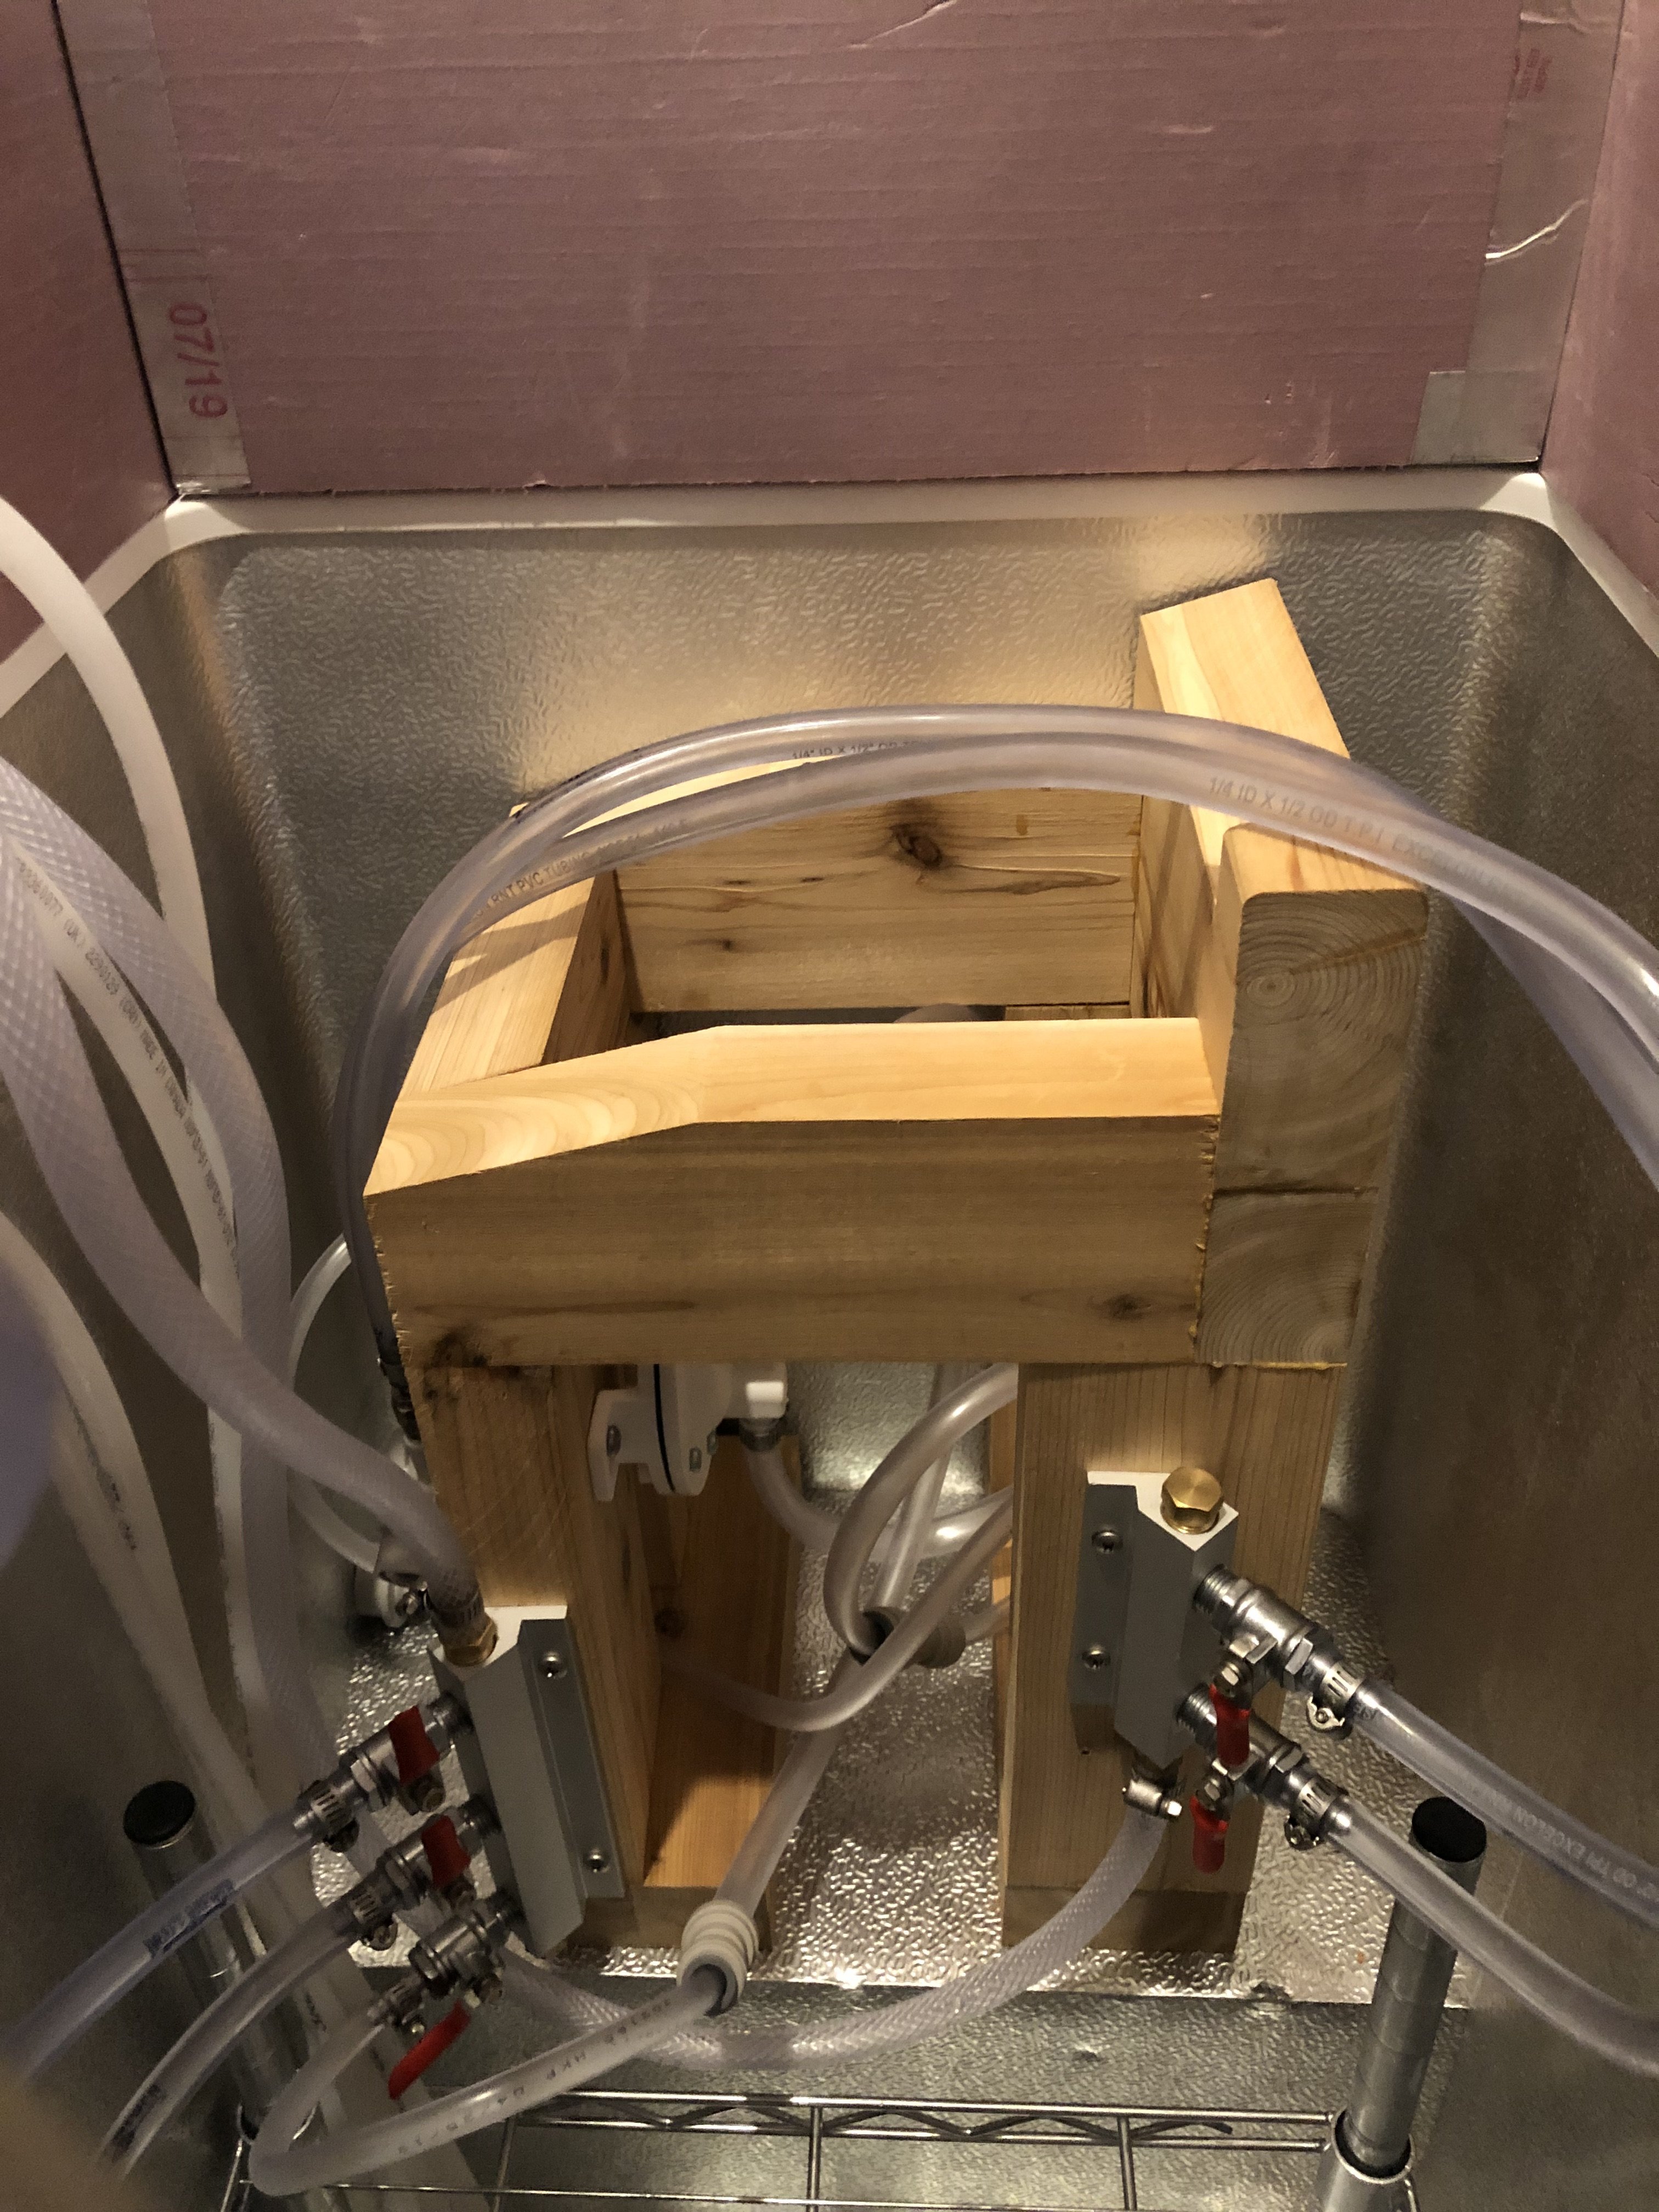
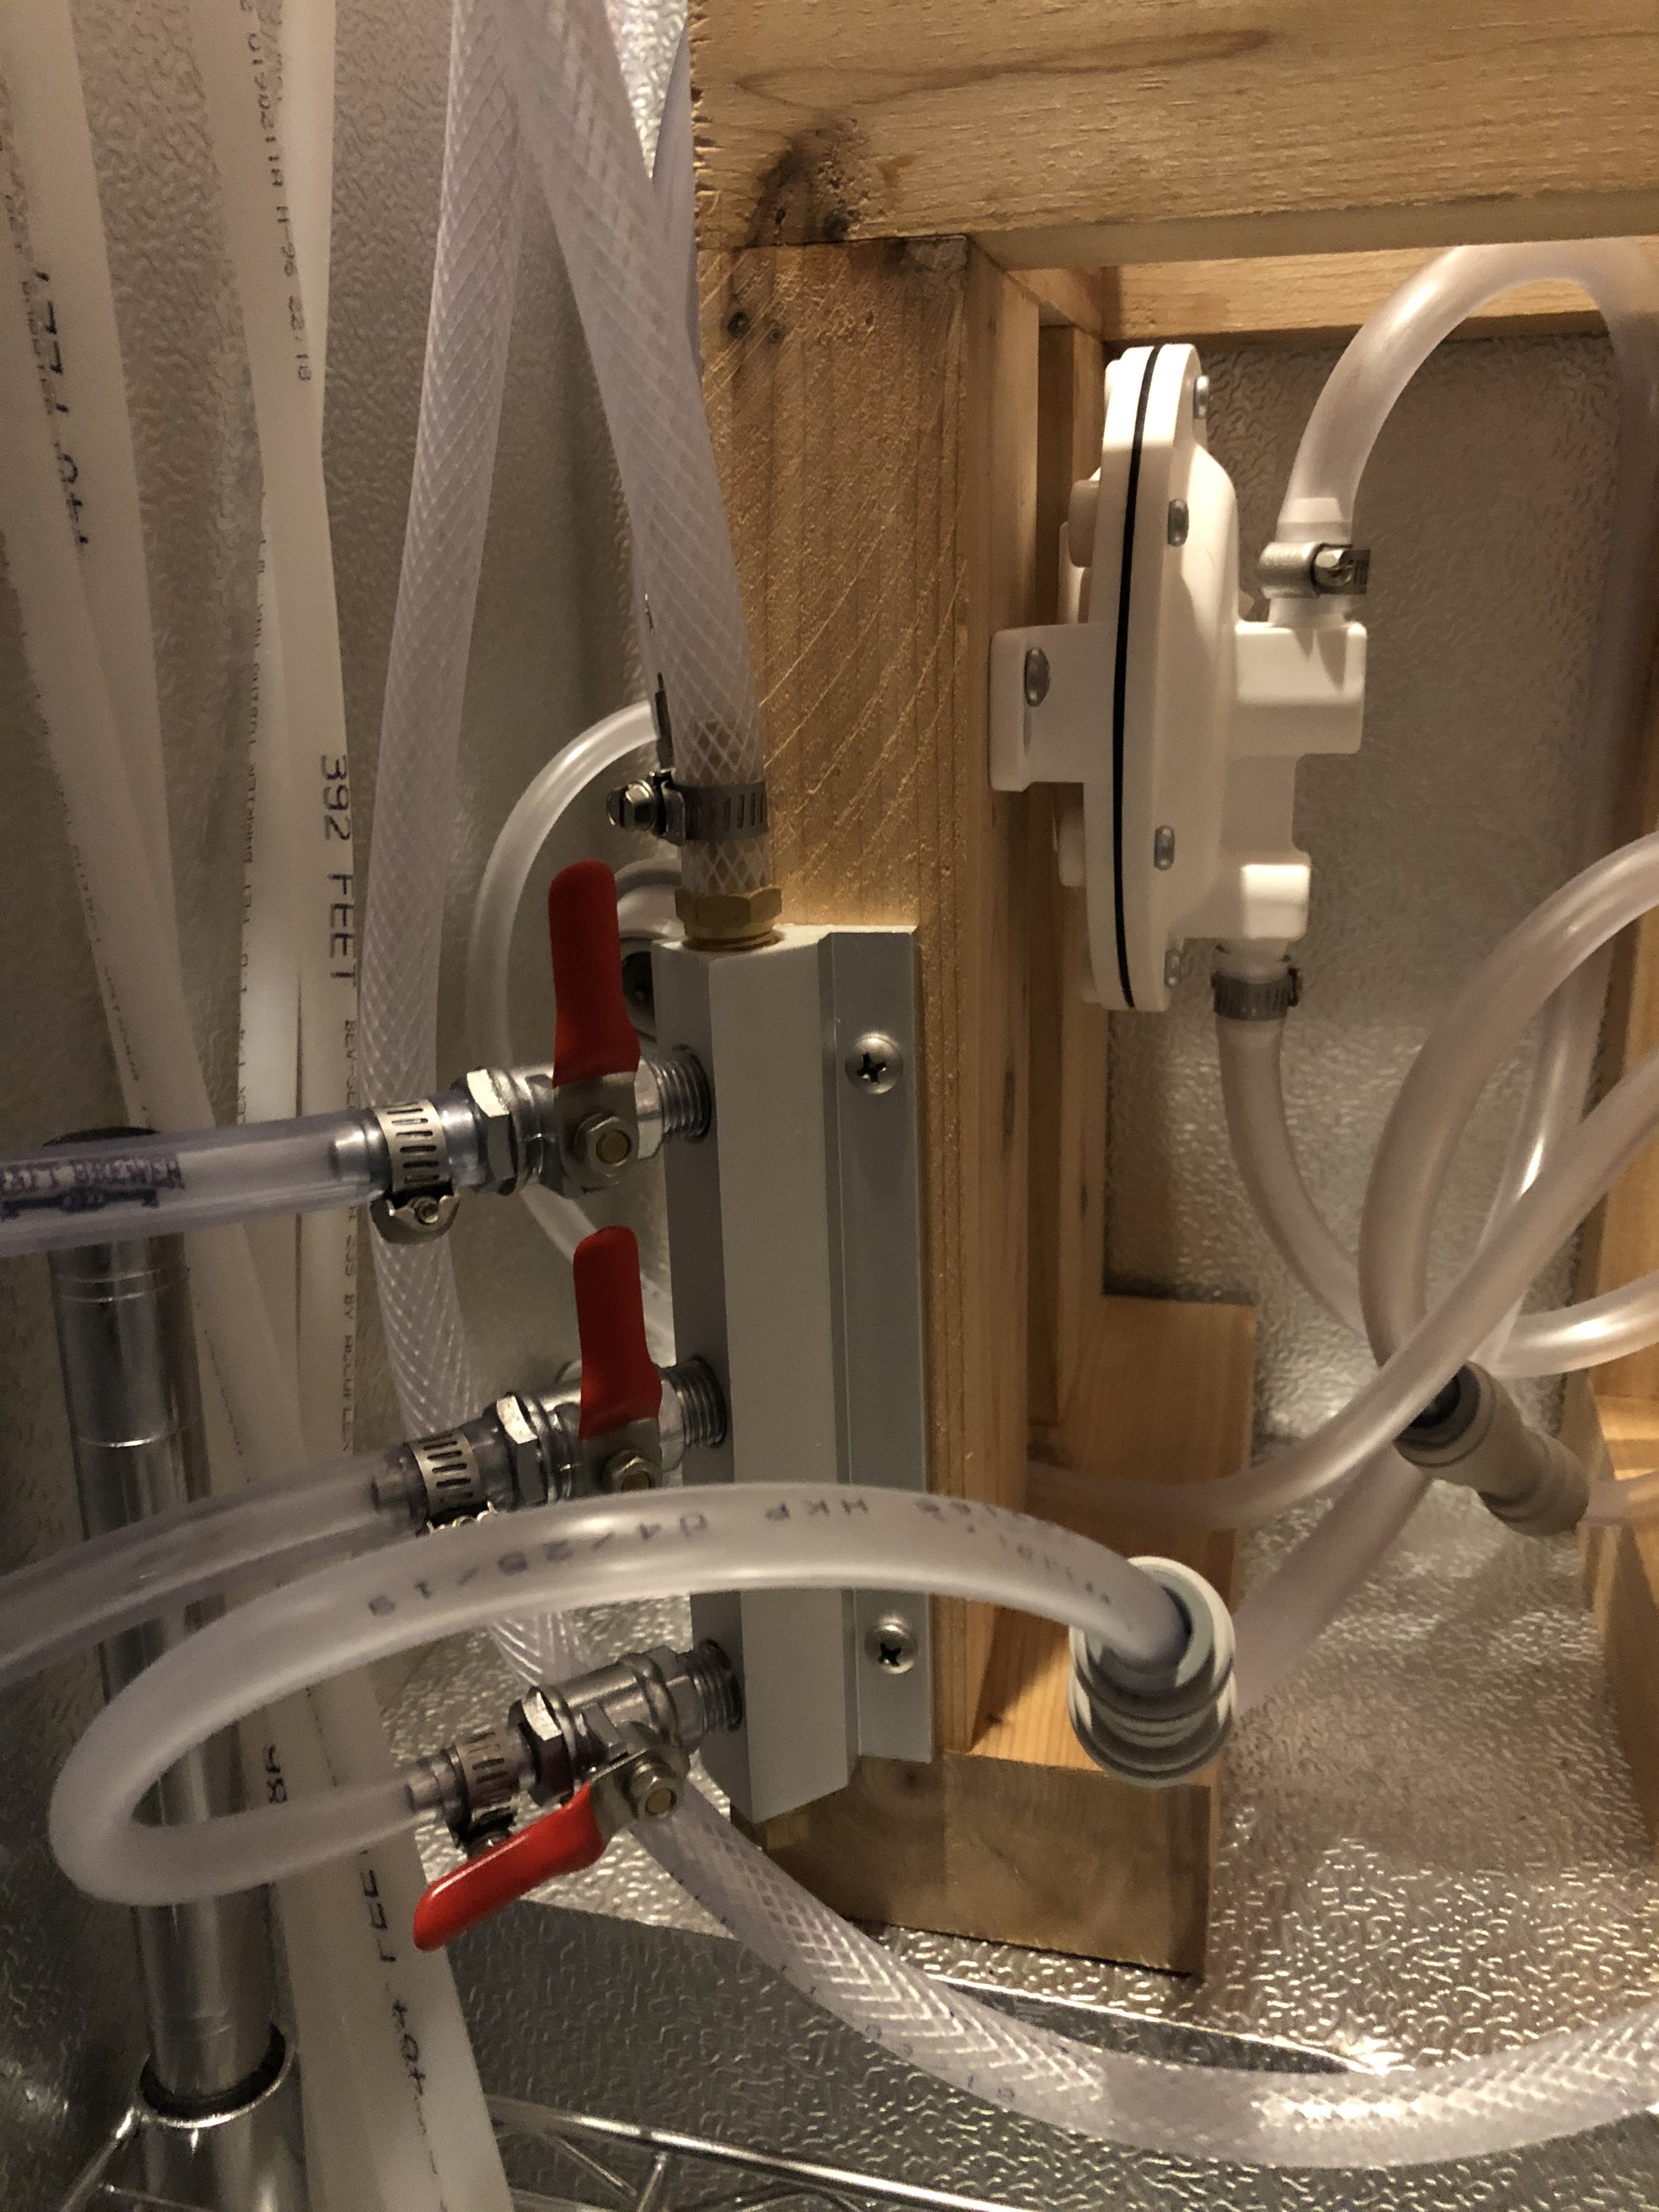
Here are a couple of pictures of the John Guest fittings in action:


Since my tower can't be air cooled by the keezer, I went with a glycol cooled long-draw system for the beer lines. I already had an SS Brewtech 1/5 HP glycol chiller for my fermenter, so I used a couple of free ports on this to cool the line, beer engine, and beer tower.
I made my own trunk line by running two pieces of 3/8" OD copper tubing from the keezer, through the wall, and to the bottom of the beer tower. The overall distance from the keezer to the beer tower is relatively short and straight, so I went with copper for better thermal conductivity, rather than the PEX that is used in Micromatic's trunk line. The 3/8" copper can be used with the 3/8" John Guest fittings that I had for the Bev Seal (copper is soft and so doesn't need the Superseal fittings).
Having run the copper roughly to shaped, I ran the Bev Seal tubes from the keezer along side the copper. I used cable ties to temporarily make a bundle of tubes, then wrapped the tubing in 2" moisture strapping tape, then 2" foil tape, both from Micromatic. The section of tubing that went through the PVC pipe was double wrapped in Micromatic's 2" insulation tape. The rest of the beer line was wrapped in 1 1/8" x 1" K-Flex Insul-Lock (Pre-Split Rubber Pipe Insulation w/ Self Sealing Lap) from Express Insulation. I shoved the end of this into the 3" PVC pipe to seal it up on the bar side, and cut a short plug of the insulation to seal up the keezer side of the PVC pipe.
Finally, the trunk line was wrapped in Micromatic's 2" Barrier Tape. I don't have any pictures of the construction of the trunk line, but here's the finished product:


I added a one-way John Guest check valve just before the beer engine to prevent beer flowing back into the cask.
Balancing the beer lines
The biggest pain in the system was finding the correct beer line length. Since I used the 1/4" ID Bev Seal Ultra, my lines have pretty low resistance. However, I couldn't find the correct roughness to use in Mike Solty's beer line calculator. I found a post on the Electric Brewery forum that does the simpler form of the calculation, using a resistance of 0.45. The Draught Beer Quality Manual quotes a resistance of 0.35 for 1/4" ID barrier tubing, so I split the difference and went with 0.4. I also had compensators in all four of my beer taps, which needs to be taken into account.
In the end, I went with the simple calculation L = ( P - (H / 2) - p ) / R from the Electric Brewery post, as that roughly matched what I found in Handbook of Brewing: Processes, Technology, Markets (Wiley, Edited by Eßlinger). Reinhold Merten's chapter on beer dispensing (Chapter 14) in this book states that a compensator tap has a pressure drop of 0.88 bar (12.7 psi).
Merten's states that the temperature of the beer at the tap should be 5 C (41 F) for a drinking temperature of 5-7 C (41 - 45 F). Given that I have a short, glycol cooled line, I set the keg refrigeration Johnson Controls A419 thermostat at 41 F with a differential of 2 F and the glycol chiller at 29 F. I typically drink kegged beers at 2.5-2.7 vol, but I wanted a bit of slack to also serve some Belgian-style beers on draught at 3.0 vols. Using the standard carbonation charts, a beer with lagers 2.6 volumes of CO2 at 41F needs 14 psi of head pressure.
This means that for my setup:
| P | pressure set on regulator gauge | 15 psi (2.7 vols at 41F) |
| H | total height from the center of the keg to faucet in feet | 3.3 ft |
| R | resistance of line | 0.4 |
| p | residual pressure remaining at the faucet | 6 psi |
| L | length of beer line in feet | 18.4 ft |
I went with 20 ft of beer line for each of the taps on the tower. Using a timing test, a 15 second pour on the standard taps delivers with a dispensing pressure of 15 psi delivers just under 750 ml of liquid with the compensator fully open. This is almost exactly the 3 litres / min Marten's said that I should aim for. It also gives me some flexibility with the compensator for more highly carbonated beers.
The beer engine operates at roughly atmospheric pressure, so I used a short length of line for that.
Putting everything together, I have two lager taps, two keg ale taps, and a beer engine for casks.
Cheers!
Last edited:





![Craft A Brew - Safale S-04 Dry Yeast - Fermentis - English Ale Dry Yeast - For English and American Ales and Hard Apple Ciders - Ingredients for Home Brewing - Beer Making Supplies - [1 Pack]](https://m.media-amazon.com/images/I/41fVGNh6JfL._SL500_.jpg)


