• Please visit and share your knowledge at our sister communities:
  • If you have not, please join our official Homebrewing Facebook Group!

    Homebrewing Facebook Group

Just ordered a carbonation stone. Carbonation in 20 minutes??? Any good?

Homebrew Talk

Help Support Homebrew Talk:

This site may earn a commission from merchant affiliate links, including eBay, Amazon, and others.
Don't Let The Dead Have All The Fun! ;)

Didn't see this the first time 'round, but I get what he's doing: he has the stone mounted on the gas side dip tube, pretty close to the lid end of the keg. He then connects a tee to the Out post - presumably with a full-length dip tube below - with a gauge on one side and a bleeder valve on the other.

Flipping the keg puts the stone near the bottom of the beer column. He then fills @30psi until the flow stops, then he dials his bleeder valve to provide a differential of ~5 psi. The end of the Out dip tube is sitting in what's now the "head space", he's basically bubbling CO2 through the beer column, using the bleeder to keep things moving and not hit equilibrium.

Note that this is indeed a bleeder valve: the bled-off CO2 is being shot into the atmosphere.
Such is the price of impatience...

Cheers!
 
regarding using a carbonation stone for infusing CO2 in wine making sparkling wine, I like to know if the bobles will be small when using such stone, or will it be bobles like in soda?
 
What the hell does turning it upside down do??

(And nice zombie/undead thread!)

When you turn the keg upside down, the end of the dip tube is above the level of the beer. Otherwise, when you were bleeding the keg, you'd actually be emptying it instead.
 
Two questions for anyone that is familiar with Jackricci's method:
1.) What's the best way to connect the carbonation stone to the gas inlet side?
2.) Doesn't hooking up the pressure guage and valve to the liquid outlet side cause a little bit of beer that was inside the dip tube to come out and ruin the gauge as the gas is being bled out? Maybe I'm missing something here, but I don't want to ruin a gauge. Thanks!
Well, I'll let you know, as I'm trying this for the first time tomorrow. I've got about ten gallons of NE-style IPA in two cornelius kegs, so I'm hoping to not have to mop it up off of the floor.
 
If you were wanting to get some of the effect of Jackricci's method, I guess you could use the pressure relief valve on a keg that's the right way up to burp out the CO2 and get more flowing. I did try this once (with a long hose between the gas in and the air stone), but I'm not sure I did it right, or evaluated the results very well. I probably should have removed the hose and air stone when I was done as well.

The risk of both that, and to a lesser extent the upside-down method, is that the beer foams and comes out (either out the PRV, or into the gauge in Jackricci's method). I guess that's an acceptable risk with the PRV method, but it's best to make sure the keg isn't overfilled.

What you are trying to do is emulate a SodaStream machine on a larger scale, which rapidly carbonates by flowing CO2 bubbles through the liquid to be carbonated, and releases the pressure as it goes, so that the flow rate of CO2 bubbles stays up. You could make up a keg lid to do this for each keg - I've seen keg lids with a ball-lock and PRV on for sale. Once mostly carbed, change the lid out for a regular one, connect the gas to the normal inlet, and continue as normal.
 
Well, I'll let you know, as I'm trying this for the first time tomorrow. I've got about ten gallons of NE-style IPA in two cornelius kegs, so I'm hoping to not have to mop it up off of the floor.
As a follow up to my last post, I seemed to have pretty good success, and in the process I've realized how much I don't understand about this whole process.

I used the method where I turned the keg upside down set the gauge to 30psi, set the CO2 flowing and then opened up the needle valve and let it run with the gauge showing 25psi for about 10 minutes. I only had one corny set up with a stone, so I then transferred, under pressure, to a different corny and then carbed the 2nd five gallons, then transferred that. I had an obligation the next day, so I couldn't test until Tuesday. Put the gauge on each corny, measured 25psi, and here was where I was stumped. I wasn't going to draw a draft at that pressure, so I opened the release valve and brought it down to around 12psi. First draft was still pretty foamy, as was the second, but then it was fine. Beer was well carbonated and overall as hoped.

In terms of gauge damage, I think (I don't know) that this is a non-issue. I figure pressure gauges work by having the force from the pressure against some sort of diaphragm, right? The diaphragm has to be impervious to gases getting through, otherwise they wouldn't measure correctly. Ergo, if gases can't permeate, liquids shouldn't be able to either. Can anyone confirm I'm right (or a idiot)?

What I think I need to understand is exactly how to transfer the freshly carbed beer to the "serving tank(?)" corny, and the best way to bring it down to serving pressure and when. Maybe the process is simple and obvious, but it isn't to me. Any ideas?
 
Last edited:
If you were wanting to get some of the effect of Jackricci's method, I guess you could use the pressure relief valve on a keg that's the right way up to burp out the CO2 and get more flowing. I did try this once (with a long hose between the gas in and the air stone), but I'm not sure I did it right, or evaluated the results very well. I probably should have removed the hose and air stone when I was done as well.

The risk of both that, and to a lesser extent the upside-down method, is that the beer foams and comes out (either out the PRV, or into the gauge in Jackricci's method). I guess that's an acceptable risk with the PRV method, but it's best to make sure the keg isn't overfilled.

What you are trying to do is emulate a SodaStream machine on a larger scale, which rapidly carbonates by flowing CO2 bubbles through the liquid to be carbonated, and releases the pressure as it goes, so that the flow rate of CO2 bubbles stays up. You could make up a keg lid to do this for each keg - I've seen keg lids with a ball-lock and PRV on for sale. Once mostly carbed, change the lid out for a regular one, connect the gas to the normal inlet, and continue as normal.
Seems like it would work, but I think I still like the upside down keg way. You don't need to put a long tube on either the gas in or a rigged lid to get the stone to the bottom, and I suppose if you were really worried about beer out of the dip tube, you could pop a liquid out fitting on your tank and blow the dip tube empty. I think I'm going to attach my carb stone to a lid rigged with a gas post and then transfer the newly carbonated beer to a different corny. Figure I shouldn't even have to sanitize between each keg of a ten-gallon batch.
 
Bump. :D

Anyone try doing this with one of those goofy carb-stone lids? Then you could just switch to a normal lid after carbing... still wasting CO2 of course.
 
I thought I'd reply to this thread as it was the highest post from this forum on this subject in the google search I did.

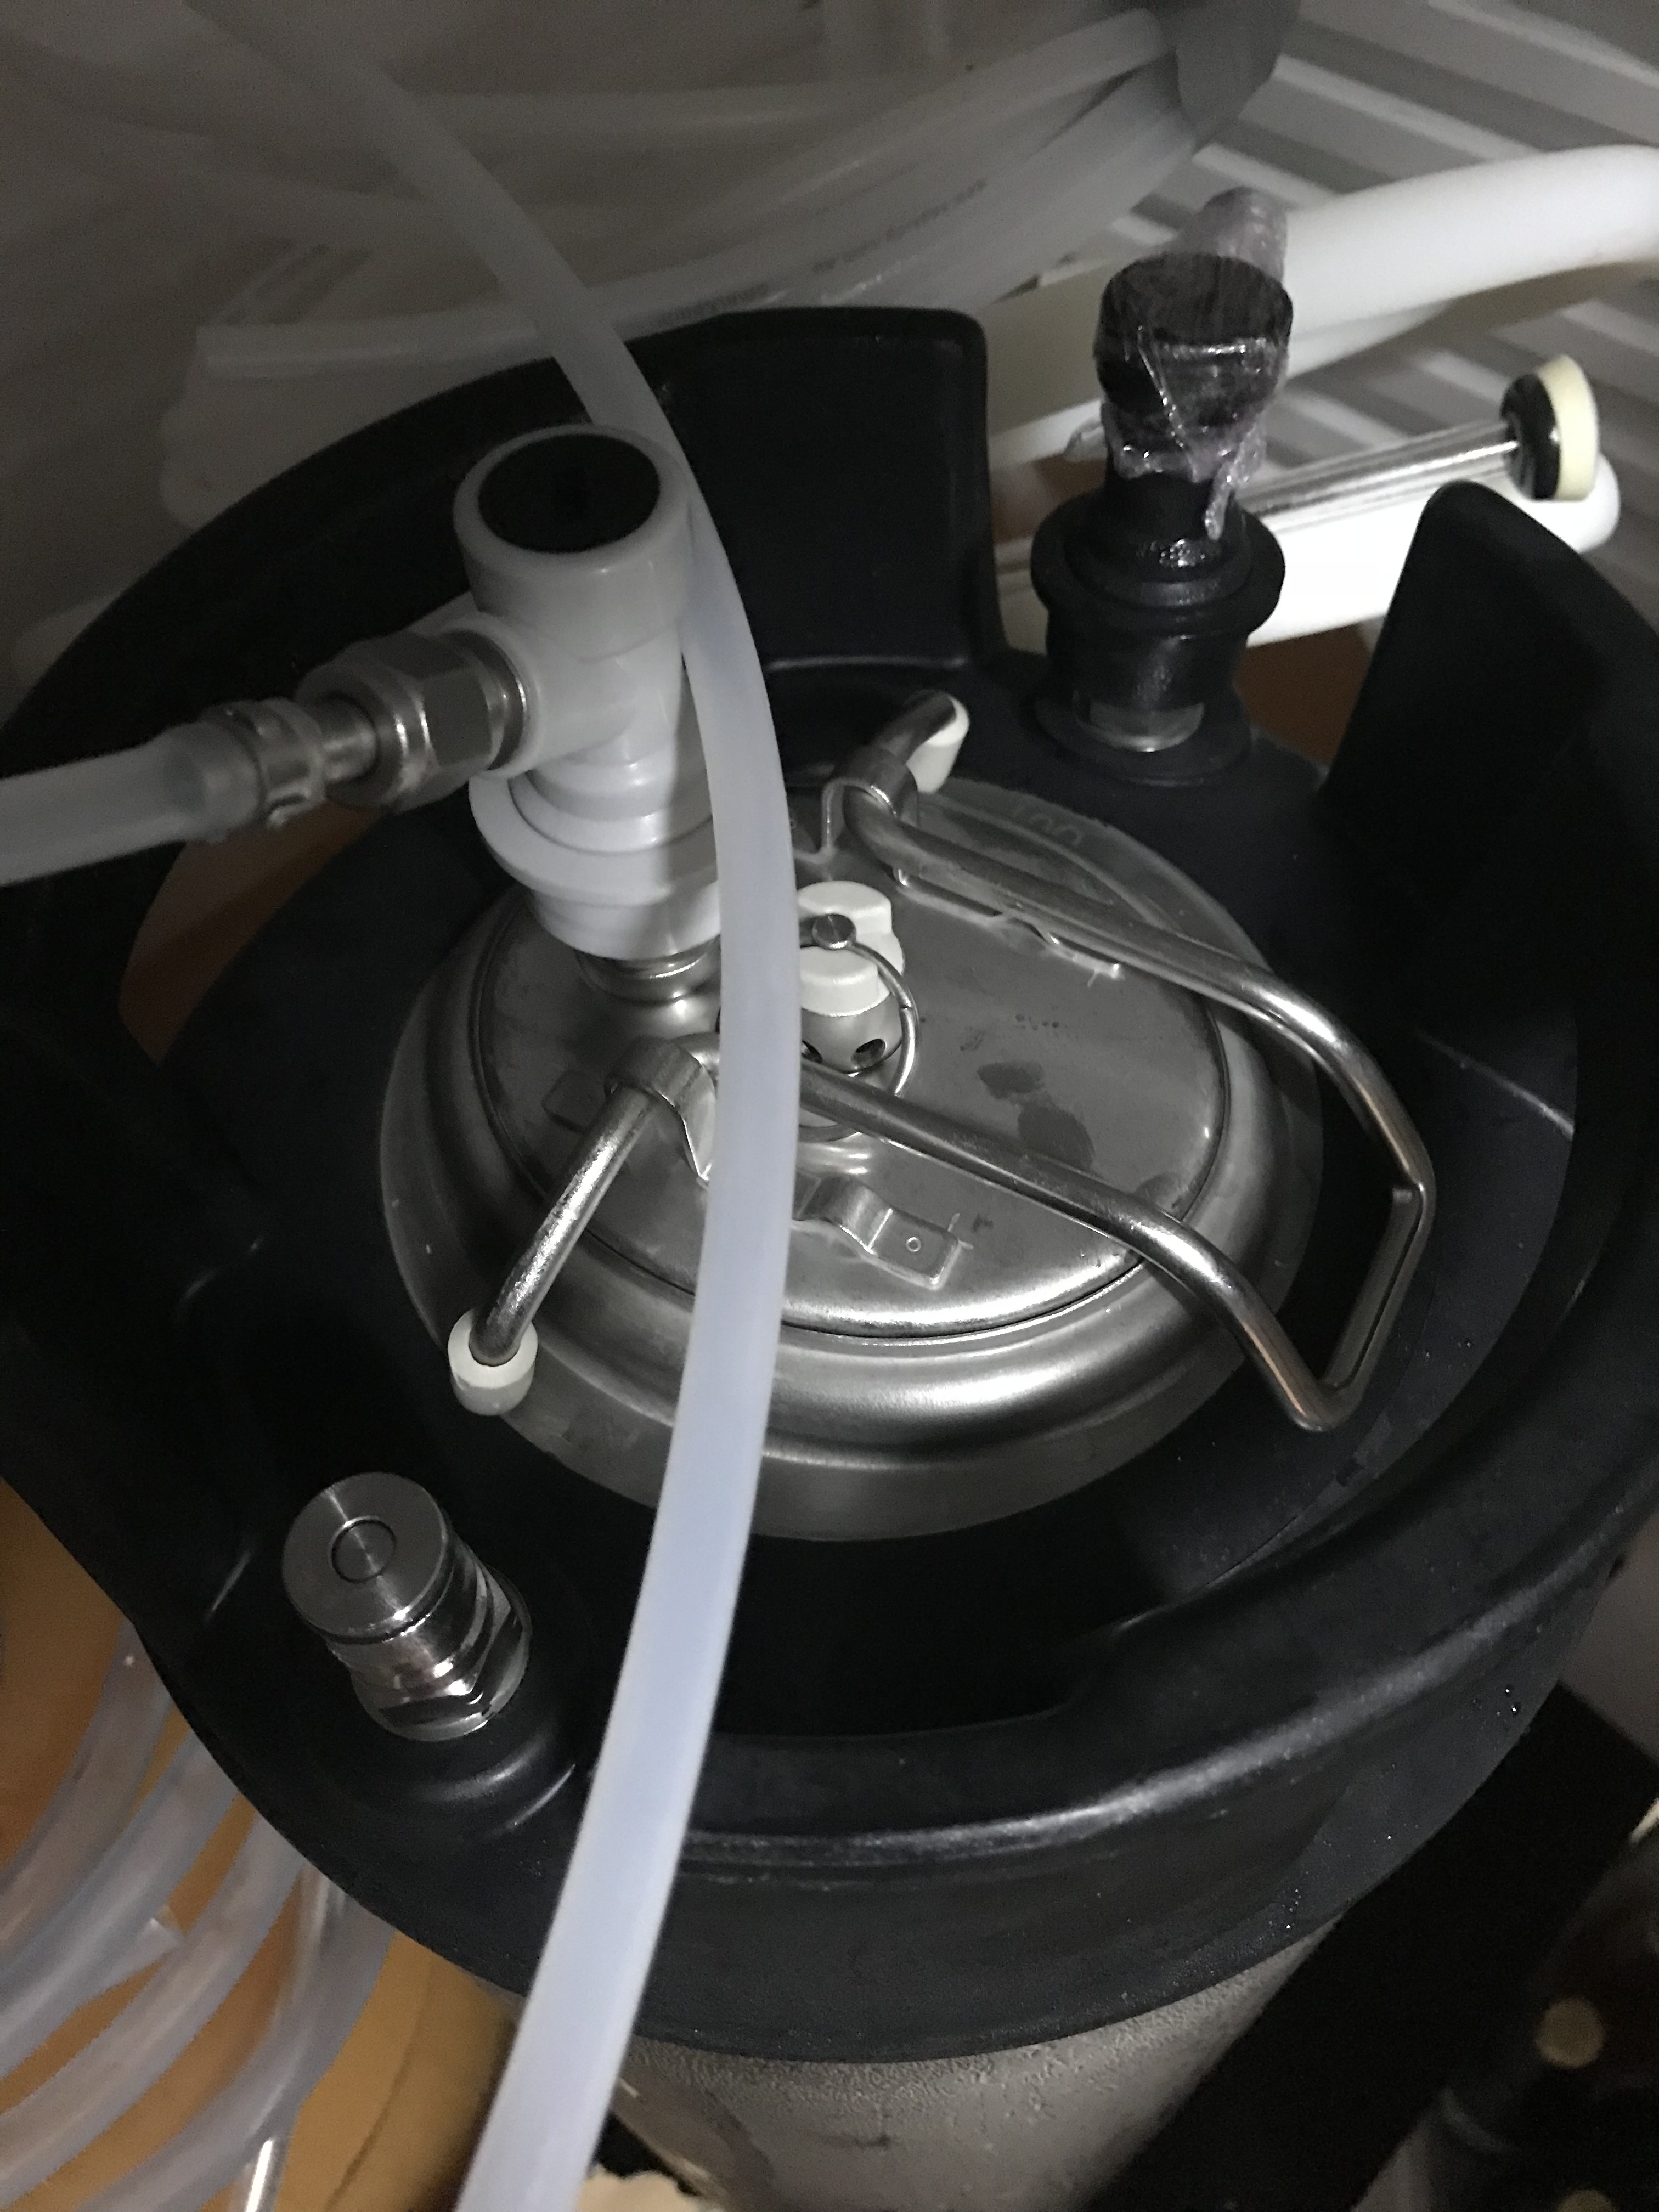
I received my carbonation stone and lid today and have set it up as shown in the pictures below. I also looked for some instructions and found them here. Summary below:

"How to use this product:
Beer must be stored cold 34–40°F
1. Preboil the stone for 2–3 minutes before using. This assures you that your stone is sterile and any residual oils have been boiled off.
2. Sanitize the whole keg lid before submersing into your keg filled with beer.
3. Set your PSI on your regulator to 3–4psi and attach your gas in fitting to the body connect on the lid. Leave keg at this pressure for 1 hour.
4. Raise your pressure 2PSI per hour until you reach 10–12psi. Leave it at 10–12psi for 24 hours. Pour a pint and test the carbonation. If you think your beer needs more CO2 leave for another 4–6 hours and have another pint.
5. Remove carbonation lid after carbonation level is satisfactory. Return original keg lid for long term storage."​
IMG_1581.JPG

Tube and 0.5 micron stone connected to disconnect on lid
IMG_1583.JPG

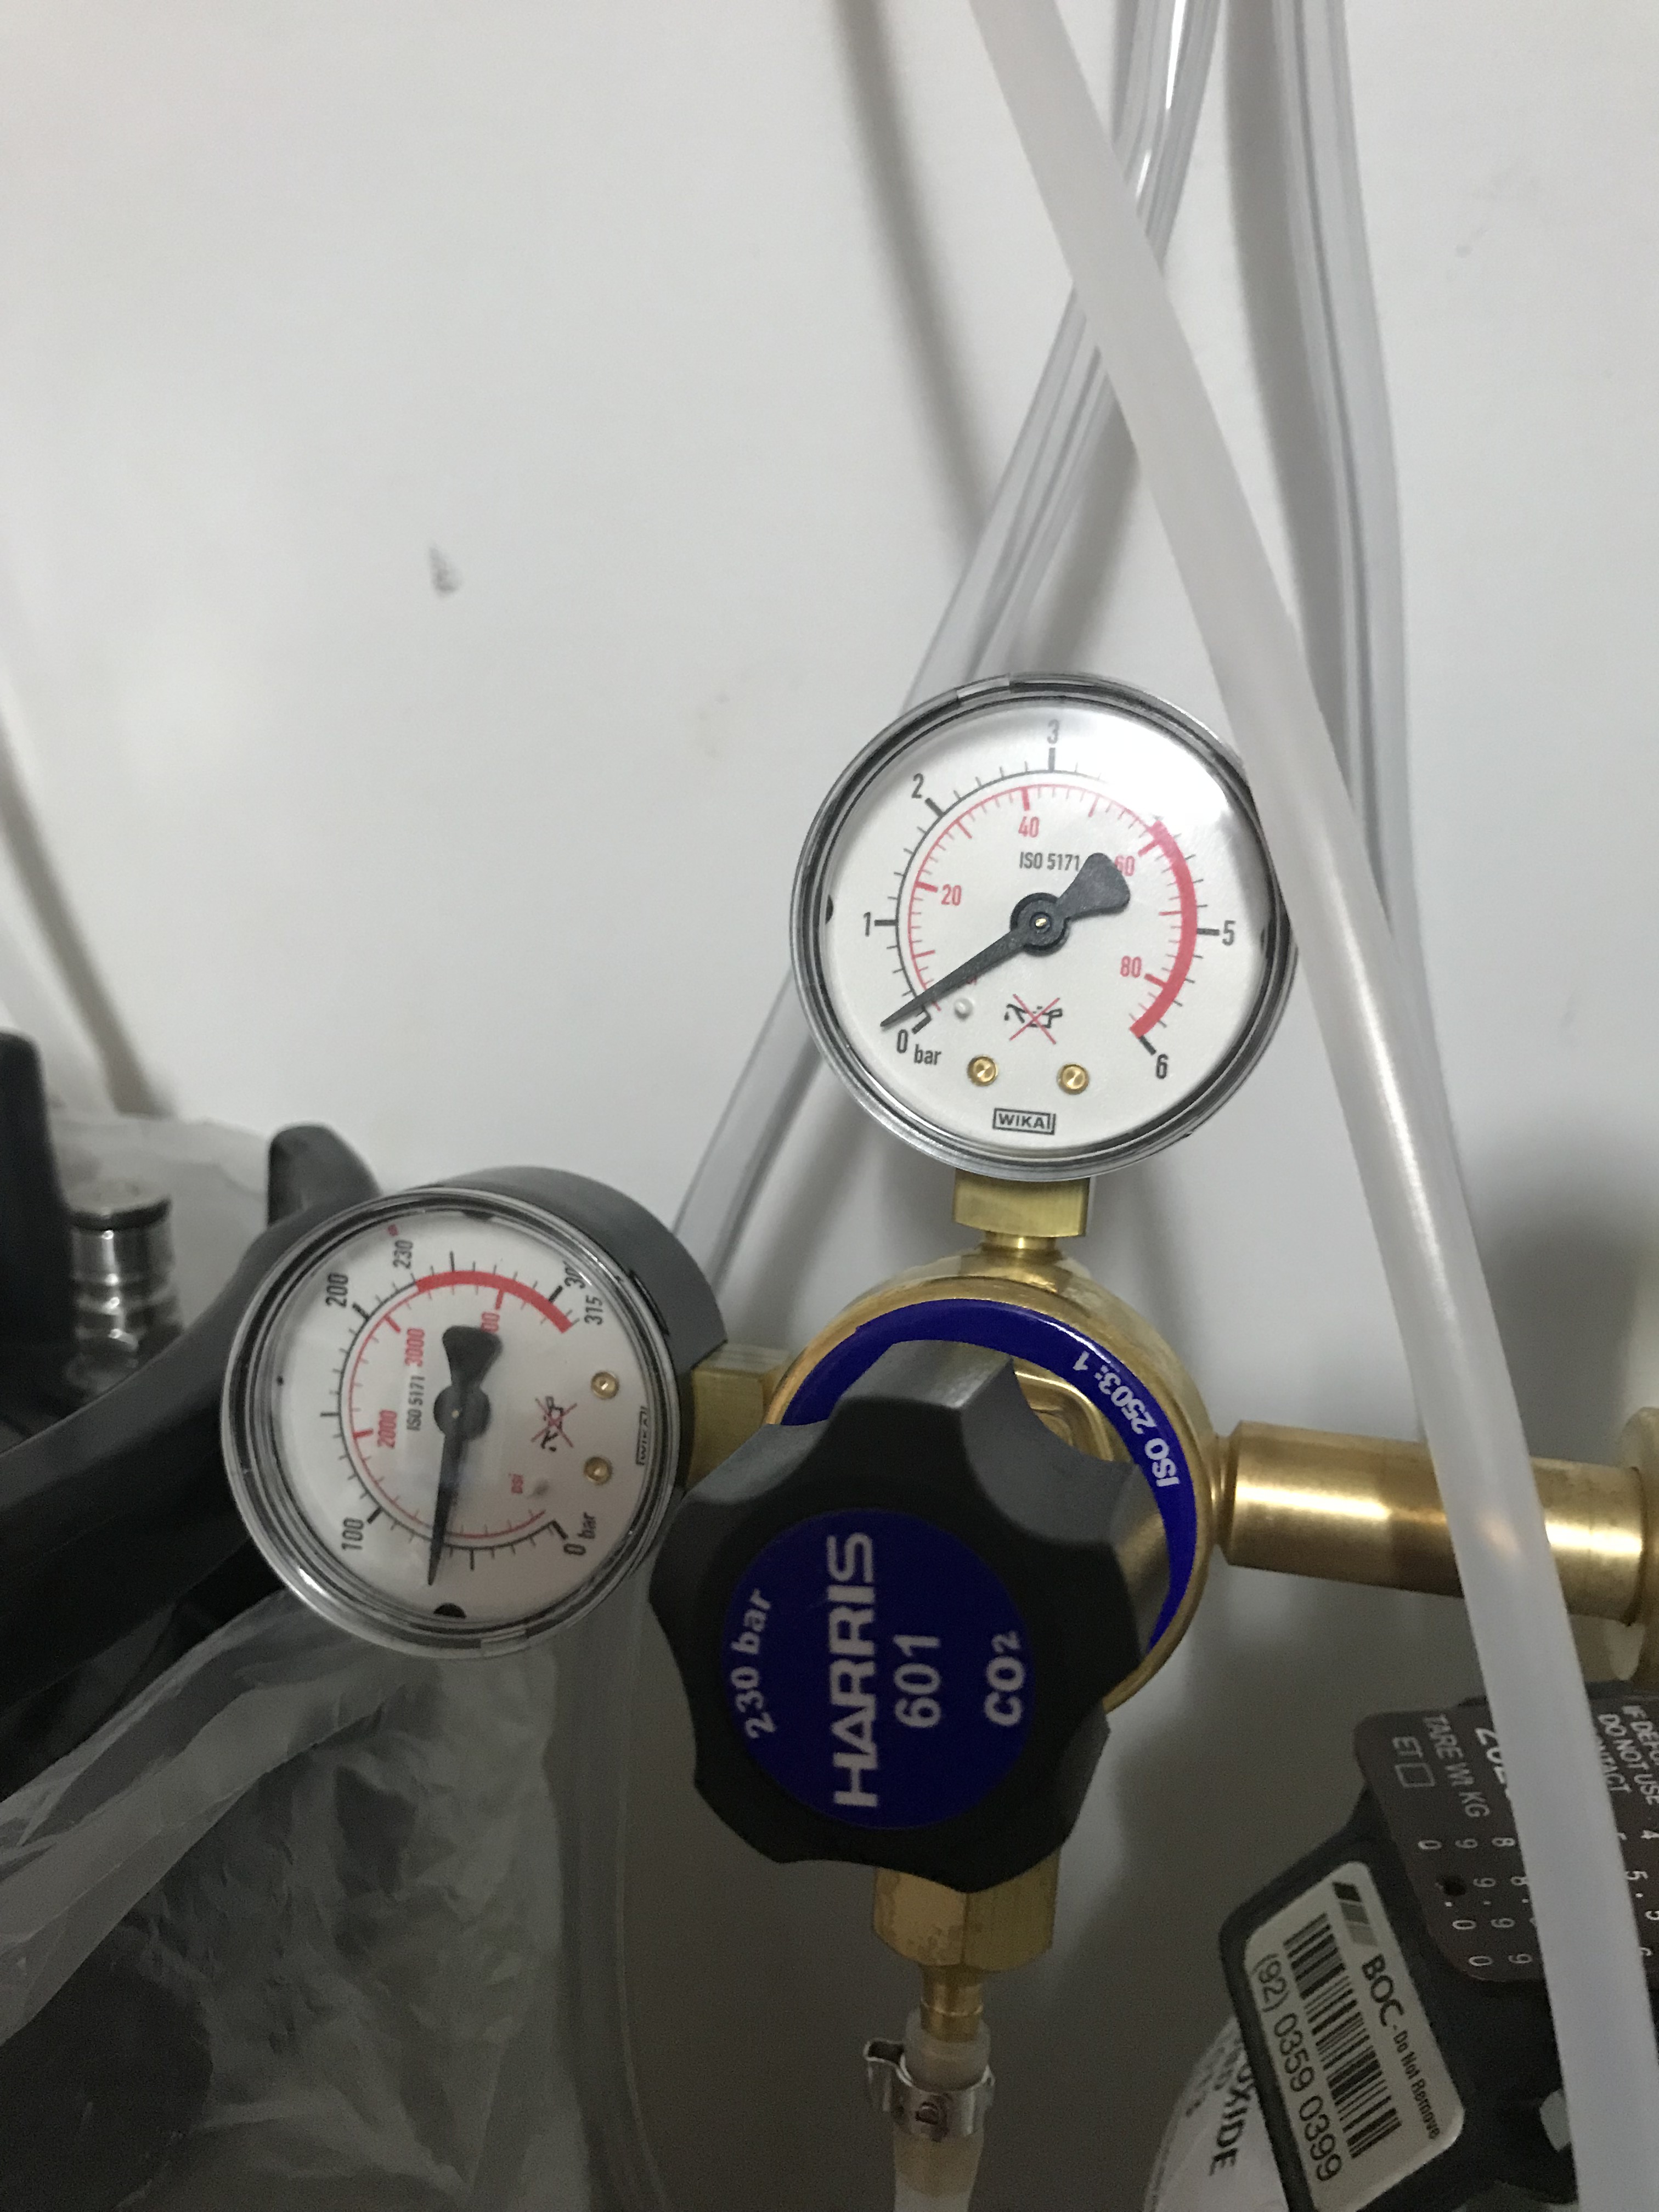
Set at around 4psi for first hour, Perry temp 3.5C (38.3F)
 
Last edited:
Well I just had to bump this thread. I ordered a carbonation (diffusion) stone today and will try it on my next batch. I'm not going to do all the flipping and gauges, I'm pretty frugal so it's the stone and 2' of hose being attached to the gas in tube. We'll see how it does.
 
Well I just had to bump this thread. I ordered a carbonation (diffusion) stone today and will try it on my next batch. I'm not going to do all the flipping and gauges, I'm pretty frugal so it's the stone and 2' of hose being attached to the gas in tube. We'll see how it does.
I'm glad you bumped it or I would have missed it. I just ordered a lid with built in gas post and .5 micron carb stone. Kind of thinking out loud, but it seems like I could ferment in a keg and then use co2 through the stone to push the beer to an aging/serving keg thus transferring and carbonating in one step. Anyone have any thoughts on this?
 
I thought I'd reply to this thread as it was the highest post from this forum on this subject in the google search I did.

I received my carbonation stone and lid today and have set it up as shown in the pictures below. I also looked for some instructions and found them here. Summary below:

"How to use this product:
Beer must be stored cold 34–40°F
1. Preboil the stone for 2–3 minutes before using. This assures you that your stone is sterile and any residual oils have been boiled off.
2. Sanitize the whole keg lid before submersing into your keg filled with beer.
3. Set your PSI on your regulator to 3–4psi and attach your gas in fitting to the body connect on the lid. Leave keg at this pressure for 1 hour.
4. Raise your pressure 2PSI per hour until you reach 10–12psi. Leave it at 10–12psi for 24 hours. Pour a pint and test the carbonation. If you think your beer needs more CO2 leave for another 4–6 hours and have another pint.
5. Remove carbonation lid after carbonation level is satisfactory. Return original keg lid for long term storage."​
View attachment 559276
Tube and 0.5 micron stone connected to disconnect on lid
View attachment 559278
Set at around 4psi for first hour, Perry temp 3.5C (38.3F)

Step 5 is nonsense. Exposing beer to O2 and loosing volatiles. No thank you.
 
IME the point of using a carbonation lid is that you don't have to transfer to a separate keg to serve, it provides a separate gas in post for the stone. If you carbonate using a stone on a tube attached to the regular gas post, then when you apply pressure dispense beer, the bubbles introduced cause massive gas breakout inside the keg. At the end of transfer you have flattish beer in the receiver, and a source keg full of foam which contains all your nice hop volatiles, and foam positive proteins, and such. With a carbonation lid, you carbonate with one gas post, then swith gas to the regular post to serve. Only problem is you need a carbonation lid for every keg, because yes, step 5 above is nonsense.
 
I agree that you don't want to expose the beer to O2 any more than is necessary...
assuming you have a stone connected to your gas In line (which is what I ordered, before reading this thread), if you do bump up the pressure to 10-12 psi with the stone and achieve carbonation, could you just leave the stone in, assuming you want to serve this particular beer at 10-12 psi?
 
I can't find the post but somebody posted recently about doing just that and getting undercarbonated beer. The reason being that the carbonation stone has its own wetting pressure that you need to add to your regular pressure setting to actually achieve your regular pressure in the headspace. If you don't then you'll be actually serving with lower than usual pressure and hence undercarbed.
I believe most carbonation stones have a wetting pressure of around 4-5 PSI but YMMV depending on the stone.
 
Yep, I remember seeing some info on wetting pressure, thanks for the reminder!
Here's an article that explains it quite well:

Calculating Carbonation Pressure
To calculate our equilibrium PSI, we start with the wetting pressure. The wetting pressure is the PSI we need to produce bubbles on a carbonation stone when wetted. For most stones, this wetting pressure is between 2-8 PSI. To calibrate the stone, submerge it in water at the same orientation as it will be in the tank and slowly increase the PSI until bubbles begin to flow, record the PSI, then slowly decrease the CO2 until the bubbles stop completely. Record this last PSI reading and take the average of these two readings to determine your wetting pressure PSI.

Next, we need to determine the head pressure on the stone itself. The head pressure of the product on the stone will play a role in the pressure needed to carbonate. We start with the assumption that approximately every 28 inches of product will add 1 PSI of pressure against the stone. This PSI needs to be added to the wetting pressure to determine how much total pressure is required to begin producing bubbles inside of the tank. Every tank will be different, so this is merely an approximation and you may need to adjust slightly.

One you have your two pressure values and selected the desired CO2 volume of your final product, we can punch those values in the equation below and get the PSI output needed from your CO2 system:

Wetting Pressure + Head Pressure + desired Equilibrium PSI = Carbonation Pressure
As an example:

  1. Carbonation Stone Wetting Pressure = 3.0 PSI
  2. A 20 BBL Brite Tank w/ 18 BBLs (10% head space) that is 68 vertical inches of product, thus 68 in. / 28 in. = 2.43 PSI
  3. We have a dark Ale with a desired CO2 volume of 2.17 @ 45°F, thus we find an equilibrium PSI = 9
Wetting Pressure (3.0) + Head Pressure (2.43) + Equilibrium PSI (9) = 14.43 PSI
You may round up or down depending on your leanings or aim for a nice middle ground of 14.5.

(https://www.glaciertanks.com/carbonation.html)
 
Last edited:
Here's an article that explains in quite well:

Calculating Carbonation Pressure
To calculate our equilibrium PSI, we start with the wetting pressure. The wetting pressure is the PSI we need to produce bubbles on a carbonation stone when wetted. For most stones, this wetting pressure is between 2-8 PSI. To calibrate the stone, submerge it in water at the same orientation as it will be in the tank and slowly increase the PSI until bubbles begin to flow, record the PSI, then slowly decrease the CO2 until the bubbles stop completely. Record this last PSI reading and take the average of these two readings to determine your wetting pressure PSI.

Next, we need to determine the head pressure on the stone itself. The head pressure of the product on the stone will play a role in the pressure needed to carbonate. We start with the assumption that approximately every 28 inches of product will add 1 PSI of pressure against the stone. This PSI needs to be added to the wetting pressure to determine how much total pressure is required to begin producing bubbles inside of the tank. Every tank will be different, so this is merely an approximation and you may need to adjust slightly.

One you have your two pressure values and selected the desired CO2 volume of your final product, we can punch those values in the equation below and get the PSI output needed from your CO2 system:

Wetting Pressure + Head Pressure + desired Equilibrium PSI = Carbonation Pressure
As an example:

  1. Carbonation Stone Wetting Pressure = 3.0 PSI
  2. A 20 BBL Brite Tank w/ 18 BBLs (10% head space) that is 68 vertical inches of product, thus 68 in. / 28 in. = 2.43 PSI
  3. We have a dark Ale with a desired CO2 volume of 2.17 @ 45°F, thus we find an equilibrium PSI = 9
Wetting Pressure (3.0) + Head Pressure (2.43) + Equilibrium PSI (9) = 14.43 PSI
You may round up or down depending on your leanings or aim for a nice middle ground of 14.5.

(https://www.glaciertanks.com/carbonation.html)

Wow! Thanks so much!
 
Back
Top