• Please visit and share your knowledge at our sister communities:
  • If you have not, please join our official Homebrewing Facebook Group!

    Homebrewing Facebook Group

It's Time for my bar build!

Homebrew Talk

Help Support Homebrew Talk:

This site may earn a commission from merchant affiliate links, including eBay, Amazon, and others.
In Urbandale? Our cater's place was pretty close to my LHBS.

Actually Nick, no. Lol It was three blocks from Harbor Freight, but for me, that's close enough to make it an excuse. We actually live in Ames, so anywhere in DSM is closer. But yes Beer Crazy is my store too. I got a few pounds of hops, a box of US-05, and a few hundred pounds of grain since I was there anyway. I got a box of things from HF too.
 
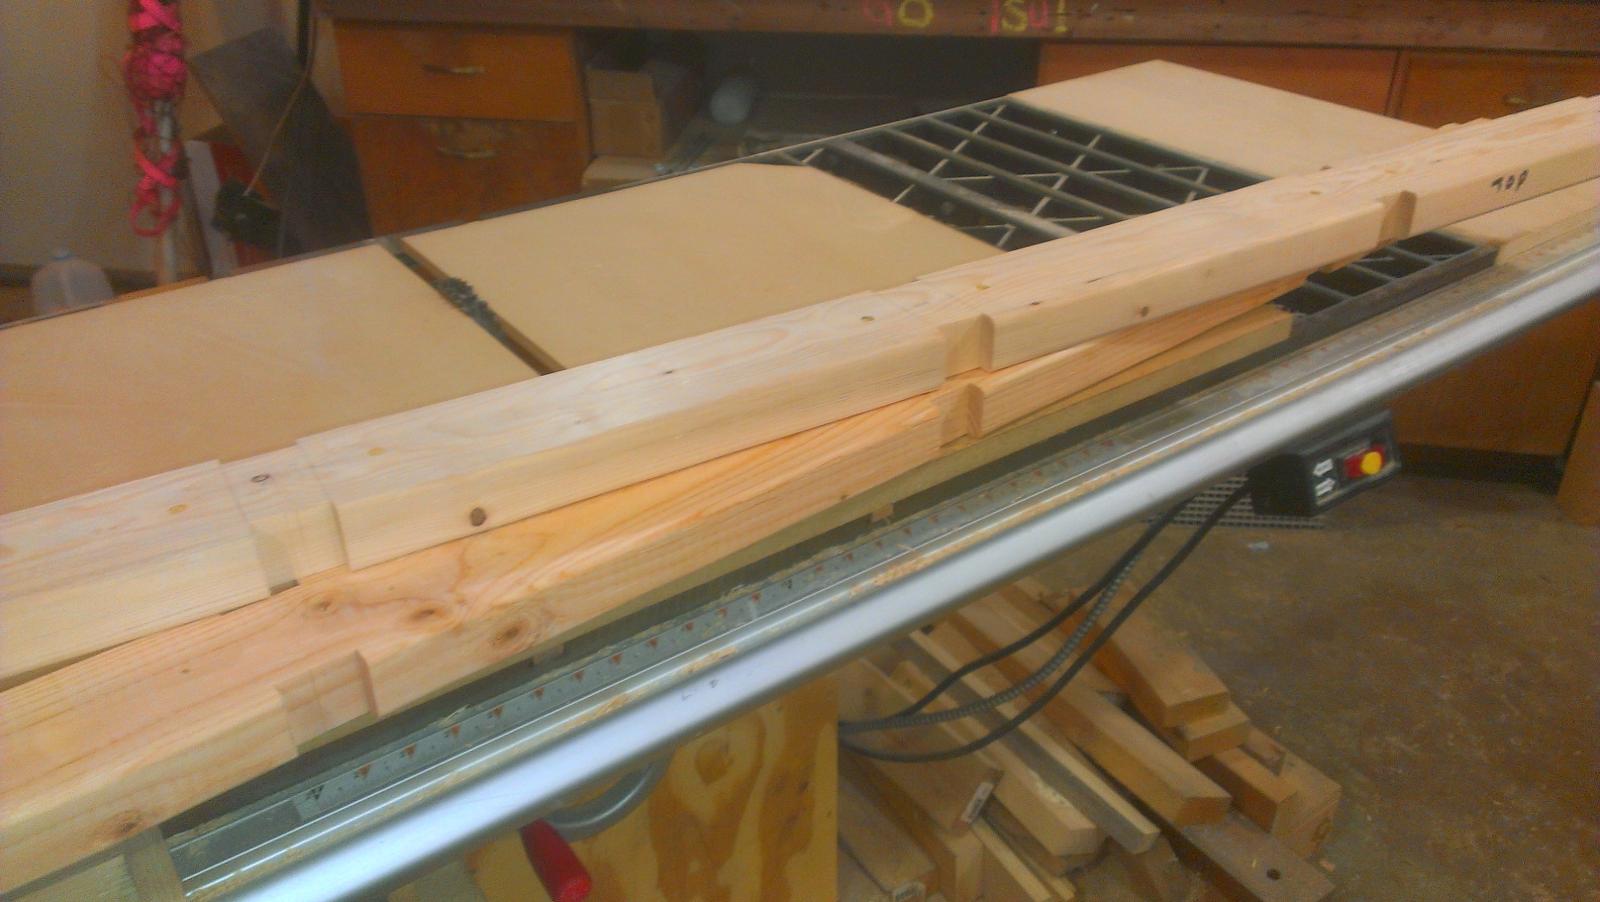
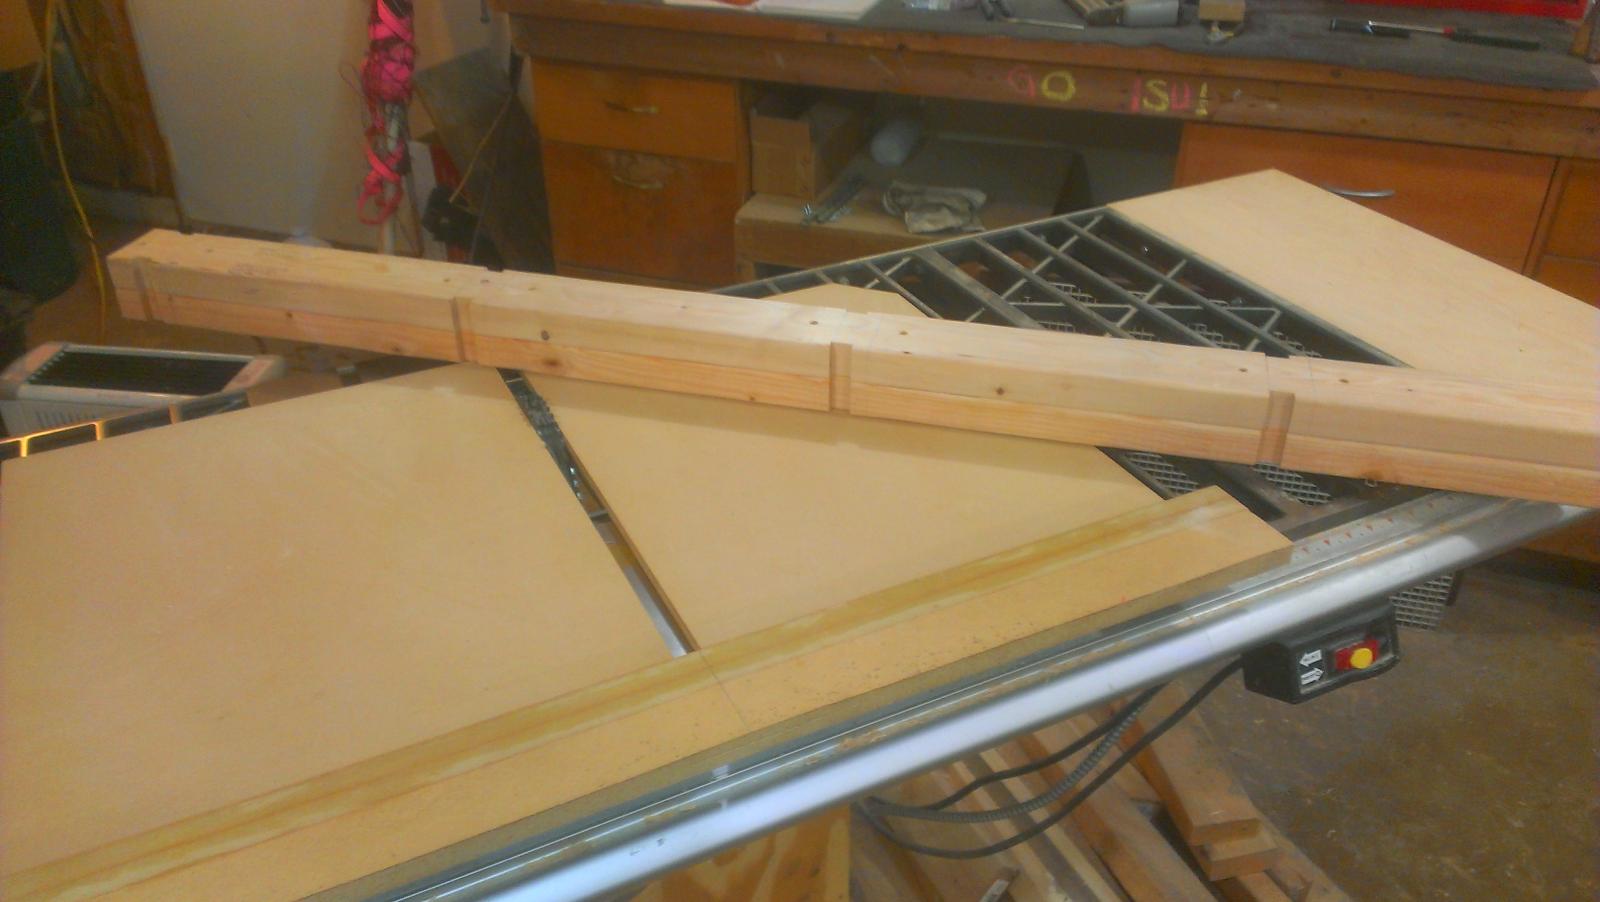
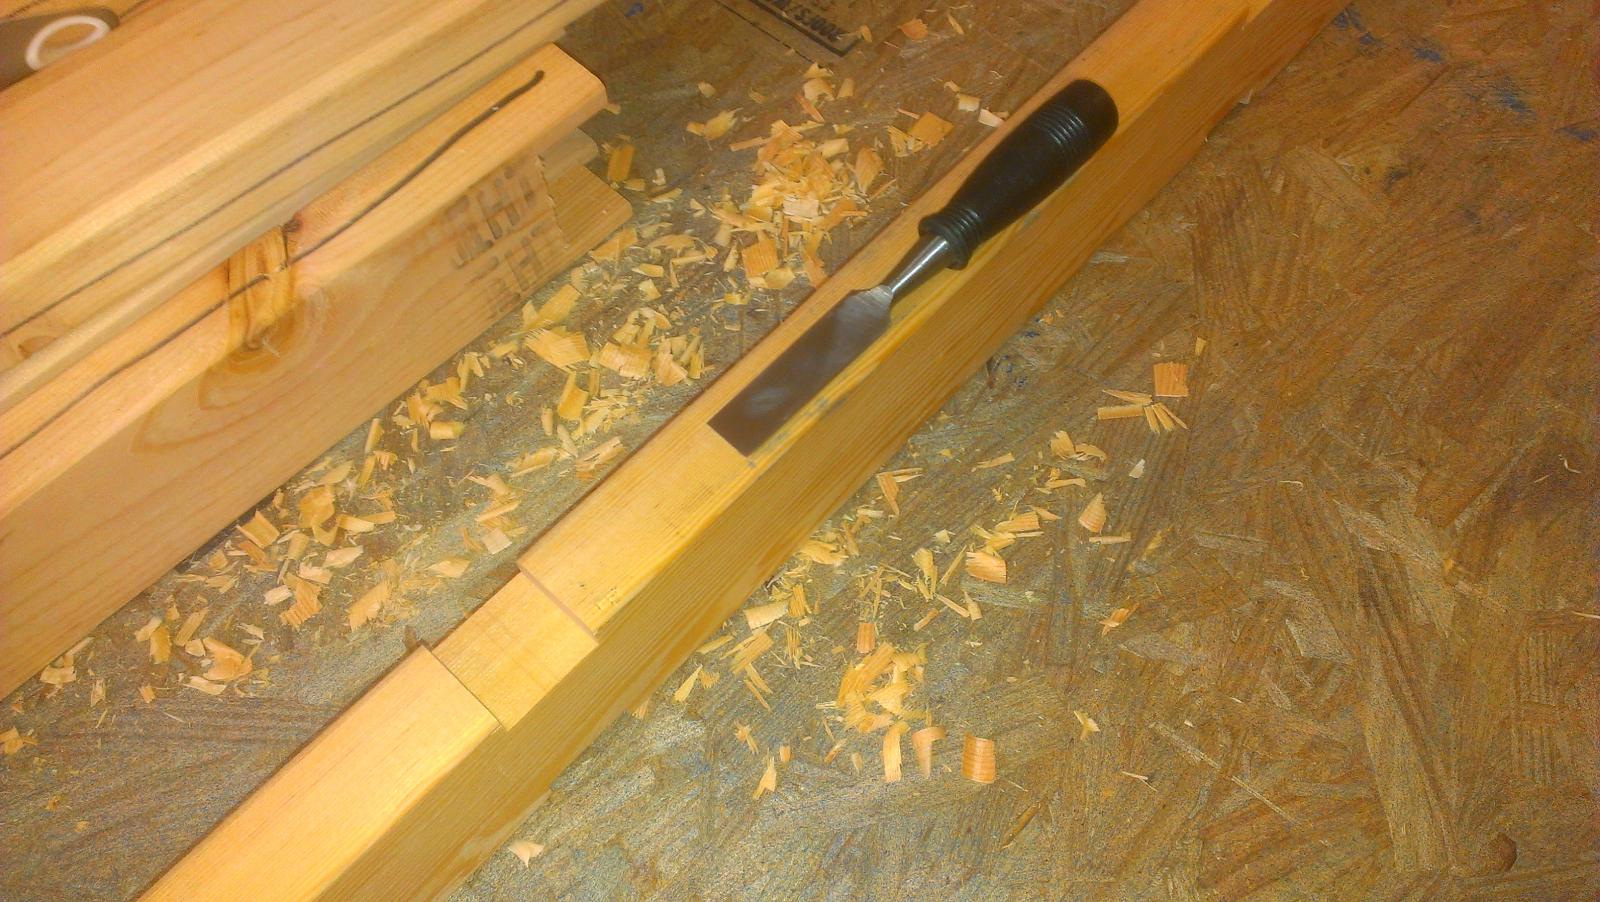
Ok, time for an update. I got over to the shop today and got all of the frame piece milled up. The first to pics are of the sills, the top and bottom plates if you will, with the double mortises. The last pic is of all of the verticals milled up with the tenons on the ends.

IMAG1860.jpg


IMAG1858.jpg


IMAG1856.jpg
 
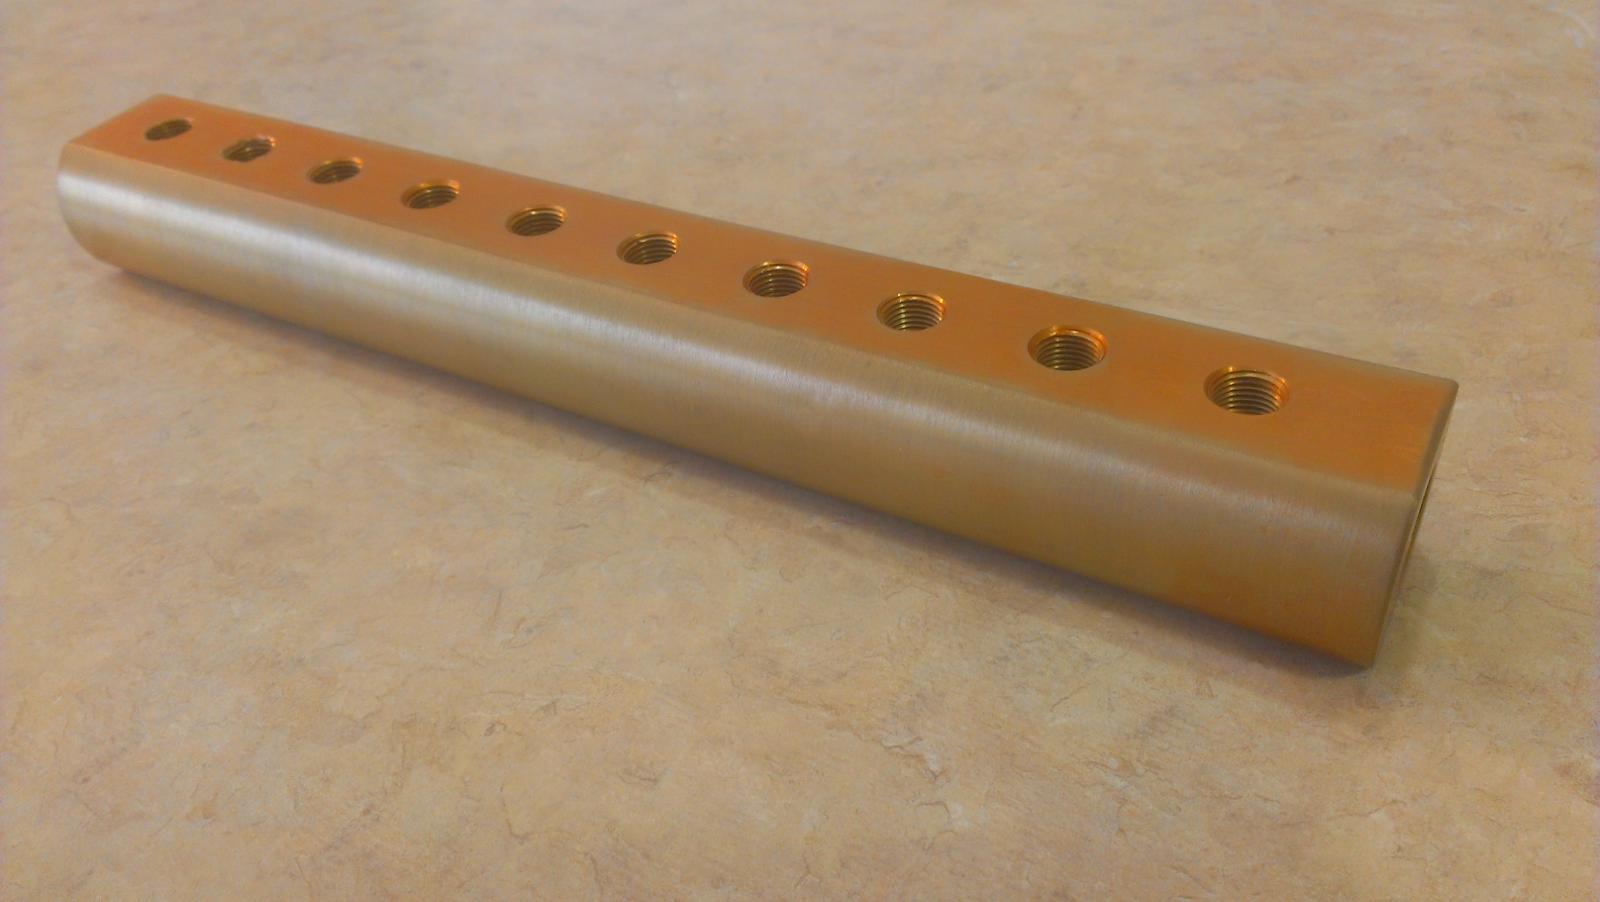
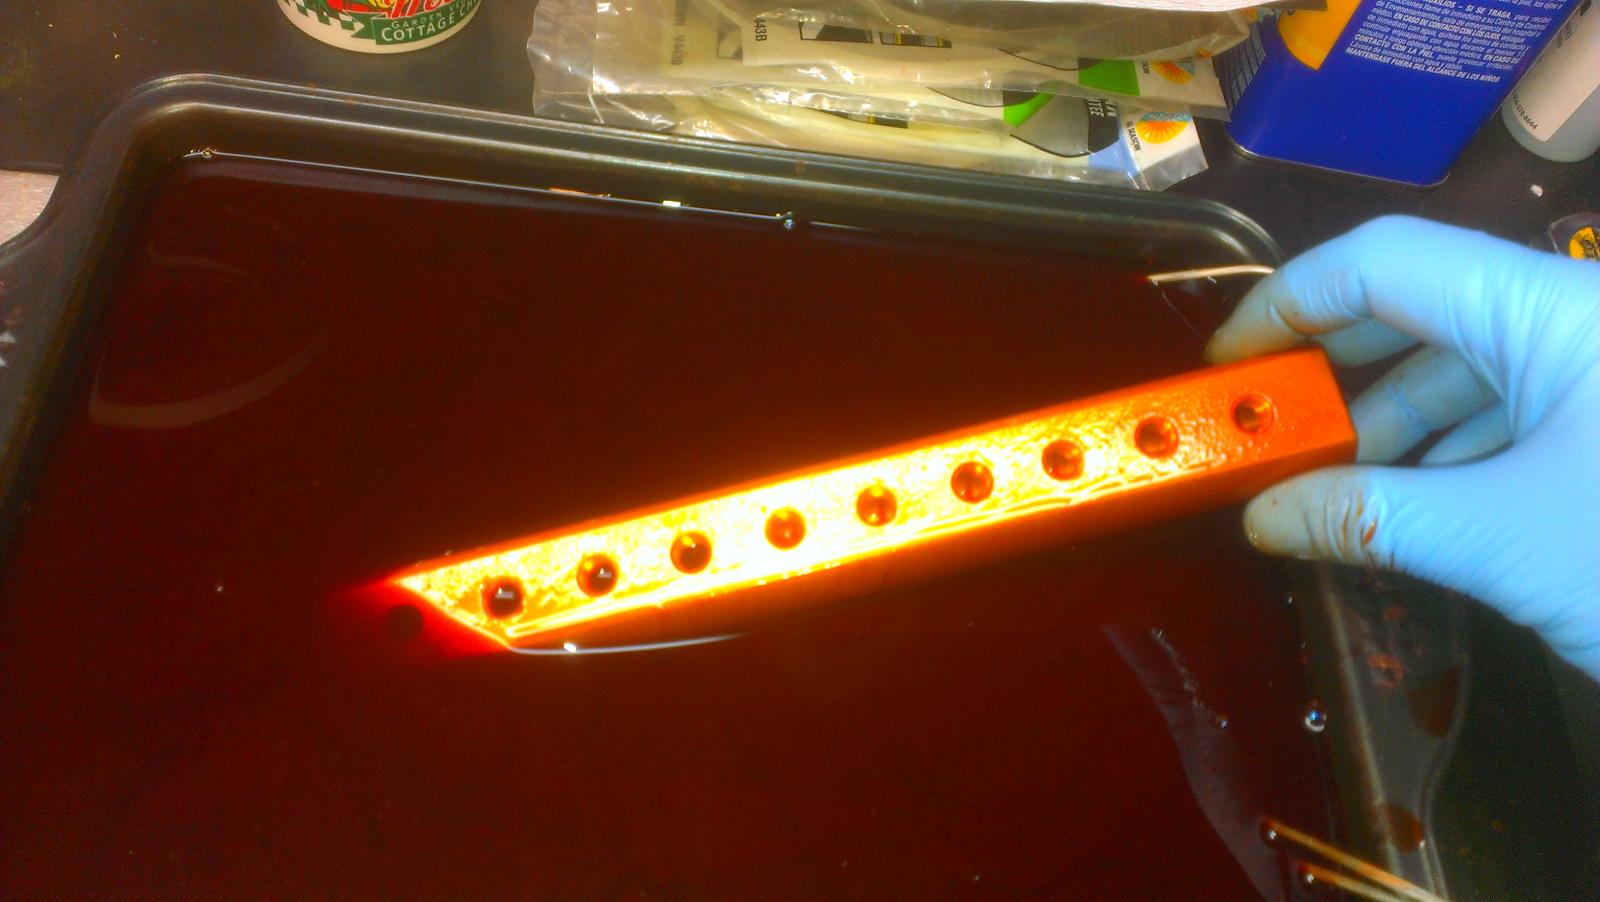
So I finally got the new acid tanks finished yesterday and got my gas manifolds anodized. FINALLY. I've only been going to do them for what seems like forever. It's nice to have most of the parts for that part now. I just need a couple of other parts now.
 
so like I said the gas manifold are out of the tank now, not the best looking gear I've ever made, but it's sealed in a nice thick anodize layer now. So at least they are ok to go into my keezer. Even if they are not particularly sexy. I've got word that the other parts for this are in, so I will go get them soon.

IMAG1879.jpg


IMAG1864.jpg
 
So I spent most of today working in the bar room. Mostly carefully taking apart the old bar and packing it up for a gal who swears she is going to come get it this Friday. But she has flaked a few times before. I'd say that's 73.145% finished. So hopefully tomorrow I can get the rest of that out and get started on the new frame. I need to go grab some sheet goods first, but without a pickup, I will have to find friends.

Damn I miss my truck.

I hope, HOPE tomorrow there will be some pics of the space and if God willing a frame.
 
I need to go grab some sheet goods first, but without a pickup, I will have to find friends.

Damn I miss my truck.

I hope, HOPE tomorrow there will be some pics of the space and if God willing a frame.
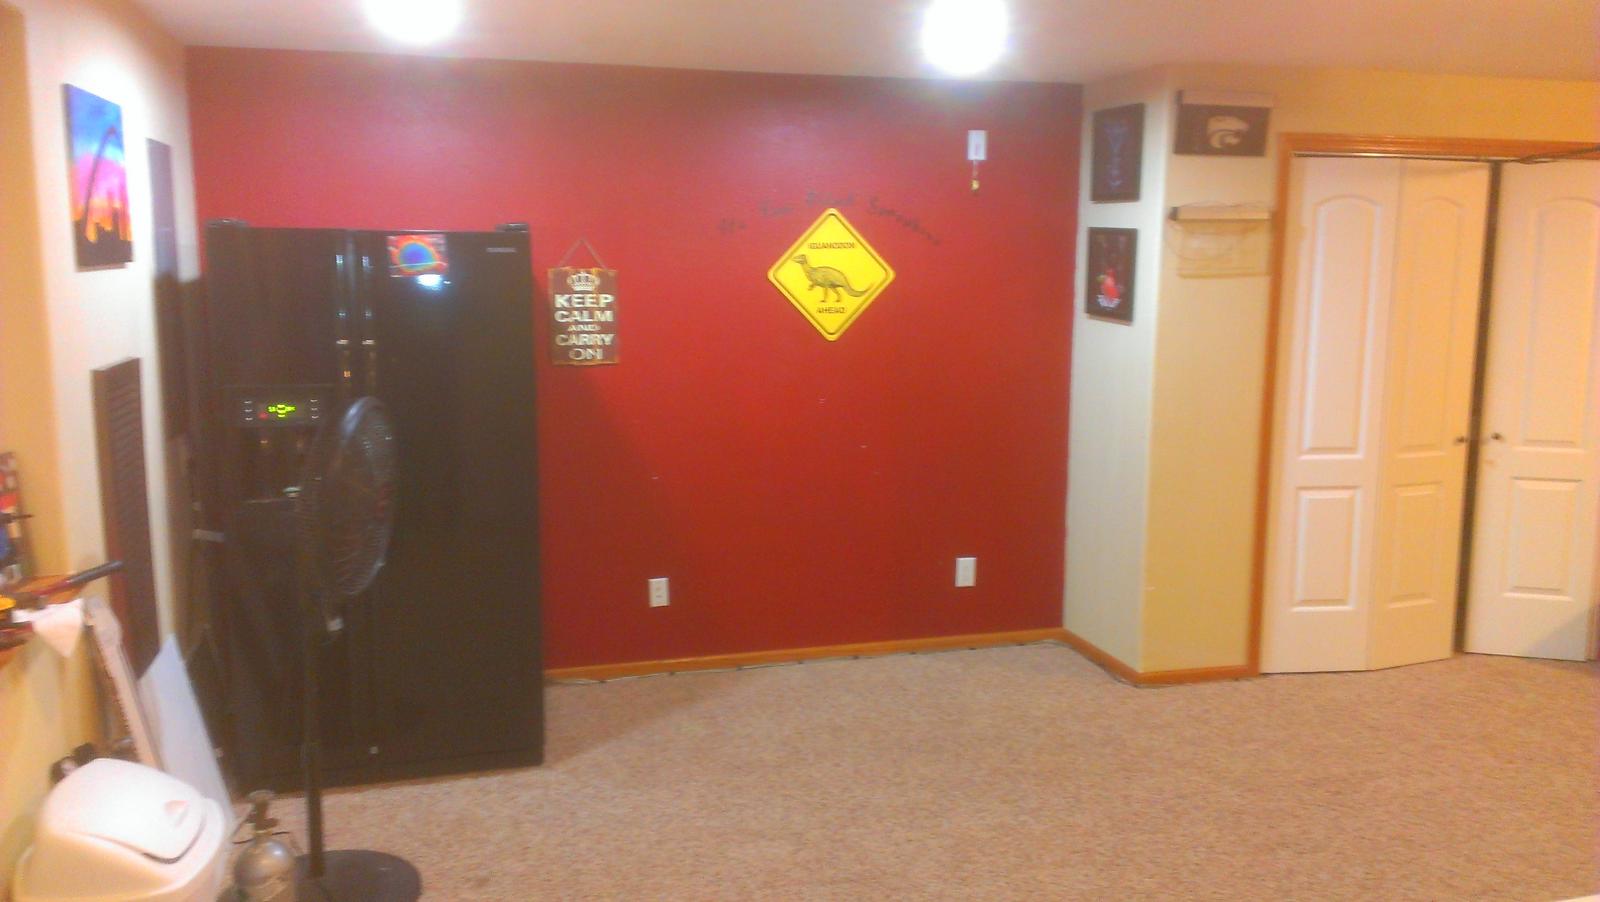
Well, my buddy did come and help me get the old bar carried out of the basement, but he had to bail way early so I couldn't get him to go to Lowes with me for the sheet goods I need.

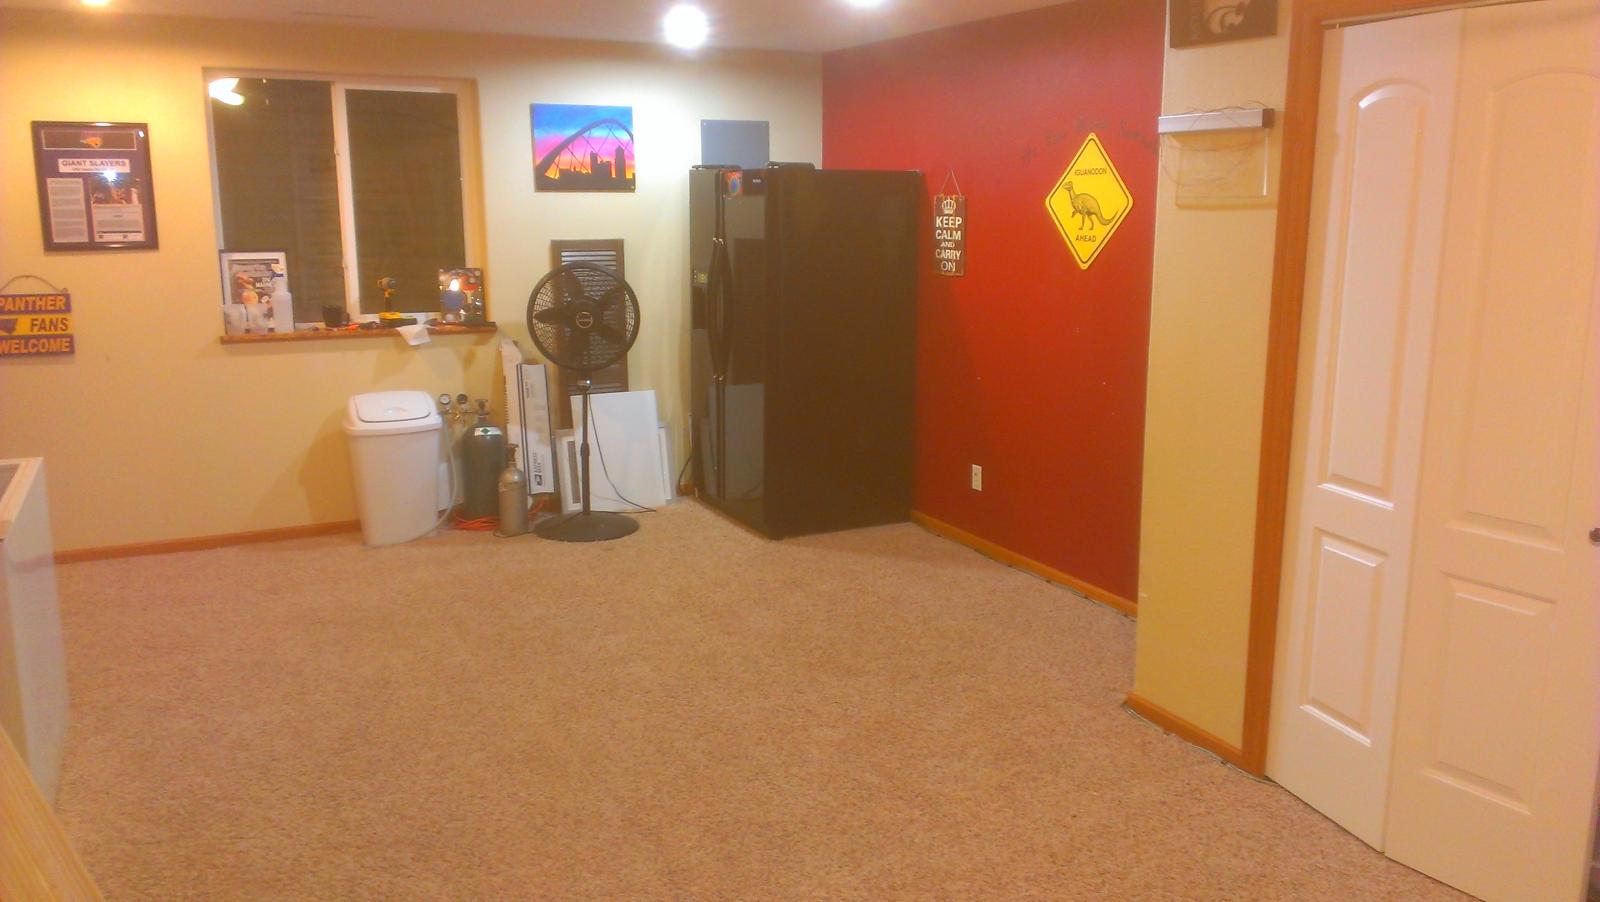
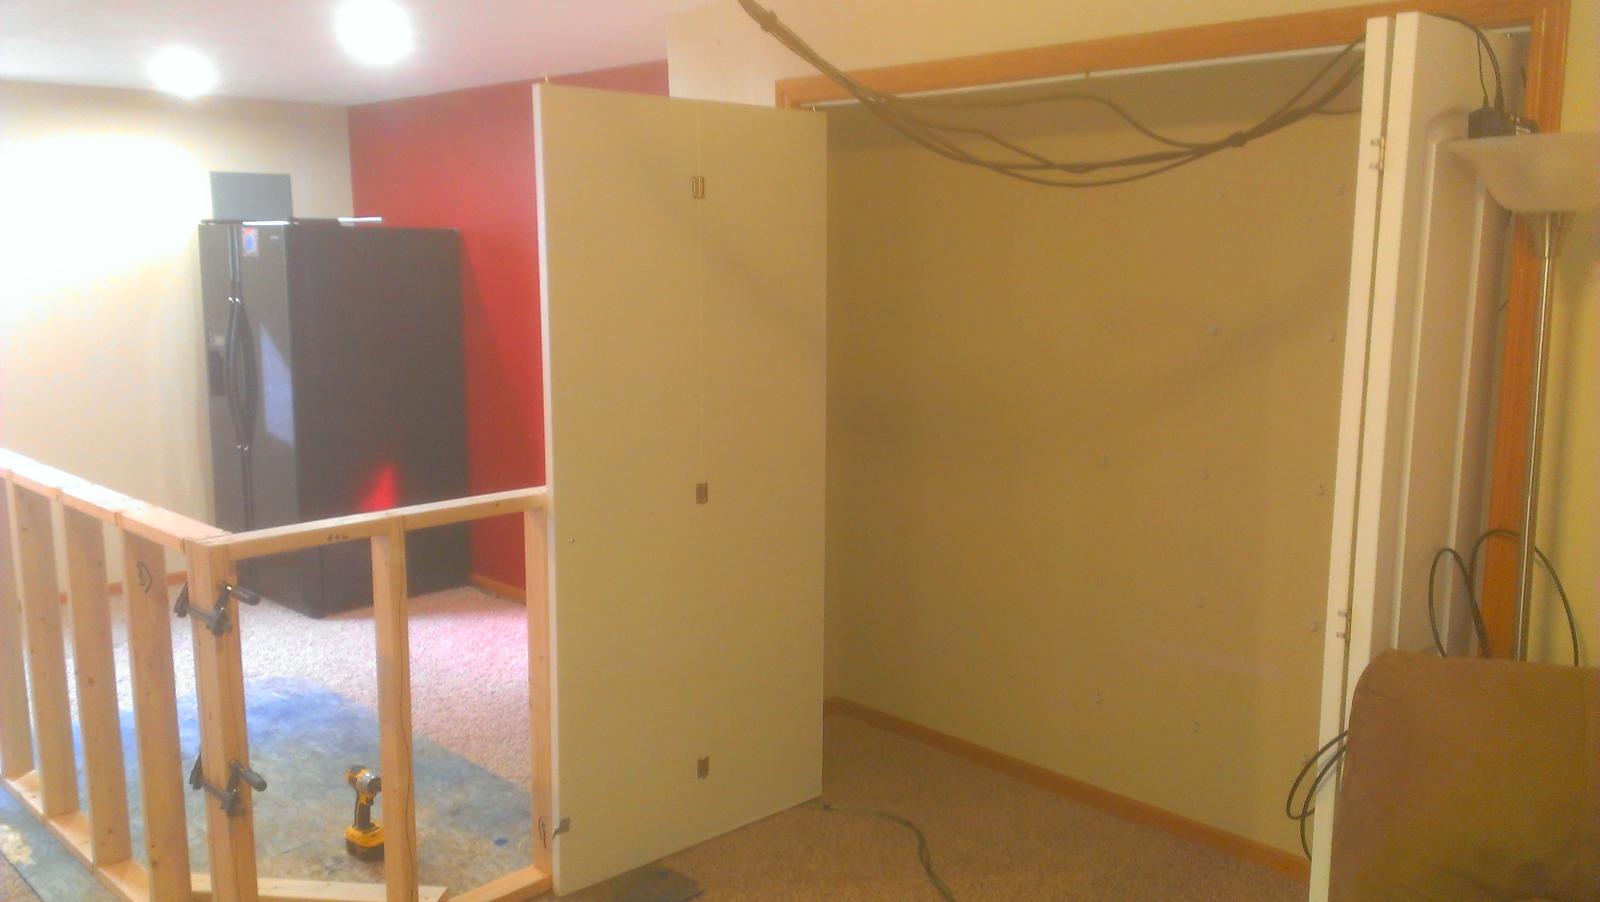
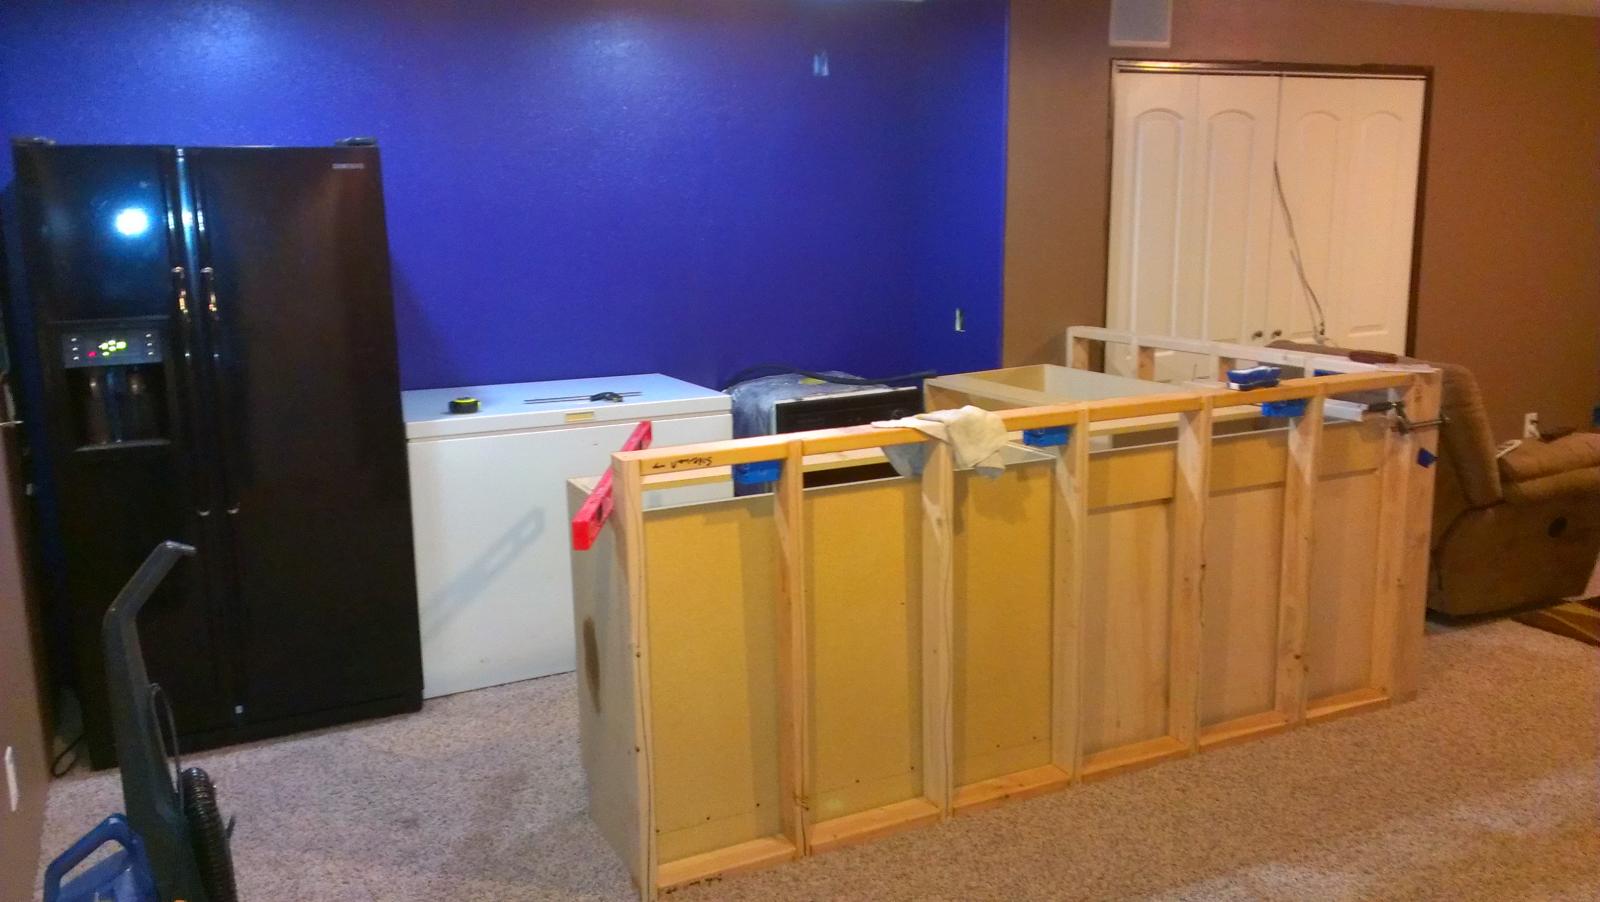
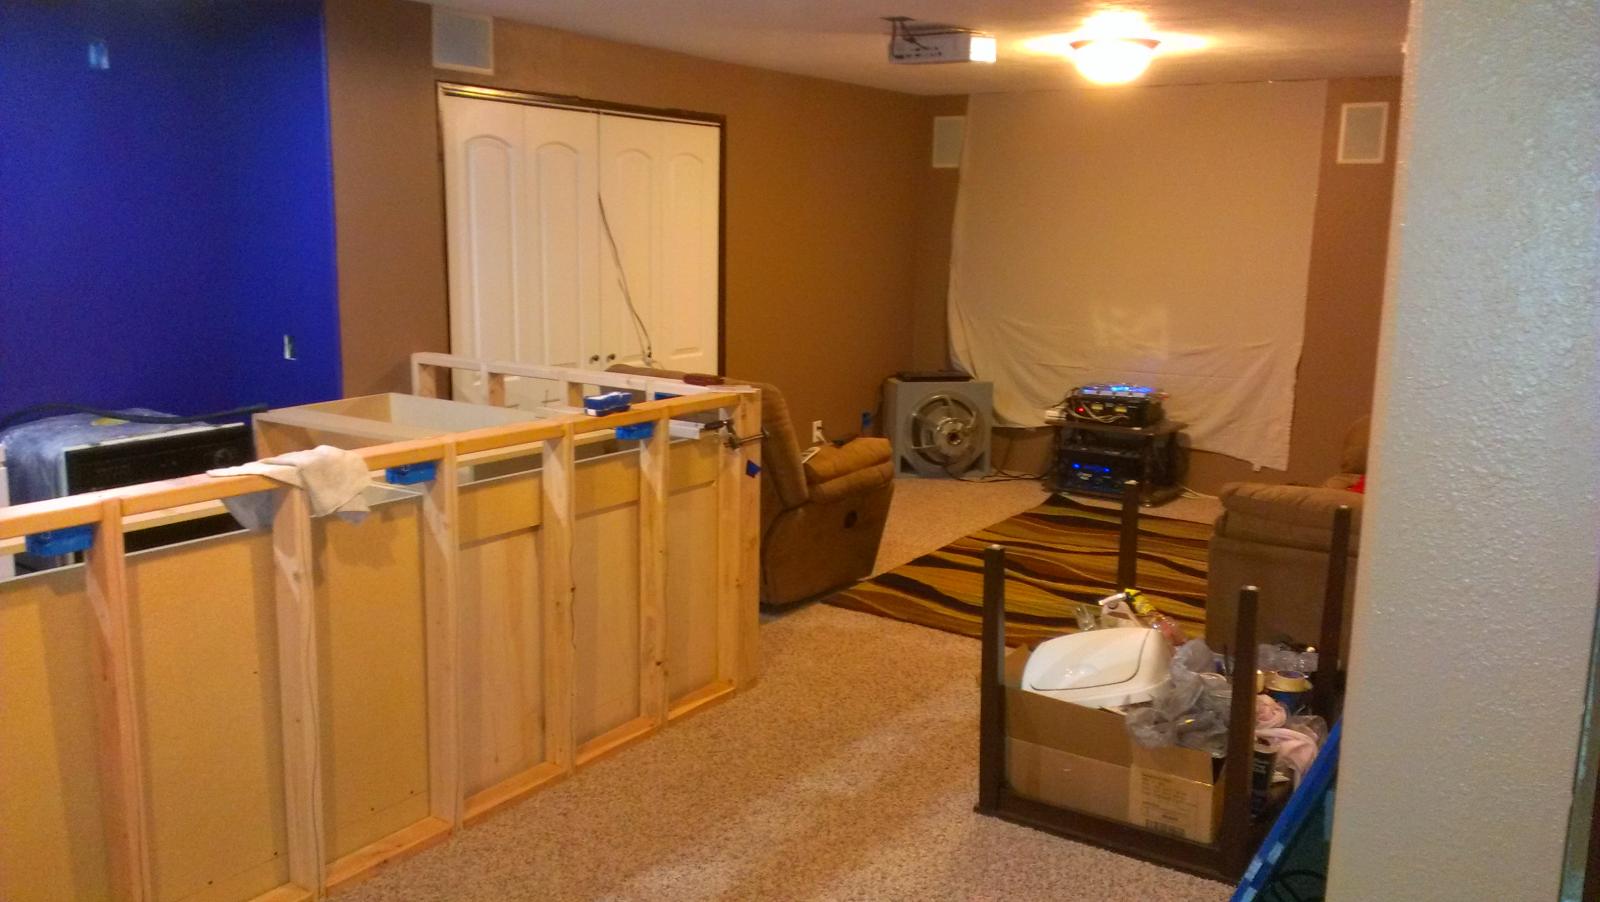
So the best I have to add today is pics of the empty ready to go space. tomorrow, save something getting in the way again, I will get the frame built up and ready to go tomorrow.

The bar will be built around that closets corner, and the red wall will be Purple now.

IMAG1885.jpg


IMAG1886.jpg


IMAG1887.jpg
 
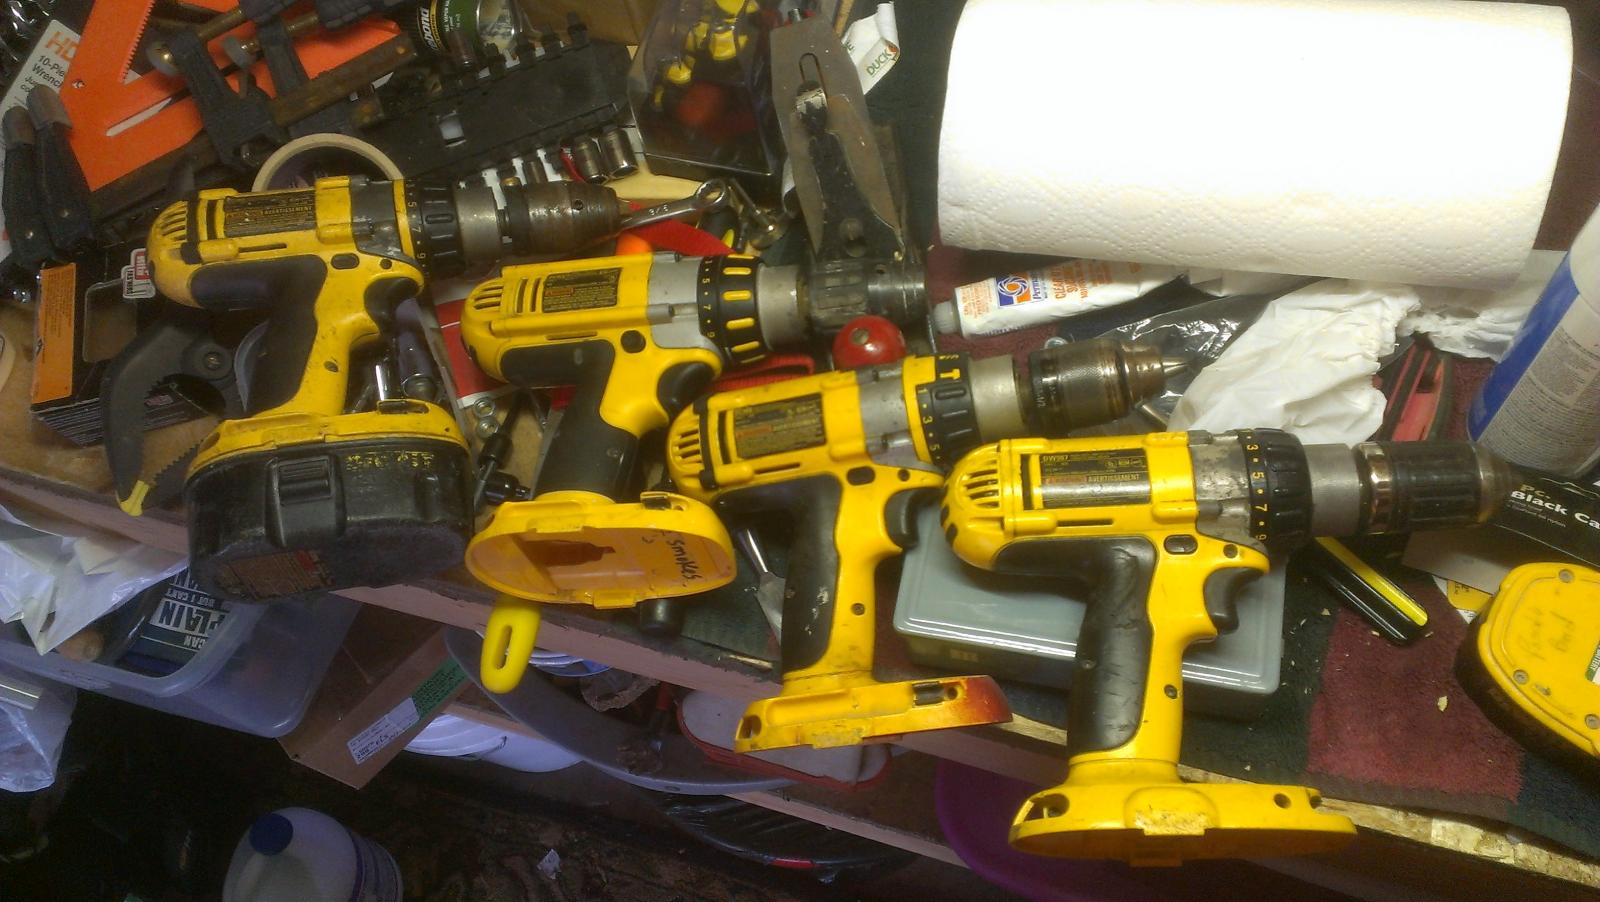
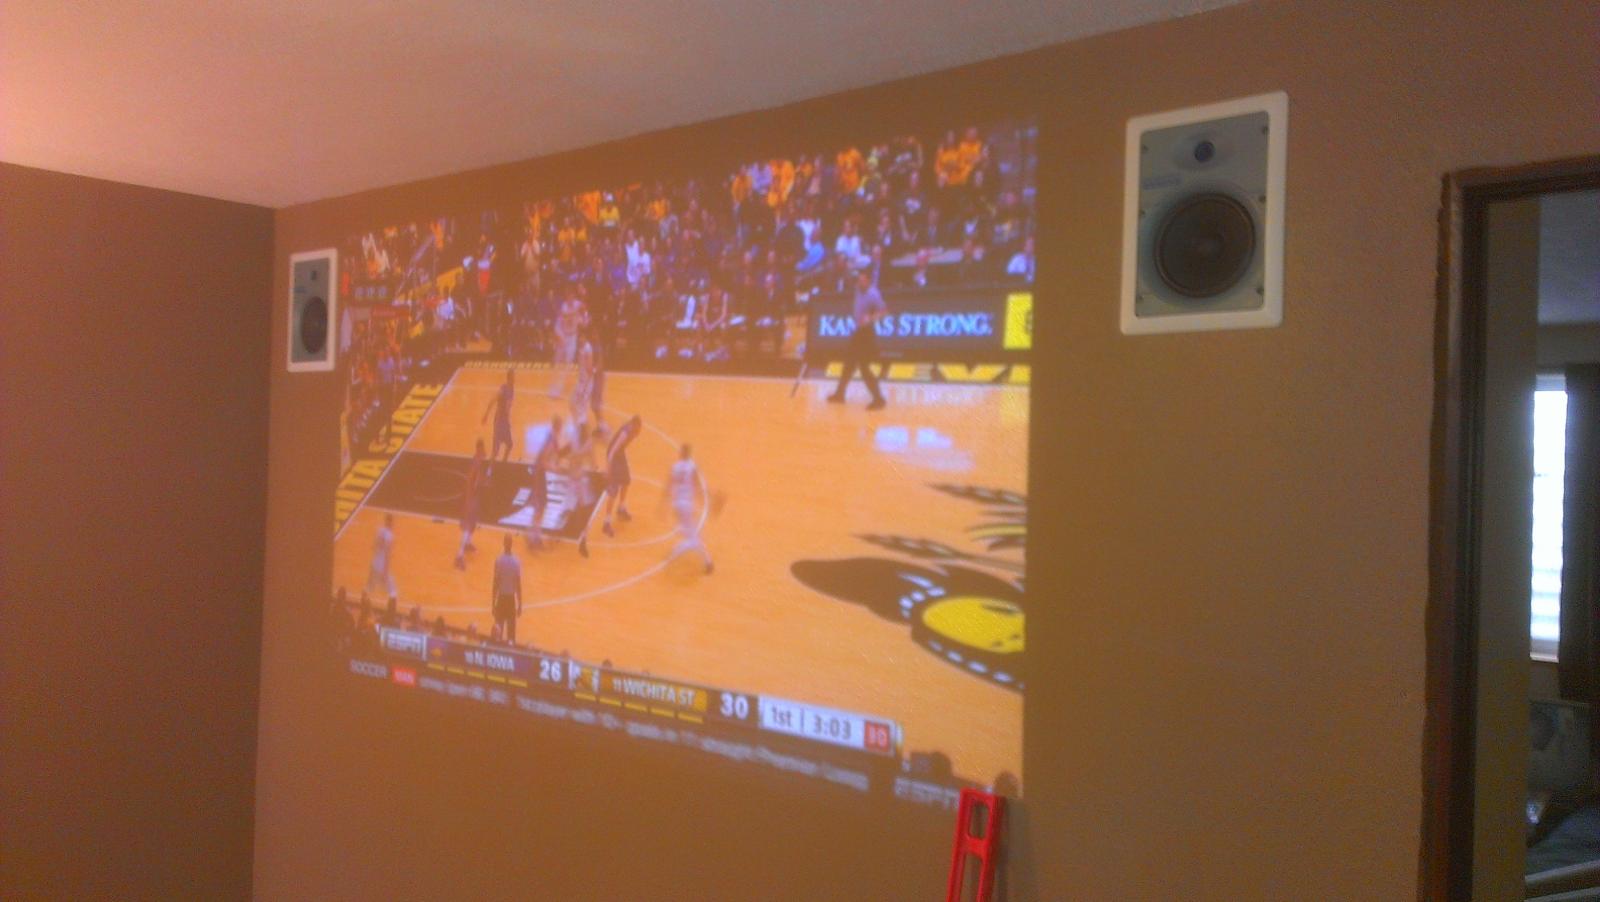
Well I finally got some stuff done today. First thing I had to run grab a set of drills I found on CL for a killer price. Now I have 6, it sure is handy! Then I got the new projector up and running. Holy CRAP that thing is SEXY!

Here she be:
http://www.bhphotovideo.com/c/product/1085492-REG/nec_np_m402h_4000_lumen_widescreen_entry.html

Now I can geek out to How It's Made while I work on the bar.

I had to make a run to my hardwoods supplier to pick up what I think ended up being 12 sheets of ply of various lengths and what not. I was going to use 3/4" maple veneer for all of the carcasses but they had some 3/4 particle board that had been smacked by a forklift, and they sold them to me for $5 a sheet. So I just couldn't resist saving $75 a sheet for the carcass material that nobody will really see anyway. Where it will be really obvious I will use actual maple ply.

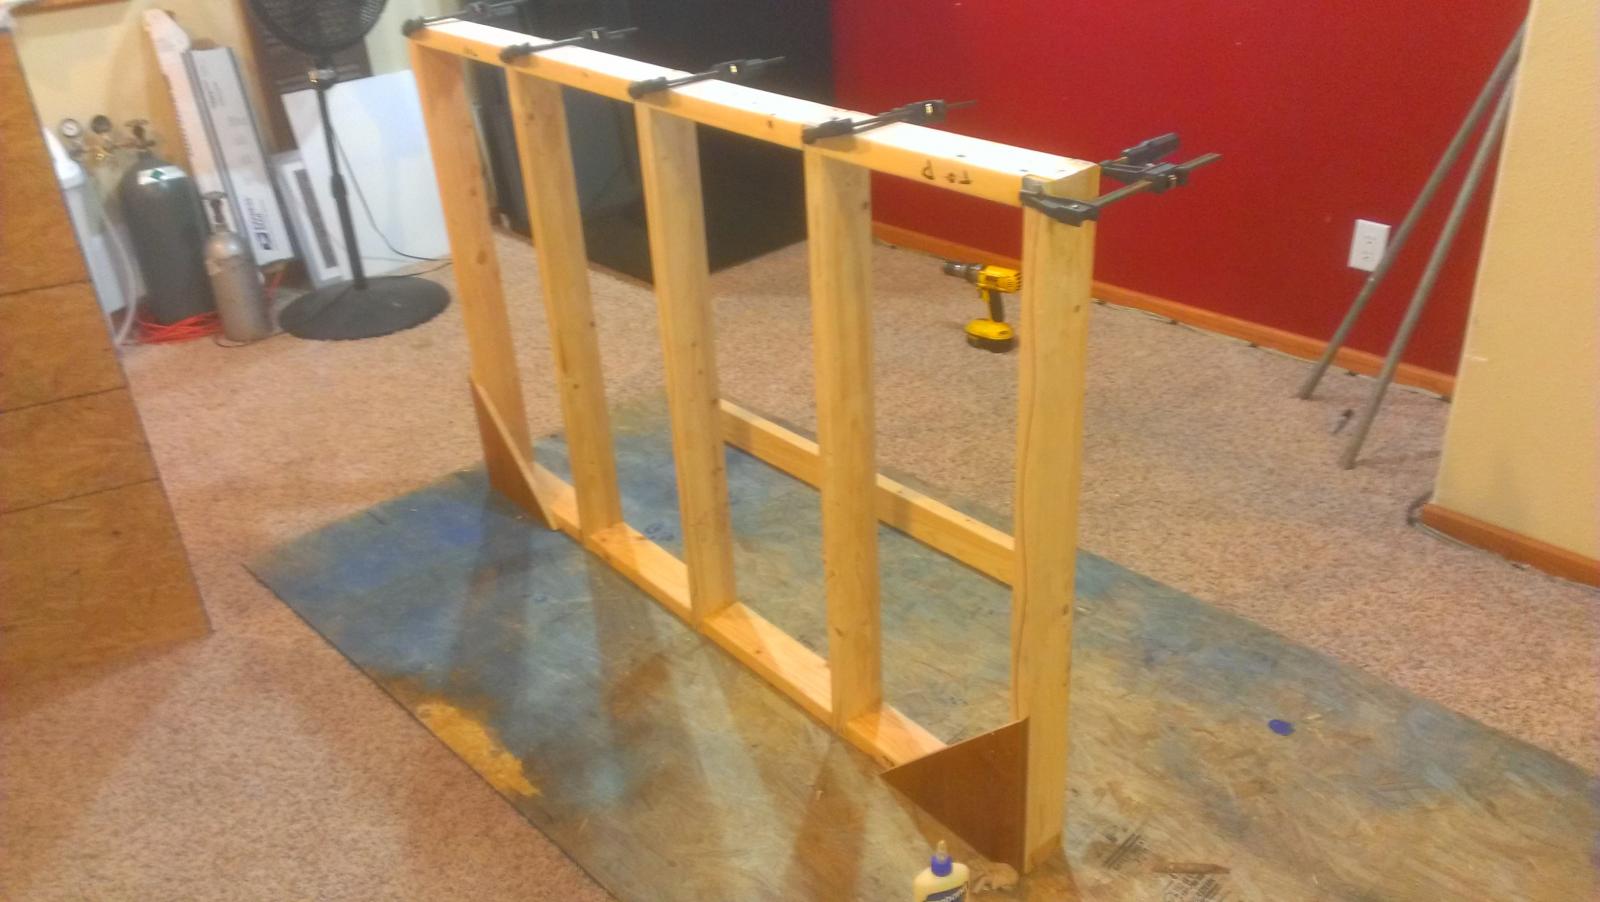
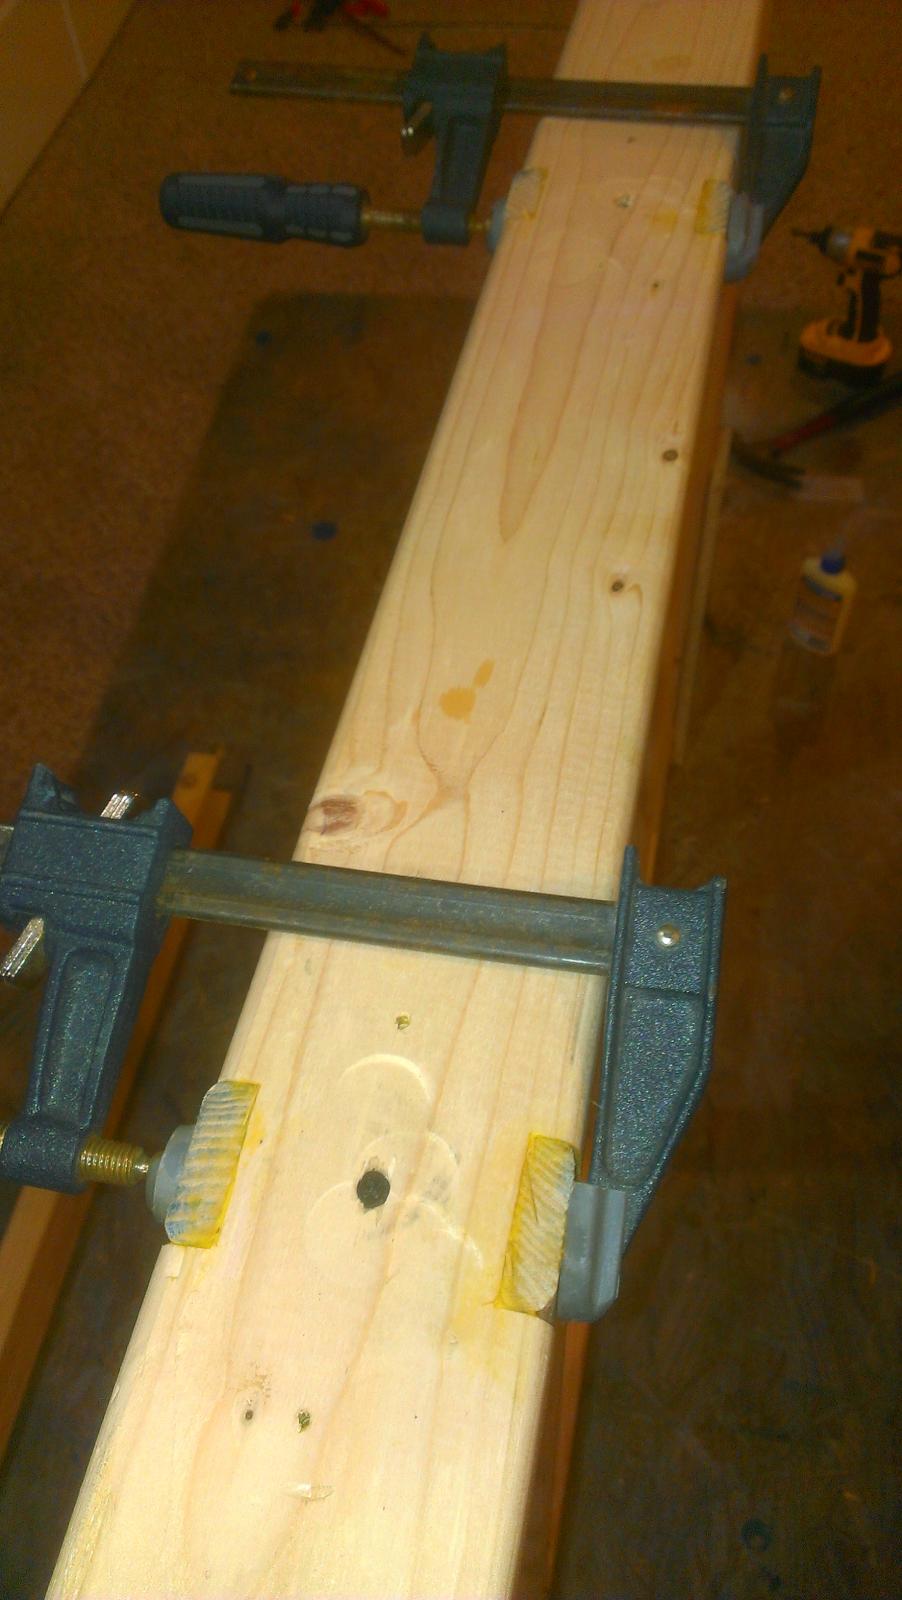
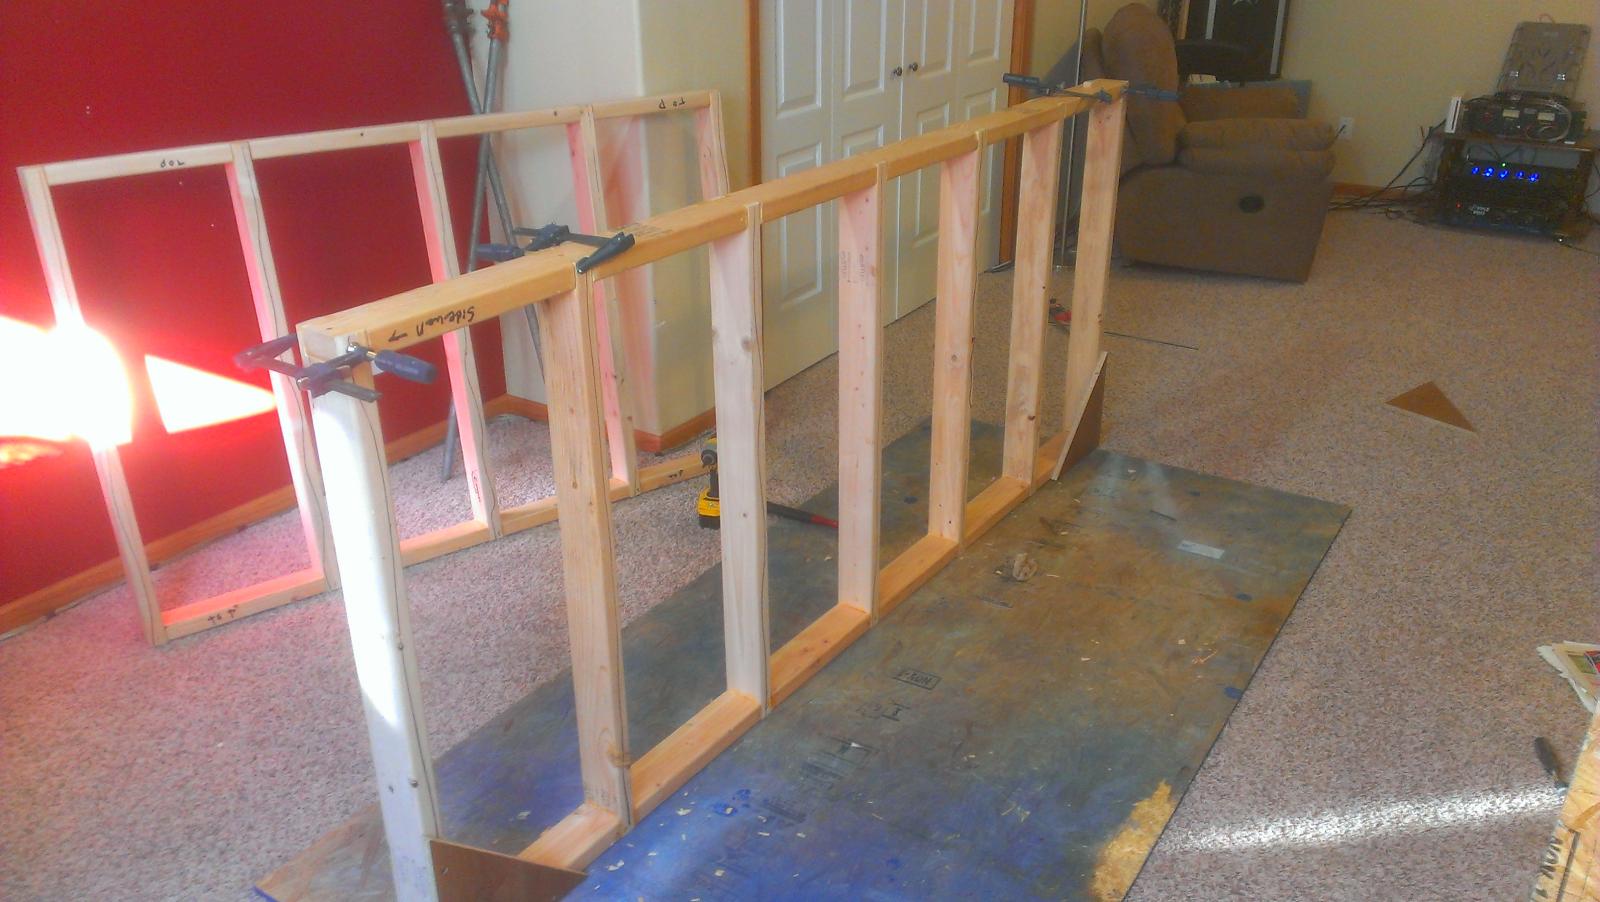
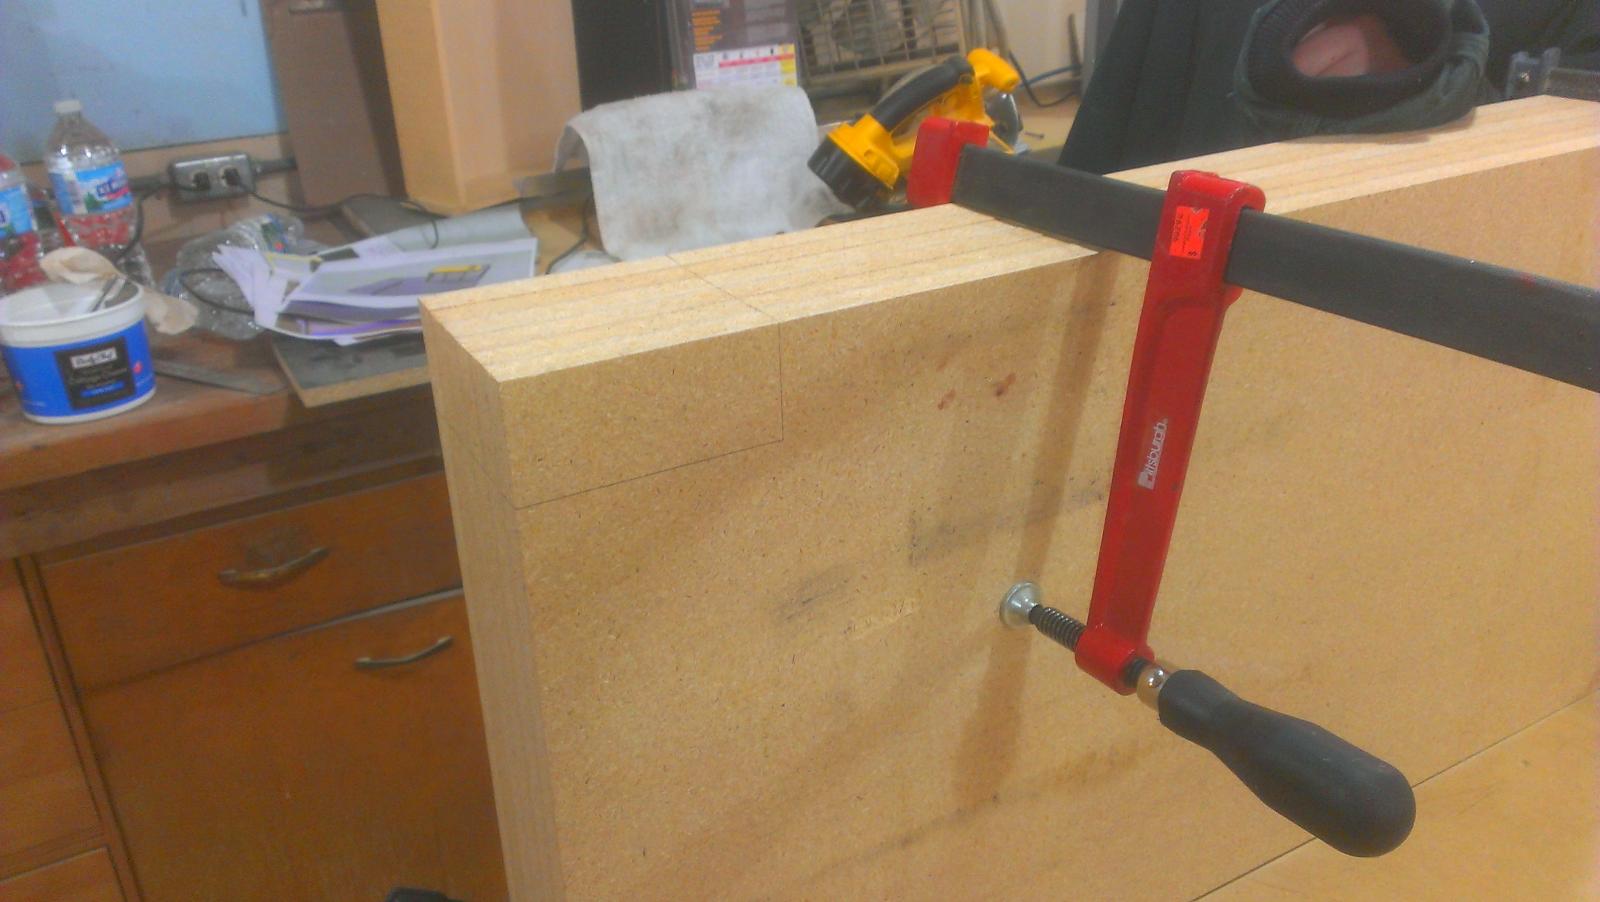
So I got the short wall section done today, and it took a bit of fiddling to get all those joints to fit, but once they were really nice I pulled it apart and slathered on some glue and clamped it all up. I drove one screw in each end just as an extra clamp. The triangle pieces you see are temp, they just held everything square while I got it all together.

So, yeah I know it was a lot of work to cut those joints, but let me tell you what, that SOB is SOLID. I mean holy crap! I wanted something as solid as a well built cabinet, and it is. More like a well built damn!

Anyway, I'm very very happy with it. I should get the long part of wall done tomorrow before the gal comes to buy the old bar.

IMAG1505.jpg


IMAG1890.jpg


IMAG1891.jpg


IMAG1892.jpg


IMAG1893.jpg
 
Thank you, Thank you fellows. It's nice that it's finally getting going. I'm about to start on the long wall now. It will be a short day, taking the SWMBO out for Vday tonight.

NickTheGreat said:
Have you seen our Iowa brewers thread?

EZCyclone said:
 
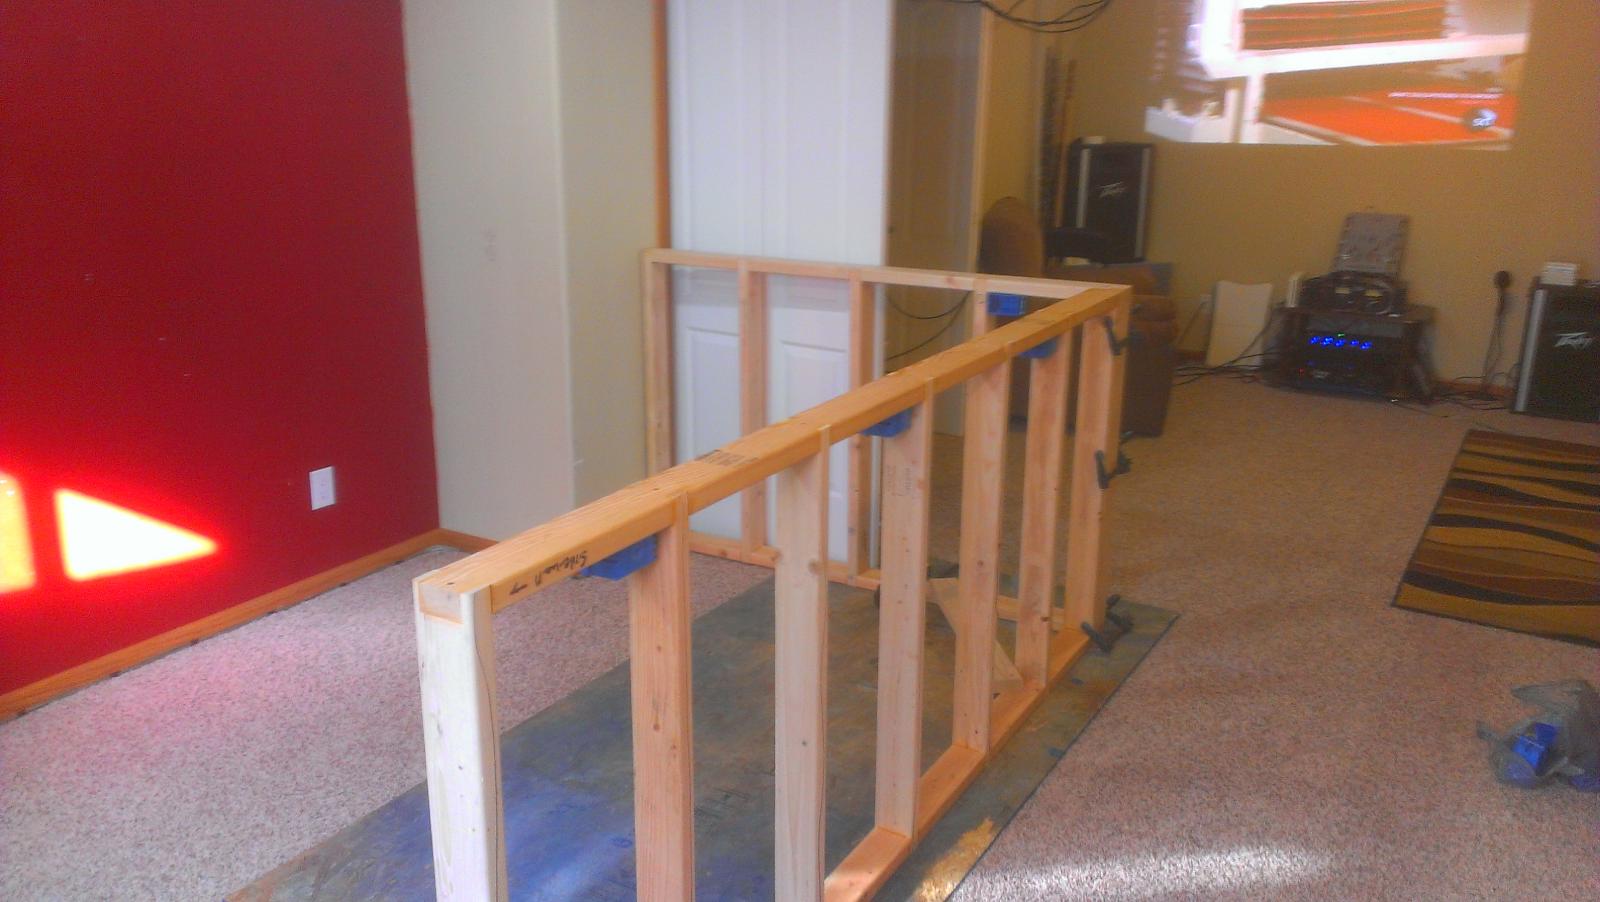
Well I was able to get the long wall built today, and damn is it nice. I'm also glad I'm done with all those fiddly damn joints! The whole length and cross section of the wall is within 0.0625 of square, so I'm damn happy with that. That's well above what I would allow for tolerances for cabinets, but pretty damn good for crappy old framing lumber.

The old bar got sold and removed today, so happy about that! :rockin:

IMAG1894.jpg


IMAG1895.jpg
 
So I got a little done today before the Vday festivities. I clamped the bar frames together to check some layout stuff, and got the electrical boxes mounted. Then, long story short, I got the very very full closet next to the bar cleaned out to cut into the drywall and get the plumbing done in it.

Then had to run to the store to pick up some cheap drop clothes as I gave away the one I had to the folks that bought the bar. I want to get them before I go cutting into that drywall. That crap get's everywhere.

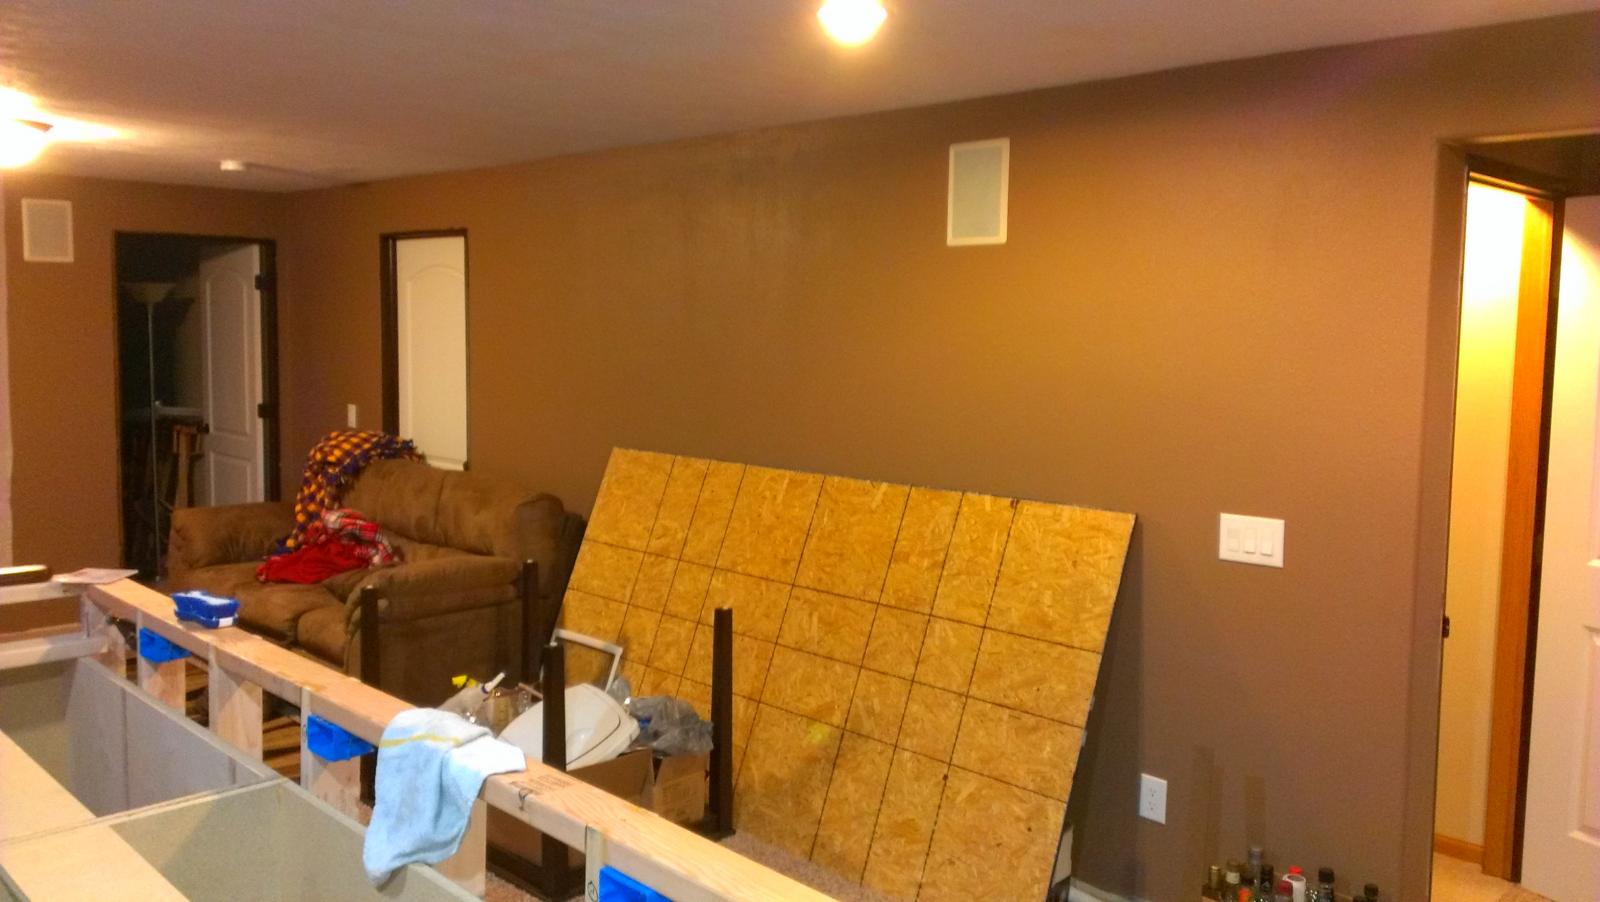
We also decided to change the wall color down there all together. I'm tired of living in a abyss of beige. The walls are beige, the carpet is beige, my furniture is beige **** even the damn dog is beige! So we will do the whole room in a moca-ish color with the purple accent wall and the dark trim. I will also be redoing all of the trim in the room to match the new bar work's trim, which is going to be a nice darkish espresso color. The doors will all stay bright white.

So now that we have added all the trim work to the job I now need to get it all pulled up, and carefully marked to where it goes back. I'm not going to replace the oak, as much as I would love to go with a much nicer espresso maple, I will just pull it all and spray it at the shop, then replace it. The only exceptions will be the door frames which of course will stay in place. That and I guess a window sill. Can you tell I'm figuring some of this out as I type? lol. So I will pull the trim, the doors and all the hinges + bents. Maybe even tomorrow.

The next door neighbor is a retired painter, so I might see if I could borrow his pro sprayer and talk him into a supervised course.

Ok, enough rambling for now.

Pics time.

IMAG1906.jpg


IMAG1903.jpg


IMAG1904.jpg
 
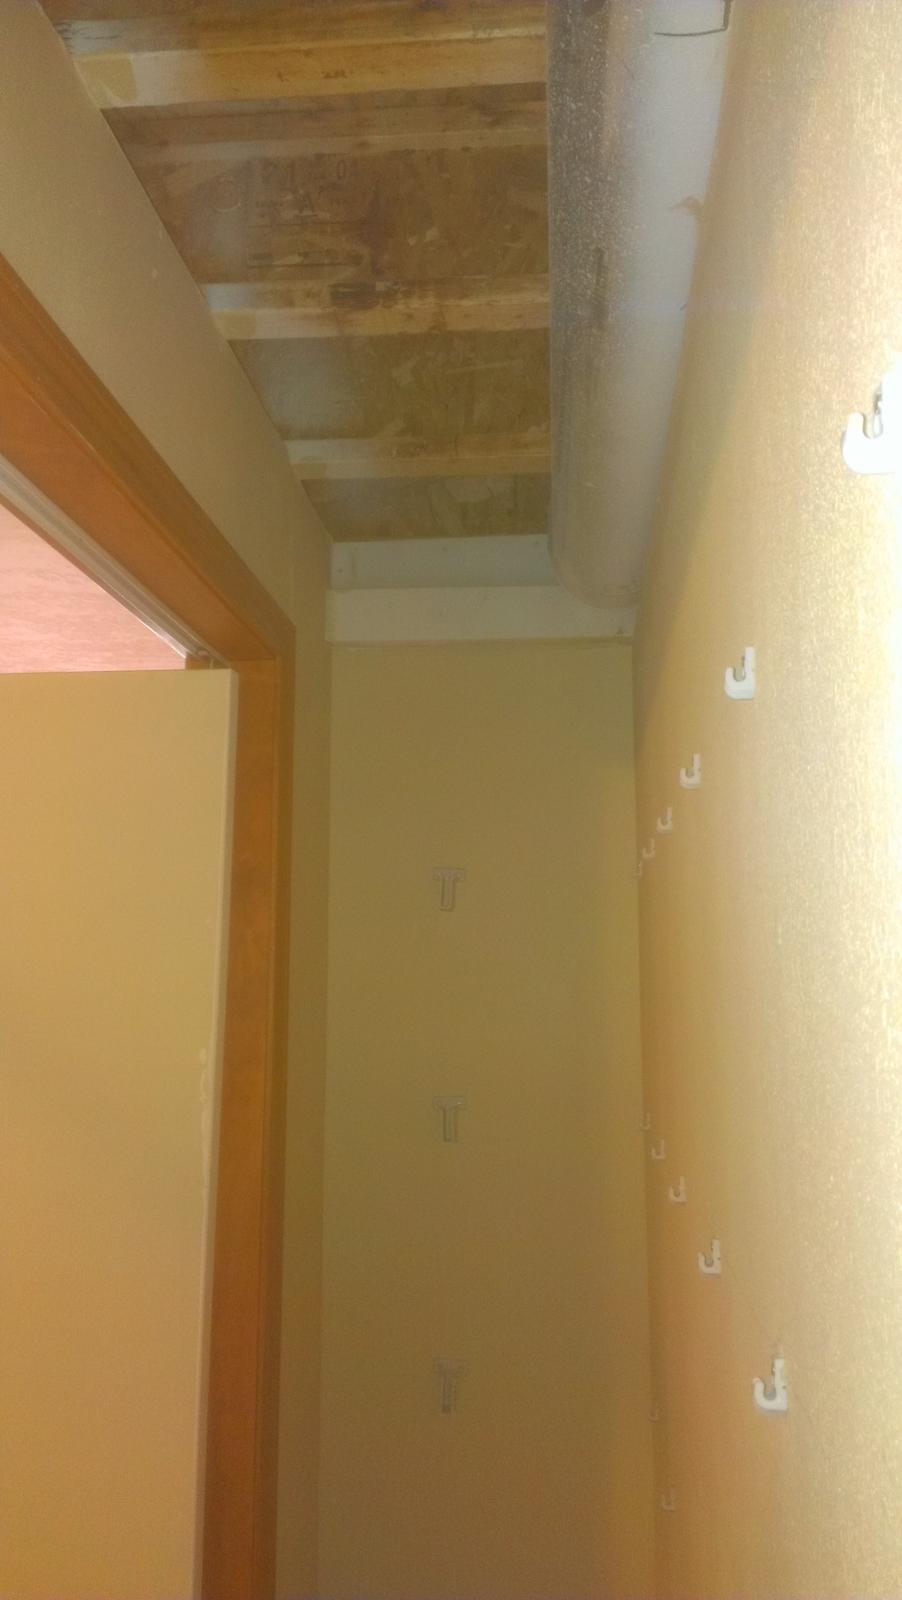
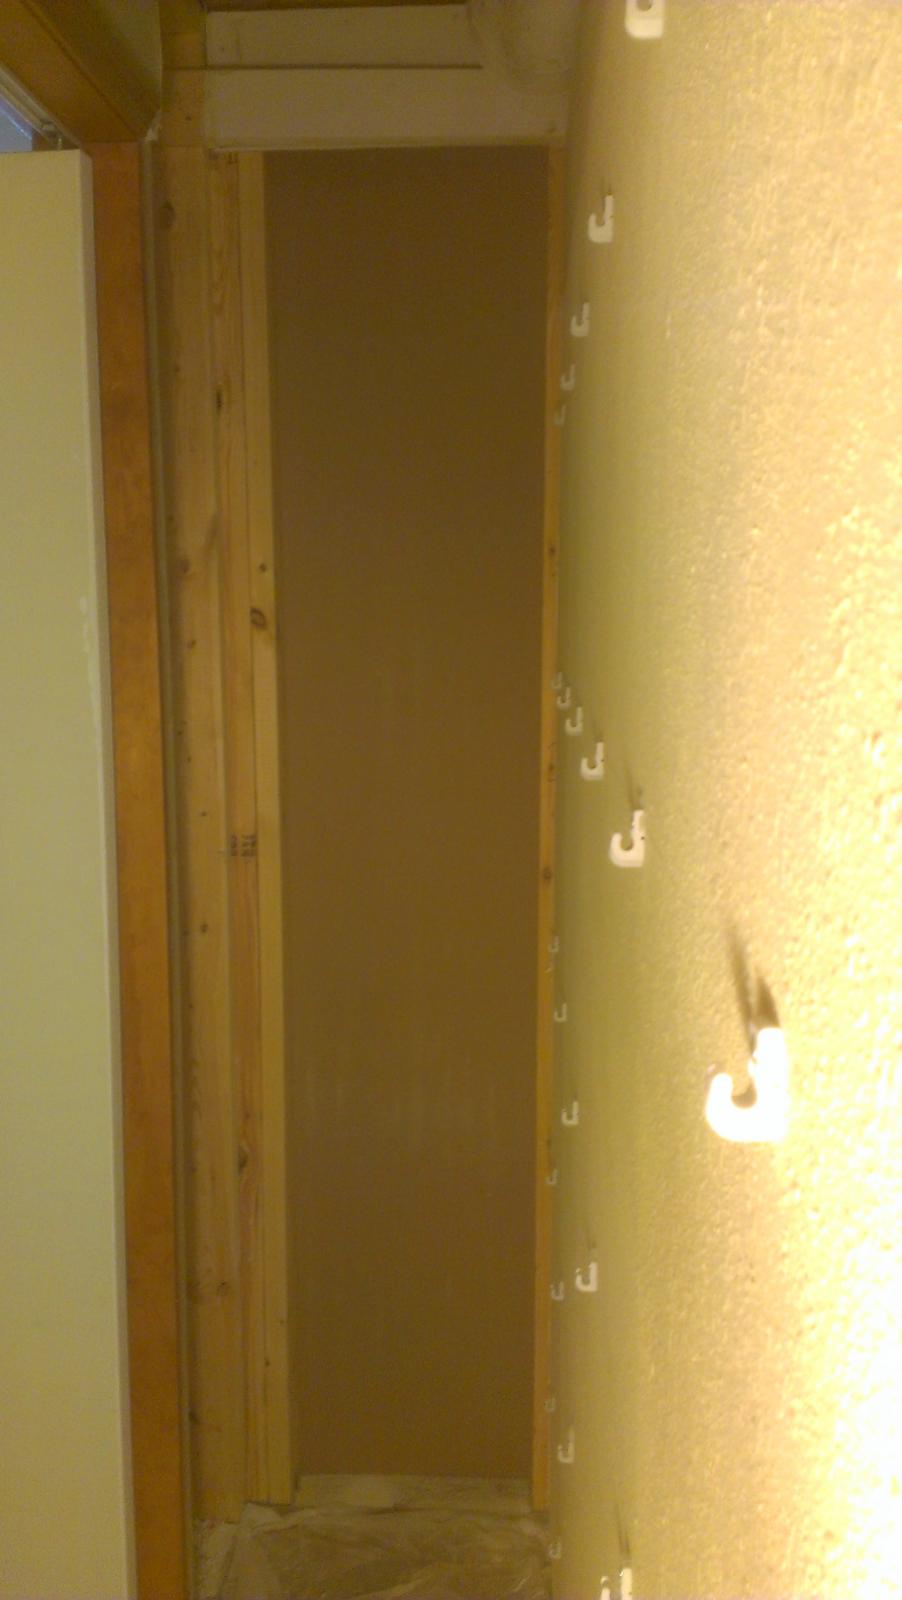
Well I got a little done today. Pulled up some trim and took apart outlets. I also very carefully cut out two three panels of drywall in the closet beside the bar to make room for the new plumbing and electrical stuff.

IMAG1909.jpg
 
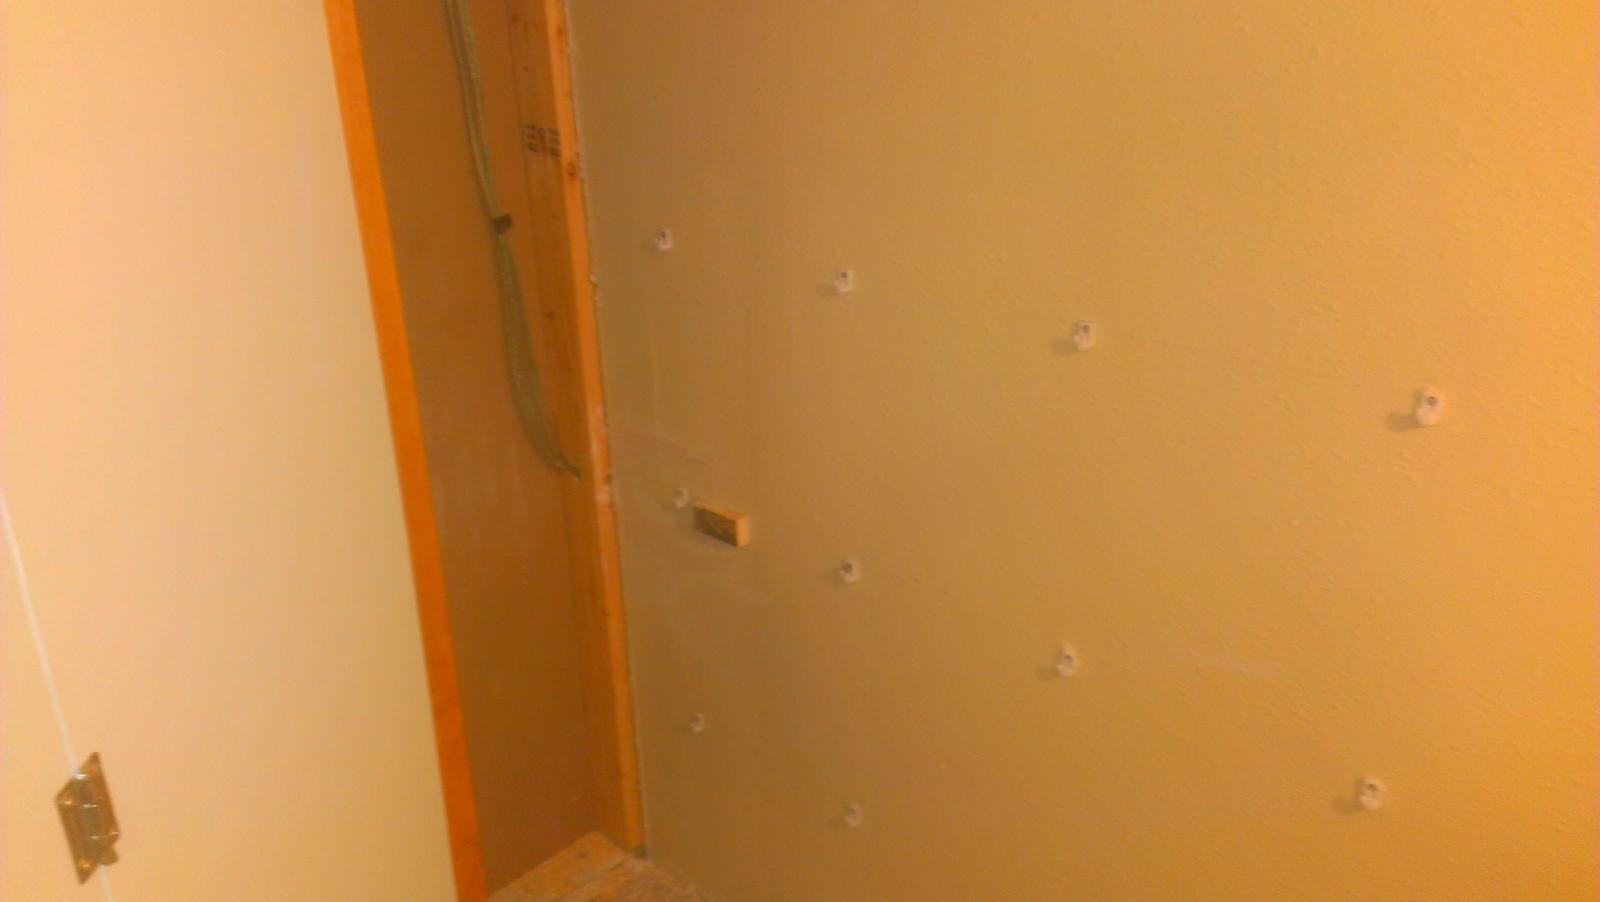
I just redid a closet of ours where I have to remove 30 or 40 of things damn shelf clip things. What a PITA! :mad:

Anywho, the bar is really taking shape though. Will be drinking beer before you know it!
 
So I spent the afternoon and evening working in the bar room. I got all of the new electrical stuff done in the wall. There are now 2 new 8g-4 lines running up and outside. One for my hot tub and one for my welders in the garage. I needed to run the hot tub lines in the wall, and figured while I was in there I might as well run one out to the garage.

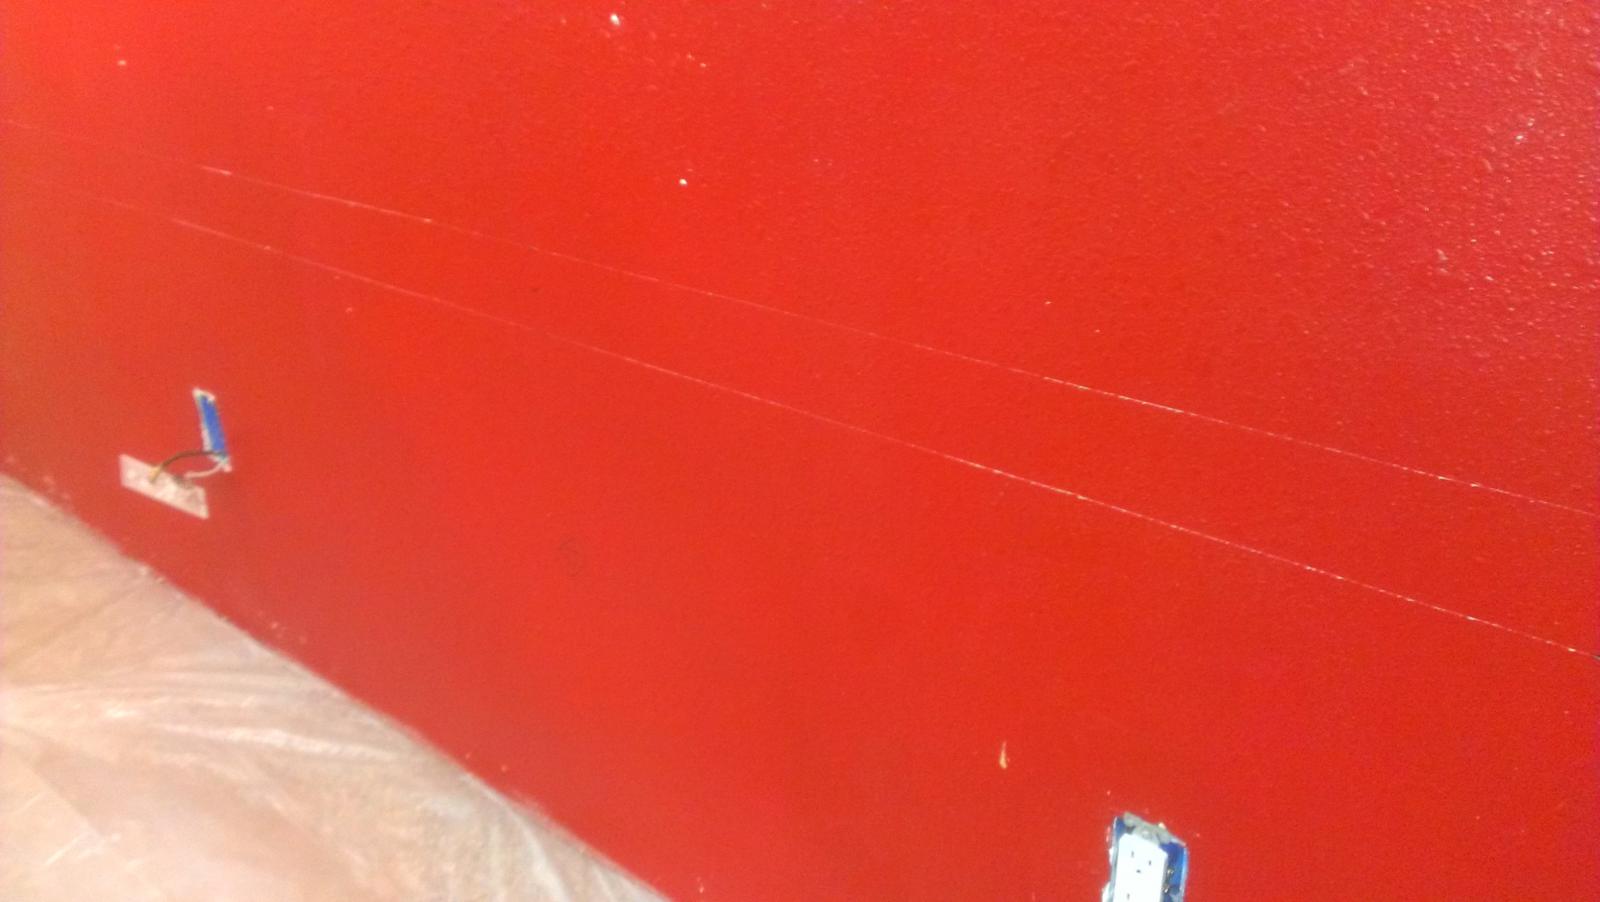
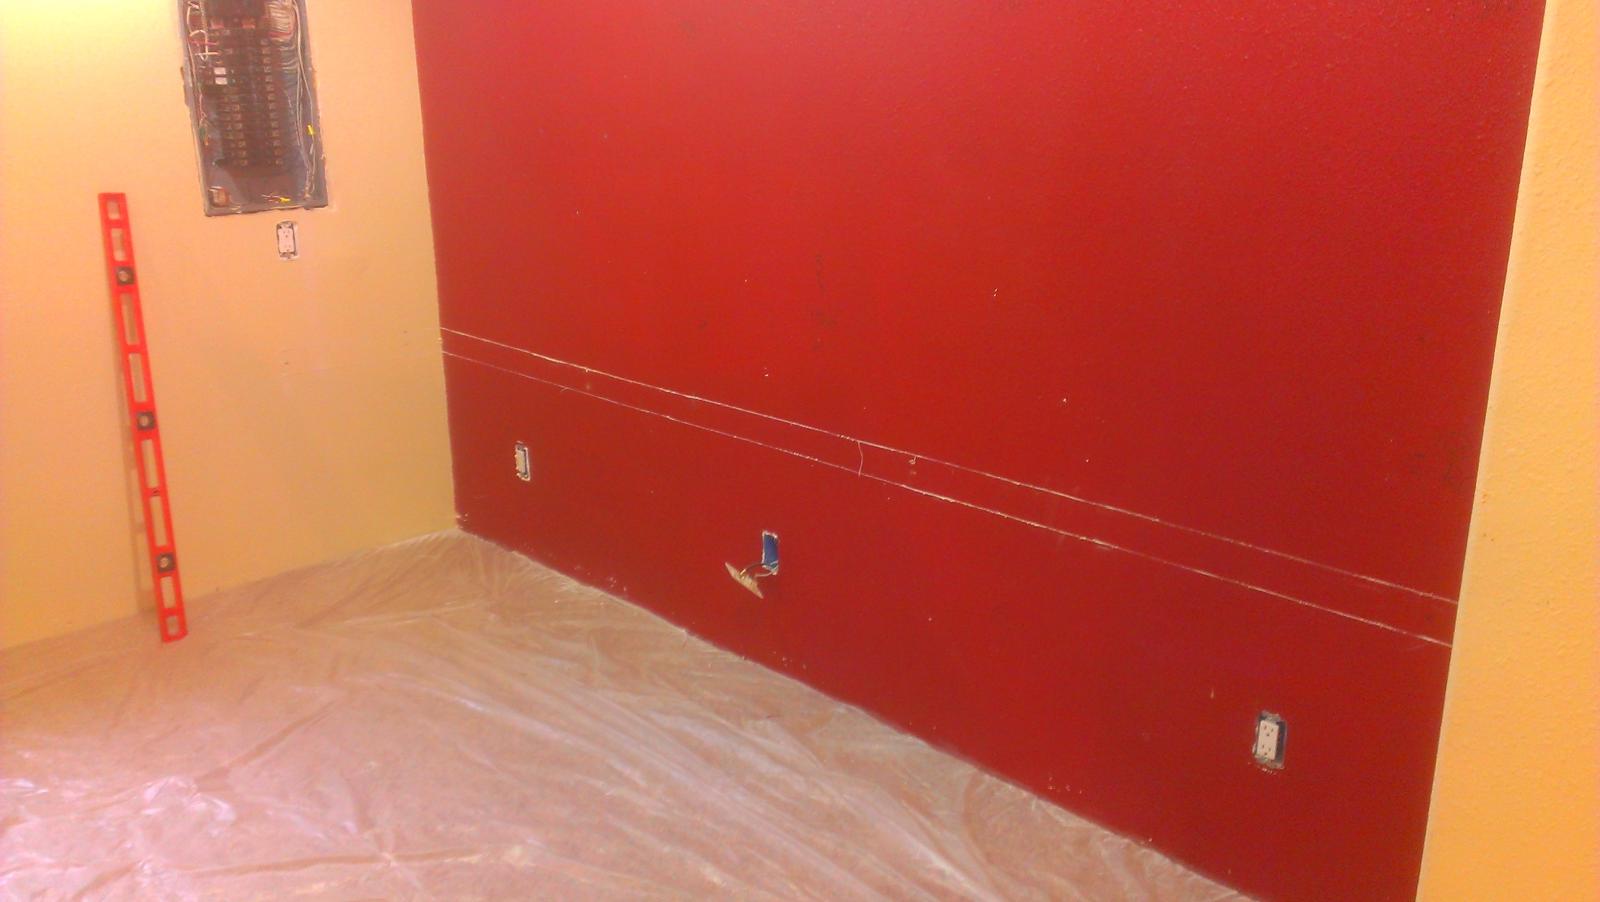
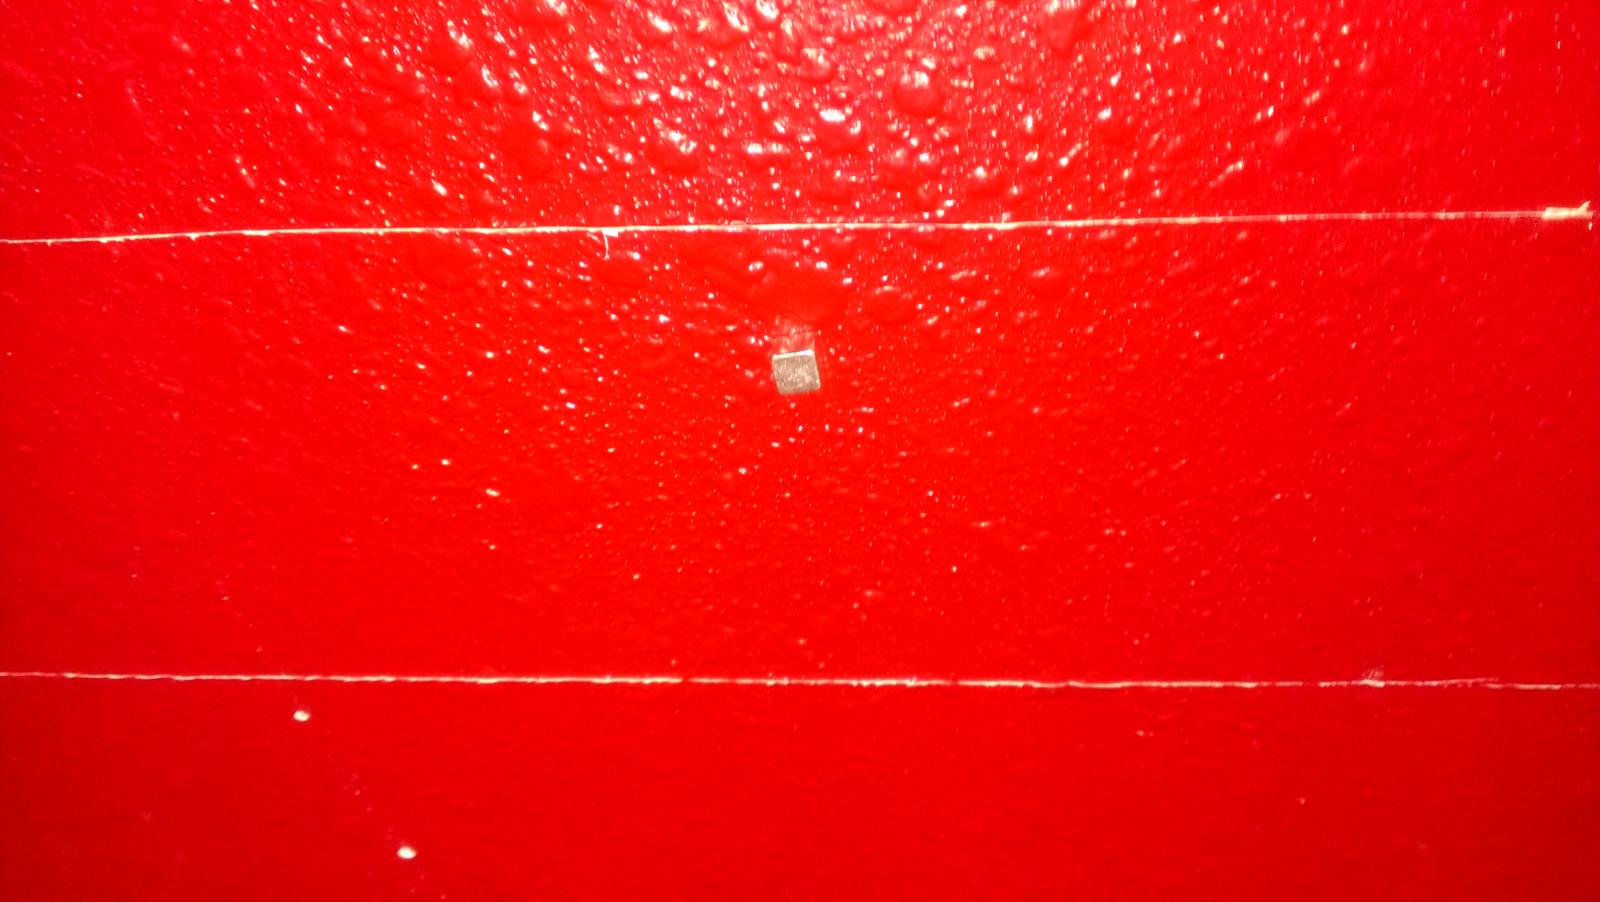
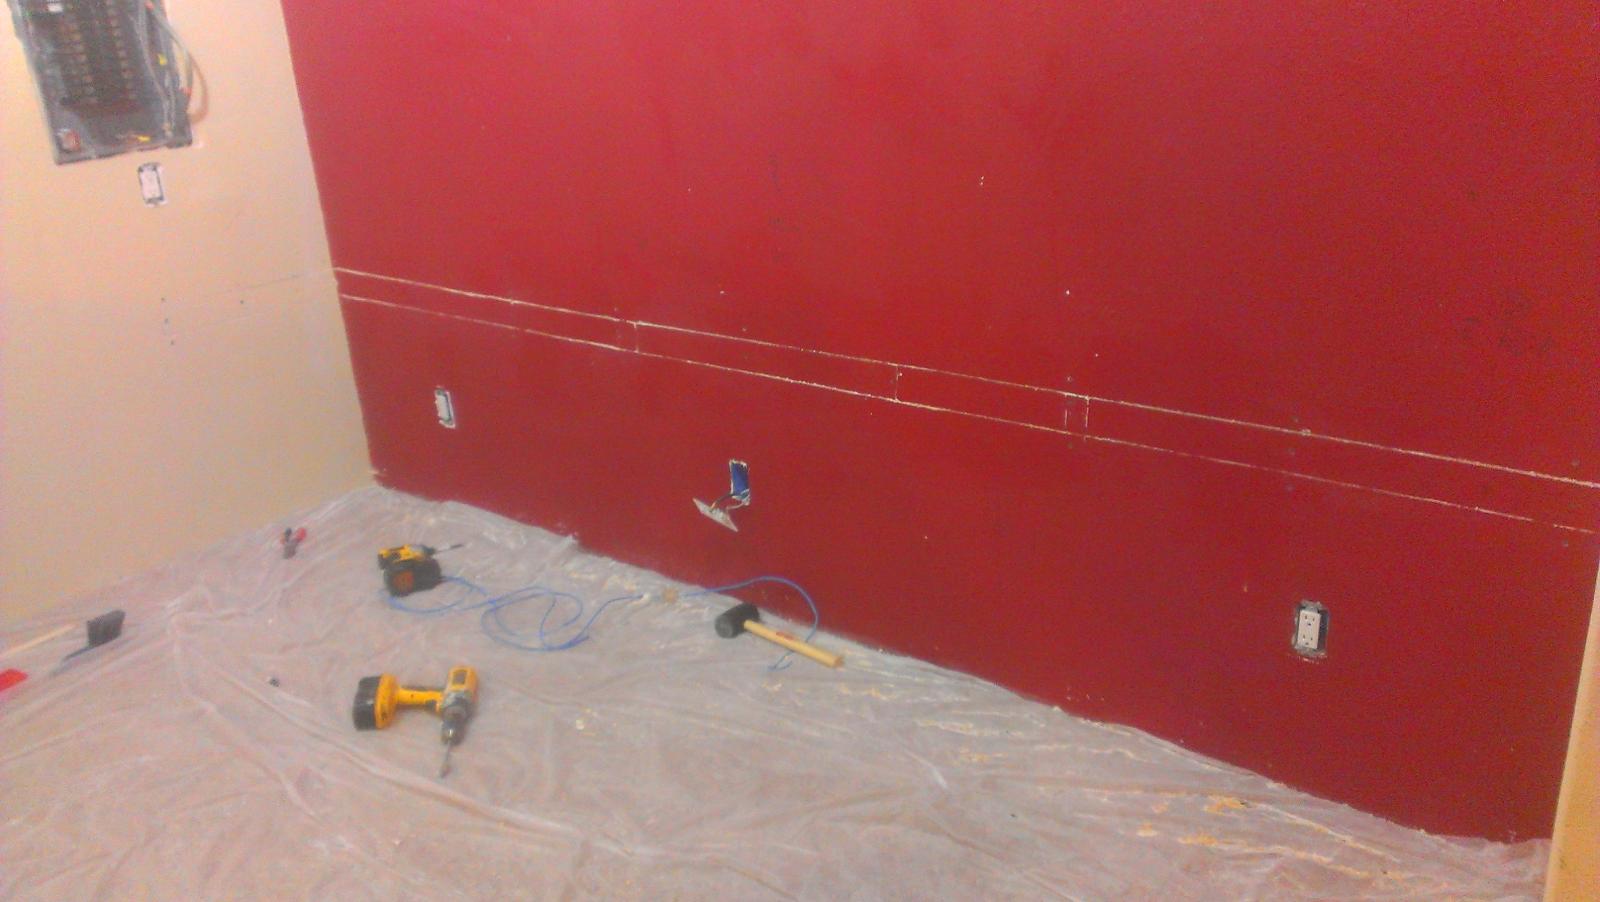
So first thing I did was score out on the wall two lines to cut the rock out. one at 25 the other at 28 above the floor. Then carefully cut the drywall and pull out the screws then dislodge the pieces. I have a pretty sexy solution to finding the hidden screws. An N52 permanent magnet. I just hold it lightly on the wall and run it back and forth in the section I'm going to remove, that magnet is so strong once I get 5-6 inches away from a screw it literally jumps out of my hand and identifies where to find the screw. Work's GREAT!


After that I carefully extracted the drywall in one big piece and then drilled my new holes and ran my wires. I didn't take any pics of the wires, cause not only is it boring, but they ended up behind the insulation so nothing to see here. Then the piece simply set right back into place and I slathered on some joint compound and called it a night. Funny thing is, the last pic is of the patch job in the closet. Of course it came out looking perfect. You know where no one will ever see it.

Oh well. I'm done with class at 11 tomorrow and spending the day pulling trim and getting ready to paint the walls tomorrow night!

IMAG1911.jpg


IMAG1913.jpg


IMAG1912.jpg


IMAG1914.jpg


IMAG1915.jpg


IMAG1916.jpg


IMAG1918.jpg
 
I just redid a closet of ours where I have to remove 30 or 40 of things damn shelf clip things. What a PITA! :mad:

Anywho, the bar is really taking shape though. Will be drinking beer before you know it!

Those closet systems are pretty awesome, but a real pain in the ass. Thanks for the kind words. I wish I had an extra hand, but most of my folks are busy anymore. lol. Just wait till the taps are flowing again, I bet they all get free'er then. Ha ha.

Well, Time to lay some pipe. :rockin:
 
Well, It's official. I'm not the man I used to be. I just move slower than I used to. I don't know how many times I've said "I'm going to paint today" But I'm wrong, just simply wrong. I did spend the day working on stuff, I got the water lines run, and 80 feet or so of drain and vent line. But those were the easy things. I got a few new media boxes put in, but that's about it. I moved everything from the walls and pulled off some trim.

It's just so damn discouraging to not get as much done in a day as you know you once did. Makes it go so hard.

I'm going to be swamped busy the rest of the week. I've got a big exam on Friday, so the rest of the week will be focused on that. I might pull some trim here and there, but that's all really.

Although one big step was taken tonight, I got SWMBO to pick a damn paint color. lol
 
Although one big step was taken tonight, I got SWMBO to pick a damn paint color. lol

So, after we got the color picked and the sample on the wall would you know it but we HATED it. What looked like a nice coffee/cappuccino color on the chip card looked like I had smeared pink makeup on the wall once it had dried. SO, thank god I bought a tester first!

So on Saturday I pulled a leg off the coffee table, which is stained a color representative of what I will stain the bar, and grabbed a tile that I will use in the bar and took them and a chip card for the purple (which happened to be a perfect match) down to Sherwin Willams to try and find a better color for our ideas.

We did find a very nice color and I finally have come color on the walls. Admittedly I like the color more wet then dry, but it beats the tar out of that old god awful tester we tried.

So after what was going to just be painting the red wall purple, turned into extra plumbing and electrical "since I will have the walls open anyway", and a bunch of "hey honey while you are at it's" and of course we can't forget the stair well walls that are now apparently "part of the downstairs room", I have maybe an hour left to get the second coat slapped up on the walls.

Then of course I have the trim to stain a new darker color, which I did pick up yesterday. For the first time in 20 years I'm going to try something other than a professional stain product. I'm honestly terrified, lol. But since I want to take the very very easy road with the pre-stained trim, and not rework it back to raw wood I bought some Minwax Polyshades so I can just wipe it with some 0000 steal wool and spray on the darker tones of ploy. I picked the Mission Oak color. Ok, I'm bracing for it, those who know better go ahead and run me over for buying this crap. lol I figured I better go ahead and stain the door jams while the room in still all drop clothed up and such.

All that will have to wait though, I'm headed out to the wood shop for the day to try and get some cabinet cases built. Or at least the sheets broken down a bit.

Let me tell you, I'm REALLY missing having things on tap!
 
Looking good my friend. Have been away a lot on business trips and a cruise with the wife so have not been around here much recently. Will be following this build whenever I can though.
 
Looking good my friend. Have been away a lot on business trips and a cruise with the wife so have not been around here much recently. Will be following this build whenever I can though.

Thank you thank you buddy. How was China? The Cruise?
 
Well, today turned out to be one of the most productive days in so very long. I set out with goals for the day and by god I got every single thing done I was hoping for. That never happens. lol.
I drew up some quick detailed plans for my trip to the shop today just to have all of my oddballs sizes figured out.

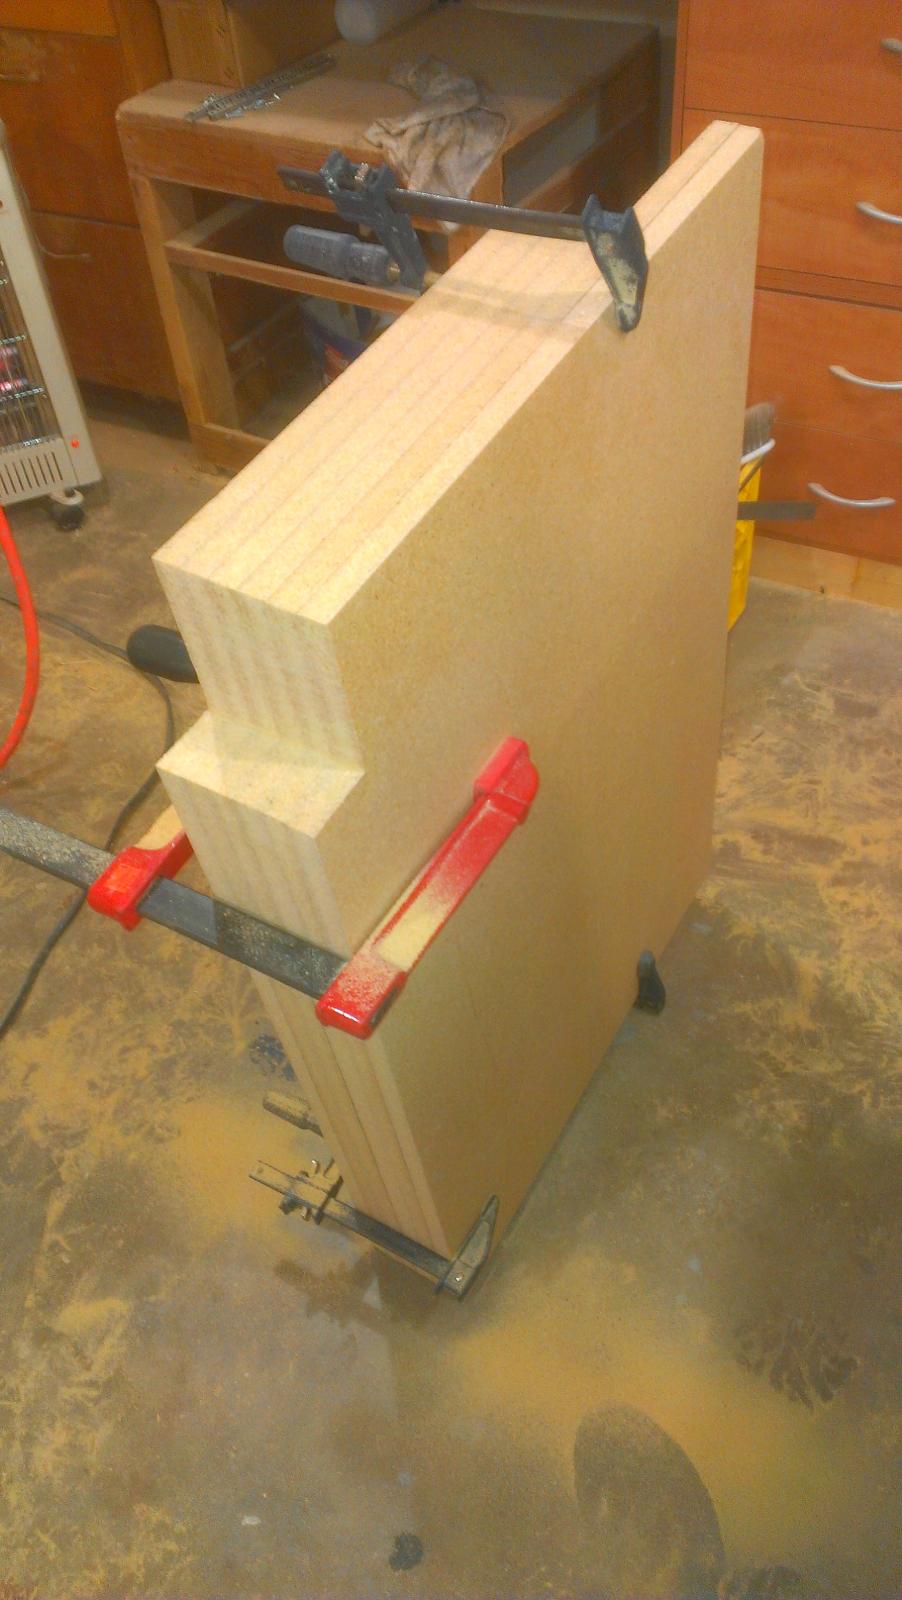
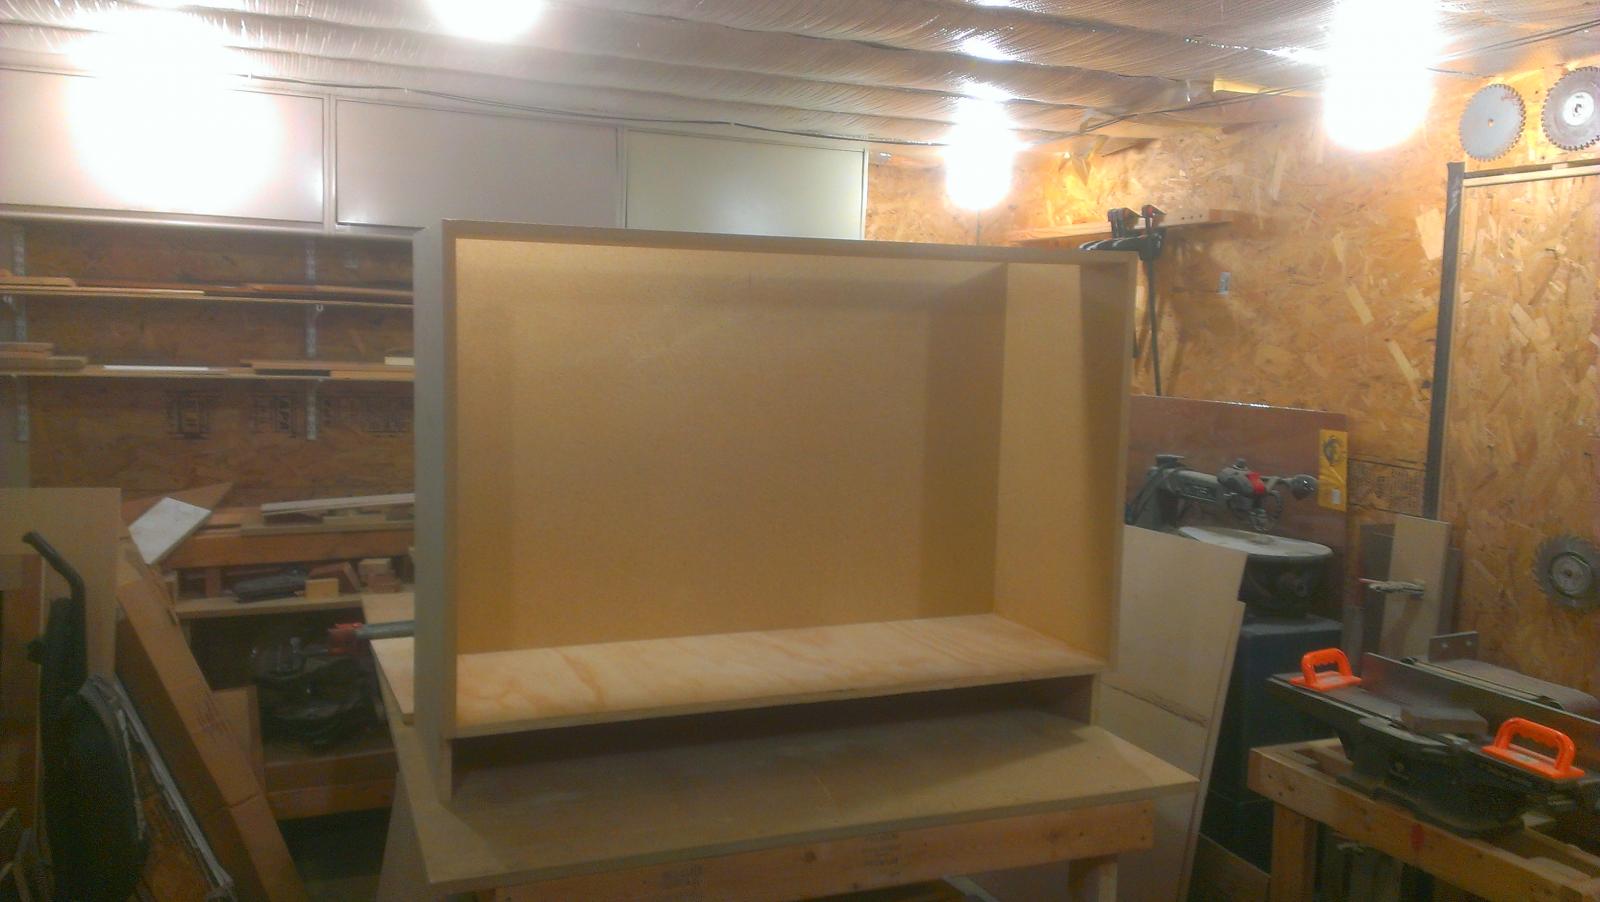
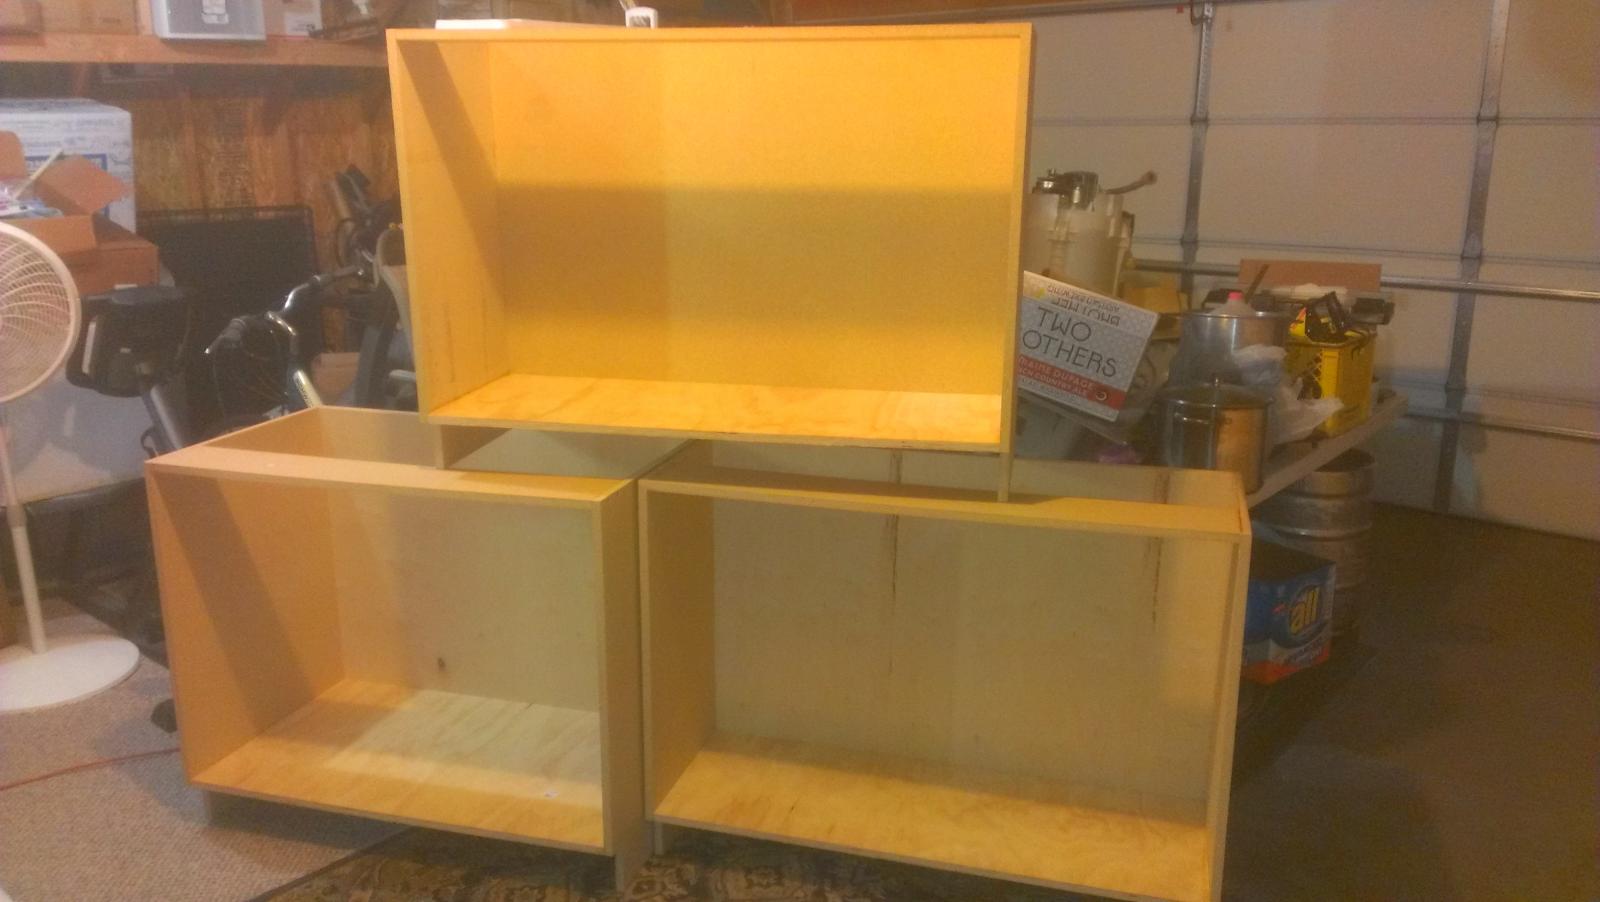
So my buddy Andy and I made it over to the shop about 12:00 today and got right to it. By the time we got home, around 7 tonight I had all the wood cut for all of the carcasses for the cabs and three of them together and delivered to the house.

I will spare you the cutting each board pics. So to start I got all of the end pieces cut to 34 7/8" high and the various widths we needed. In my case the cabs along the long wall are 48"x18", so without the face frame the case side is 34 7/8" x 17". I cut 4 of those and 2 at 34 7/8" x 23 1/4" for the sink cabinet which is 24" deep.

Then we clamped all of the together and I cut all of the toe kicks at once. This way they are all the very same for sure.

You can see the first cab done in the shop, and then the three of them happily chillin in my very full garage. I will be so happy when this house is back together lol.

So I was going to make everything out of 3/4" cab grade maple, it's $45 a sheet wholesale and you can't beat it for high quality builds. However.... there is particle board in there. So here's the deal. I went to pick up my sheet goods and while I was there my salesmen made me a proposition on a pallet of true 3/4" high pressure particle board that had been slightly french kissed by a fork lift. Annnnnnnnnd at $5 a sheet for 90% usable HPPB that normally wholesales for $40, I just had to take him up on the deal. So, with a savings of close to a grand, we now have particle board in the build. you just can't ignore savings like that.

Don't let the fact that it is particle board fool you. The high pressure stuff is very very strong stuff. It's very heavy (112 lbs per sheet) and will kill a saw blade in just a pallet of cuts. So I just keep a stock of Avanti (Frued entry line) Veneer/Melamine blades in the shop. At only $25 a blade they are throw away anyway.

The end cabinet on the long wall is made where the back is all solid 3/4" because it will be used as the triangulation / reinforcement piece. The wall will be bolted to it, and then it will be bolted to the floor alone with the bottom of the wall. Both with 4" x 5/16" Tapcons. This will make for a very very rigid wall. Which as you know, is a big deal to me.

The other two cabinets are just a 1/4" backing with a 6"x3/4" mounting brace both top and bottom on the back. The bottoms of all of the cabinets are made from 3/4" AC cab grade (7 ply) plywood. I think I will just spray the insides with a white washed stain of some kind. Not sure yet. I will finish everything, including the part. board.


In the bar room:
I have the first coat of paint on the walls. I'm going to try and spray the dark stain on the door jams in place. Yeah I know a big pain in the but, but not more then cutting out all the door jams and taking them to the shop to spray right.

So my plan is, if all goes right tomorrow, To mask off everything and spray the stain. Then get the second coat on the walls just in case there's any over spray.

The dry time on that junk is 6 hours before re-coat, so I think I will cheat and dump in some driers and heat the crap out of the room.

Welp, bed time.

CabinetsCUT1.jpg


CabinetsCUT2.jpg


IMAG1941.jpg


IMAG1943.jpg


IMAG1944.jpg


IMAG1945.jpg
 
Thank you thank you buddy. How was China? The Cruise?

China was China !!!!!heading back again in 8 days for a couple of weeks. The cruise was amazing. Enjoyed every second of it and booked another one on board for December. Southern Caribbean this time. We may try to sneak a short 3 or 4 day one in between if we get the chance around September (ish)
Your progress is great with the project :) I will still be checking in whenever I can but Chinese internet is a strange thing. Google is outlawed as are facebook and you tube amongst other things. Some of the better hotels have a "back door" for their guests but it is sporadic at best.
Looking forward to the photo of you and your good lady at your bar with a drink in your hands :)


Ha ha, you and me both!

I got the staining and painting finished off yesterday! Thank god. I'm going to get the new in wall speakers in today. Should also get the outlet covers done. After that ill get the room mostly back together. The door and floor trim is not finished yet, but ill do that after it warms up a bit.

Should have some pics today sometime.
 
Well. So I took Friday off and sanded all the door frames and masked off the room and coverd everything in more drop clothes and went to town spraying the polyshades. My god does that stuff suck. Well, kinda. No it's sucks. Actually it's kind nice. No it sucks. Well....:drunk:

So it does suck, and it is kinda nice. I guess I will go full woodworker geek here and hope I help some folks out in the future.

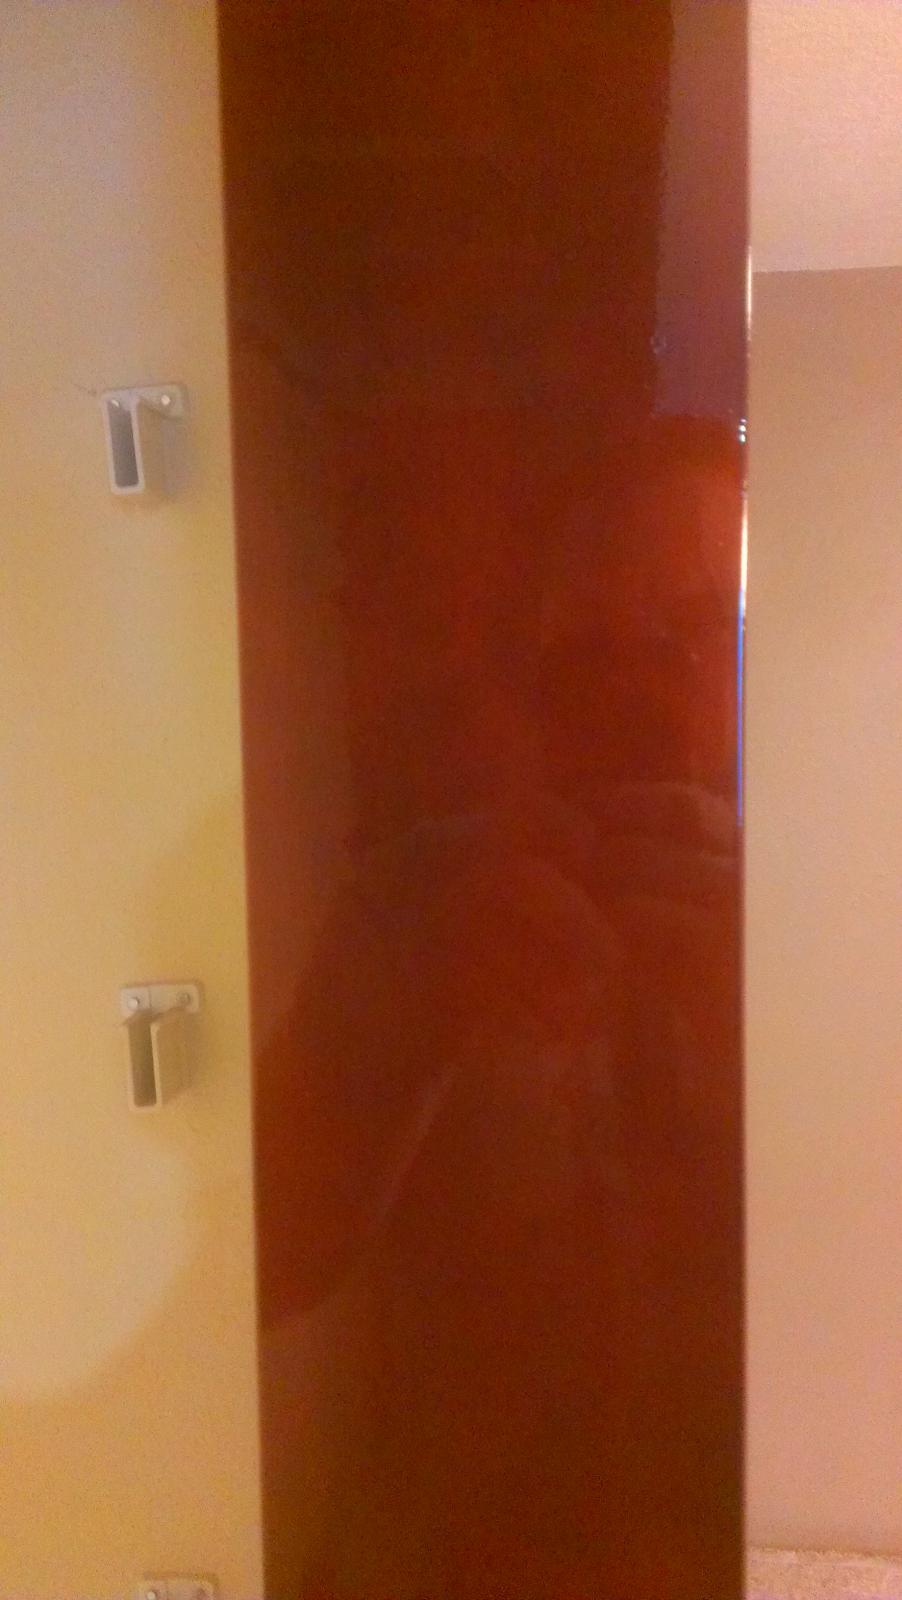
So this said first, if you are looking for a really beautiful finish, that is evenly tonned and show room sexy, AND you are a long time professional with million dollar skills with a paint gun then this stuff is pretty nice. Sorta... First let me say I have 30 years behind me spraying finishes. Everything from deck stain to custom paint jobs on 2.5 million dollar cars, I've done it all. Yet this stuff has a learning curve steep enough it took me 5 door frames to get a perfect finish. So I have one, ok, one better, one really nice, one great and one perfect. Slowly learning the tricks as I go along.

I sprayed this gunk with a $900 HVLP spray gun and at times wanted to beat my head against the wall.

First, the reason I'm using it, it because I wanted to take the easy and super lazy way out and spray over the preexisting polyurethane finish. No sanding, so bare wood prep, just scuff with some steel wool and spray. This stuff is marketed to do exactly that. And it does spray over poly, but again, sorta.. I scuffed to a 220 equivalent tooth and let er rip. There was my first mistake. Granted it didn't fisheye or orange peel, but it ran and sagged like an old lady. So yes "you can spray it over poly" and it will sorta chemically bond, but it's a mess. So after some digging, I found out that even though it's marketed as a "brush over poly" Poly, and for the love of all things holy don't you dare try and brush this stuff, it is recommended by Minwax, who is owned my Sherwin Williams, that you should DA (dual action orbital sander) your wood work back to bare wood for "Best Results". Well Duh.

Wow that's a run on sentence...

So the last two doors I hit with the DA and sprayed super light coats and did a nice build to a beautiful finish. Now, this stuff will make a beautiful finish, it really will, but you REALLY have to know your cheese before you mess with it. I did add a dryer to it, and that helped dramatically. I was able to recoat in 30 minutes. I also turned the heater up to 75 to help with set times.

So if you do jump in and try and spray this stuff here's a few words of wisdom. This stuff will fisheye the very second you spray it too heavy. DO NOT TRY AND FIX IT. Finish your piece and WALK AWAY. It will lay down, just give it time. You can spray this stuff on heavy, and it looks like dog poo, and about 3 minutes before it skins you can watch it flow out like molten jello. It's wild.

It dries too glossy for my taste, and I used the satin. Now I really should of added some flatteners, but I didn't have any at the house and it was -17 and my shop is 17 miles away. I wasn't going there. lol.

I did 8 coats on 5 door frames (one is a 7 foot wide closet) with half a quart of the mission oak color.

Bottom line, if you are going to try it, practice practice practice, on scrap that's the same base value your finish pieces are. I will use it again, in fact I have a custom bar commission that has come up due to this one, and I will use this finish on that piece. (Cause I have it)

Keep in mind the images below are fresh and wet.

IMAG1955.jpg


IMAG1956.jpg
 
Ok, so after all the craziness was done with the stain, I got the second coat of paint and the walls and got it all evened out. Now it looks good. I really like the new trim color with the wall color. Sexy stuff. Oh and the white switches and stuff look great against it as an accent.

It took me all day today, but I got the new in-wall speakers in and boy do they sound GOOD. Look pretty sharp too. After that was done I had a buddy help me move everything around and the new cabinet cases down from the garage. SWMBO was putting all the cover plates back on and cleaning up the remaining crumbles in the carpet.

So, I got a ton done yesterday and today. Tomorrow I won't get much done, it's our friends little boys birthday, so we will be gone by three. I might just take a day to relax. :mug:

Ha, who am I kidding. :rockin:

IMAG1957.jpg


IMAG1961.jpg


IMAG1962.jpg


IMAG1964.jpg


IMAG1965.jpg
 
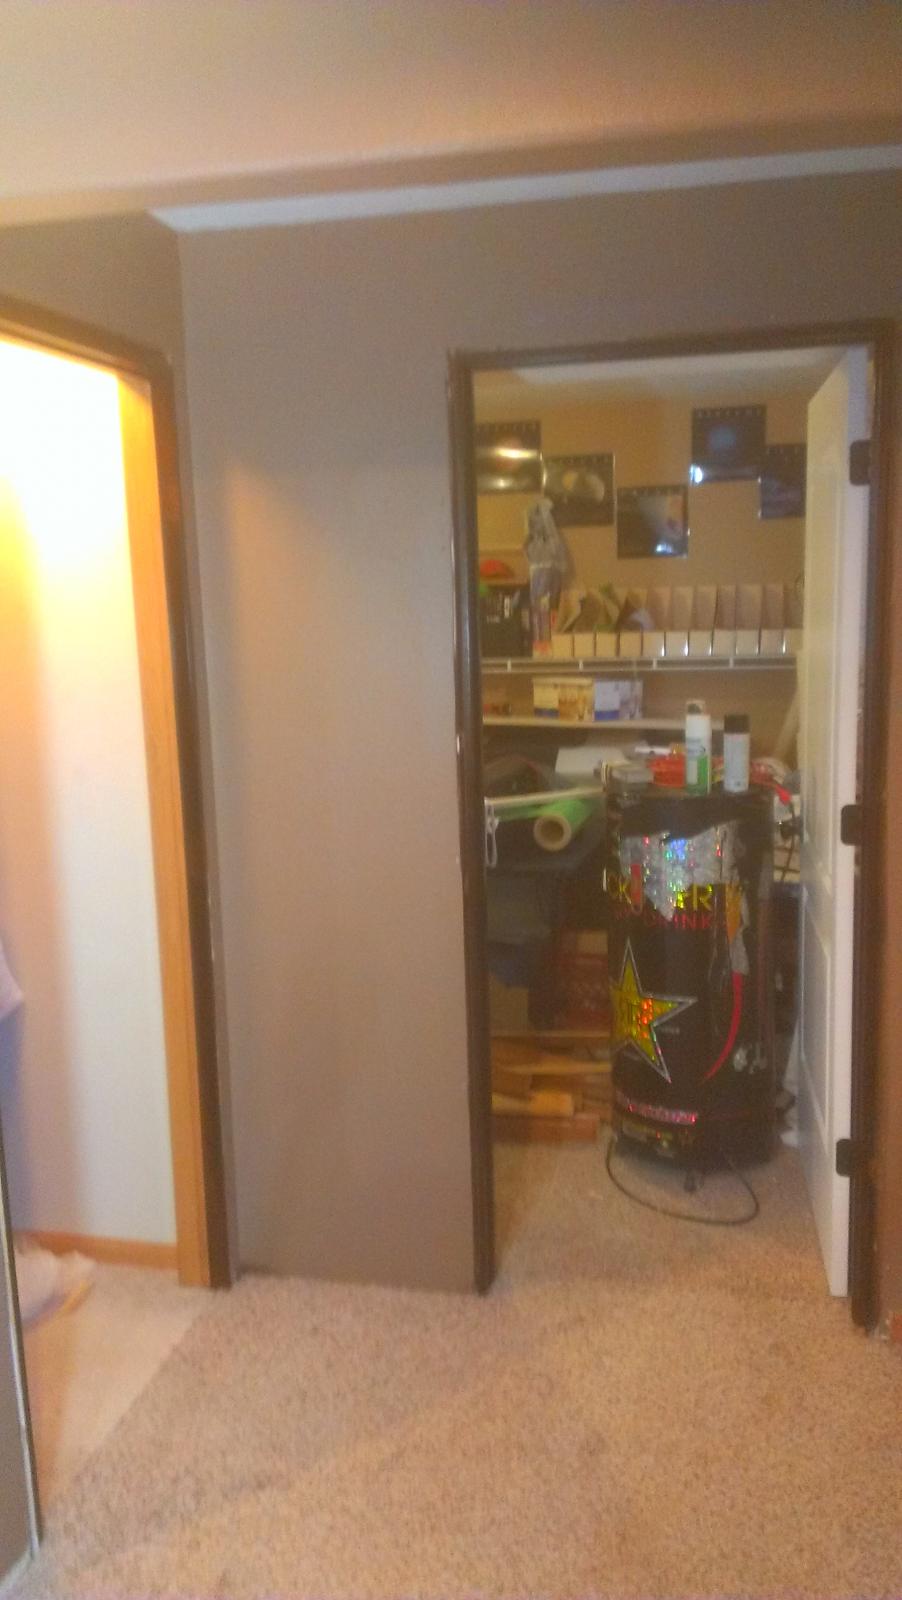
So I have known for a while that my phone camera has gotten crappy. The reason is dirt, dust and even metal shaving from the machine shop get into every crook in my phone and they can even find their way into my camera.

So tonight I found my tiny torx set and took my phone apart all the way down to even the camera in pieces. I had no idea I had a torx set that goes down to T0.1! I knew I had a small set, but no idea it went so small.

So after cleaning my phone with air and solvents, here's the results. I took a few pics to emulate copies of some I took earlier. You can compare them to the pics in the last post. I'd say it helped. :rockin:

IMAG1967.jpg


IMAG1968.jpg


IMAG1969.jpg


IMAG1970.jpg
 

Latest posts

Back
Top