I decided to make my own hinges after searching and not finding anything that I liked. Well, I liked quite a few of them, but I am not willing to spend $1000 for a vintage set of hardware or $1000 per door for some CNC machined recreations made out of brass. ")
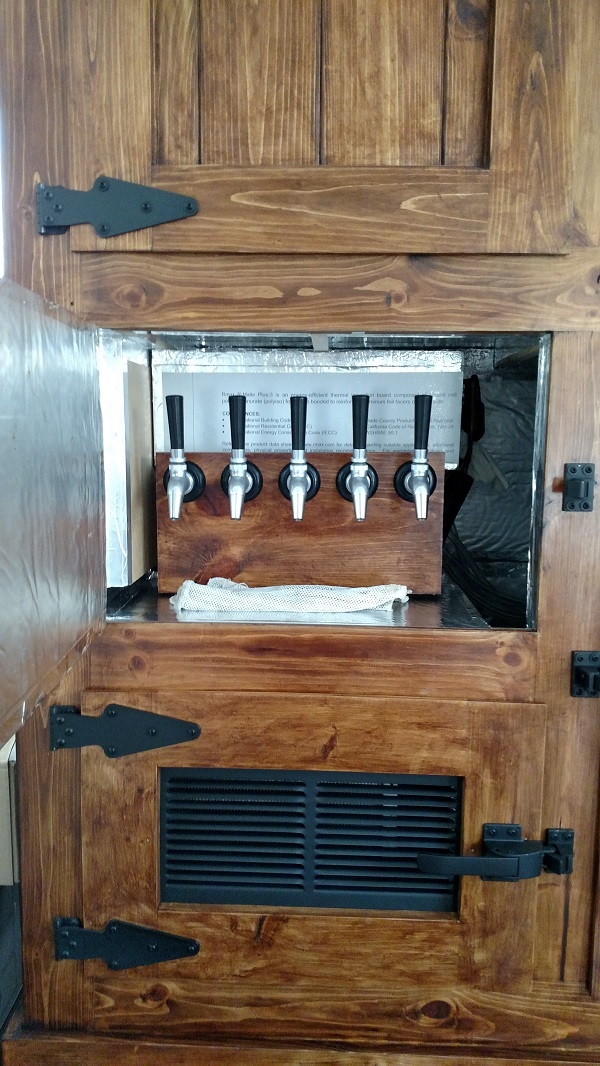
I ordered some refrigerator latches that will hopefully work after I modify them to reduce the offset of the hook. It is made for about a 1.5" offset and my doors are at 3/8" offset. They are adjustable, so I should be able to cut/mill/drill to get the correct height. We will see.
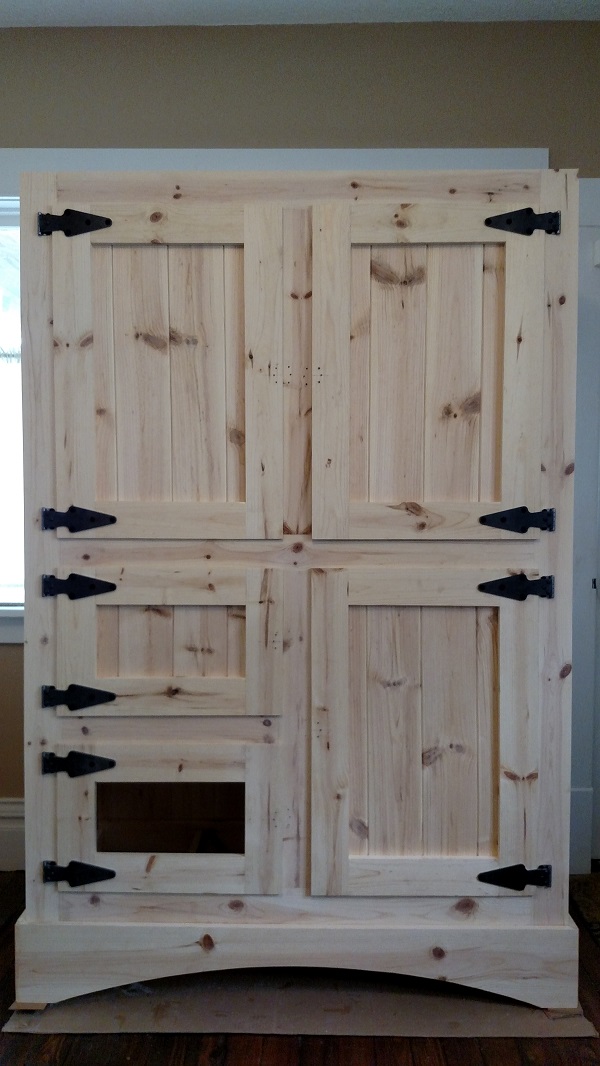
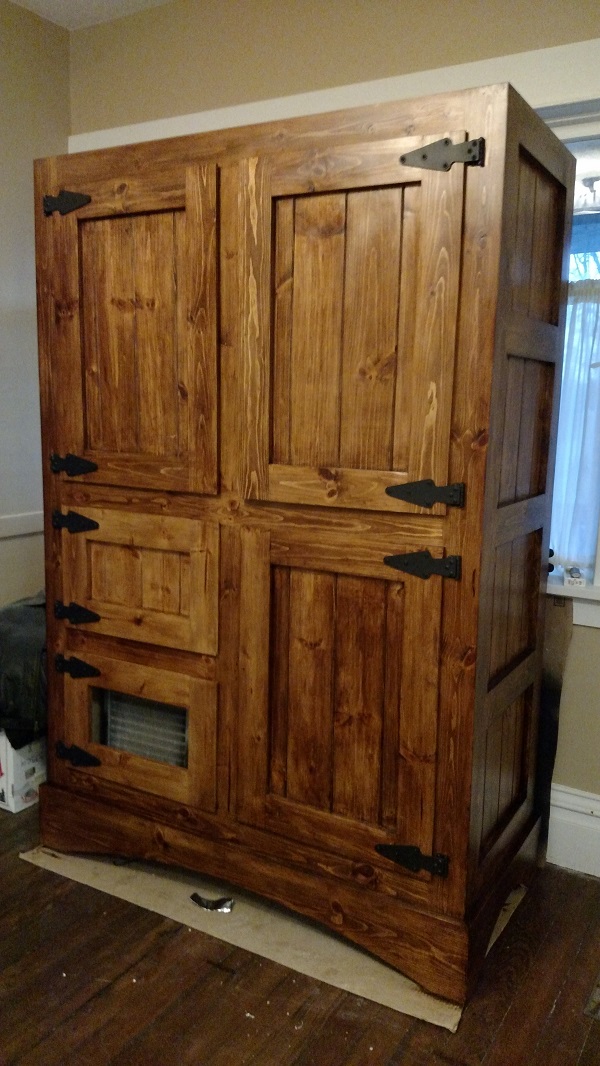
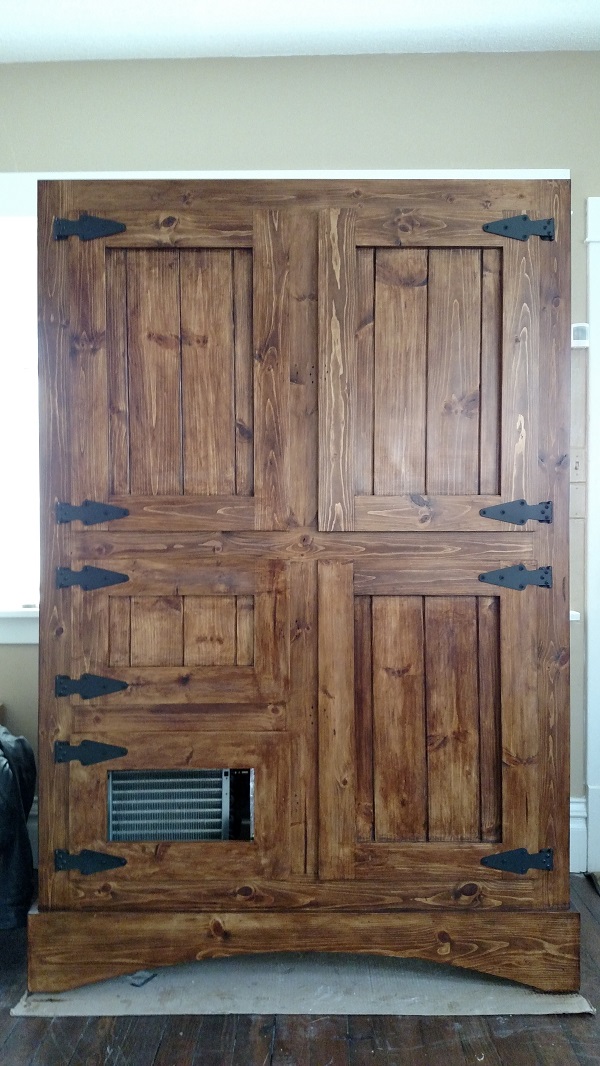
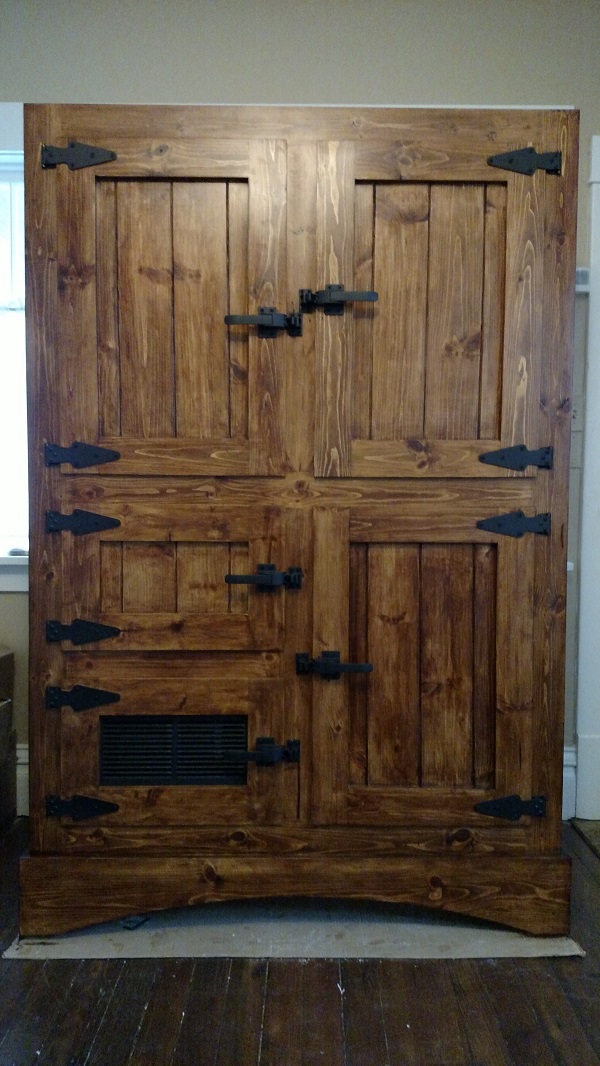
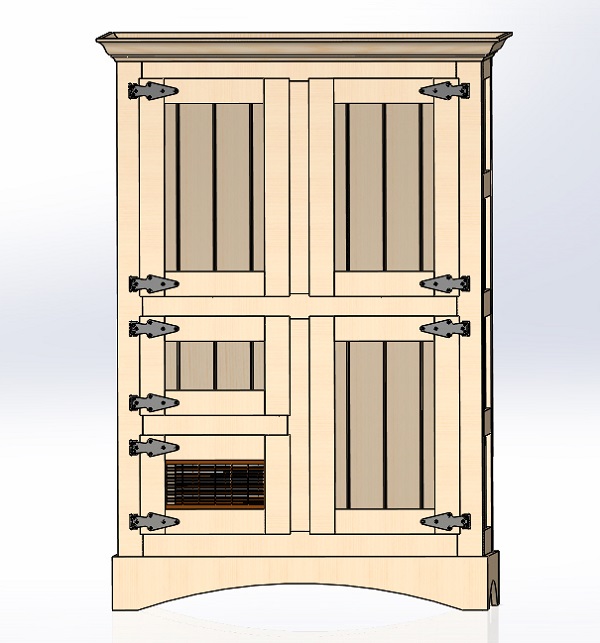
Here are the hinges on the cabinet to get an idea of the scale:
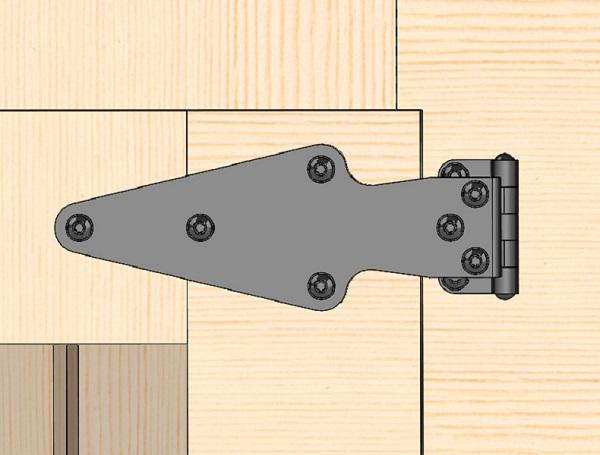
And a close up. Basically just a steel plate bolted to an existing hinge. Cheap, quick, and functional, but not very elegant.
I ordered some refrigerator latches that will hopefully work after I modify them to reduce the offset of the hook. It is made for about a 1.5" offset and my doors are at 3/8" offset. They are adjustable, so I should be able to cut/mill/drill to get the correct height. We will see.
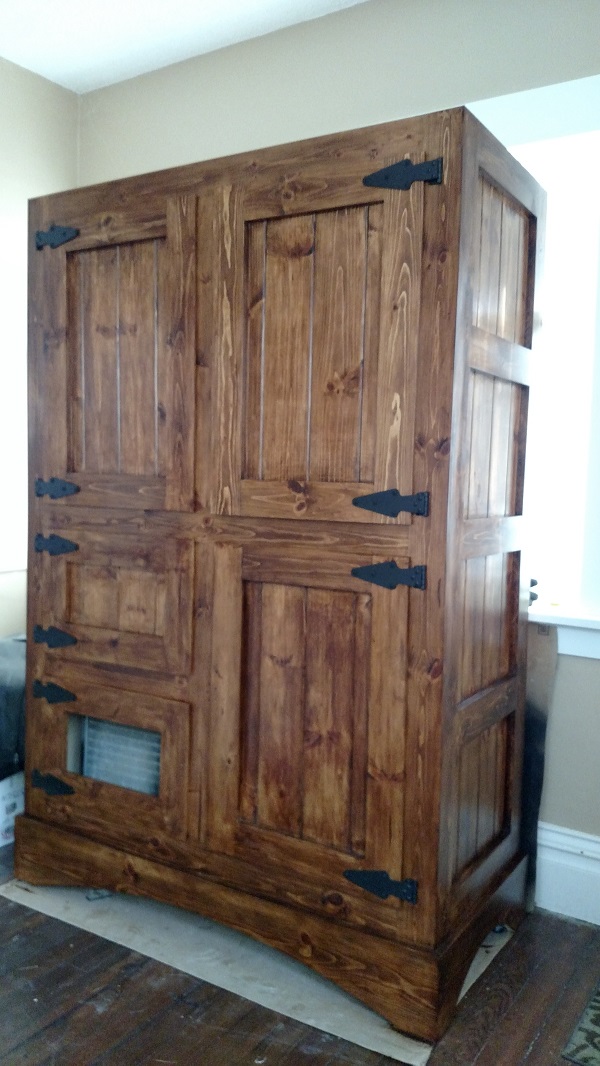
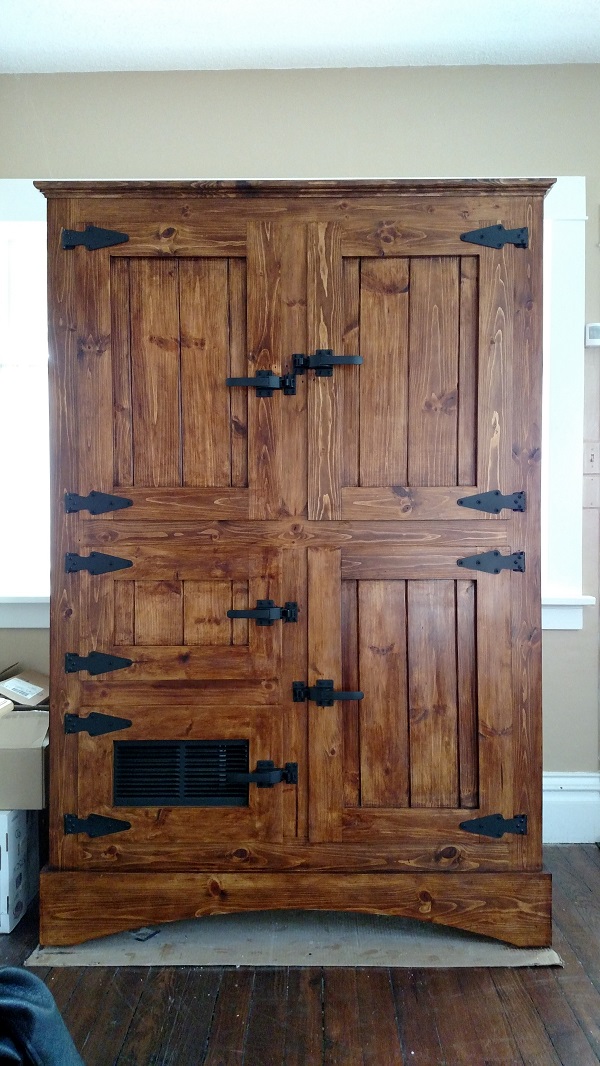
Here are the hinges on the cabinet to get an idea of the scale:
And a close up. Basically just a steel plate bolted to an existing hinge. Cheap, quick, and functional, but not very elegant.