• Please visit and share your knowledge at our sister communities:
  • If you have not, please join our official Homebrewing Facebook Group!

    Homebrewing Facebook Group

How to butcher and process a whole pig

Homebrew Talk

Help Support Homebrew Talk:

This site may earn a commission from merchant affiliate links, including eBay, Amazon, and others.

vagabondat02

Well-Known Member
Joined
Mar 20, 2010
Messages
113
Reaction score
28
Location
Roanoke, VA.
Hi everybody! I just "discovered" this section of the forum a couple of weeks ago and thought that you guys might find this interesting. In order to pay for grain, gizmos, and a basement to put them in, I've been a professional chef for about 12 years. For the last seven or so, I've been delving ever deeper into the rabbit hole of butchering and charcuterie, and realized that I needed to start getting whole pigs to facilitate some of the stranger projects that i wanted to do. Over the last three years, I've processed two dozen or so pigs at a couple of different restaurants, and a couple for friends, family, and myself. This is a personal pig that my SWMBO and I got from some local farmers that I've been friends with for a long time. Anyway, just as you wouldn't try to make an all grain, turbid mashed lambic as your first brew, this is also not a beginner project. If you've broken down a bunch of boston butts for sausage making however, you're probably a lot closer to being able to pull this off than you might think. If you are comfortable with removing bones and following muscle seams, identifying fatback vs. soft fat, connective tissue, and other undesirable material, it might be worth your time to think about a pig. I'll be at work a lot over the next couple of days, and I have a food and wine field event to cook for this Sunday, but I'll update as much as possible. So, without further ado, make a pot of coffee, and strap in for a long swiney ride. :rockin:
 
Well cool! I'm in!

I'd love to learn to do this. I was actually an apprentice butcher in a former lifetime, but that was a very LOONNNNG time ago and we didn't start with whole animals.

I DID, however, attend a seminar where they broke down a wild pig which was in its entirety when we got started. I enjoyed watching the process.

Can't wait for pics and descriptions!
 
I'm in for sure! I know deer, antelope and the like and have had many full pig roasts (pig already dressed)... but never broke down a whole pig. I'm excited!
 
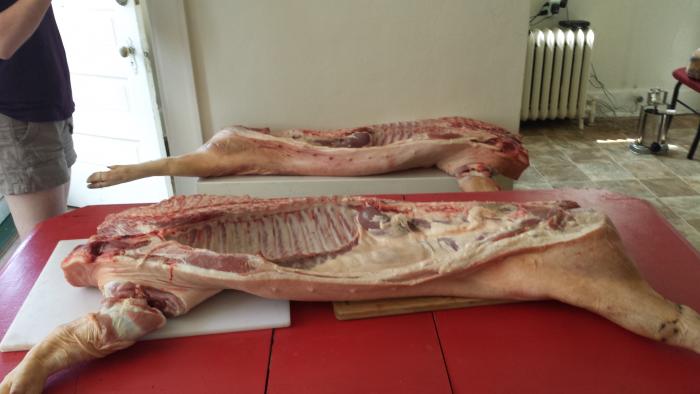
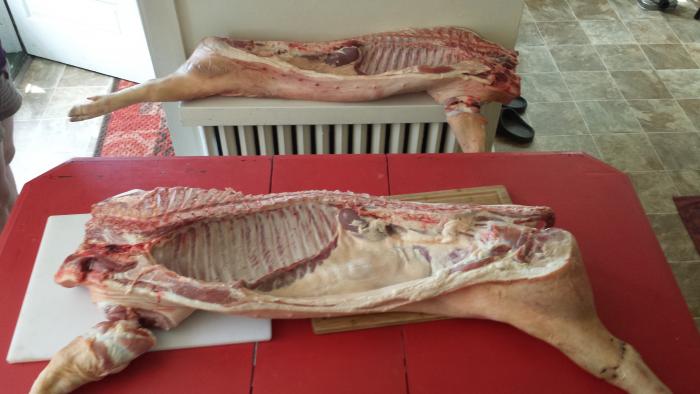
So here's our patient, a 120# Tamworth/Gloucestershire Old Spot cross. He lived his short but happy life on a farm near Elliston VA.

064.jpg


065.jpg
 
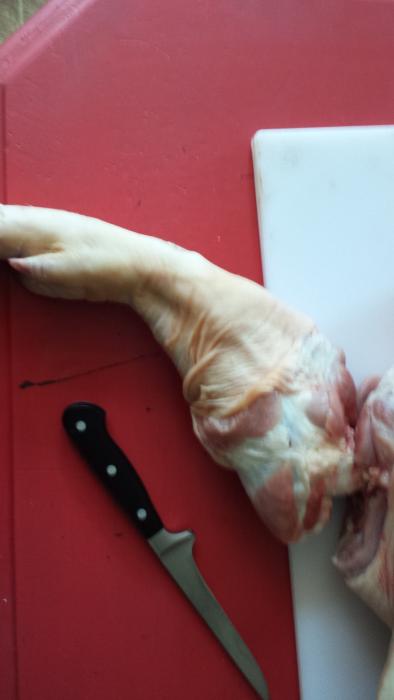
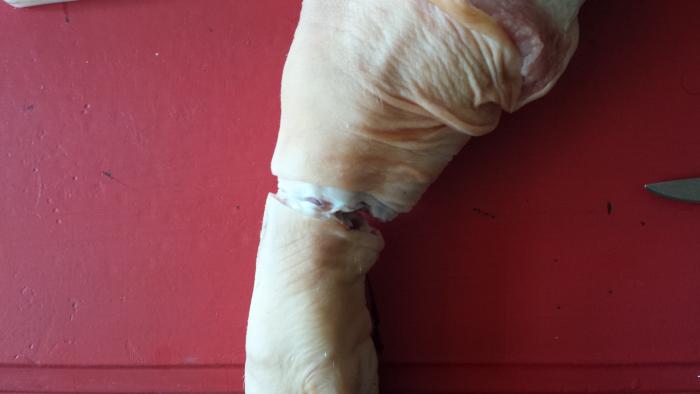
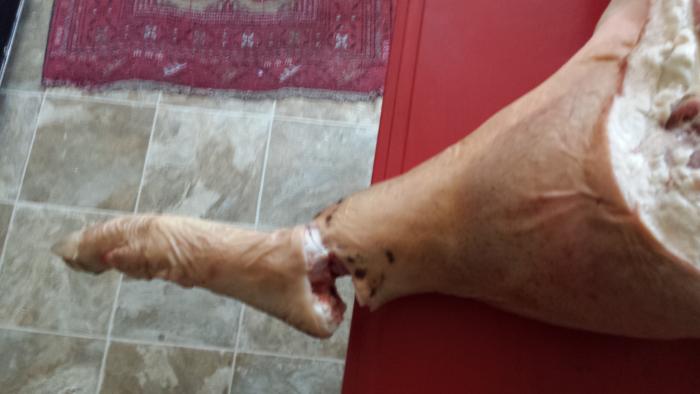
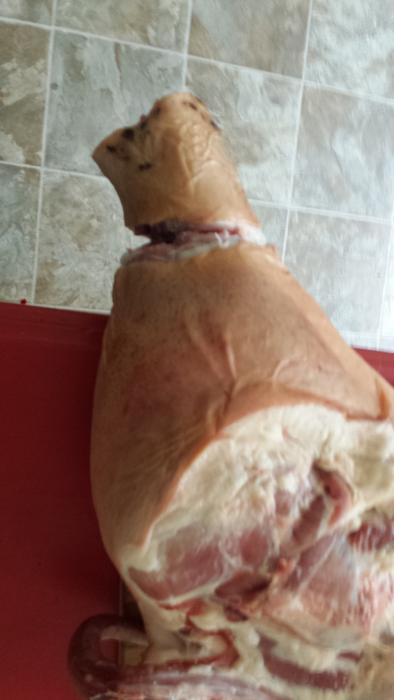
The first step is to find the joint above the foot on each leg and make a guiding cut through the skin and muscle to the bone. You can usually pop a boning knife through the joint on the front leg, but the back almost always needs to be sawed.

066.jpg


067.jpg


068.jpg


069.jpg
 
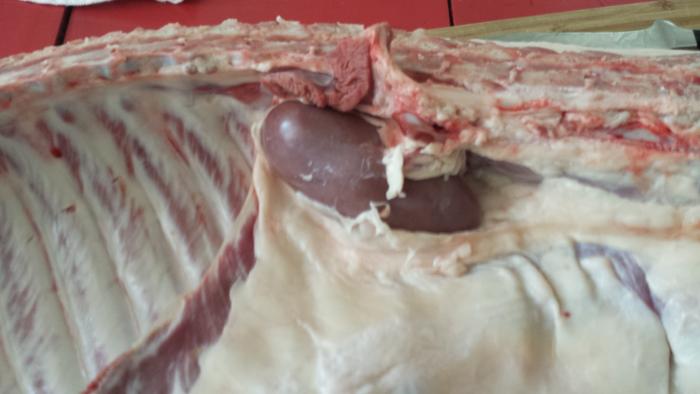
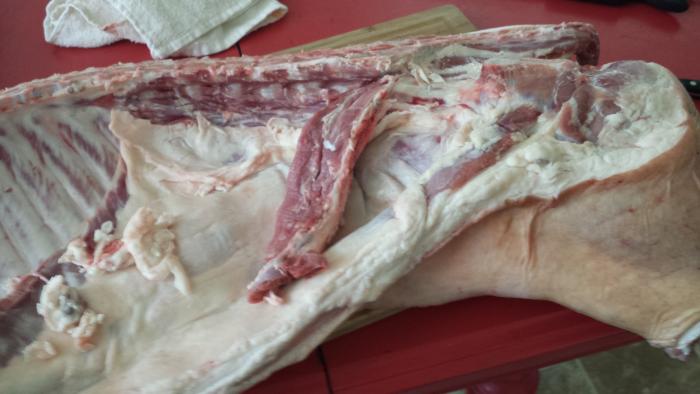
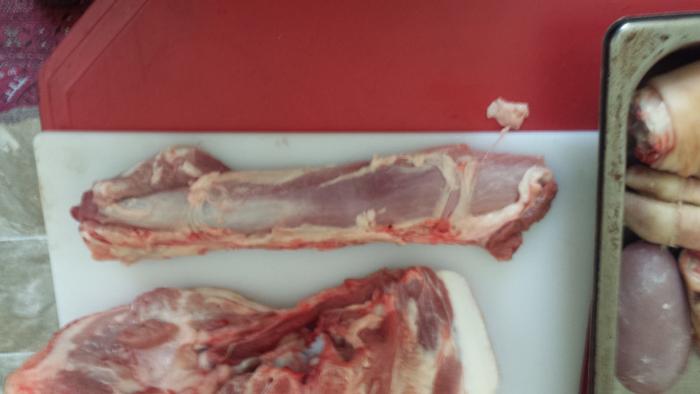
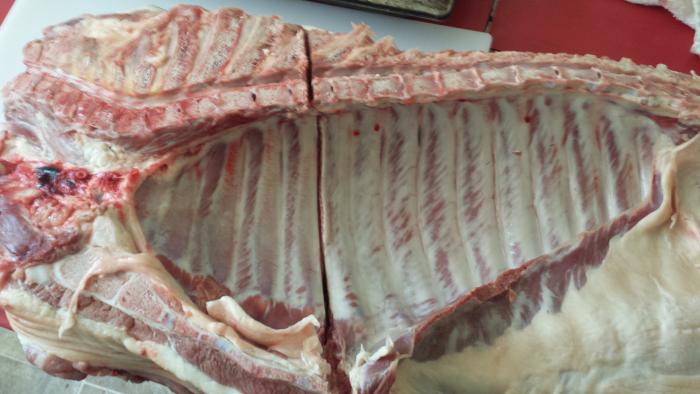
Next, we remove the kidney from all of the leaf fat and the tenderloin from the underside of the spine. You can alternately leave the tender in, if you would like little porterhouse (or porkerhouse as I like to call them) chops. SWMBO and I would rather use the ribs for Memphis style dry rub though...

073.jpg


074.jpg


075.jpg


076.jpg
 
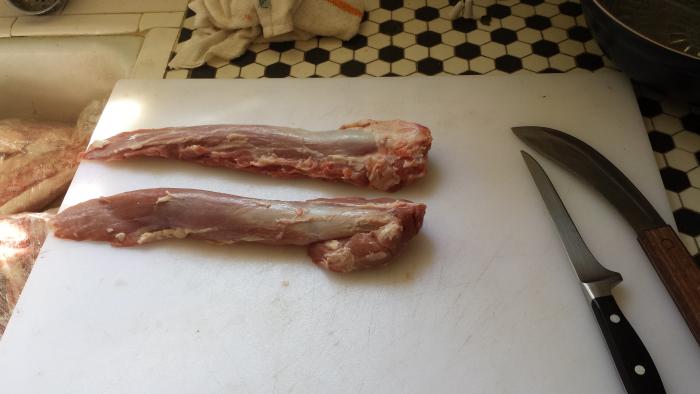
Clean the excess fat and chain off of the tenderloin, and you officially have your first easy, edible bit. Next, counting down from the head end, make an incision between the fifth and sixth ribs from the spine to the breastbone. Using that line as a guide, saw through the aformentioned bones, and finish separating with a knife. You can make this break between the fourth and fifth rib if you want your loin to be longer, but I want a lot of sausage out of this guy, and the chops that you would be getting are a little tough, so...

152.jpg


077.jpg


078.jpg


079.jpg
 
Oh Im In, Im going to need this soon, I just bought a house with a in-ground cooking pit, I can't wait to try it out but even 1/2 a pig is way to much meat for us to eat at once, Im thinking 1/4 pig would be good for the first try !


Cheers and Thank You for the tutorial & sharing ! :mug:
 
Saw in a straight line across, directly below the curve in the spine to get through the "country" ribs. You can take these off and save them, or leave them attached to the shoulder. Cut down with a knife until you hit the arm bone/shoulder blade and saw through that. Finish the separation with a knife. You can leave the shoulder whole for pulled pork BBQ and skip this if you want. I'm breaking the butt down for sausage (top) and smoking the picnic ham (bottom).

080.jpg
 
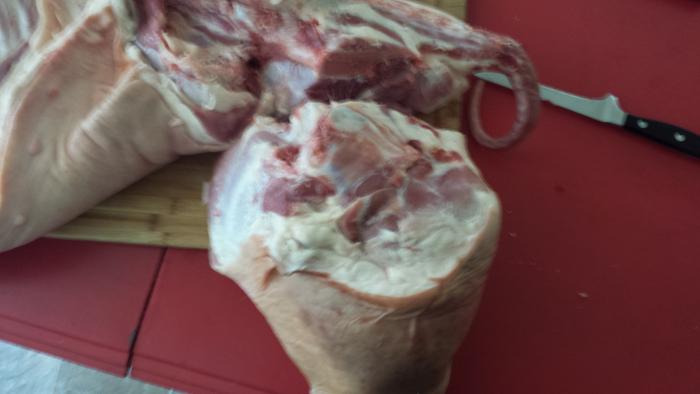
I'm going to try to sleep late tomorrow, since I have to stay up all night with another pig and a fire, so I guess pulling a late night tonight will help... The next step is to cut up from the belly along the curve of the innermost leg muscle until you hit the pelvis. Repeat the process following the uppermost leg muscle under the tail and spine, until you hit the pelvis. Then, saw through the hip joint, and finish the separation with a knife.

081.jpg


082.jpg
 
A lot of people just separate the entire back end and trim up later, but this technique gets you to an almost perfectly finished ham with one saw break, and leaves you with a "top sirloin" primal.
 
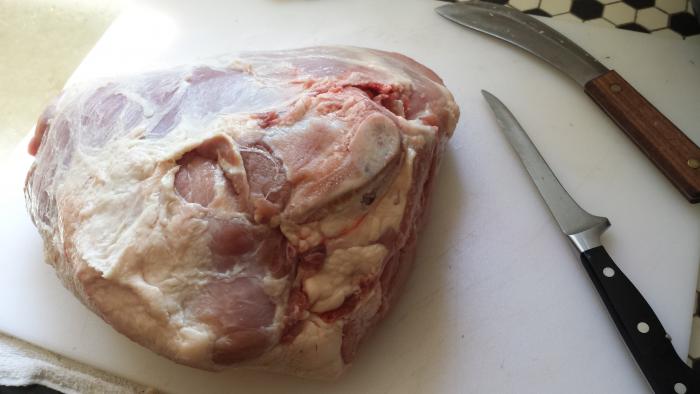
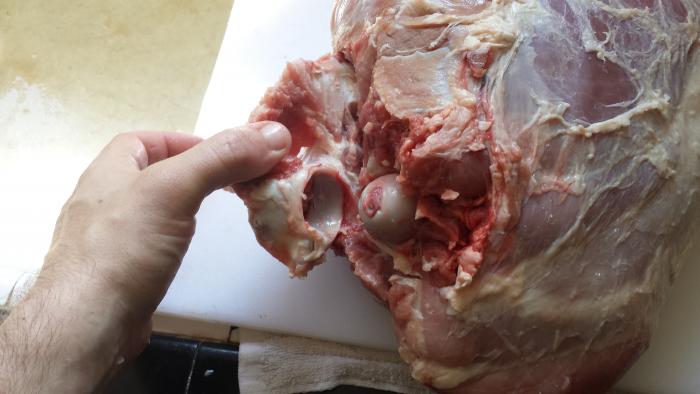
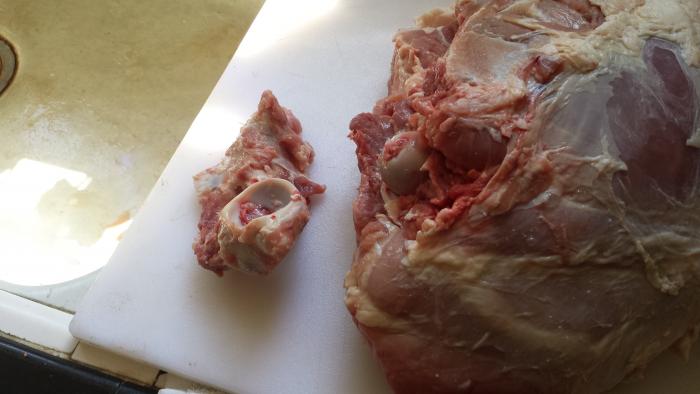
Next we remove the "aitch bone" which is the piece of pelvis still attached to the ball joint of the femur. The bone is to the right side on the first pic, but I turned it for leverage halfway through. I also skinned this ham while I was working on it.

149.jpg


150.jpg


151.jpg
 
Now to break the "sirloin" section from the loin, cut between the vertebrae where the spine begins the turn into the tail. Again, use a knife for muscle, and a saw for bone.

083.jpg


084.jpg
 
Now for the last Primal break! Take the midsection of the pig that you have left, and look at each end of the loin. Decide how much of a "tail" you want on the bottom of the loin on each end and make a guiding incision. Then connect the dots across the entirety of the midsection with a knife. On the tail end of the loin you'll be able to cut all the way through, but about halfway up, you'll hit ribs. Take care of them with the saw, and divide them into the "back" and "spare" sections, connected to the loin and belly respectively.

085.jpg


086.jpg


087.jpg


088.jpg
 
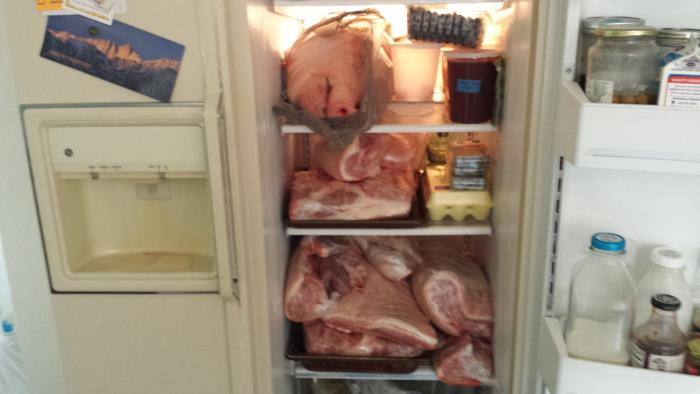
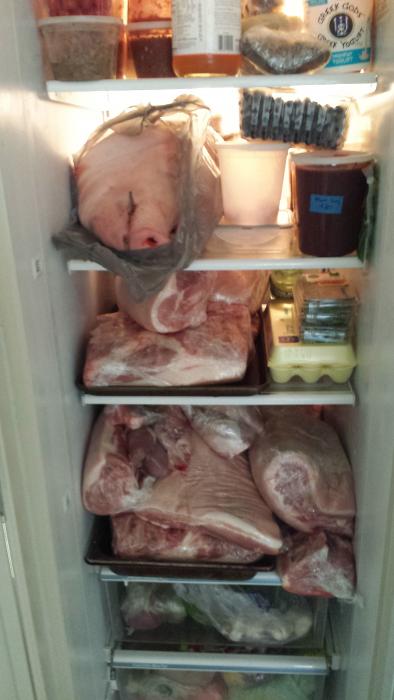
Now repeat the process in mirror image with the other side. I took care of all this before work on a Saturday morning, and jammed the primals into the fridge to await further processing on Monday.

092.jpg


093.jpg
 
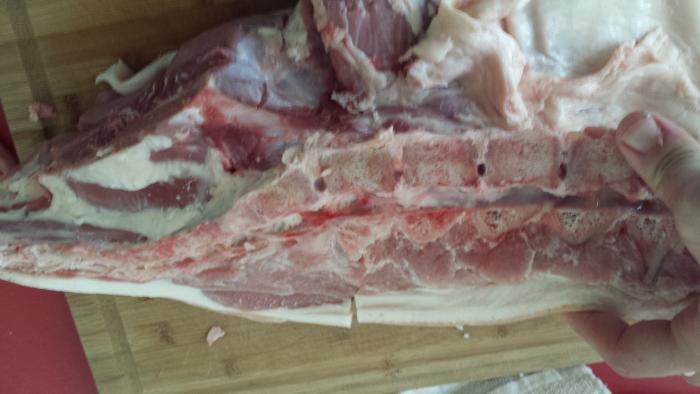
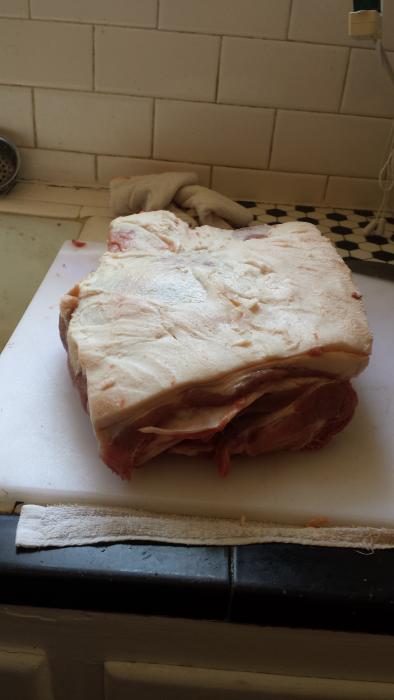
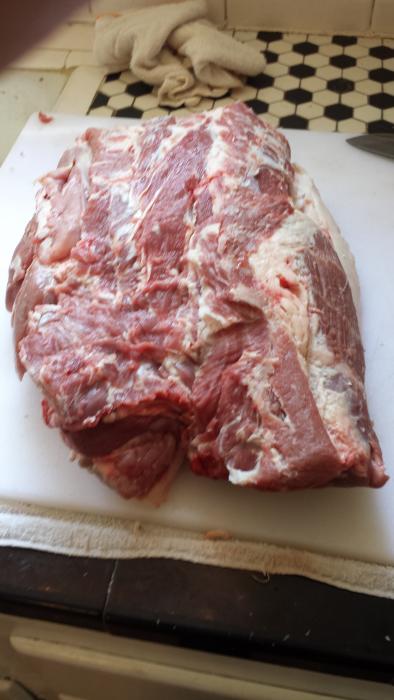
On Monday morning I started with the shoulder. I removed the spine/feather bones from the inside and took off the skin from the outside. Then I triimmed down the fatback to about 1/4" thick. I want to dry cure a coppa from this shoulder, so I found the "eye" of the coppa on each end of the shoulder (right side) and followed the seam of the muscles to separate.

153.jpg


154.jpg


155.jpg


156.jpg
 
The rest of this shoulder, the other shoulder, and one of the picnic hams were broken down into grindable trim, fatback, and soft fat for sausage/salami making. the second picnic was skinned and frozen for Pulled pork BBQ later this summer.
 
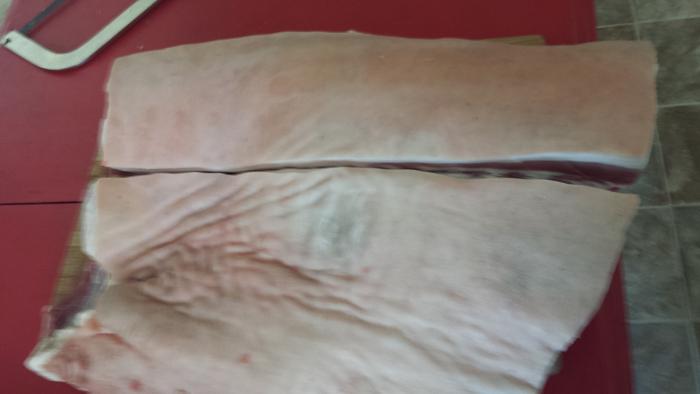
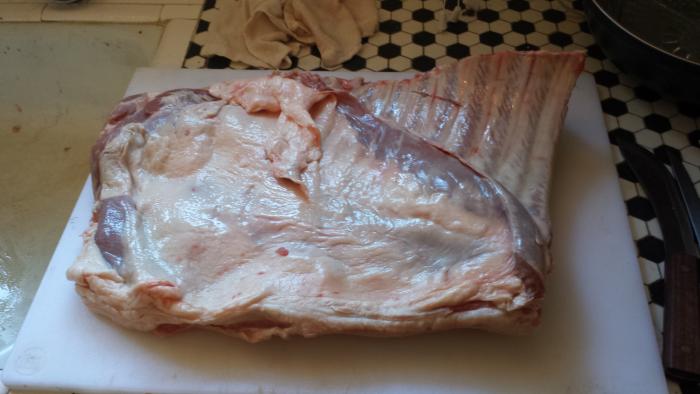
Each belly section is coated with a layer of leaf fat on the inside, (pic 1) which pulls off easily (pic 2). There is a seam between the ribs and the belly that can also be pulled part of the way, and a knife will finish the separation. the breastbone end of the ribs will have a good deal of connective tissue and cartilage that need to be removed, and leaves you with St Louis cut spareribs. Take the skin off of the belly, and place in your favorite cure. I'll be doing one belly in my no-frills bacon style, one half belly pepper bacon, and one half belly pancetta.

160.jpg


161.jpg


162.jpg
 
Set the loin rib side up and follow the seam between the back ribs and the loin, and then the loin and the spine until the loin is separated. I then proceeded to use a cleaver to separate the back ribs from the spine. A saw will work too, but a cleaver is much easier. If you want bone in chops, you would ignore this step, and instead make a cut between each rib, and use a cleaver or saw to break between each vertibrae.

157.jpg


158.jpg
 
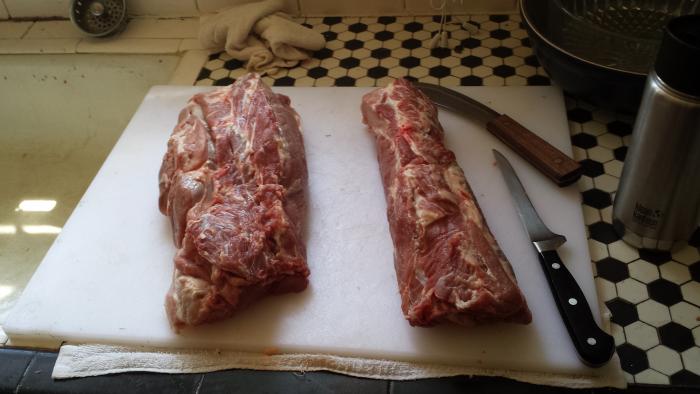
After removing the loin from the bones, skinning and removing excess fatback, cutting 4 rib end chops from each loin, removing the back ribs from the spine, and separating the remaining loin into two center cut, and two tail end roasts. That's the money shot! In a restaurant, I can pay for the entire pig from what we have here. The center cut sections will still make great chops, and the tail end is great for Canadian bacon or schnitzel.

159.jpg
 
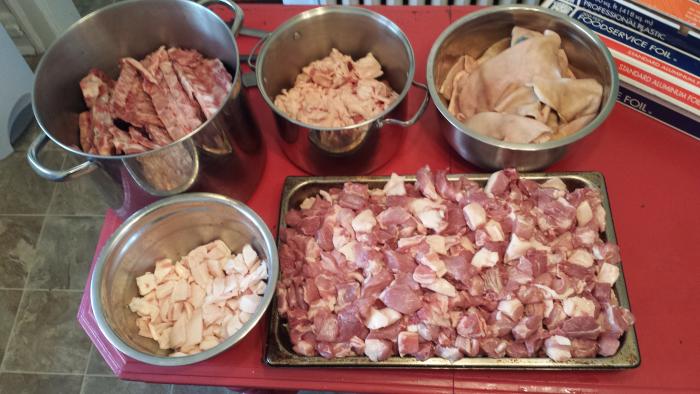
After skinning, removing fatback, and deboning the "sirloin" sections for trim, the bulk of the initial processing is finished. These pots, bowls, and pans contain: (starting at the top left and going clockwise)
10.5# bones, tendons, connective tissue for stock
4.25# soft fat, leaf fat, miscellaneous undesirable fatty stuff for lard
7# of skin for soups, stews, and beans (cassoulet!) MF'n pork rinds, or footballs
25# of trim with enough fatback added back to make an 80/20 blend - sausage!
2# extra fatback for blood/emulsified sausage

163.jpg
 
Please note that not a single gram of this majestic and magical creature has hit the garbage can yet... A quick recap shows that we have:
two 10.5# hams; one will become country ham and the other will be in the freezer until I need to get it prepped for Christmas dinner.
One 9# picnic ham will become BBQ before too much longer.
two 12 oz tenderloins
four feet and four ham hocks (to be brined and smoked)
2 kidneys (steak and kidney pie!)
two and a half quarts of blood (more on that later)
one 3# coppa
two 1.5# loin tail end roasts
two 2# center cut loin roasts/future chops
eight 6-8 oz rib end chops
two 6# bellies
two racks each of back and spare ribs
the trim, fatback, lard fat, skin, and bones mentioned above
and a head, oh yeah, the head!
 
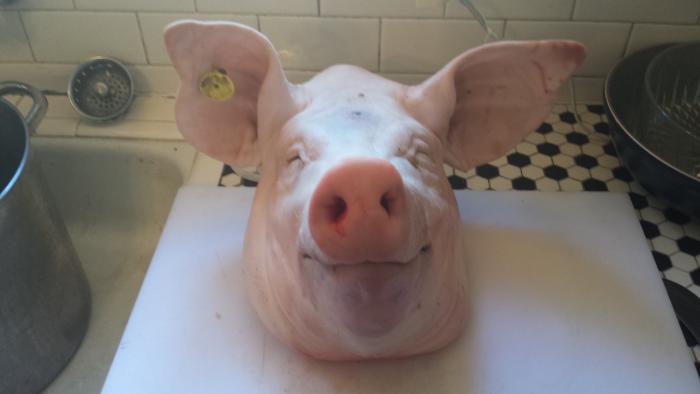
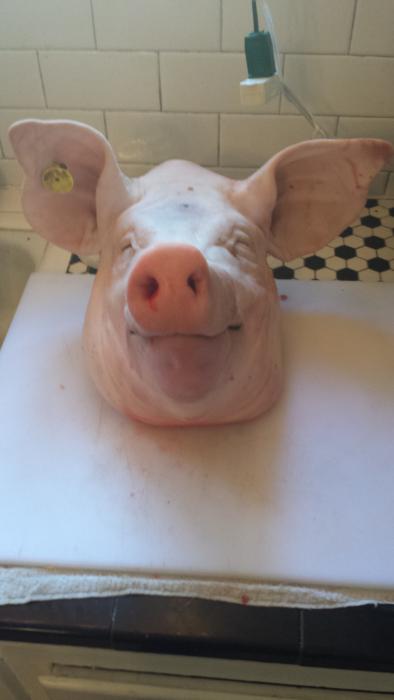
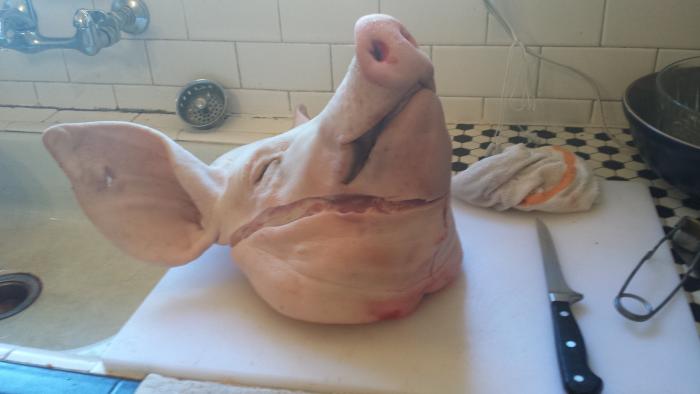
First, a blowtorch will take off all of the hair that the slaughterhouse inevitably missed on our hero's way out of this world. It smells like burning hair, definitely an outside job... Make an incision from the base of the ear down to the bottom of the jaw, following the cheekbone down and repeat on the other side. Divide the two incisions down the middle of the underside of the jaw. Peel back the jowls from the skull, leaving the meaty cheeks attached to the skull. Remove the skin and any glands that may be attached from the jowls. I'll be making guanciale out of mine, but you could make "streak of lean" bacon, or use them as fat in a sausage recipe.

165.jpg


166.jpg


167.jpg
 
OMG I just stumbled upon this at midnight...now I won't be able to sleep. this is fabulous. I'm an avid home cook and charcuterie lover. I see your from Virginia, every go down to Polyface farms to hand pick your heritage pig?

And be lucky I live all the way over here in Seattle otherwise I would be your neighbor, coming over for beer and salami...daily:D
 
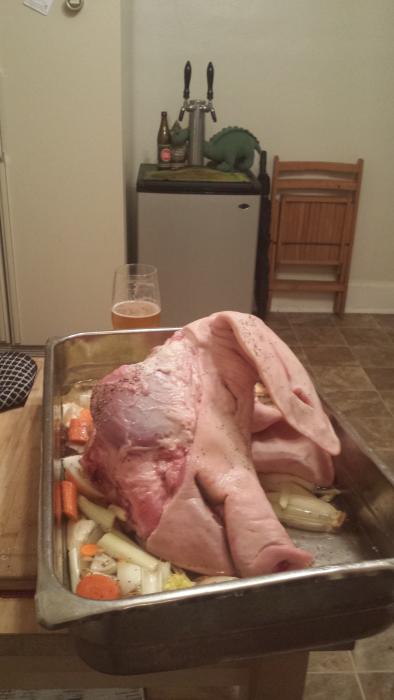
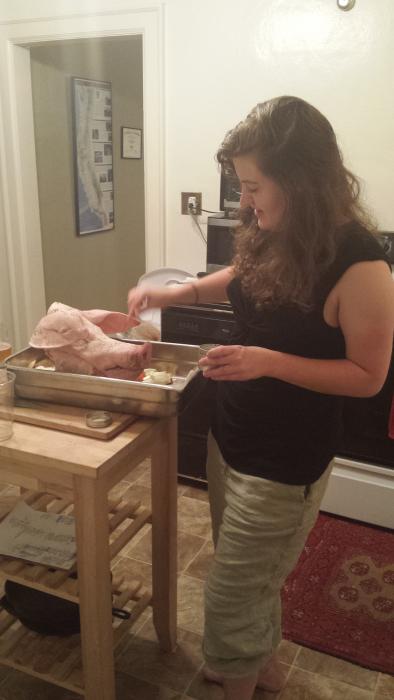
Place the head on a bed of mirepoix and have the SWMBO rub it liberally with salt and pepper (she likes headcheese almost as much as me!). Put a couple of quarts of water in the bottom of the pan, cover with foil and place in a 250* oven for about eight hours. I usually let this happen while I get a well deserved night's sleep.

171.jpg


170.jpg
 

Latest posts

Back
Top