So late last year, I showed my wife an electric brewery and expected her to laugh. Instead, she said I should get it! I was shocked. Then she explained she liked the idea of keeping all my stuff in the basement instead of hauling it out on the porch and making a mess. Well, whatever works :cross:
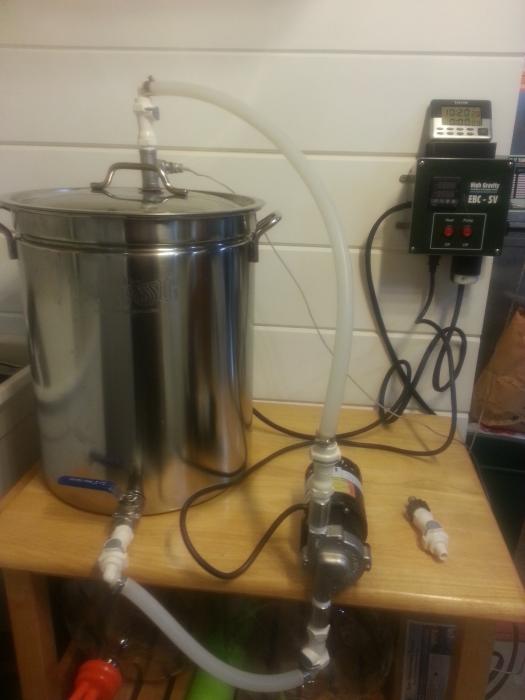
Anyway, after doing some research (most of it here), I decided on the High Gravity EBIAB setup. I don't have a lot of room, and I enjoy the BIAB process. I ordered my setup around Christmas, and it all came in quickly. I got this: http://www.highgravitybrew.com/productcart/pc/BIAB-Electric-Brewing-System-p3987.htm#.UyBPPM4z21c
Then the cold came, and came hard here in WI. I didn't want to cut a 6" hole in the side of my house for an exhaust with it so cold out. Finally, Monday, it was above freezing and the hole was cut.
Now the one thing I had a hard time finding a lot of info on was the exhaust systems people use. I did find some useful stuff, but the actual process escaped me. So I thought I'd show a little of mine to help anyone else looking to do it.
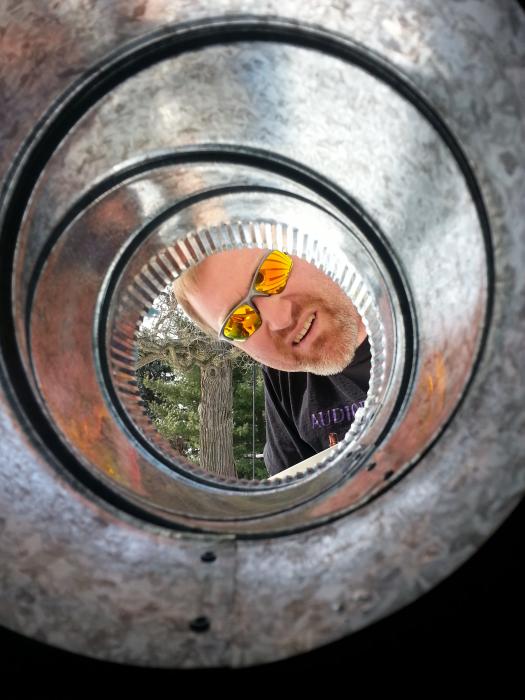
First, I drilled a hole with a Milwaukee 6" hole saw. Fortunately, I ended up with just one layer of wood and one layer of hard insulation. It went pretty well. Here's a picture of the hole with my neighbor looking in.
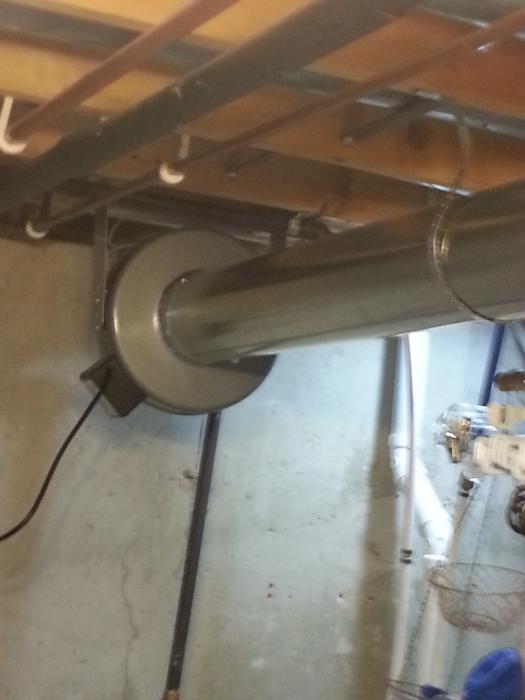
I used a couple of these to get in the house and under the joists: http://www.homedepot.com/p/Master-Flow-6-in-90-Degree-Round-Adjustable-Elbow-B90E6/100062966
I added the fan: Vortex 6" 449 CFM, 1.2A, 136w http://www.amazon.com/gp/product/B001JKYTLG/?tag=skimlinks_replacement-20. I also added a speed controller: http://www.amazon.com/gp/product/B003URBQ1M/?tag=skimlinks_replacement-20
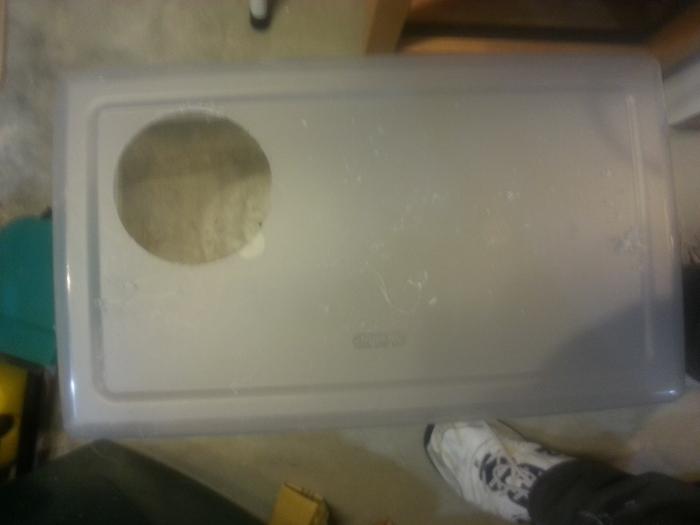
Then a couple of 6" aluminum ducts to get to my high tech hood. The hood design was a concern for me until my brilliant wife said, "Why don't you just use a storage tub turned upside down. It's only one pot, and a large tub was plenty big to cover that.
I ran a test boil of water yesterday, and it worked perfectly! Almost... I had water dripping out of my fan. I am not sure why, but the fan is mounted vertically and dripped out of the bottom. When I got the fan, it said not for wet environments, though I see it's one that a lot of people use. I guess I'll have to keep an eye on it. It did suck all the steam up. Nothing escaped the "hood" that I could see. Overall, I'm very happy and looking forward to my first brew day with it.


Last edited by a moderator:


