Grainfather for Gluten Free Brewing

Homebrew Talk - Beer, Wine, Mead, & Cider Brewing Discussion Forum

Help Support Homebrew Talk - Beer, Wine, Mead, & Cider Brewing Discussion Forum:

This site may earn a commission from merchant affiliate links, including eBay, Amazon, and others.

glutarded-chris

Well-Known Member
Joined
Jul 14, 2013
Messages
594
Reaction score
237
Location
New Smyrna Beach
I took the plunge and purchased a Grainfather G30 Connect 220V so that I can do rising temperature mashes. I wired up my 220VAC plug last weekend while it was being shipped.
I am hoping there are still some gluten free brewers viewing this forum that have experience with the Grainfather!

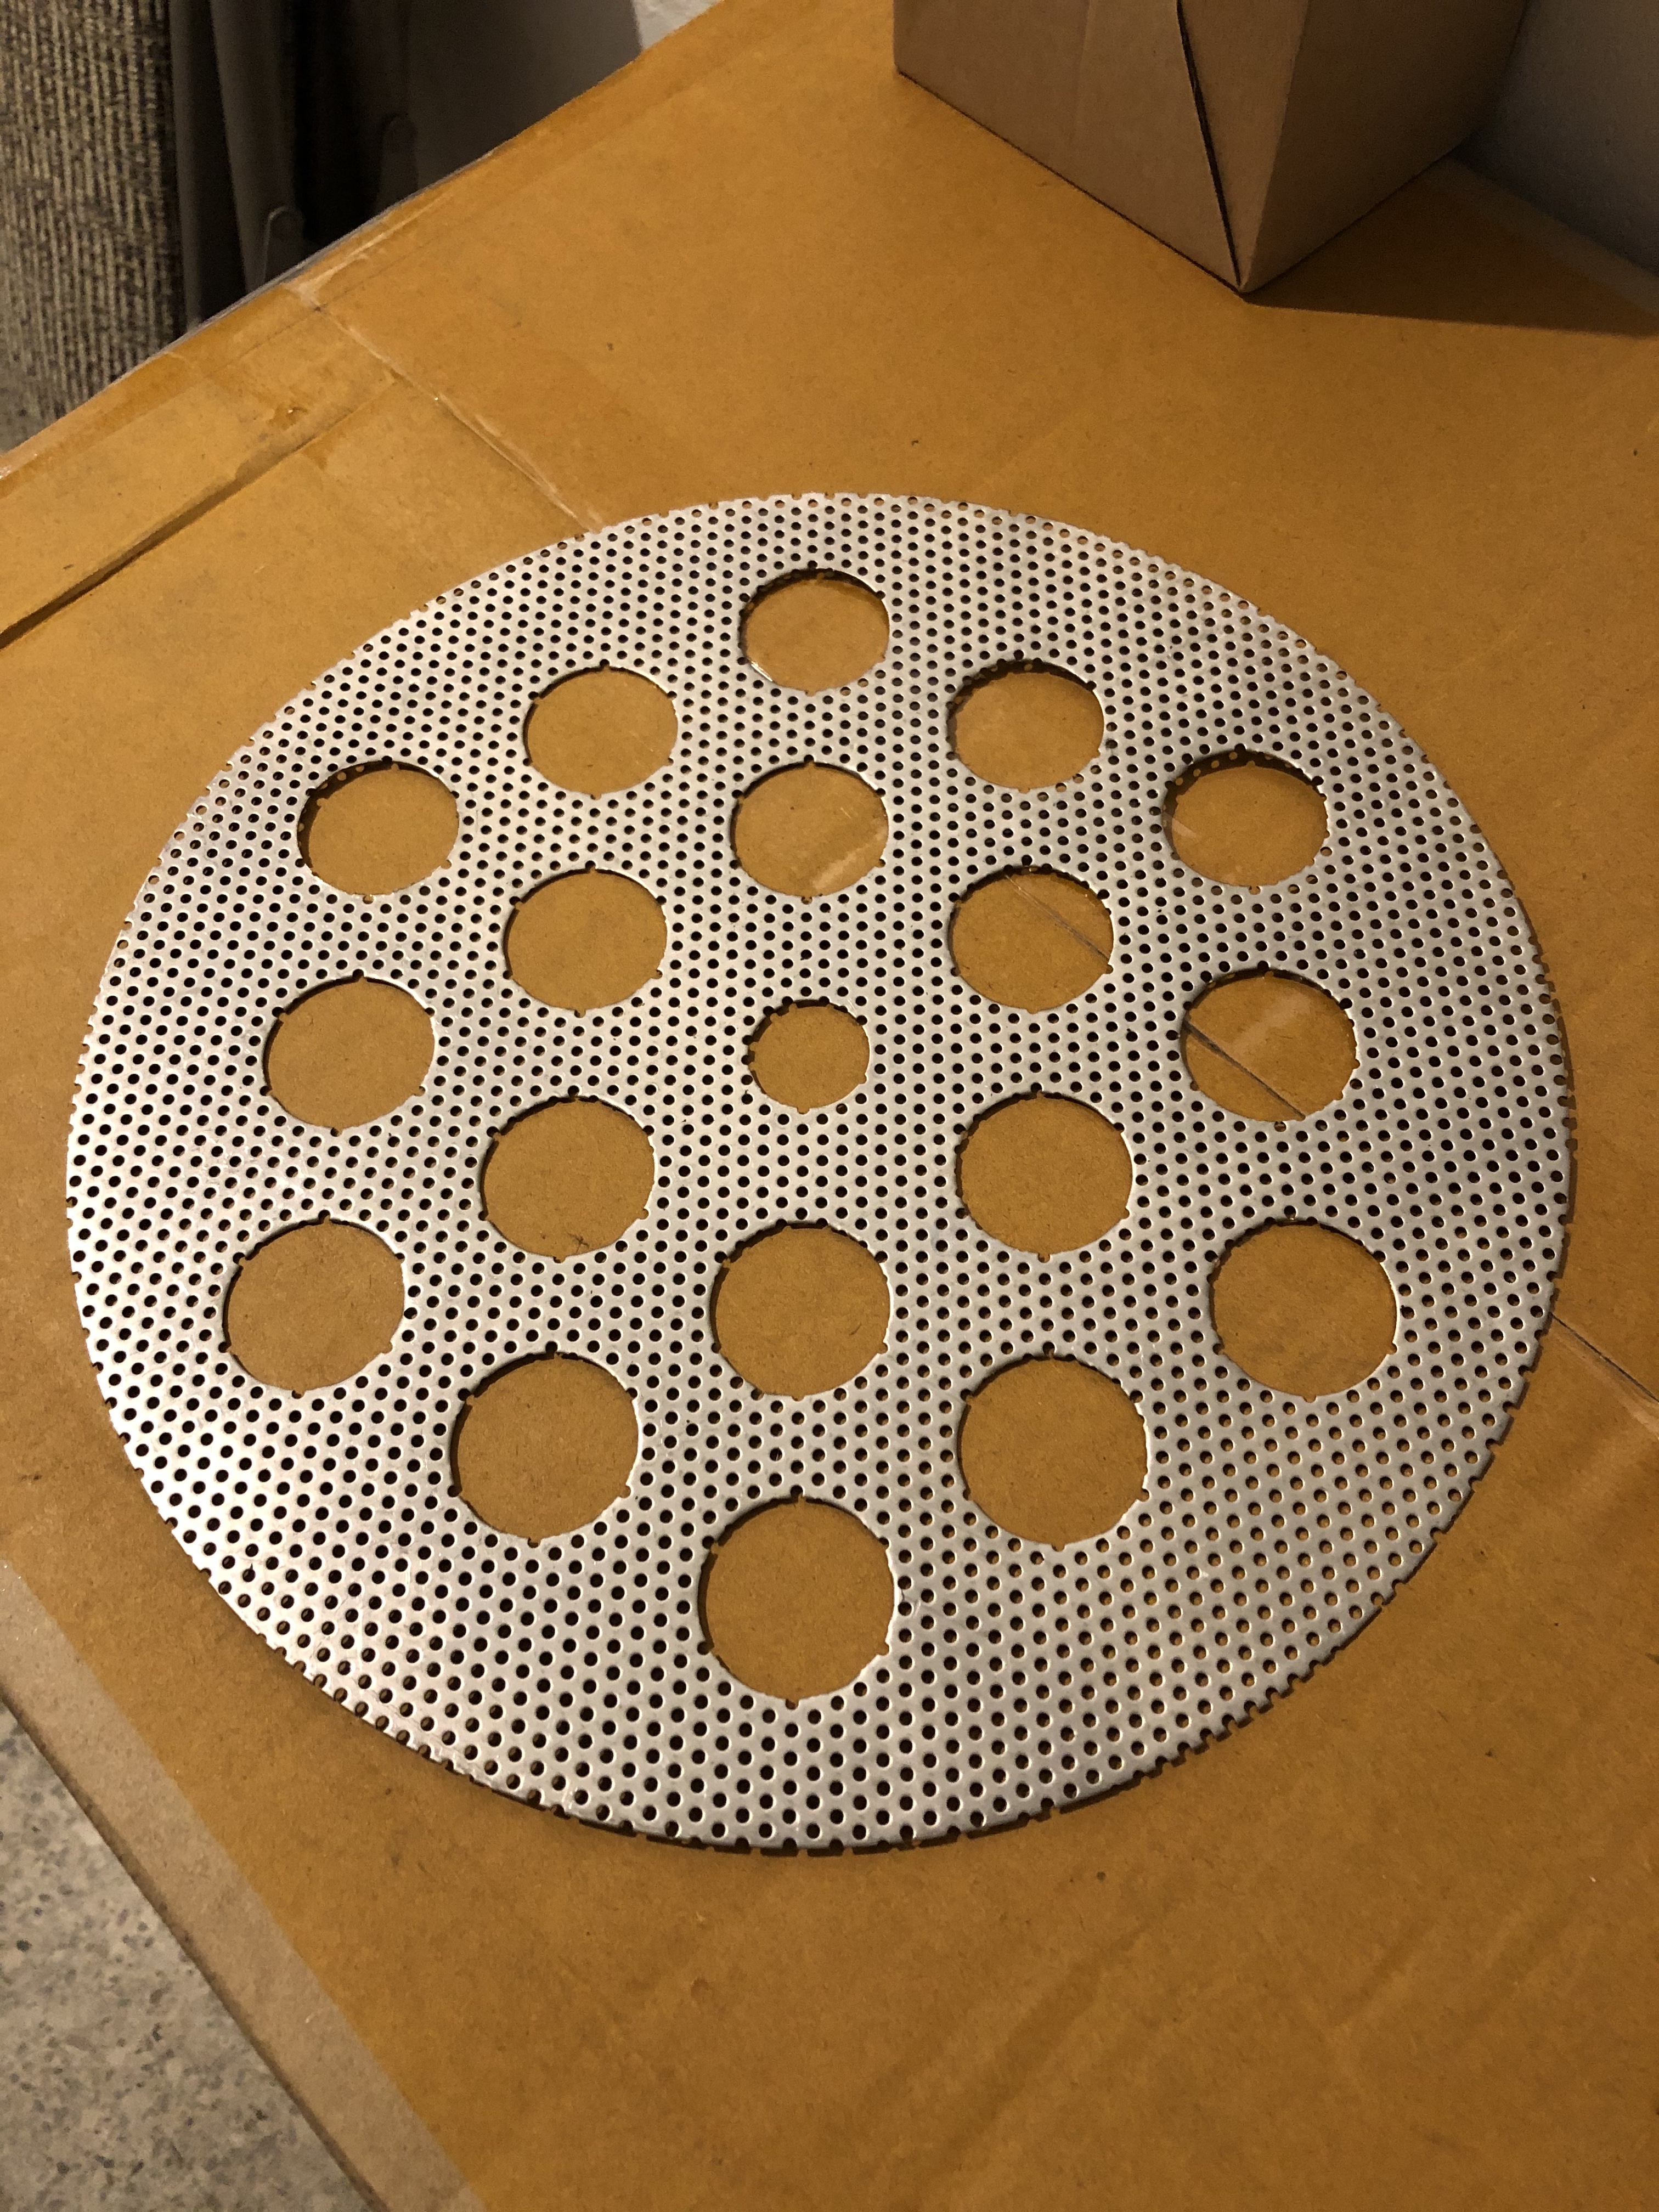
I watched the videos on the glutenfreehombrewing.com site and purchased their 1000 micron screen. I did not like the solution of trying to wrap the silicone seal around the edge of the false bottom and the 1000 micron screen to stabilize the screen. My solution was to purchase a second false bottom with the Grainfather and sandwich the flimsy mesh screen between the two false bottoms. Only one would have the silicone seal. I punched some holes in the second false bottom in an attempt to reduce the flow restriction while still maintaining some rigidity. Hoping this works.

I will clean and test the system this weekend, but not sure if the first real brew day will be this weekend.

Here is the second false bottom after punching the holes:
IMG_4038.jpg
 
I use a Grainfather. Works great for the step mashes and I love the automation. I use a BIAB around the outside of the malt pipe (a less elegant solution than yours). I tried using the mesh screen from GFHB, but it really gummed things up, slowed down the recirculation and negatively impacted efficiency. Plus, getting it into place was a nightmare. I hope you enjoy the grainfather!
 
My original plan was to put a bag around the malt pipe but thought I would try a false bottom approach. Do you have pictures of how you secure the bag? Also, when you raise the malt pipe for the sparge, do you have issues damaging the bag on the support points?
 
No pics, no real securing. I put the bag around the malt pipe, drop it into the kettle and pull it tight so it does not dip down towards the element. I replace the bag maybe once a year.
 
How dense is the weave on your bag? The bags I use are home made from voile cloth purchased from a fabric store. Pretty tight weave. Works extremely well for mashing in a cooler.

When you brew with the bag wrapped around the malt pipe, do you get a fair amount of sediment that drags the bottom of the bag down towards the bottom where the heating elements could harm the bag, or is this not an issue?

Would be great to see your system the next time you brew.

This weekend I will set it up, clean and test the basic functionality without grain. Next weekend I will probably run the maiden batch.
 
I'm not sure what micron the bag is. It's just a standard cheap biab I got I online.

With heavy rice grain bills (milled down to .6mm), I have a very small amount of grain that gets through.

Heavy millet grain bills (milled 2x at .5mm) can have a tennis ball size of grain get caught by the bag.

I've never seen any evidence of the bag getting too close to the element.
 
I tested and cleaned the system today. The 220V system heated 4.5 gallons from 70F to 140F in 20 minutes. Not bad. Did not test to a boil yet, so that will have to wait for the maiden voyage next weekend. I will post my plan to get feedback from those that already have experience. @sklice, I expect you will have words of wisdom.

I expect to just use the water volume formula that the Grainfather documentation recommends unless there is a reason to deviate for gluten free grains. More to come...
 
I wish I had the 220v!

I use the grainfather calculator, but deduct a half gallon from the sparge and use it in the mash. I find it keeps things recirculating much better (especially with a heavy millet/buckwheat brew).

Tip - after you mash in, start out with the pump valve mostly closed. Otherwise, everything gets sucked down towards the pump and compacts the mash. I open it up fully after things settle for 5 min or so. If the wort rises quickly and starts going down the center pipe, you know things are getting stuck.
 
I have gone through the Grainfather documentation and here is what I have for my first attempt:

I will brew something very similar to what I have been doing recently with a falling mash so I can compare the finished product. Basically pale beer fermented with Saflager 34/70 at lower ale temperatures (64F).

10.2 lb grain bill with 23% rice malt.

Per the Zero Tolerance video call:
My plan is to use a rising mash with rests at 125F (15 min) ; 145F (60 min) ; 175F (60 min or until gravity levels out)
I will use 15 mL Ondea Pro and 8 mL Ceremix Flex

The grainfather documentation suggests that I should have 4.4 gallons (1.7 quart/lb grist ratio) for the main mash and a sparge volume of about 3.7 gallons to end up with 6 gallons in the ferementor.

Wish me luck!
 
Maiden brew is under way. So far this is a game changer.
I think my solution for adding a "sandwich of the regular false bottom, the 1000 micron screen and the second false bottom with extra large holes punched worked. The pump ran just fine with the flow valve fully open for the beginning of the mash and had to close a small amount late in the second rest to keep from rising to the overflow level. I failed to take pictures during the mash because I was occupied with making sure I was doing things correctly.

I am really happy with the performance of the 220VAC system. Nice heating times and a good controlled rolling boil. I was really worried about a boilover as ~7.5 gallons is not far from the kettle rim, but with such a clean wart and with the heat delivery, I never had to take action when the hot break formed. Just a few gentle stirs and off and running.

I am expecting a less labor intensive cleanup, but we will see.

I have never used a counterflow chiller so this will be a new experience. In Florida, our ground water is not cold enough to use directly, so I will be circulating ice water from a cooler for the cooling side.

I purchased the extra screen to keep the extra grain that ends up on top of the top screen from entering the overflow if that happens. Worked great during the mash, but when you go for the sparge, it gets disloged. Should not be a problem becuse there is no risk of overflow at that point, but I may modify it to sercure the overflow screen to the top plate more securely.

Some proof of life pics. First is the boil, second is the mash pipe after removing:
IMG_4053.jpg
IMG_4054.jpg
 
The counterflow chiller worked great pumping water from the ice bath through it. With the Grainfather valve wide open, the wart discharge was mid to high 60s F. Let the ferementation fridge bring it the rest of the way to pitching temp and pitched the yeast.

Cleanup was much easier then my previous process. I really like the system! My previous system was comfortable up to 8 gallons of finished product and this system really is limited to 5 gallons, but it has huge advantages. Crystal clear wart going into the boil kettle, temperature control with rising temp options and easier cleanup.

By luck, my hop filter can fit the Grainfather perfectly and behaved better in the Grainfather than my previous system for some reason. My immersion chiller would also work with the Grainfather although with the success of the counterflow chiller, I will never use it.

The efficiency with Ceremix Flex and Ondea Pro was superb. I got somewhere between 26 and 28 PPG with this one which is very respectible. I have a pH meter but I never use it. I do control my water chemistry but I never test pH and add acid so I probably could do slightly better if I dialed in the pH but this was pretty good. We will see where it finishes!
 
Glad it worked out! I also use a hop spider and a little filter over the overflow pipe. Works great!

I think you'll get very happy with the new enzymes. The wort profile is so much better. Another thing that has helped me is to chill and recirculate the wort back into the kettle until it reaches 120-130°, allowing for a good cold break. I personally think this has a big impact on head retention.

Search David Heath on YouTube for tons of grainfather tips.
 
I may do your tip of feeding the counter-flow chiller output back into the kettle to drop the temp a bit to give more control over the final temp into the fermentor. I did find a few of David Heath's videos last week. I watched a few more just now. Good advice there. I like the tip to put the regular return wand in series with the chiller for cleaning. Allows to set the chiller to the side and not have to do two cleaning passes. I submerge the hop spider and the rest of the stuff in the cleaning recirculation separately so that makes it easy to move things in an out of the cleaning tank during recirculation.
 
One week into fermentation and primary fermentation is well over. No more airlock activity, so I took a sample. Much clearer at this point than my previous batches for sure and gravity reading is 1.011 to 1.012. All of my previous batches attenuated all the way down to well below 1.008, so I am super stoked that this finished above 1.010. Tastes great even green and uncarbonated. I am sold on these enzymes with the rising mash!!!
 
Great to hear! I've avoided the extra mesh plate from GFHB after hearing people having trouble with it, but I still get millet shells in the boil so I'm the lookout for a better solution. Your punched extra plate is interesting.

I don't remember where I saw the suggestion but I put a mesh sink strainer over the overflow pipe. It blocks a little bit, but would probably be better if it were more fine.
https://www.amazon.com/gp/product/B000DZF4US
Cleaning is not fun, but you'll get more efficient at it over time. I put the mash tun in the boiler, then lay the two plates inside it without the silicone rings attached. Then I lay all the other parts on top of the plates, including the silicone rings. With that, I only need two gallons of cleaning solution to submerge everything. I recirculate, then remove the mash tun and scrub the walls of both the boiler and mash tun by hand. Then the mash tun goes back in with the parts for the rinse cycle.
 
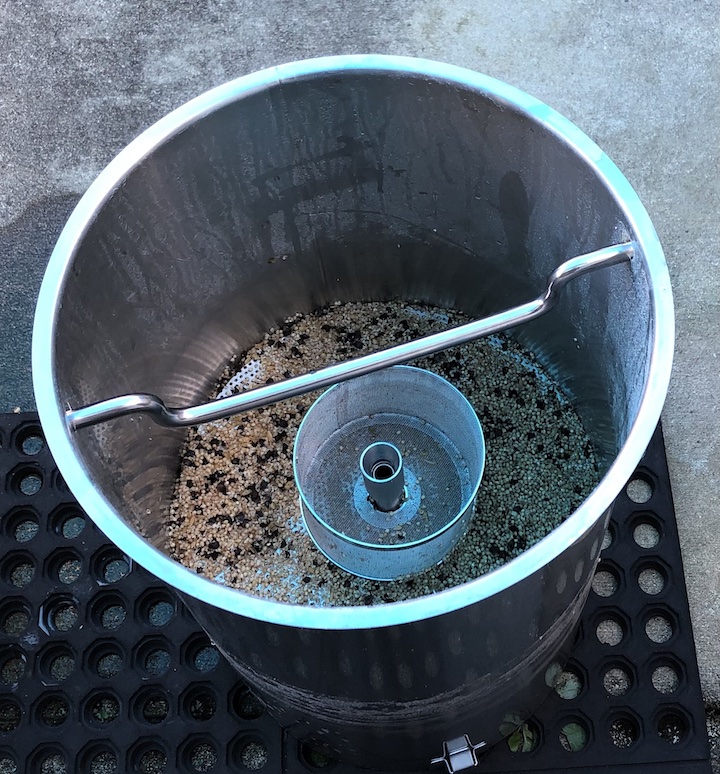
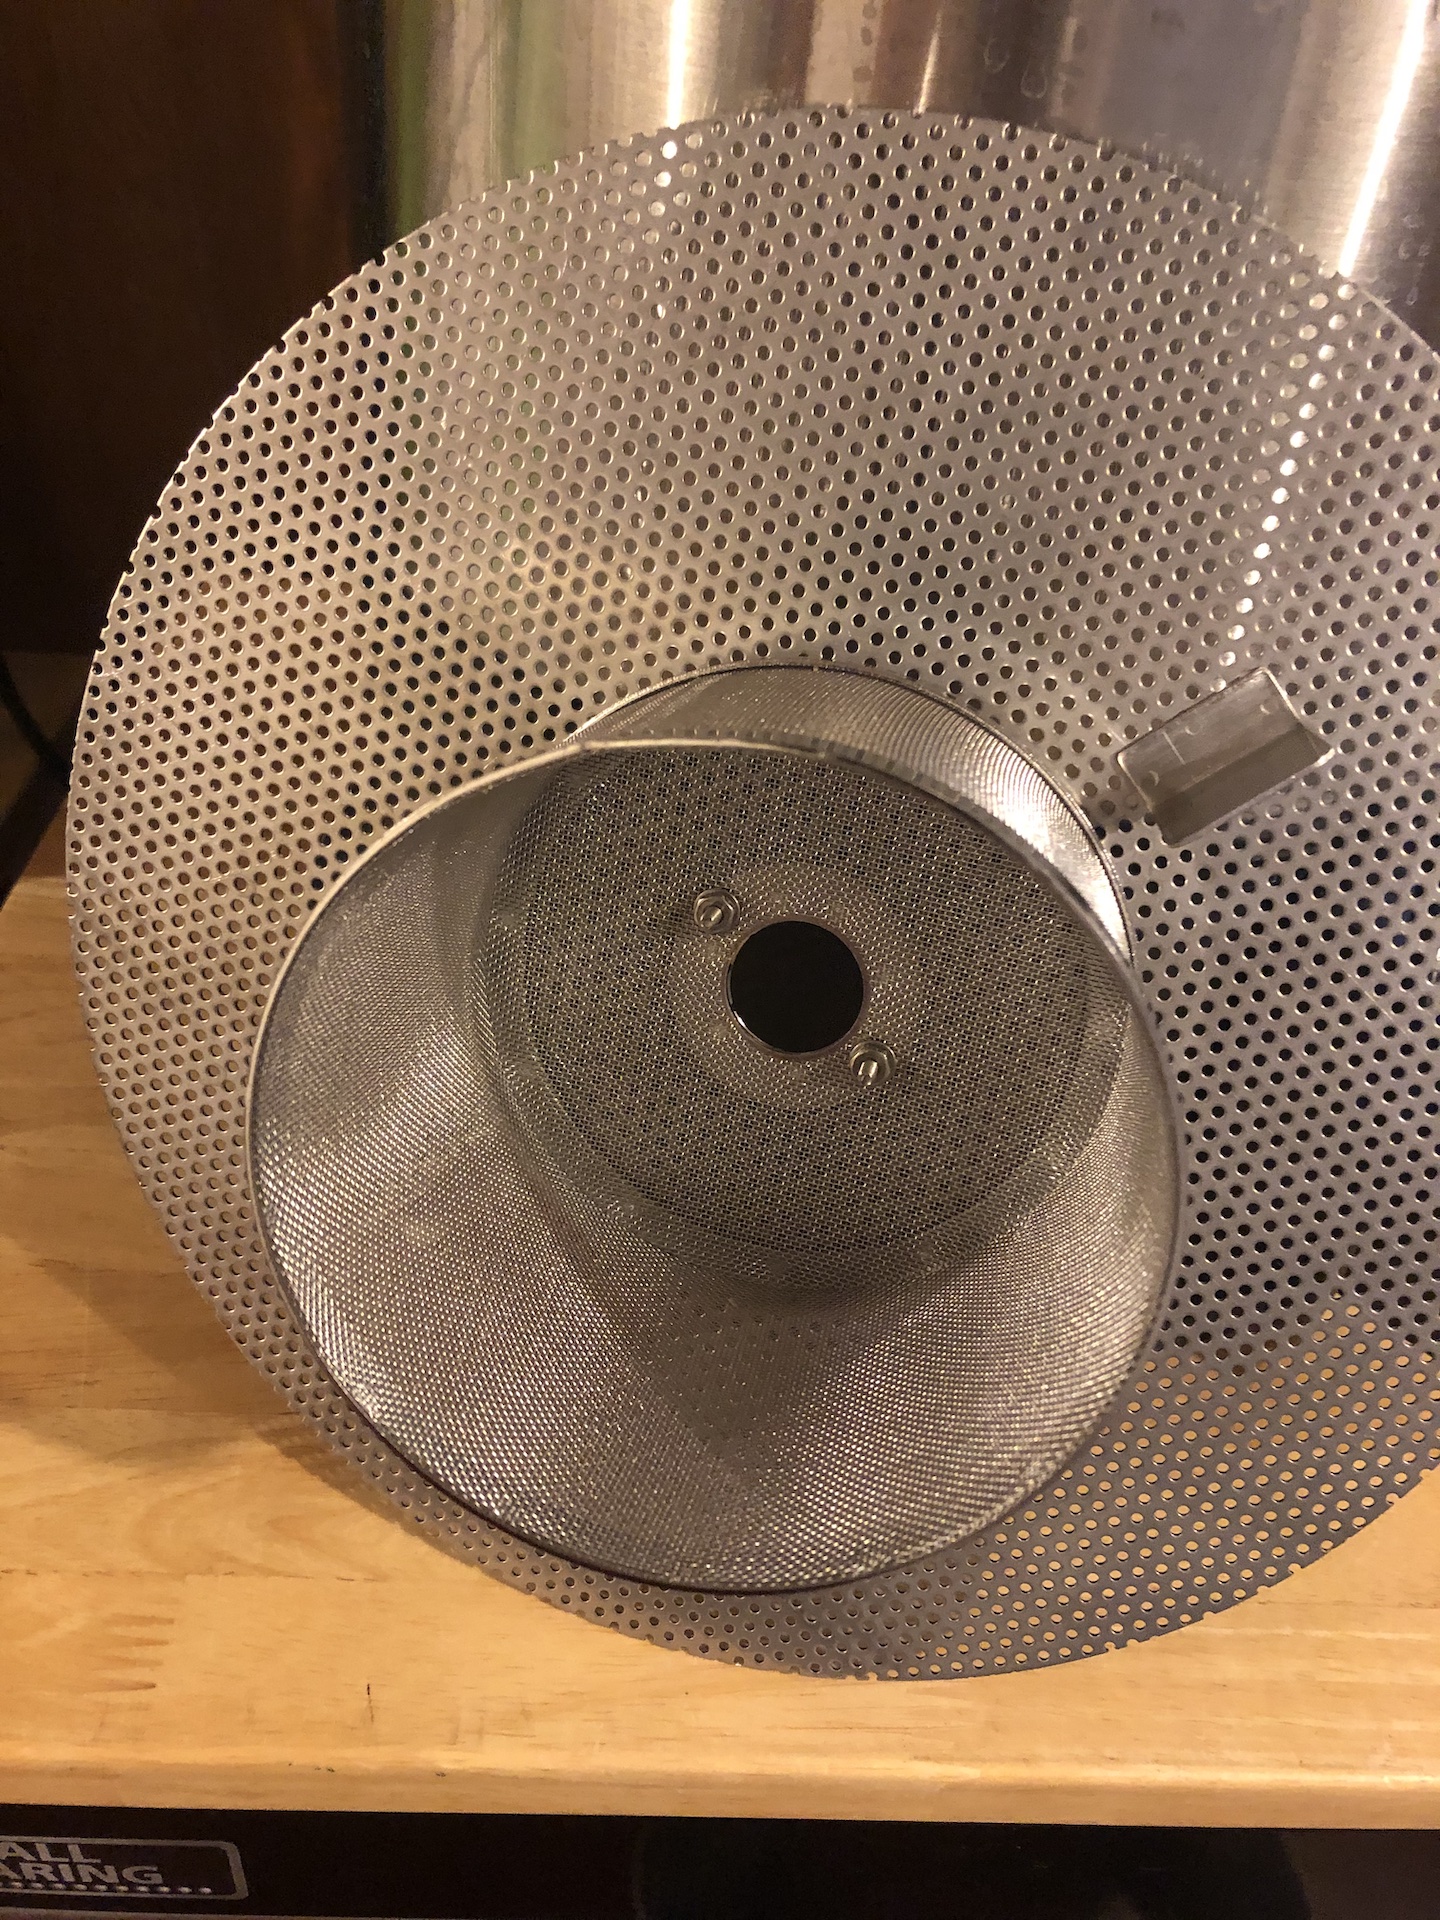
Hi JMath, I have seen the sink strainer suggestion in several places. I purchased the one sold by Grainfather just because I was buying everything else and just added it to the cart, but there is nothing magical about it. After my first brew I decided that it would be better to bolt the strainer to the top plate to keep grain from slipping under it if you bump it (see picture below). I don't think I used the sylicon ring on the top plate and should have. Some grain floated through the gap.

My solution of sandwiching the finer mesh screen between the normal false bottom with the silicone ring and the second one with big holes worked very well. However, punching those big holes in stainless steel plate is a huge PITA!!! If I was to do it over I would maybe do something different. All you need is something to safely hold the fine mesh screen over the false bottom so that you don't damage it while stirring etc. I think you could just put a ring of reasonably heavy material near the OD over the fine mesh screen. The ID of the screen is captured with the overflow tube anyway. Probably a SS rod bent to the diameter of the grain pipe would do. Just push it down to help hold down the fine mesh screen. Except for doughing in, there is really no stirring so it would be easy to keep it safe. We should petition Glutenfreehomebrewing.com to sell something effective and affordable to be sold with their fine mesh screen!!!!

IMG_4086.jpg
 
Last edited:
I think you will be equally pleased with the head retention and body
This was probably my lowest OG batch ever and was not thin at all, so I am impressed with the body. It has carbinated for a week and a half now and I am pleased with the head retention already. It is still green so needs to mellow a bit, but I can already see that I have better hop utilization with this setup! I think it is because of the Grainfather's kettle diameter is substantially smaller than my normal kettle so the hop filter basket works better in the Grainfather. Probably will brew another calibration batch this weekend or next.
 
Back
Top