brewluver
Well-Known Member
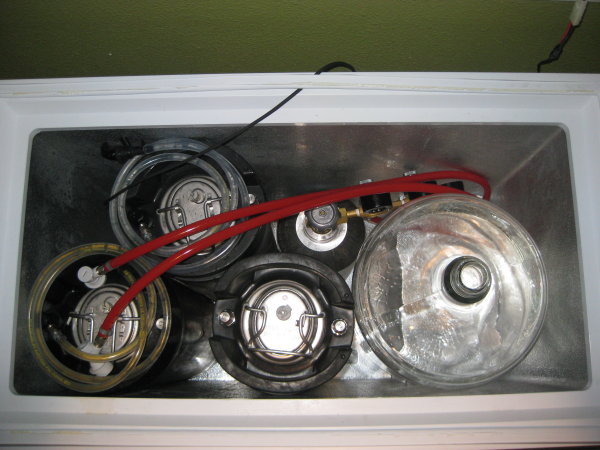
Just came across this thread. I am looking to do the same thing. Do you think your 7cf freezer would hold 3 kegs and a 6.5 carboy. From the looks of your picture with the kegs in there it might fit.


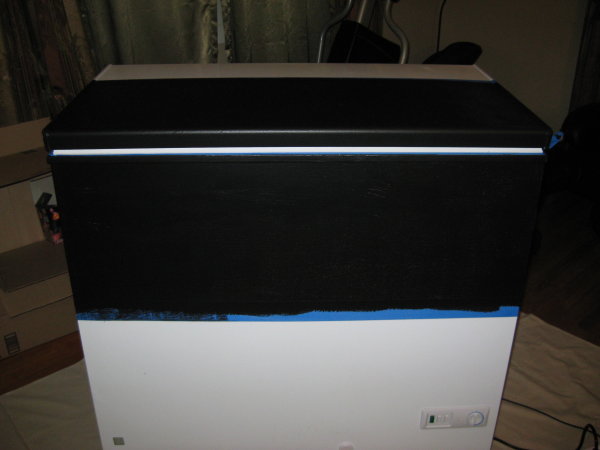


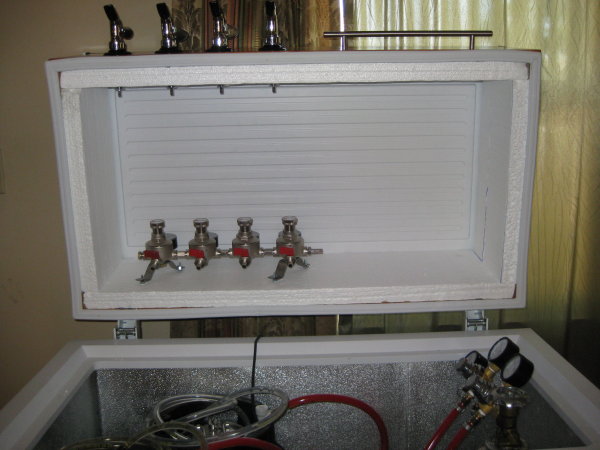


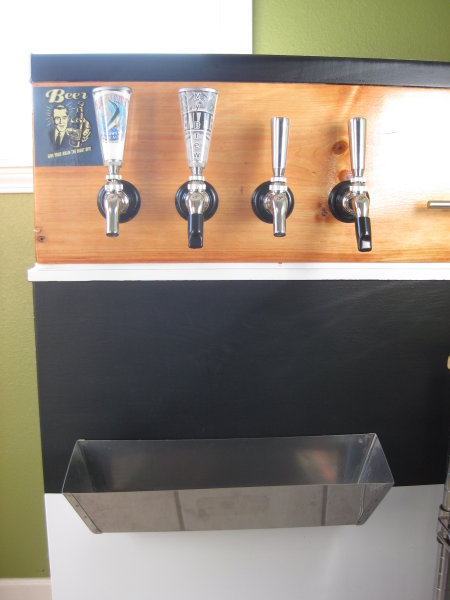 Oh and it makes a great towel rack when down.
 Tom, I've basically been doing things just as you've explained them. The 9 CF advertised on craigslist ended up being 7, but I got it for a hundred bucks so whatever. I've been slowly assembling most of the components and am pumped for when it will be finally finished.
For your casters, are you happy with their performance? I have access to a nearby Grainger and McMaster to order and there are several options.
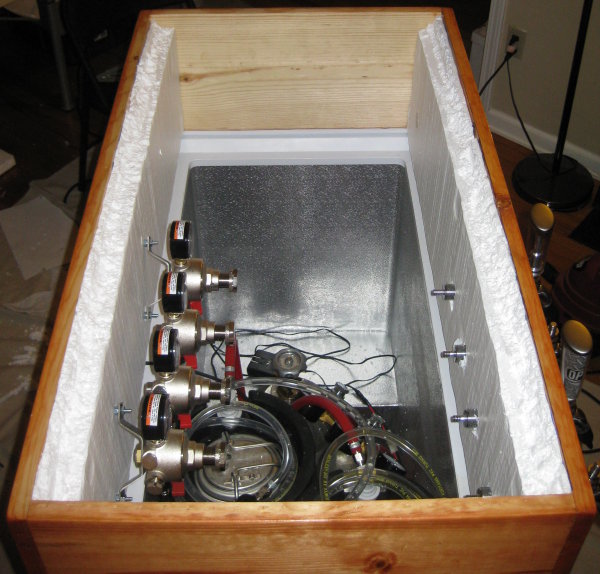
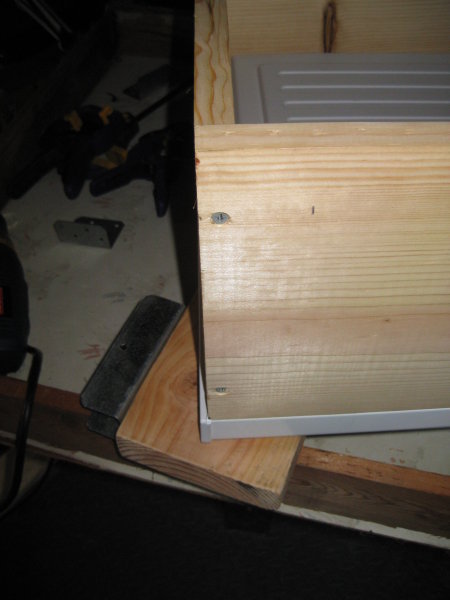
Tom my measurements are a little different I was looking at 37" wide and 20.5" deep... is there a reason you ended up doing the collar the way you did or maybe yours is a little different than mine?
Thanks again
 if you don't mind


![Craft A Brew - Safale BE-256 Yeast - Fermentis - Belgian Ale Dry Yeast - For Belgian & Strong Ales - Ingredients for Home Brewing - Beer Making Supplies - [3 Pack]](https://m.media-amazon.com/images/I/51bcKEwQmWL._SL500_.jpg)


