• Please visit and share your knowledge at our sister communities:
  • If you have not, please join our official Homebrewing Facebook Group!

    Homebrewing Facebook Group

Gas line through keezer collar ....help!

Homebrew Talk

Help Support Homebrew Talk:

This site may earn a commission from merchant affiliate links, including eBay, Amazon, and others.
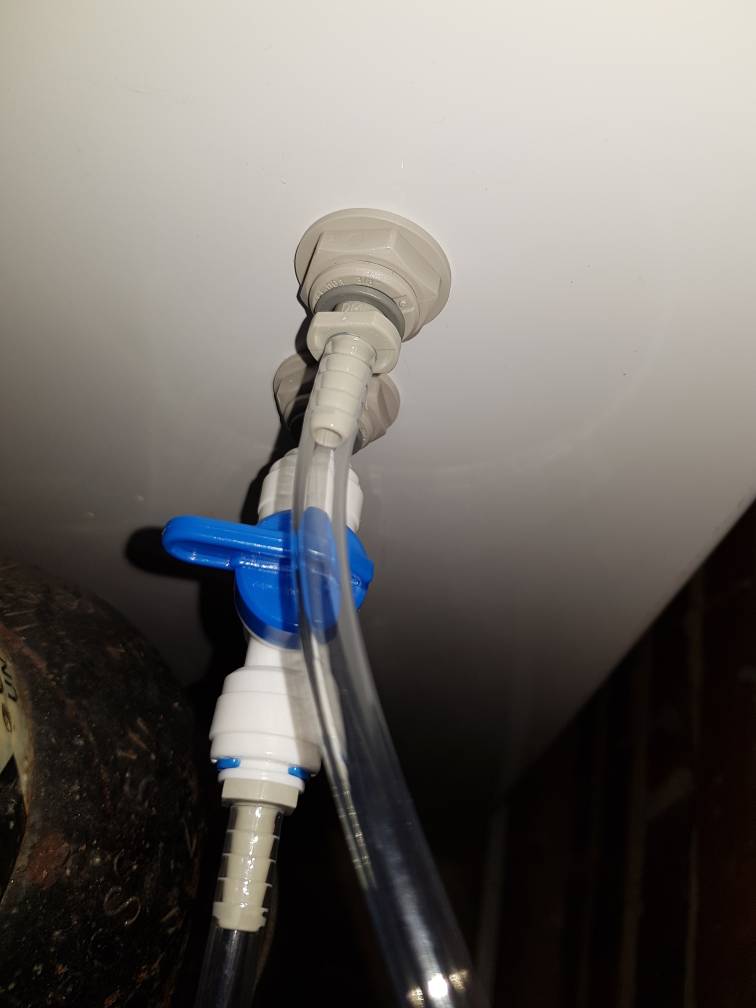
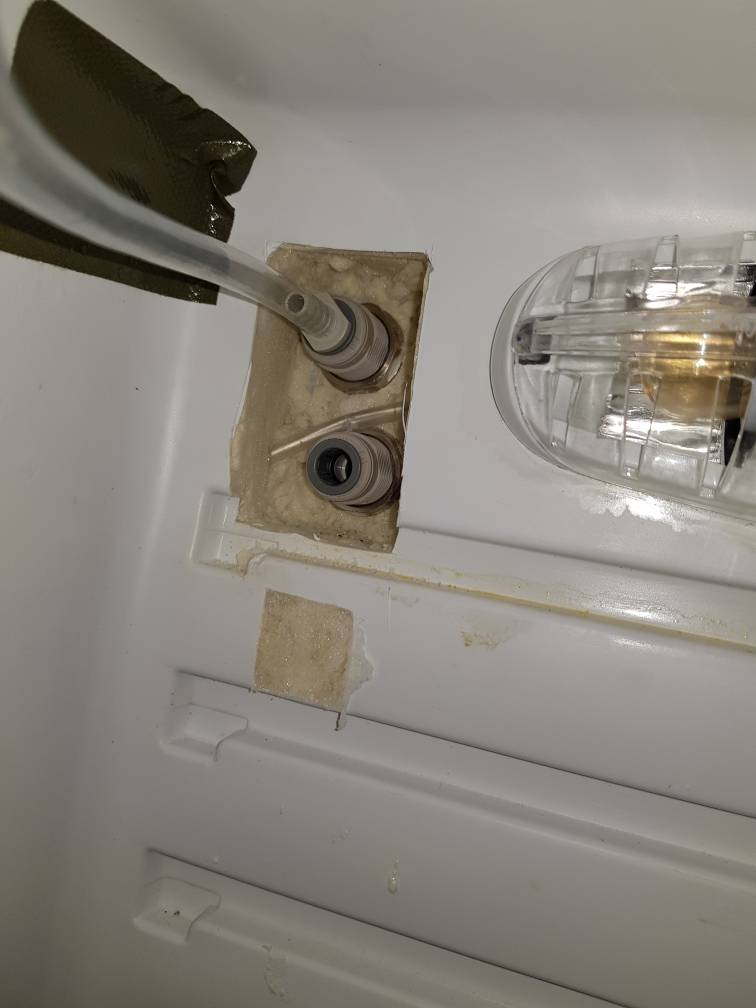
FWIW I've just used 3/8" JG bulkhead fittings then some hose stems with 1/4" (6mm) barbs. The hole for them is 1/2" which is handy as I already had the cutting tool for my other mods (fitting ball valves etc)
20190103_215954.jpeg
20190103_220006.jpeg
 
View attachment 605533 It’s called a corney keg, but maybe the ball lock fitting is a firestone??? Trying to figure out the correct adapter. Here’s another pic on the keg.
What you have on your kegs doesn't matter. Ball locks are ball locks. It's the threads under the post that attach it to the keg that matter. That's where your difference is. For doing your bulkhead through the collar, just match the post you buy with the adapter you buy. Your current fittings will work no matter what.

For example:

If you buy your bulkhead, and want to connect liquid posts to both the inside, and outside, buy the following in addition to the bulkhead:
2 of these: post adapter
2 of these: liquid post
Got it, thx. A picture I kept referencing was throwing me off. I couldn’t see both parts and I thought the disconnect attached directly to the adapter. I placed an order earlier today. Thx you all for helping.
 
Wow :drunk:

Anyway...

Sorry if I missed the explanation, but why the parallel printer male connection in the collar?

That DB37 conveys pwr/gnd/signal to six sf800 flow meters, six ds18b20 temperature sensors on two One-Wire buses, and a motion sensor, leaving a half dozen spares for whatever crazed notion I come up with next...

Cheers!
 
To mongoose33. I really like the collar stain. Very nice! What color of stain was used? Sand between stain coats? If so, grit of sandpaper?

Minwax Polyshades American Chestnut. Gloss finish.

It's a mix of polyurethane and stain, so it goes all in one coat. I was a little bit lazy that way. Here's the odd thing: if you look, you can see some drips inside the collar. I'd originally planned to use foamboard insulation on the inside, and expected any errors in application of the stain to be covered up.

I did the entire collar to protect it against moisture which is why the inside was done as well (also the bottom and back and so on).

But once I saw how it looked--and given that I'd made the collar wider than most due to the wide seal on the freezer lid and that it would insulate better--I decided to leave it.

As far as sanding--just some very fine steel wool, and only two coats. I don't recall doing two on the inside, just on the exterior parts. All I needed was to seal the wood, didn't care (at the time) what it was going to look like as it'd be covered.
 
Back
Top