willynilly
Well-Known Member
30 pounds in the tank? What size tanks? Mine only holds about 18 pounds total.

30 pounds in the tank? What size tanks? Mine only holds about 18 pounds total.
do you have a working link of the videos of it in use? i just have a little photobucket square saying the movie has been moved or deleted!cheers,martin


")
ok,that makes sense,sort of like a mini rims tube with the element replaced by steam injection!
originally i pictured the steam being injected directly to the mash via the false bottom or whatever is in your system which is why i thought it must be valved in order to fly sparge.
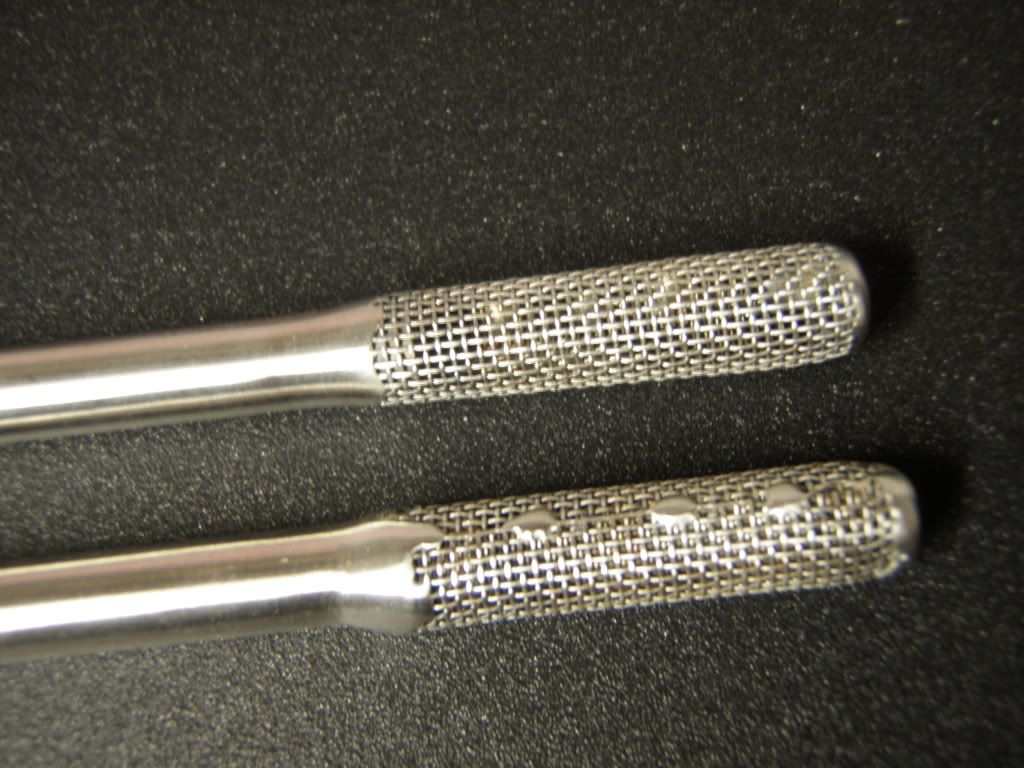
what is the actual mixer part? is it an off the shelf item?
cheers,martin


![Craft A Brew - Safale BE-256 Yeast - Fermentis - Belgian Ale Dry Yeast - For Belgian & Strong Ales - Ingredients for Home Brewing - Beer Making Supplies - [3 Pack]](https://m.media-amazon.com/images/I/51bcKEwQmWL._SL500_.jpg)


