Finally, A Brewstand!!

Homebrew Talk - Beer, Wine, Mead, & Cider Brewing Discussion Forum

Help Support Homebrew Talk - Beer, Wine, Mead, & Cider Brewing Discussion Forum:

This site may earn a commission from merchant affiliate links, including eBay, Amazon, and others.

jvino

Well-Known Member
Joined
Nov 28, 2009
Messages
78
Reaction score
1
Location
Woodburn, Oregon
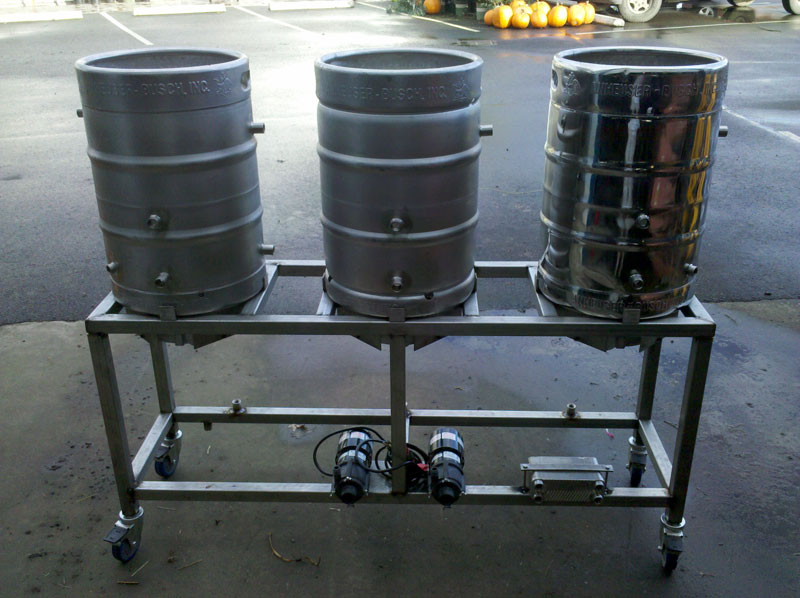
Finally got going on my brew stand. All stainless. Can't wait to wrap it up. It's all tacked together now for the mockup. I'll weld it all together solid once I finish up the splash guard for the pumps.

brewstand-tn.jpg


brewstand2-tn.jpg
 
On a side note, where does everyone run the wiring for the pumps, and temp probes?? I would imagine that the top rail would be to hot to run wire through for temp probes. The bottom would probably work for the pumps.

Also, where do you monitor temperature?? I have ports in all three vessels. Was thinking maybe plate chiller output and herms output as well??

Thanks!!!
 
This looks great. Please keep posting updates. I want to do something like this soon. If I find a good control panel walk-through I'll let you know.
 
Jvino,
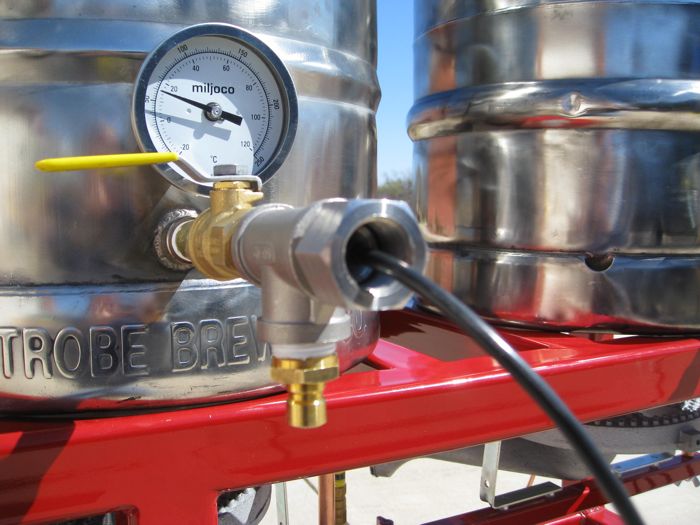
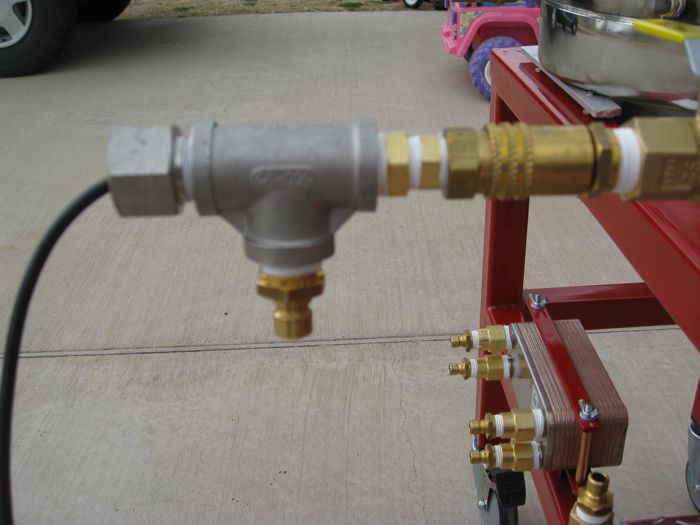
Run you wires through the bottom tubes. Put your temp probes into thermowells which are placed into stainless tees which then attach to the bottom couplers (outs) via quick disconnects.. All of my wiring is through the front bottom tube or the back copper conduit which is simply pressed together and not soldered. If you look closely on the first pic, you will see that the pump wires travel through the front bottom tube.
snake10

gas2.jpg


IMG_1920.jpg


IMG_1978.jpg
 
Snake10... Nice stand! It looks powder coated. Have you fired it up yet and pouted about burnt off coating?
 
I put a bottom shelf on my rig and all my wiring is hidden (and protected) under there.

I also put my temp probes at the entry to the pumps. Since I do continuous recirc on the HLT and MLT, it measures just fine there.

Pics in my sig.
 
One hoppy,
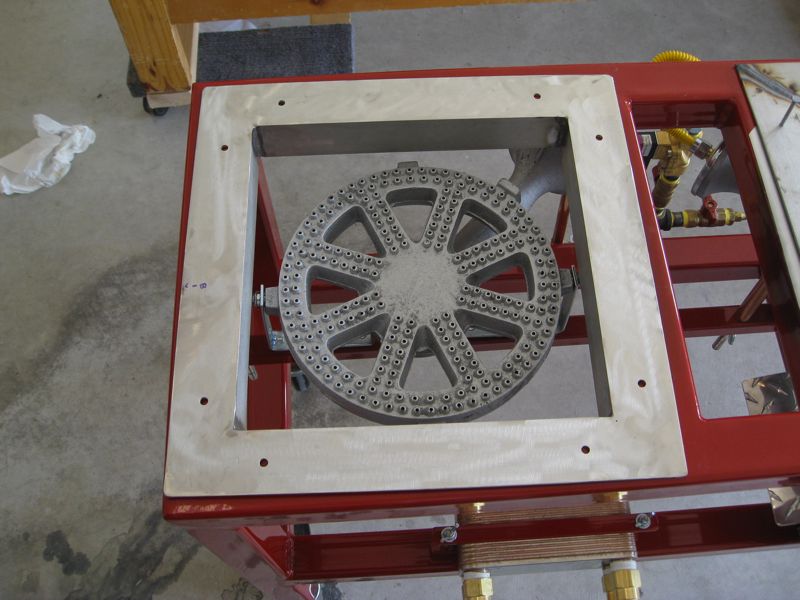
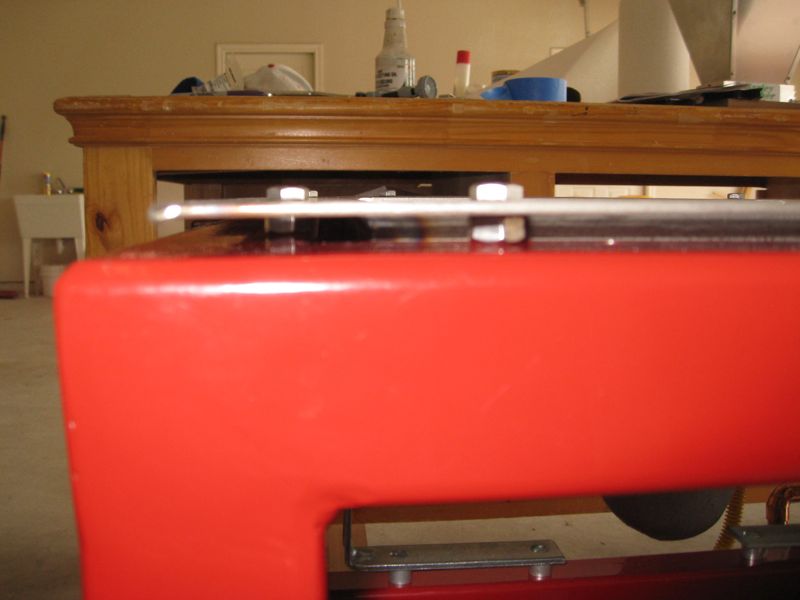
Yes its powder coated, going on 2 years now. I burnt my powdercoat during a test but fixed it permanently with inserts. Color and keeping color is the way to go. The stainless blocks in the last pic are welded now. they raise the keg up and let the burner exhaust. My frame is warm to the touch during a brew session and not the usual branding iron.
Thanks for liking my stand. Jon W's got a nice rig as well. He especially has some great ideas.
Snake10

IMG_2041.JPG.jpg


IMG_2043.JPG.jpg


IMG_2050.JPG.jpg


IMG_2051.JPG.jpg


IMG_2172.JPG.jpg
 
Jvino,
Run you wires through the bottom tubes. Put your temp probes into thermowells which are placed into stainless tees which then attach to the bottom couplers (outs) via quick disconnects.. All of my wiring is through the front bottom tube or the back copper conduit which is simply pressed together and not soldered. If you look closely on the first pic, you will see that the pump wires travel through the front bottom tube.
snake10

Curious - why'd you pick copper for a conduit over something like galvanized - weight?
 
Put the tube made from the material of your choice near the bottom tube! not the top. I used copper because it looks cool to me and it was free from my local scrap yard. You can shine copper up. don't think you can shine galvanized. The best part about using the copper conduit was that the pieces were loose cut and fitted then just pressed together after sliding down the wire to its resting spot. I can take it apart if i wanted to with ease. It is attached to the frame via electrical conduit 1/2 hangers tapped into the 1/8 steel tubing. There's no right or wrong material, just use what you like or have and try your best to make it look slick. Also, keep the electrical away from the top part of your frame. Conduit also helps to shield the wires from liquids, heat, and the occasional snag when you move it around.
Snake10

Gasbottom.jpg
 
Back
Top