• Please visit and share your knowledge at our sister communities:
  • If you have not, please join our official Homebrewing Facebook Group!

    Homebrewing Facebook Group

DIY 2-Tier AG brewstand build

Homebrew Talk

Help Support Homebrew Talk:

This site may earn a commission from merchant affiliate links, including eBay, Amazon, and others.
Well...after months of research, development, building, tinkering, head-scratching, and minor frustration- I finally made my first brew on the new System yesterday! :ban:

All my planning seemed to pay off as the brew session was about as smooth as I could have hoped for, without any major headaches. Best of all, I ended up with 5.5 Gallons of cooled wort in the carboy, and almost right on target for my OG! :rockin:

Now of course, I'm hooked on AG. The kegerator has been empty for months and it is time to gear up for some marathon brewing days. The first batch is bubbling away behind me as I type, and yeast are swimming around on the stir plate for tomorrow's brew day.

Thanks again to everyone who followed this thread and offered advice. I will keep this thread alive as I continue to tweak the system and make improvements.

Cheers,
Eric:drunk:

first_brew4.JPG


foam_snake.JPG
 
Here are a few photos of my BobbyM-direct-fire-Mash-Tun-Insulation-CLONE...Thanks Bobby!

MLT_al.JPG
mlt_insulation2.JPG


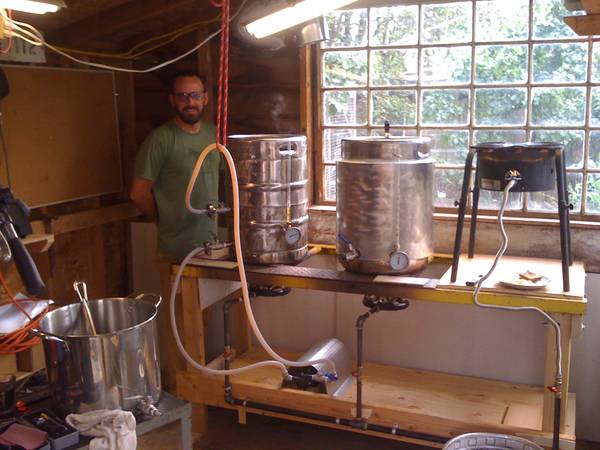
I sealed up the top of the insulation with silicone sealant, which you can see in the next photo. After the sealant had dried, filled 'er up with 12 gallons of water and heated to 170 deg F. Then I had to go to dinner with SWMBO, and when we returned three-and-half hours later it had only lost 15 degrees! Not Bad?!

mlt_insulation_complete.JPG

Dude. Respect. It's the best clone I've seen and I'm always amazed that I was able to pull it off with my meager metalworking tools and skill set.
 
Dude. Respect. It's the best clone I've seen and I'm always amazed that I was able to pull it off with my meager metalworking tools and skill set.

Thanks Bobby...You will notice that I didn't show a photo of the other side where the aluminum sheet that wraps up the insulation comes together. I Did order the same latches from McMaster that you recommended however...the aluminum I picked up at the scrap yard was too thick, and even with ratchet straps holding the thing on tight I couldn't get the overlapping end flush enough to make the latches work. Maybe I'll try to install the latches for version 2.0. In the meantime, I secured the thing with three short SS lag bolts I had. Doesn't look as good, but no one will see that side anyway, and it still insulates the same so I figure WTF?

In any case, I'm planning on brew day number two tomorrow. Now, its off to see if I can find some metal to use as wind shields for the burners...
 
Back
Top