• Please visit and share your knowledge at our sister communities:
  • If you have not, please join our official Homebrewing Facebook Group!

    Homebrewing Facebook Group

DeBrewer's Home Brewery

Homebrew Talk

Help Support Homebrew Talk:

This site may earn a commission from merchant affiliate links, including eBay, Amazon, and others.

DeBrewer

Supporting Member
HBT Supporter
Joined
Aug 23, 2010
Messages
236
Reaction score
20
Location
The South
It has been entirely too long but I am finally wrapping up. Long story short, I stopped brewing about a year and a half ago due to selling/buying a house. The new house has a 1600 sq ft heated and cooled basement that is now my shop and brewery. When we purchased the house I vowed to not brew anything until the new brewery was finished. Thankfully that time has come and I should start the first batch soon.

As you can imagine the project evolved and expanded into a rather large undertaking. My original setup was a home built gas fired 3 tier dubbed the "Murder Death Brew" since my friends had concerns for its stability. The new system is a single tear 2 - vessel no sparge electric with 20 gallon kettles. I am running it semi-automated with a BCS. Parts of the system are controlled by manual valves but others are electric. As I feel out the temperament of it, I will convert it over to fully-automated.

The pics should be rather large so click on them to get the full view. I am sure that I have left out a ton of details so feel free to ask if you have any questions. Cheers! :mug:
Ceiling%20Focus%20-%20Wide.jpg


Ceiling%20Focus.jpg


TV%20Wall.jpg


Wall%20to%20Shelves.jpg


Corner%20to%20Brew%20Station.jpg


Wall%20to%20Brew%20Station.jpg


Brew%20Pot%20Top%20and%20Grain.jpg


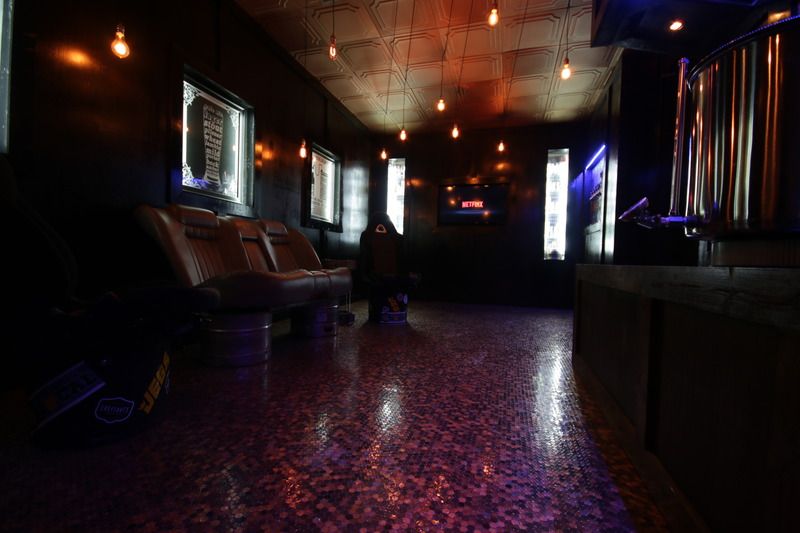
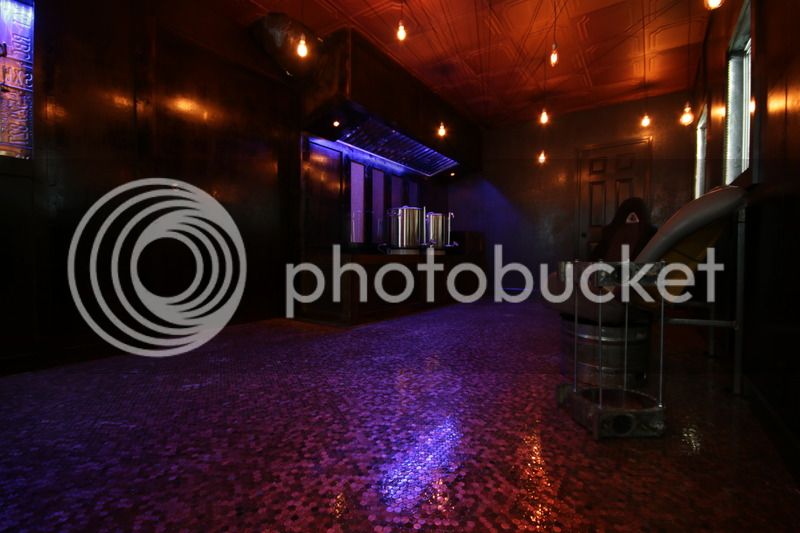
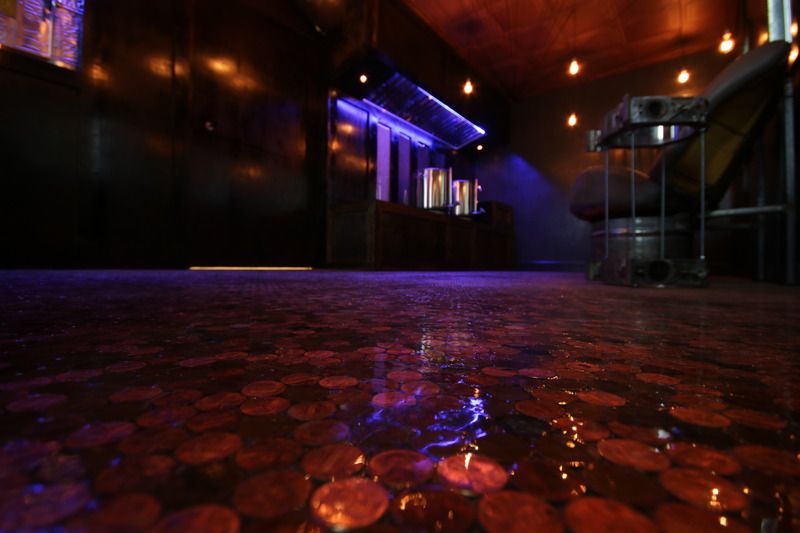
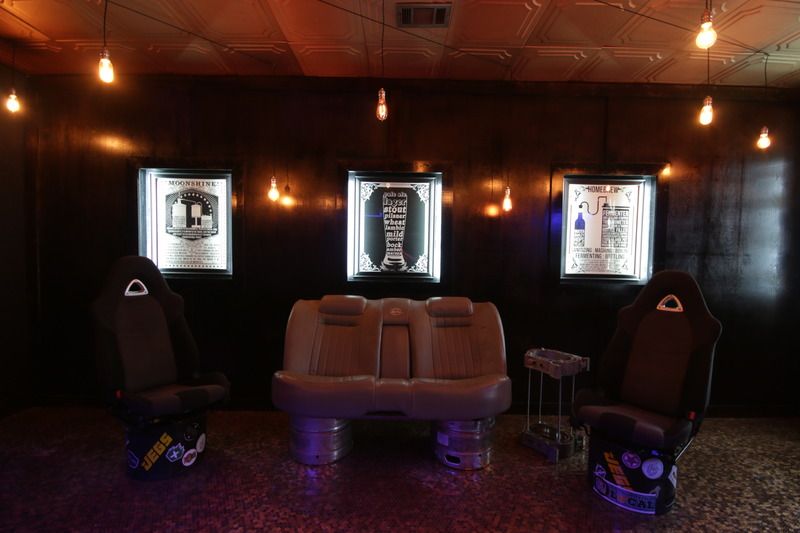
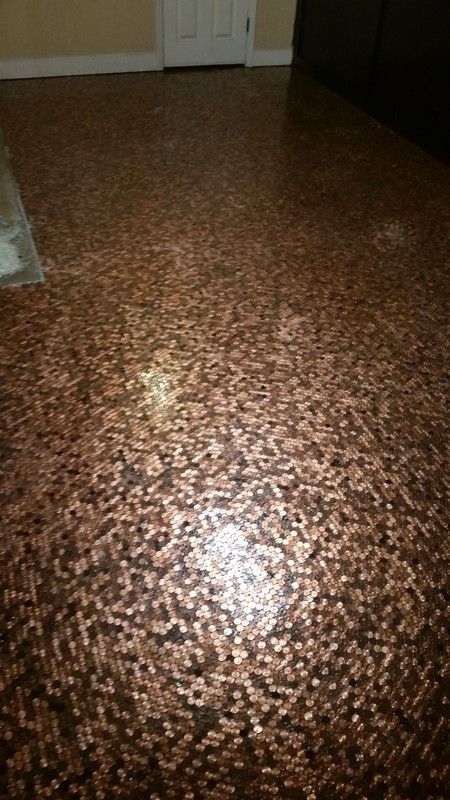
Gratuitous penny floor shot.
Penny%20Focus.jpg


I am a car nut as well so I tried to incorporate bits and pieces of both beer and cars. The bucket seats are out of an RX7 and the bench is a rear seat from a 96 Impala SS. The end table is still a work in progress since I am waiting on parts to finish it. They are rotor housing from an older model RX7. I have another one, not pictured.
Furniture%20Back%20Wall.jpg


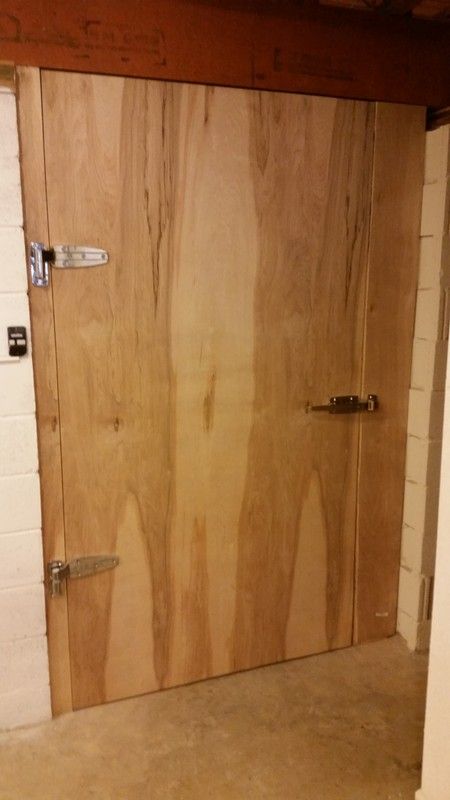
This is the exterior door of the brewery as viewed from inside my shop. I wanted something different and liked the idea of the chrome hardware so a freezer door fit the bill. The door itself is 4’x8’.
Door.jpg


Door%20Pull.jpg


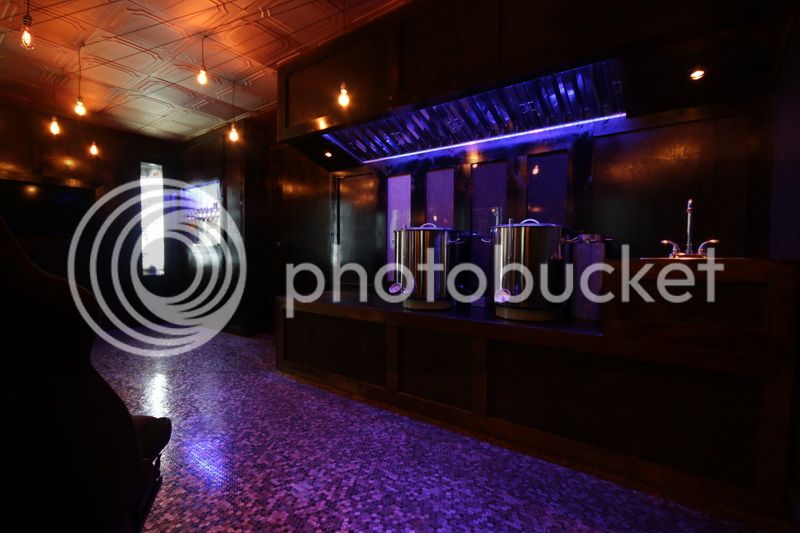
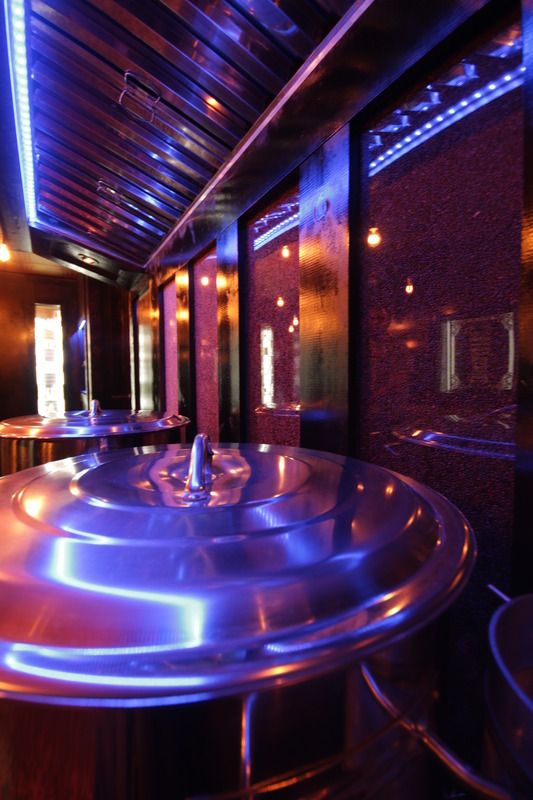
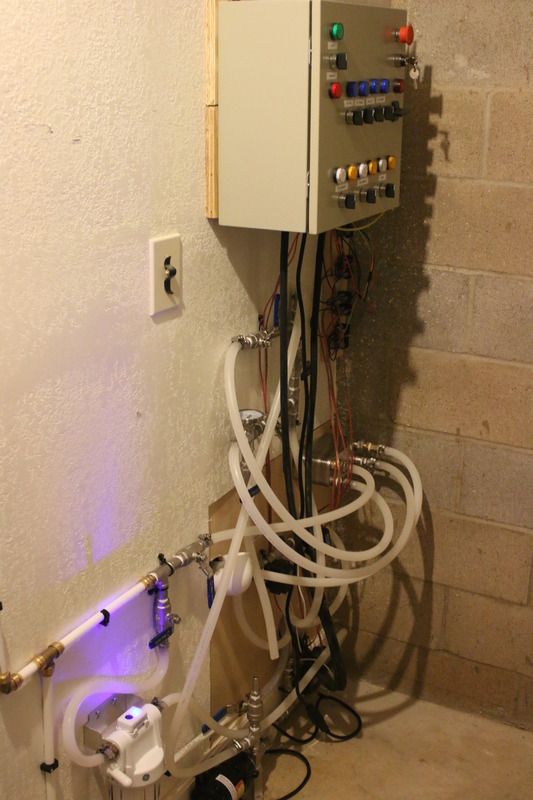
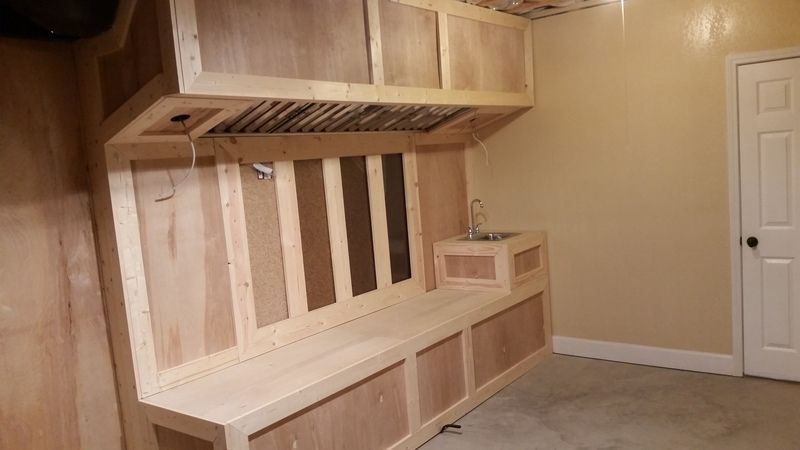
This is where the “magic happens”. I started off with a fairly standard setup from eBrewSupply and then added my own touches to it. I am using a BCS to control most everything. The portions that are currently manual are filling the pot with tap water, controlling the circulation path for the chiller, and the valve for draining the BK. I may eventually change them all over to electric valves like the others, but not until I get a better feel of the brewery.
Brew%20Room%20Full%202.jpg


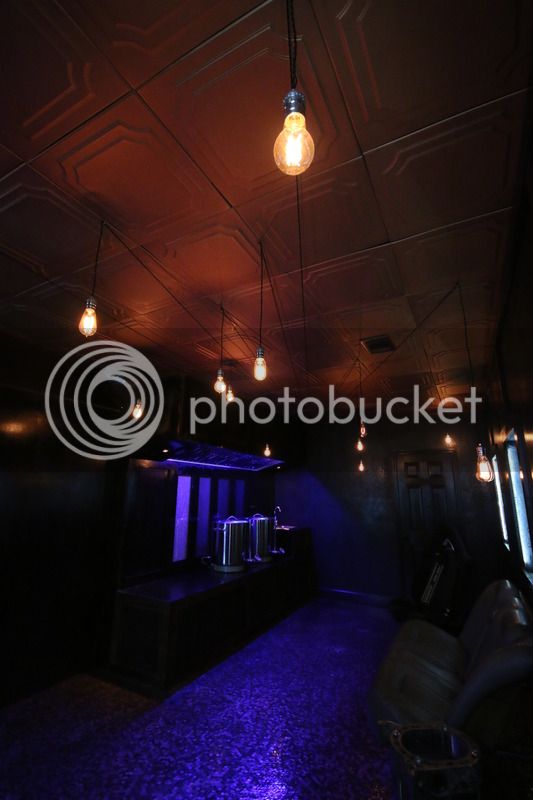
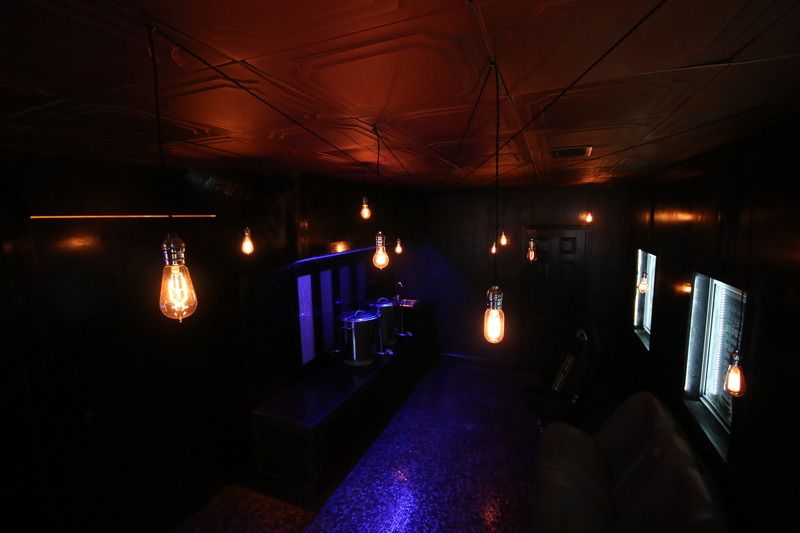
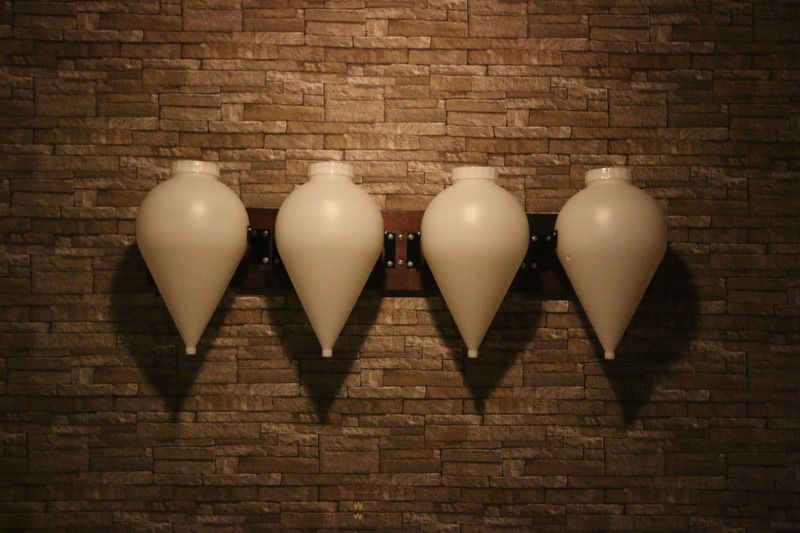
We used a random assortment of Edison style bulbs with the cloth wrapped twisted pair wire.
Bulb%20Coils.jpg


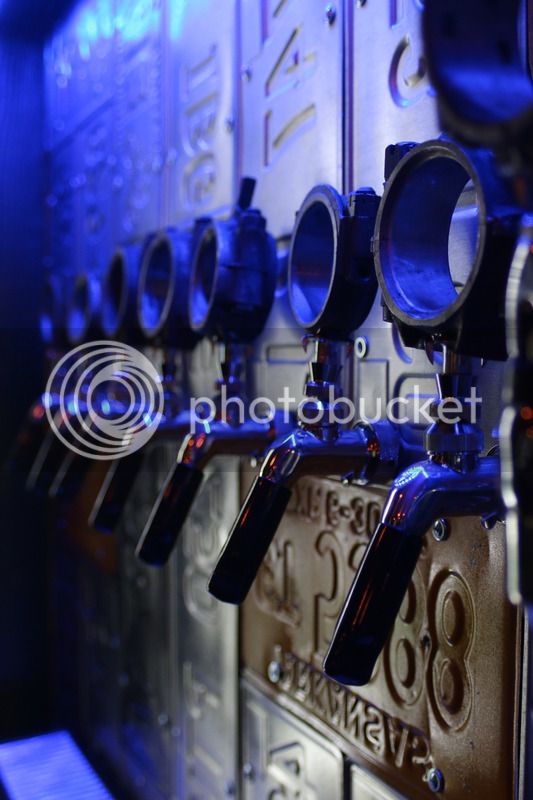
All of these tap handles were NOS connecting rods from a garage going out of business. Some old Hudson, Nash, Ford, and maybe an Edsel if I remember correctly.
Taps%20Close.jpg


Tap%20Wall.jpg


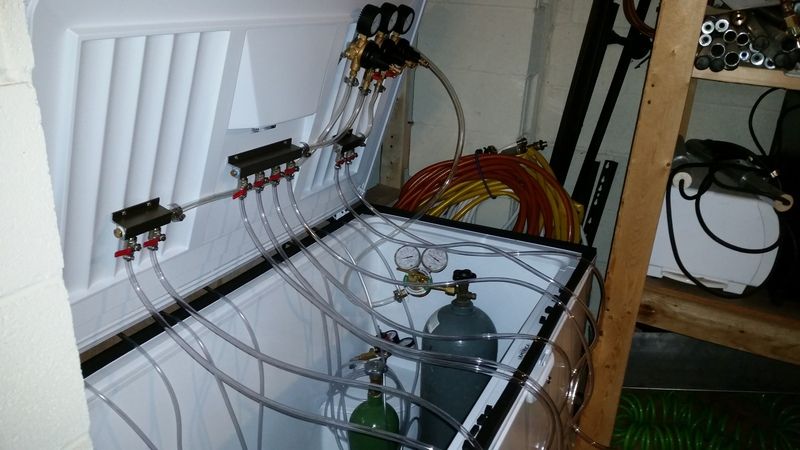
New keezer waiting to be filled.
20150531_160306.jpg


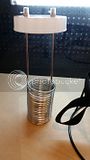
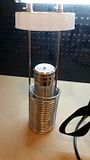
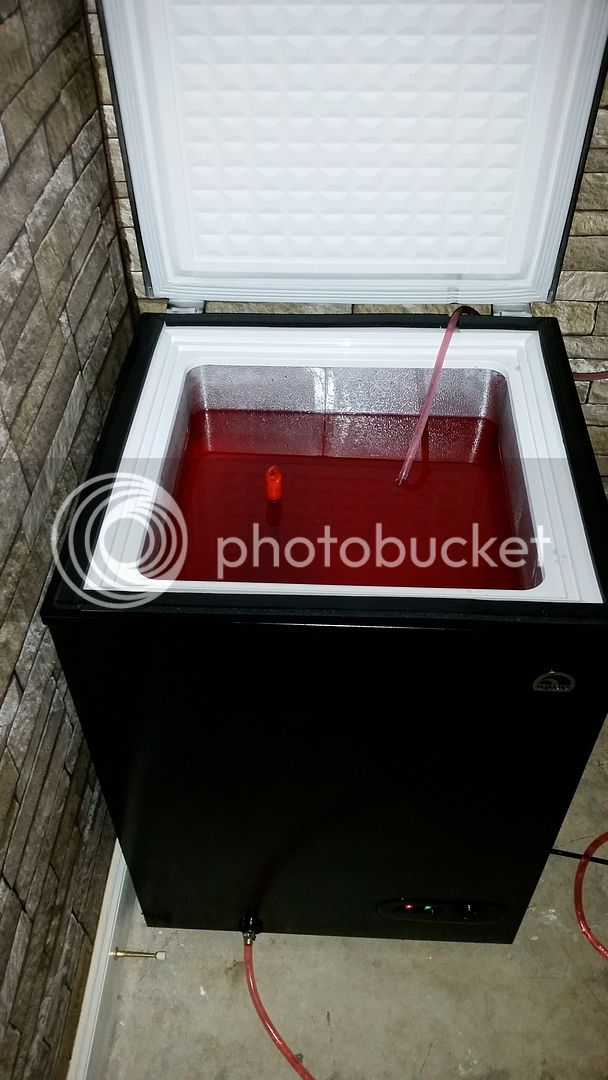
This is one of the last pieces of the project that I am wrapping up. This is in our “cellar”. It is another room in the basement. I have had custom stainless coils made to fit into the fermenters to act as an immersion chiller. I am working through the chilling setup now. Planning on a large reservoir in a freezer as opposed to a more compact chiller using an air conditioning unit. I need something quiet and indoors so the freezer method won out.
Fermenters.jpg


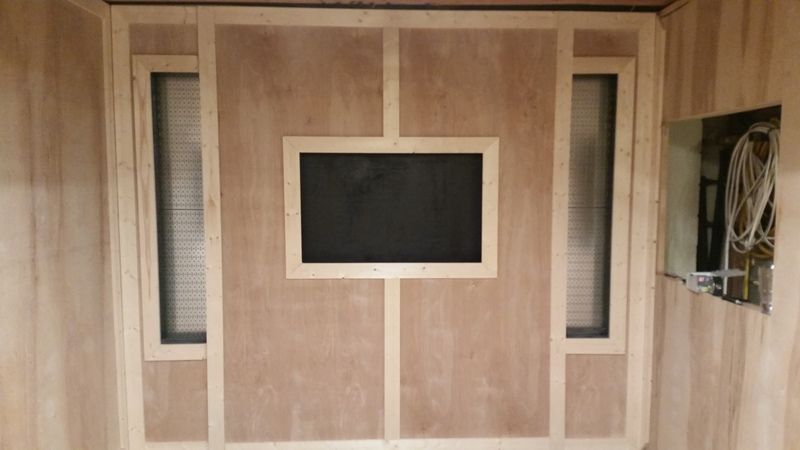
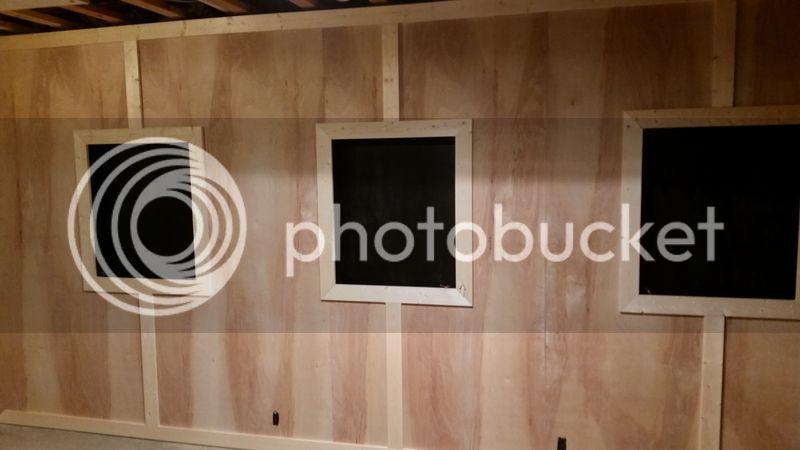
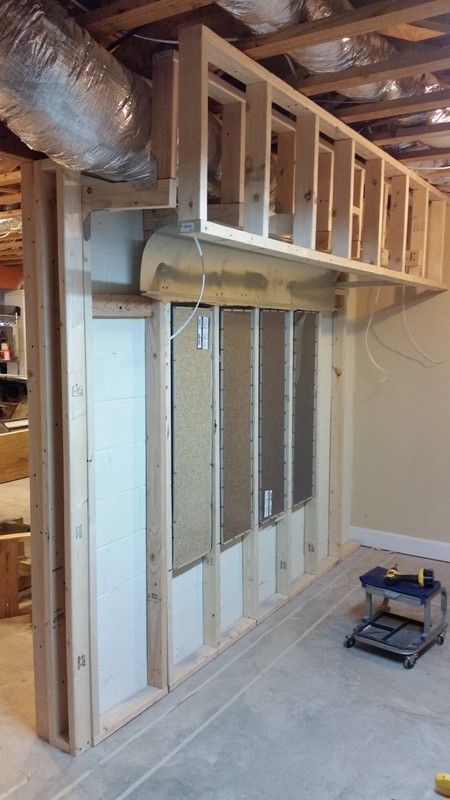
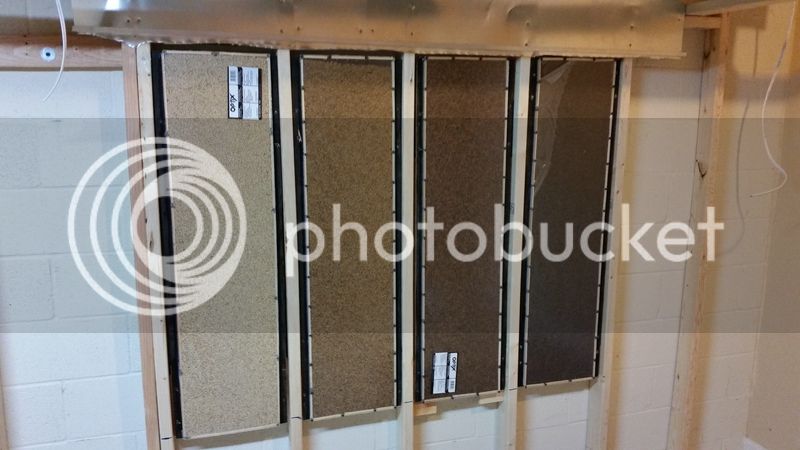
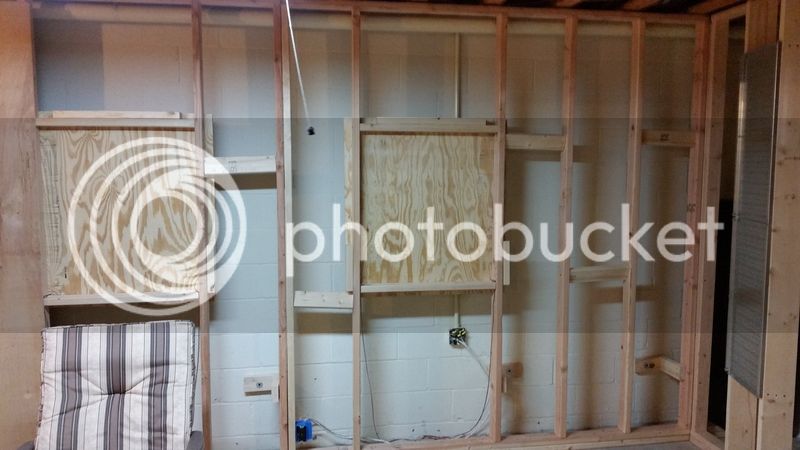
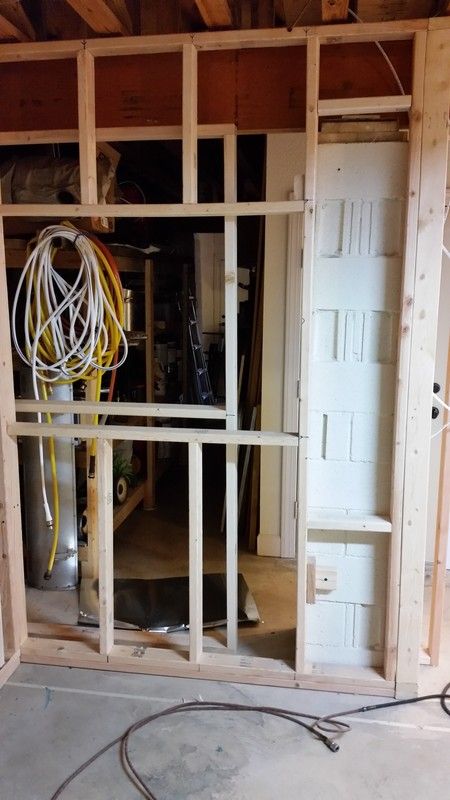
These are some pics of when we were building it.
20141027_040451.jpg


20140901_192014.jpg


20140817_165300.jpg


20140816_161940.jpg


20140809_123007.jpg


20140720_171312.jpg


20140720_171250.jpg


20140720_171413.jpg


20140720_171331.jpg
 
That is absolutely and insanely gorgeous. Many happy brew days and drinking days to come, no doubt!
 
I haven't been full on jealous of a lot of the builds here, because they usually don't suit my tastes...you built what I would build. Sub in some guitar parts for the car parts, but pretty much this. Made of win.
 
Thank you for the comments guys! I think it was just under $700 in pennies. As far as cost per square foot, it is actually cheaper than most higher end flooring. It took FOREVER to stick them down and then coat. Never again.....
 
Mother of God... I'd probably faint if I saw this in person. Sweet Baby Jesus that is one of the most gorgeous basements I've ever seen. You anywhere near Houston? Man, I'd bring you a few brews for entrance cover to come see that.
 
So is there a DeBrewer's Kickass Custom Home Bar Design/Builds, Inc. in operation somewhere?
 
Mother of God... I'd probably faint if I saw this in person. Sweet Baby Jesus that is one of the most gorgeous basements I've ever seen. You anywhere near Houston? Man, I'd bring you a few brews for entrance cover to come see that.

I am a little further north of you about 7 hours. Welcome to swing by anytime! :tank:

So is there a DeBrewer's Kickass Custom Home Bar Design/Builds, Inc. in operation somewhere?

That would be amazing but unfortunately no. I am honestly not a fan of working with wood. I am a car guy at heart so playing with metal is more my preference. As you can see from the build pics, I got lazy with some of the joints and things but I knew it would be dim lit room with a very dark stain and didn't see the point in spending a ton of timing making each joint perfect.
 
Looks like you will be the next to go Pro. Great Job and I look forward to tasting some of your wares.

Hecliff
 
Looks like you will be the next to go Pro. Great Job and I look forward to tasting some of your wares.

Hecliff


I would love too at some point. The problem with going pro is that there is no money in it and I've become accustom to my lifestyle.... Until I retire it will probably be a hobby. I'm 25 years from that....

DeBrewer,


Wow! That is absolutely amazing! Glad you are back in business and look forward to sharing some pints with you!


Rory


Thanks Rory! Missed you at the meeting last night. I'm finally local again and can be active. We need to grab a beer or brew sometime.
 
Working through the chiller system. This is an example of one of the fermenter chillers. Still trying to decide on 1 pump with 4 electric valves or 4 individual pumps. It's 1/4" line so tiny pumps are cheap. I want the pump on the return side to keep heat down. We shall see...

Coil mounted to cap
th_20150614_140927.jpg


Dry hop container nests inside the coil
th_20150614_141002.jpg


The coil itself reaches down just below the 1 gallon mark so there should be no issue with using the setup with smaller batches.
th_20150614_140609.jpg


What are you using to bulkhead mount through your lids? I am planning/working on adding coils to my FF's and buckets (a couple anyway) but couldn't find anything cheaper than about $20 to $30 each (which gets pretty expensive pretty quick). How are you attaching your coolant lines?
 
What are you using to bulkhead mount through your lids? I am planning/working on adding coils to my FF's and buckets (a couple anyway) but couldn't find anything cheaper than about $20 to $30 each (which gets pretty expensive pretty quick). How are you attaching your coolant lines?


thumbnail.asp


A lot of the stainless parts I used came from Stainless Brewing (www.stainlessbrewing.com). Look under the compression fittings tab for bulkhead. The 1/4" were $12.31.

The hop spider he makes is phenomenal. I picked up the medium one and am very happy with his craftsmanship. Very professional piece.

thumbnail.asp
 
I think just drooled a little bit...

Great space DeBrewer! I would probably never come out of there, just slide me some food under that door.
 
Just... damn.

This is amazing. Awesome design, great space, sweet equipment. Executed perfectly.

I am insanely jealous of your personal brew space man.
Kudo's! :tank:

Conner
 
Where's the electrical and pump goodies in relation to the brew rig?

If you are facing the pots, it is all on the wall to the right. All of the hoses run down into the bench and under the sink. The pump and valves are on the other side of the wall so if you see the cut out wood panel under the control panel, that is another access to under the sink. The bench moves out and the sink can be pulled out as well. There is no plumbing in the floor of my basement so the sink and brewery run off into a reservoir under the sink. There is a sump pump that pushes it up into the plumbing of the house.
 
WTF...........I hate my life. Can i trade for yours?

Seriously though, that's one serious brew room.
 
I finally had a little time to work on the brewery this weekend. I finished up integrating the waste water reservoir into the home plumbing. Since it is in the basement, there are no drains in the floor. I used a reservoir and large pump to push the water up 9 feet and integrate into the plumbing. 1 1/2" PVC with a manual valve, check valve, and a few fernco. Fairly simple. I close it off manually when not in use. The check valve helps keep the reservoir empty since when the pump stops there is 9 foot of 1 1/2 pipe full of water that would flow back in.

Aside from the plumbing, I started the testing on the proof of concept for the fermenter temp controls. I bought a 3.5 cu ft Igloo freezer and filled it with 20 gallons of RV Antifreeze. I am pumping that through the coil pictured before. Initially I had the fluid starting from the bottom of the coil and working its way up but I believe that is an error. Since the fermenter is a bulb shape (higher volume of water on top), the bottom immediately got cold and the top was still warm. I plan to run another test tonight in reverse to see how it performs. I do not have a degree in thermodynamics so any input is greatly appreciated! Cheers!

20150706_203829.jpg


20150706_203954.jpg
 
The temp control unit I have for my Ss Brewtech conical has the coils towards the top and it keeps the temp throuought the fermenter pretty stable.
 
The temp control unit I have for my Ss Brewtech conical has the coils towards the top and it keeps the temp throuought the fermenter pretty stable.

How do you cycle the fluid through the coil? Is it an internal coil like mine? I am debating on writing a simple micro controller program to cycle the fluid through. Currently I am using an STC-1000 for testing but it will run constantly until the desired temp is reached. I assume by that point there will be places that are much colder than anticipated. I do not want to stir the fermenter so I assume that I could have it run for a number of seconds then wait for some amount of time to hopefully give it time to disperse and cool as evenly as possible. I do not want to overshoot my temps and kill the yeast. It will take longer to drop the temp but again hopefully more evenly. Thoughts?
 
Back
Top