uuurang
Well-Known Member
With a mash/lauter tun you extract the sugars from grain to collect a sweet liquid that would be equivalent to your LME/DME. Why would one do that...control, over a period of time cheaper, tastes better IMO.

98EXL said:one of the Home Depots in Annapolis had 3 of the 10 gallon Igloos on clearance for $40.....end of season apparently.
uuurang said:I had to special order one from my local Ace hardware.
") There's not one in my city and I've not seen any around this area - I figured Ace was regional and not here. Fortunately there's one about 30 miles north of here and they DID have one of the 10 gallons in stock. I paid $46 for it but oh well. Thanks for the tip!
There's not one in my city and I've not seen any around this area - I figured Ace was regional and not here. Fortunately there's one about 30 miles north of here and they DID have one of the 10 gallons in stock. I paid $46 for it but oh well. Thanks for the tip!


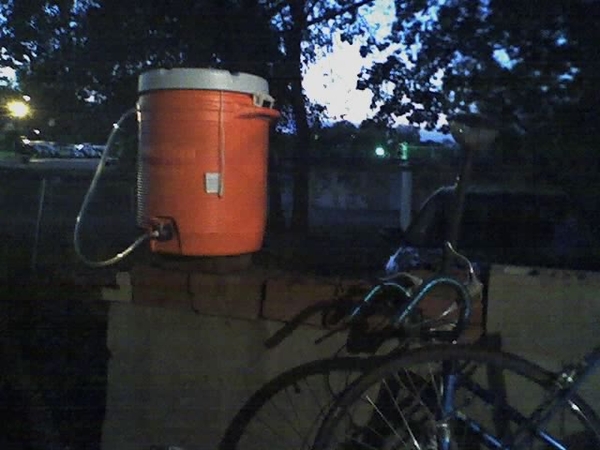
The Rubbermaid round beverage coolers are meant for beverages and do not have a plastic taste.hopsalot said:does it have a plastic taste?
Bobby_M said:I've seen people make copper coils from electrical wire and use that but I just find it to be unnessesary. I've used the stainless braid in my cooler for a good 12 batches and it's never deformed or collapsed.

bazeballdadx said:I apologize for my ignorance here as an extract brewer, but how does the liquid flow out of the cooler? Does the stainless steel braid act as a grain filter, while allowing liquid to enter throughout all sides of it? Or does liquid enter through the end of the braid hose?
I thought I understood this, but upon viewing the 3/27 update I got confused.
Thanks.
njnear76 said:Can you do a partial mash with the 10 gallon beverage cooler setup?
I'm plan on going to all grain in a year from now once I move into a house.
There's still a lot of brewing equipment I want to acquire over time so I'm not stuck with sticker shock. (I already bought a 36 quart pot, which I plan on using now.)
- scale
- wort chiller
- mill
- 02 aeration setup.
- kegging equipment
Soulive21 said:Yeah you can partial mash in the 10 gallon cooler. Just make sure your brewing software accounts for the dead space...
Heh. I got to revist the 80s catch phrases. Psych out the kids.Soulive21 said:Right on man...
Soulive21 said:You're right that the braid filters everything (mostly) out except for the liquid. The liquid flows out via gravity/pressure differences. You will also establish a grain bed via vorlaufing which helps clear the liquid...
Soulive21 said:Yeah you can partial mash in the 10 gallon cooler. Just make sure your brewing software accounts for the dead space...