• Please visit and share your knowledge at our sister communities:
  • If you have not, please join our official Homebrewing Facebook Group!

    Homebrewing Facebook Group

Cheap & Easy 10 Gallon Rubbermaid MLT Conversion

Homebrew Talk

Help Support Homebrew Talk:

This site may earn a commission from merchant affiliate links, including eBay, Amazon, and others.
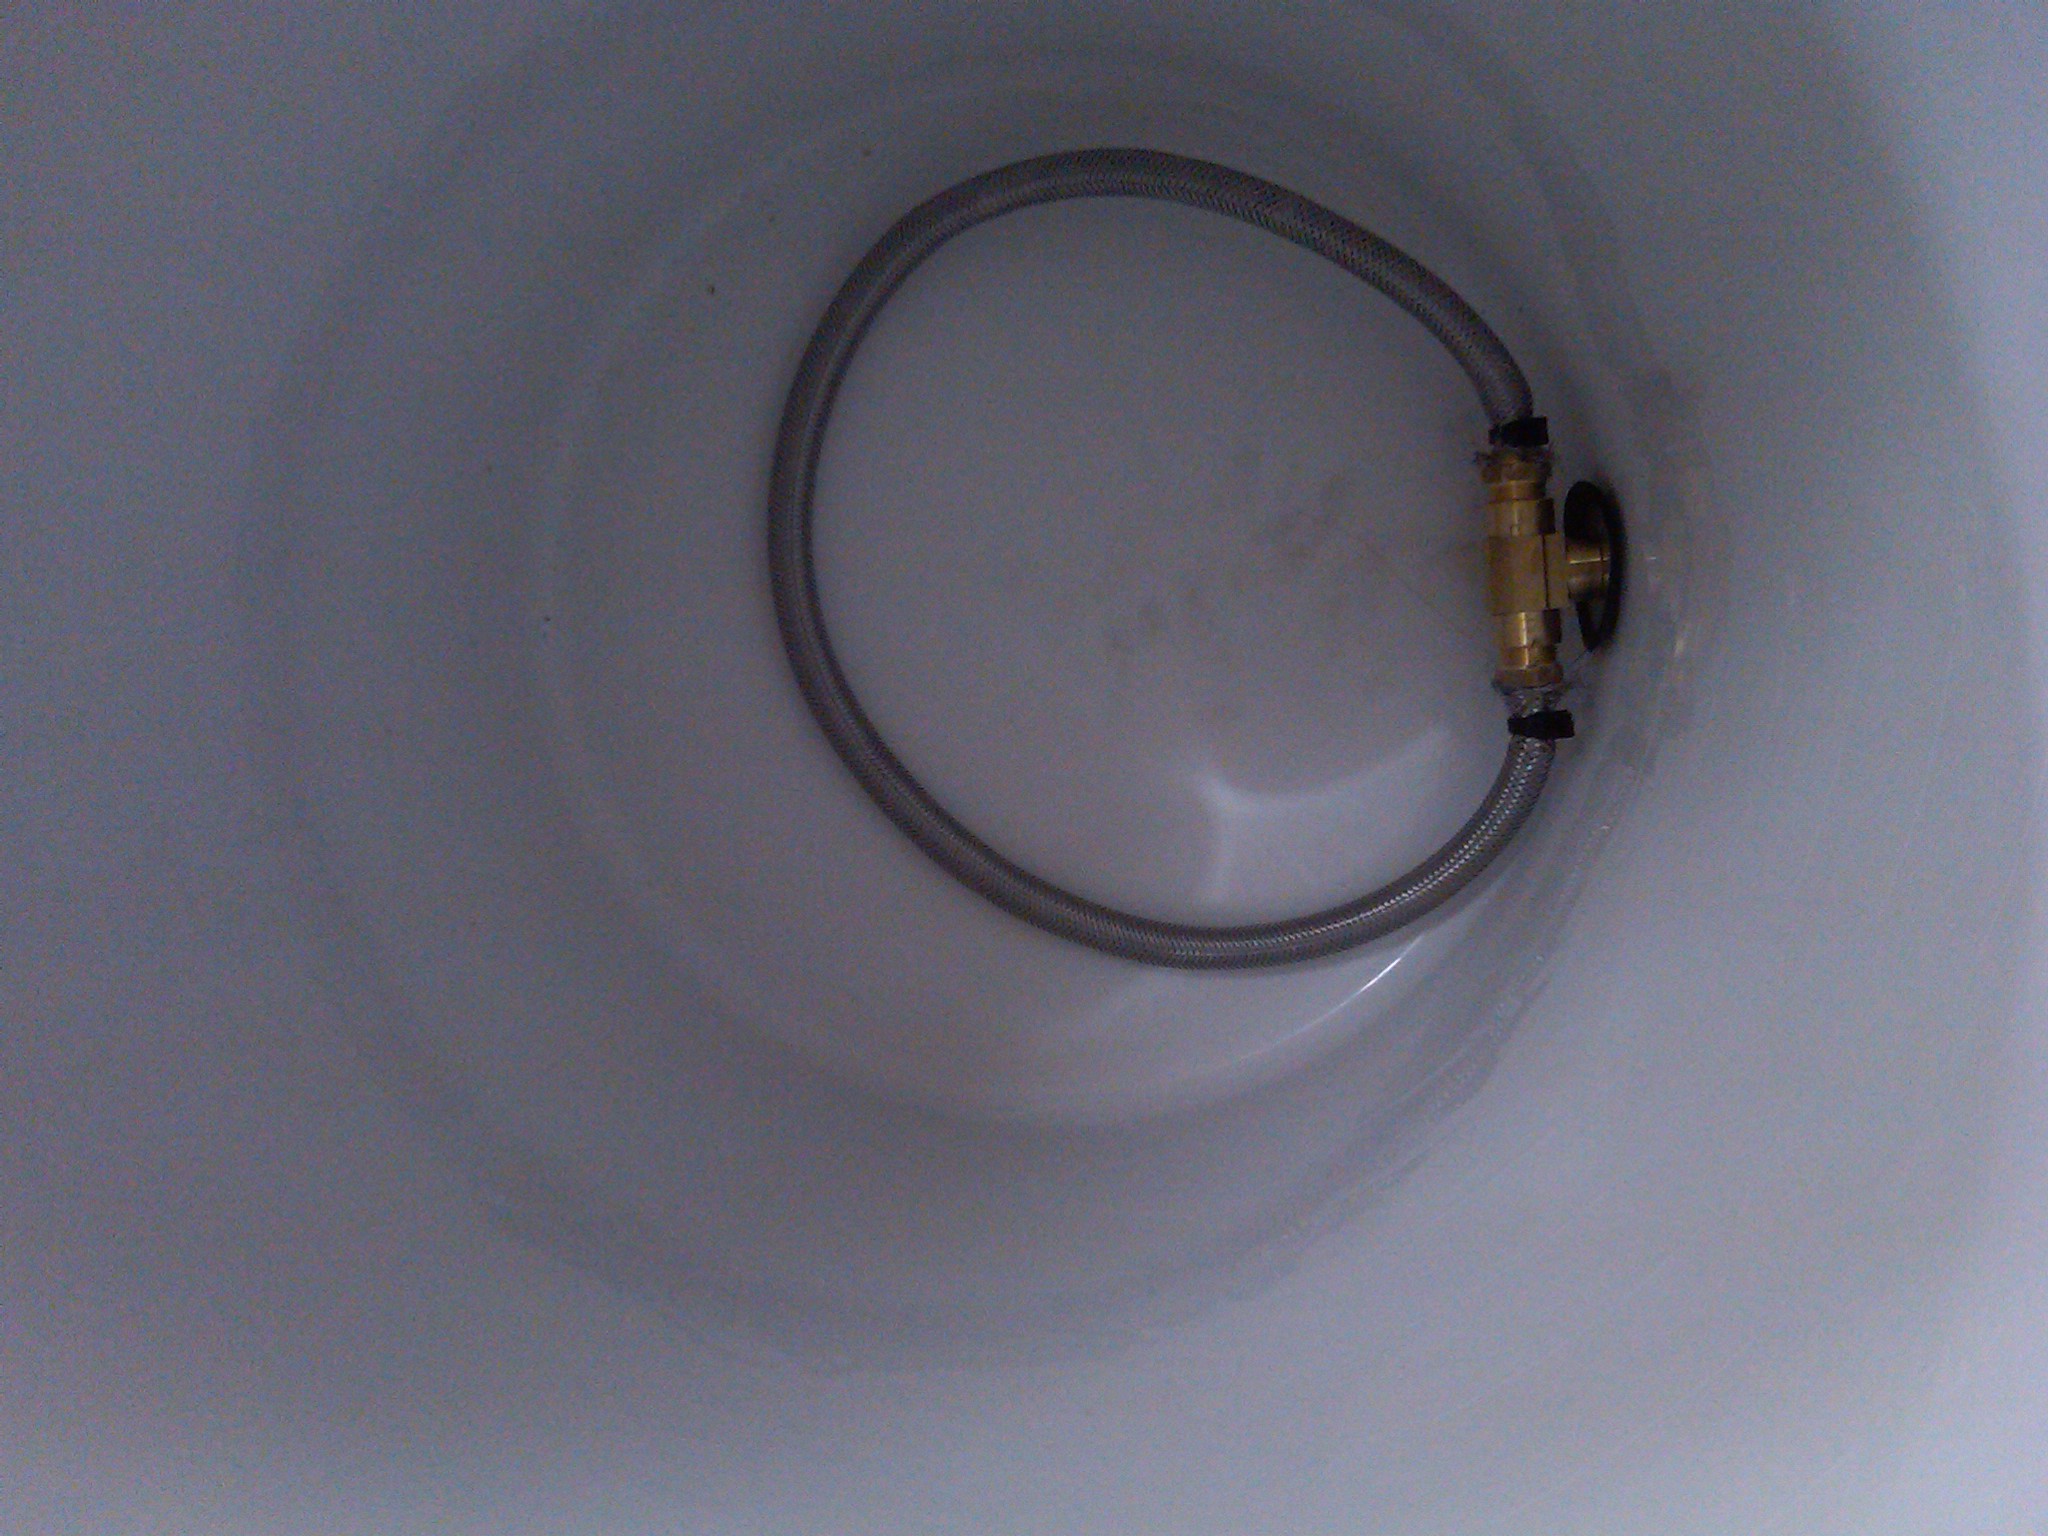
I just finished building this. I bought the parts over a year ago but a new baby got in the way of brewing I was lucky to get one or two extract sessions in no way was I going to start up AG with such limited time available. The only alteration I made was to leave 6" of hose inside the braid attached to the bulkhead. I am hoping the grain bed will push this to the bottom and lower the effective pickup point reducing the amount of wort left when I sparge. I didn't read all 870 posts, has anyone else done this? If so, did it work?
 
I made one today, I used a 10 gallon Igloo round cooler. The wall is thinner than the rubbermaid, and i had to change the parts slightly. It leaks a drop or 2 an hour...I think i'm ok.

Here are some pics:


hrm...I can't post embedded images :(
 
what would the proper vessel heat capacity setting be for this in beer tools? thanks for the help
 
I just did my first ag batch with this style of mash tun, It worked great. Thanks Skifast for the mod. (I ski fast too)
Word
Doug
 
Thanks for this thread and all those who contributed to it! Just brewed my 2nd AG, and first with the 10gal Home Depot cooler mash tun. It was $40 for the cooler and probably $20-$30 for the rest, so $60-70 to purchase this. Well worth it! With 8lbs of hops on the way, I'm sure this mash tun will get more than its fair share of use! :mug: :tank:
 
I just made a 5 gallon version. Menards had the 5 gallon Rubbermaid for just under $15 You can't beat that. I couldn't find an o-ring so I used a garden hose washer, seem to work ok, slipped right over the 3/8" brass nipple.
 
I had the 5 gallon Rubbermaid with 4" copper tubing running through a stopper with the braided stainless attached to input side and 3/8" hose + clamp on the output side. Always worried about keeping the stopper secure. But now, this is great. Thanks Skifast! Going to get 10 gallon from Home Depot for MLT and convert my 5 gallon to sparge tank so I can keep closer to 170.
 
I see there are many brass pieces to this. Doesn't brass contain a small amount of lead? wouldn't an all stainless bulkhead be better albeit more expensive?
 
On my way to creating my easy MLT....Got the last 10gal cooler @ HD for $34 & a plumber supply friend hooked me up with all the hardware. Just gotta buy a SS braid, High temp vinyl & SS washers! Sweet deal! I'm psyched for AG!!
 
On my way to creating my easy MLT....Got the last 10gal cooler @ HD for $34 & a plumber supply friend hooked me up with all the hardware. Just gotta buy a SS braid, High temp vinyl & SS washers! Sweet deal! I'm psyched for AG!!

Just a word to the wise, verify the braid is SS, the small stuff at Home Depot is a synthetic that looks like SS, I got mine at Lowes and no stuck sparges. :mug:
 
Just a word to the wise, verify the braid is SS, the small stuff at Home Depot is a synthetic that looks like SS, I got mine at Lowes and no stuck sparges. :mug:


Yeah...Home cheapo near me only had the polymer blend in stock. Only sort of SS they had were polymer lines w/ SS connectors! Time to go to Lowes...
 
I avoided the whole "shopping around" to put together the correct parts for the conversion- just got the complete kit, including all 3/4" fittings and the large diameter braid, from Bargain Fittings. I would have spent more in gas running around to find the correct set of parts than I did just buying the kit. BF's "standard" kit works fine with the Rubbermaid cooler.
 
I avoided the whole "shopping around" to put together the correct parts for the conversion- just got the complete kit, including all 3/4" fittings and the large diameter braid, from Bargain Fittings. I would have spent more in gas running around to find the correct set of parts than I did just buying the kit. BF's "standard" kit works fine with the Rubbermaid cooler.

What fun is that? Seriously dude--this is the DIY section! :tank:

I got all my stuff from one store. What took time for me was finding the stuff that worked, but of course now that one of us has done it the rest can just skip the trial-and-error and copy what worked.
 
i have a quick question.

how are people keeping the temps up when mashing.
i am only mini mashing and when i start the temps are ~165ish.
after i mix the grain and water and let it sit for ~15 mins, my temps drop to high 140s.

im using a standard igloo 5 gallon cooler, and i havent converted the drain yet.
should i be starting with hotter water? should i get the extreme igloo and convert that?
i would love to make the swap over to all grain, but if i cant even keep my mini mash temos steady, im not gonna be able to keep a full all grain temp steady.

any suggestions
thanks in advance.
 
What is happening is the water you put in the cooler has to heat the cooler and then heat the grains up. This is sapping heat from the water and causing the temp drop. You can use many tools to calculate the amount of heat the grains will take from the water but you'll have to deal with the cooler losses another way.

There are 2 ways of doing this. You can either pre-heat the cooler with hot water and then empty that out before filling with your mash water. Or you can put very hot water in the cooler, 180 perhaps and then leave the top off and dough in once the water hits your strike temp.

If you aren't using a brewing application to help you calculate strike temp etc. you can use the calculator here: http://www.brew365.com/mash_sparge_water_calculator.php

Use the amount of water in the "Mash Water Needed" output and heat it to the "strike temperature" if you are using a preheated cooler. (If you want to use more water than told to change the "Mash Thickness" number until you see a volume you like) If you are not using a preheated cooler heat the strike water 5 or 10 degrees hotter than the calculator says and put it in the cold cooler and then dough in when the water cools to the strike temp.
 
i have a quick question.

how are people keeping the temps up when mashing.
i am only mini mashing and when i start the temps are ~165ish.
after i mix the grain and water and let it sit for ~15 mins, my temps drop to high 140s.

im using a standard igloo 5 gallon cooler, and i havent converted the drain yet.
should i be starting with hotter water? should i get the extreme igloo and convert that?
i would love to make the swap over to all grain, but if i cant even keep my mini mash temos steady, im not gonna be able to keep a full all grain temp steady.

any suggestions
thanks in advance.

What you're going through has been my single biggest issue making the jump to AG. I preheat my MLT (the Rubbermaid 10 gal. Home Depot branded cooler) with 3 gal. of 170F water (later reheated and used as sparge water). Whatever the good news, this means that all of your temperature calculation tables and brew software WILL NOT return a correct strike temp.

This doesn't mean I don't recommend it, because I do. You just have to find out how to adjust your strike water temperature in line with the preheat. Sorry- but this will be some trial and error.

The other thing is stirring. DON'T take a temperature measurement without stirring, stirring, and more stirring. And I am not, not, not exaggerating. This caused me more confusion than anything else when I started mashing. It takes a lot of stirring to get an even temperature in a mash.
 
... this means that all of your temperature calculation tables and brew software WILL NOT return a correct strike temp.

Not true, at least for Beersmith. If you select the "Adjust Temp for Equipment " checkbox, in the mash profile, it DOES increase the temp of your strike water to compensate for an ambient-temp mash tun. In fact, it gives you a list of common mash tun materials and automatically assumes the correct heat capacity, which is just a number that describes how much heat that tun will sap from your water. You can change this number slightly to dial in your particular container. (see Details next to your equipment settings)

If you preheat your strike water, and you want Beersmith to ONLY correct your temperature for the grain bill (which should be at ambient), then leave the checkbox unchecked. Hope all that was clear.
 
If you preheat your strike water, and you want Beersmith to ONLY correct your temperature for the grain bill (which should be at ambient), then leave the checkbox unchecked. Hope all that was clear.

Now if I could only get beersmith to adjust FG estimates based on mash temp....

Any ideas?
 
Not true, at least for Beersmith. If you select the "Adjust Temp for Equipment " checkbox, in the mash profile, it DOES increase the temp of your strike water to compensate for an ambient-temp mash tun. In fact, it gives you a list of common mash tun materials and automatically assumes the correct heat capacity, which is just a number that describes how much heat that tun will sap from your water. You can change this number slightly to dial in your particular container. (see Details next to your equipment settings)

If you preheat your strike water, and you want Beersmith to ONLY correct your temperature for the grain bill (which should be at ambient), then leave the checkbox unchecked. Hope all that was clear.

Good to know. Would have been more useful if I'd found it out before I started. Now that I have a handle on how it works, it makes the software kind of redundant. I've only used Beer Alchemy, and don't get along with it, except as a method of keeping records.
 
Just made two of these (mash tun and hlt)

A few things:

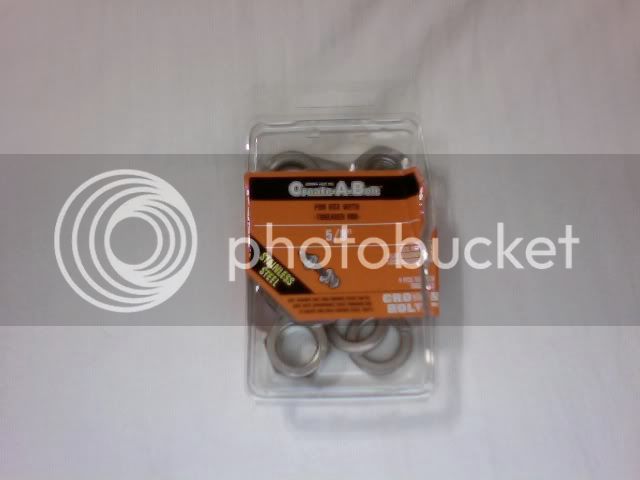
Stainless steel washers - I couldn't find them on Lowes. They had 1/2 and 3/4 (too small, too big), or some "reinforced" types of non-descript material (yellowish, not brass). On Home Depot, I found this box - it's on the nuts & bolts section, there is a section just for these "create a bolt" orange boxes (they're not on the drawers, they're hanging on the wall). Flat washers not visible on photo because I used them :)

Photoon2009-10-04at1444.jpg


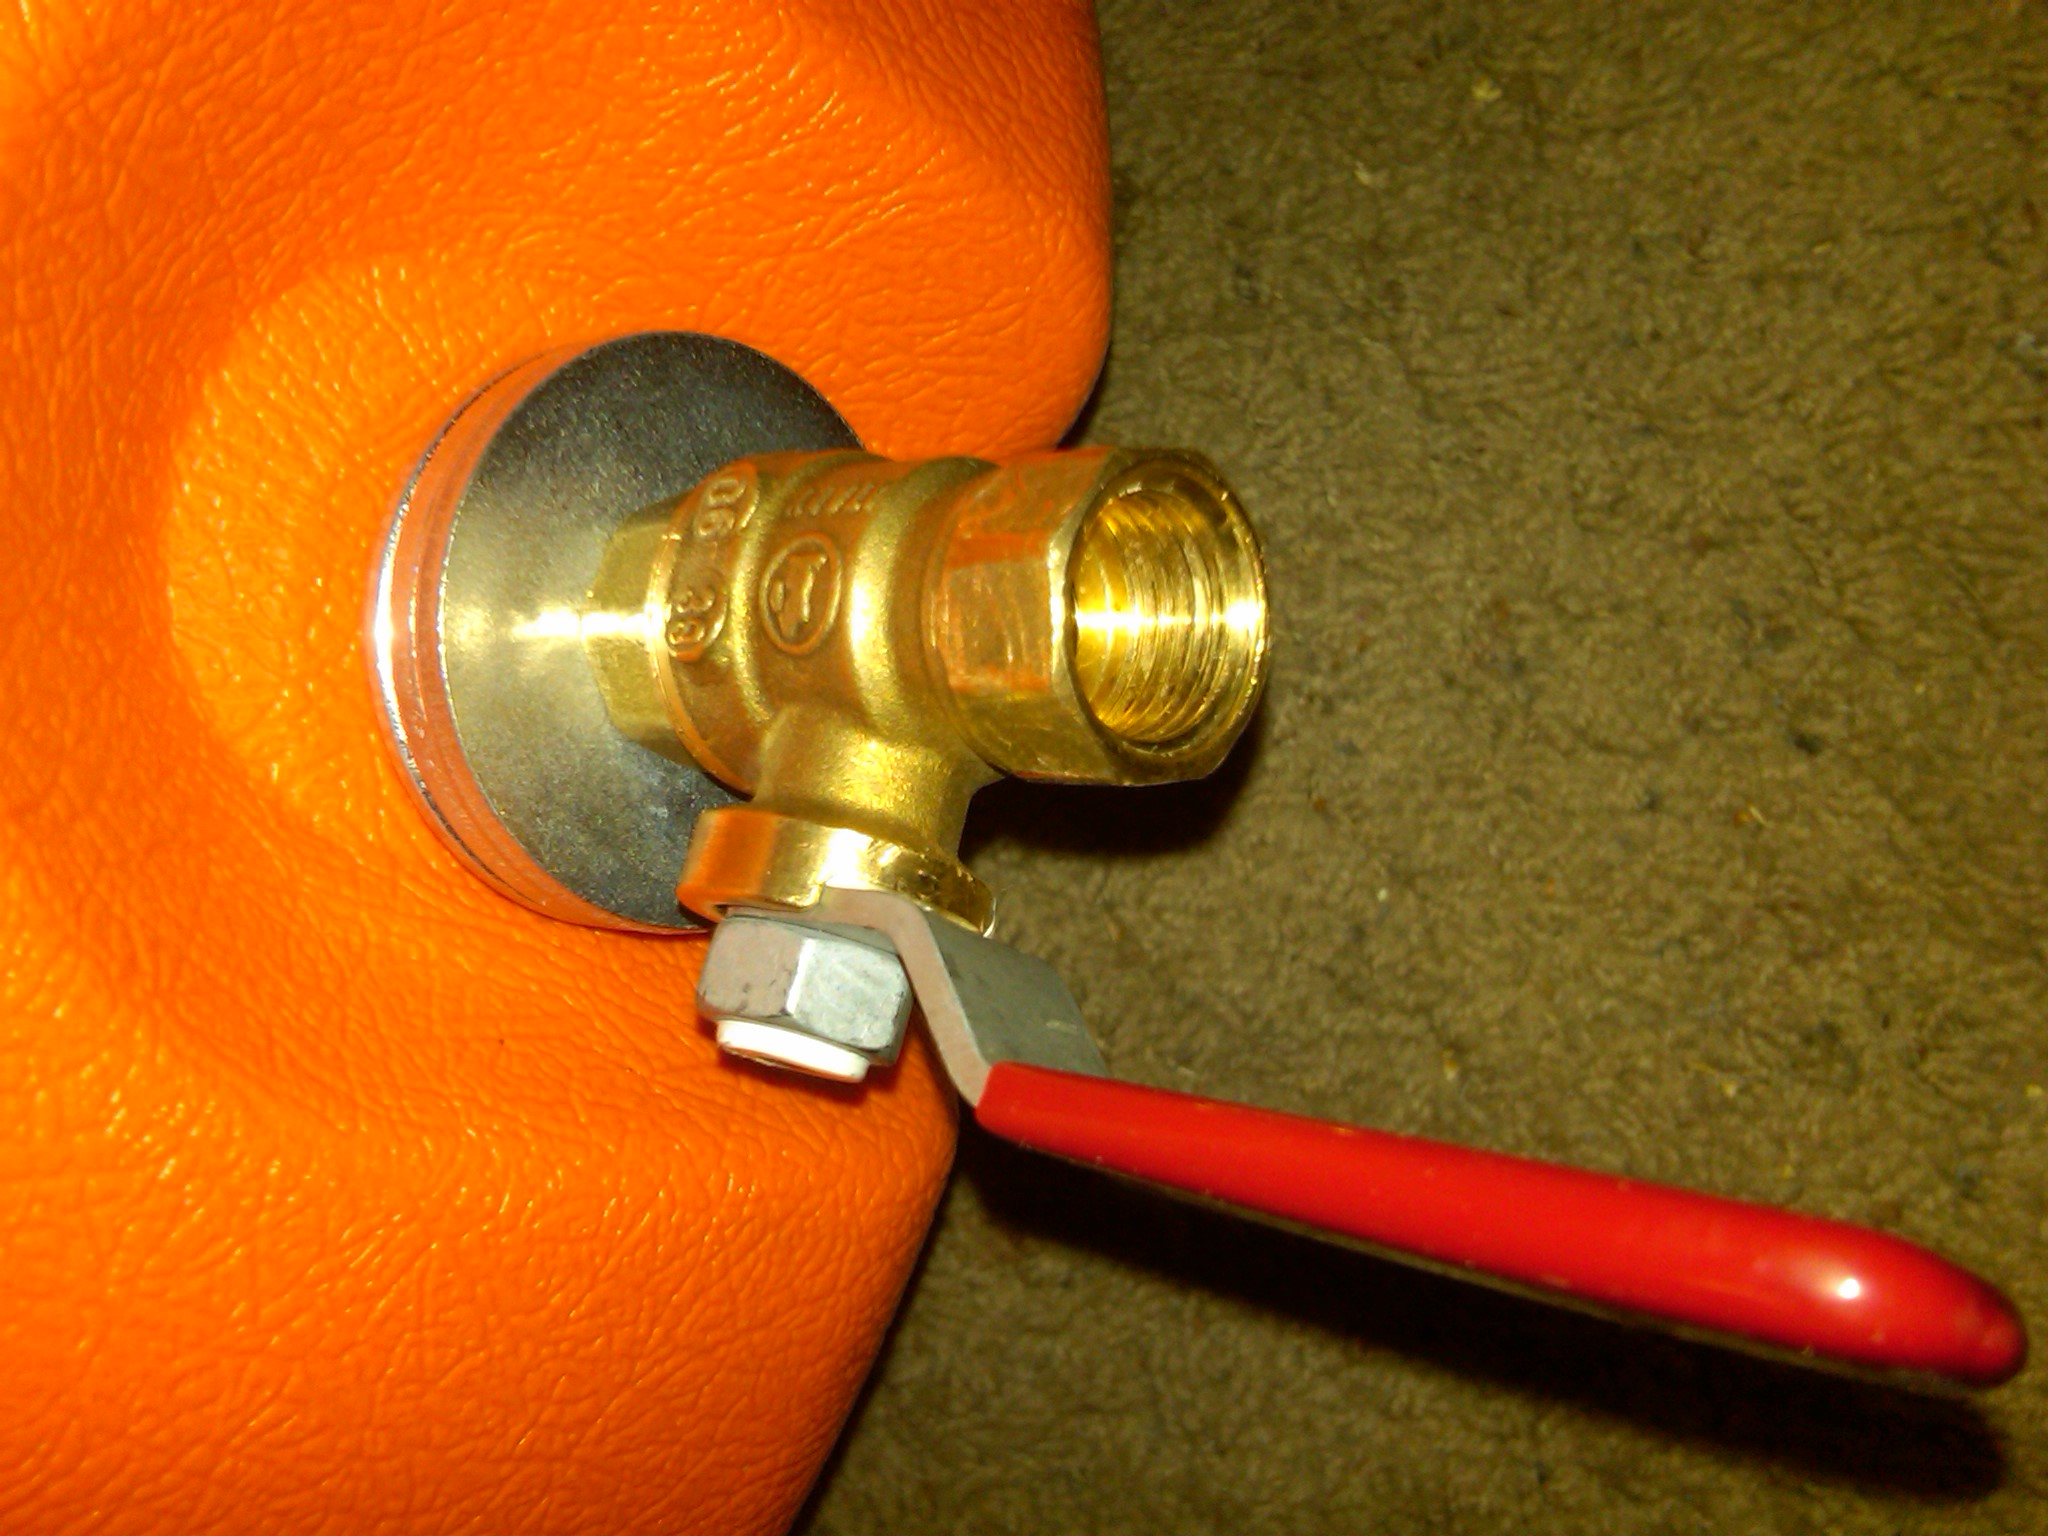
I used the short nipple (a-785?) instead of the a-786. With that, I could fit with only one SS washer on the inside, and one zinc-plated (thicker, smaller diameter) washer on the outside. The tap touches the wall when closed, but it's still barely able to close the full way.

I got the coolers from Ace, and the two were slightly different (although with the same model code, upc, everything). In one of them the tap hole has an indentation around it, so I could only fit the zinc washer - the ss one was too big. I'm starting to think the walls on that one are thicker - I may have to check which one holds more heat. As long as you've got the smaller washer for the outside, the instructions work for both, though.

I got the o-rings from fred meyer in their faucet section. They have a "faucet repair kit" that includes like 8 o-rings of different diameters.
 
I too, just made two of these and the stainless washers I found were at Menards. .49 each. I don't prefer Menards so all the rest of the build was from Lowes.
 
Cool thread. Thanks for posting. Has anyone built a sparge manifold into the lid of their cooler MLT? Are there other threads that cover using a similar cooler for a HLT?
 
I am getting all the equipment together right now for my first all grain brew. I would like to use the cooler method for my mlt, just wondering what size I should get? My brew pot is 7.5 gallons if that makes a difference. I was thinking to just get the 10 gallon cooler, but I'm not sure if there would be to much room at the top, which would lead to my mash temps dropping too much. I would like to try a few big brews, using close to 20 pounds of grain, but I'm not sure if the 5 gallon would hold all of it. Any suggestions are much appreciated.
 
You are only good with the 5 gallon cooler with mashes that SG to about 1.050. If you plan on making bigger beers than that, go with the 10 gal. I did, and ahve been very happy with the results. I injected the lid with foam insulation, and get about 4 degree temperature drop with a 60 min. mash (Note: once the mash is thoroughly mixed and the proper temperature established, I put on the lid and DO NOT OPEN the MLT until the hour has expired). This has no ill effect on the finished beer that I can tell.
 
Go with the 10 gal. You can't go up if needed with 5 gal but 10 gal should be great for your setup. I like Rico567's idea of injecting insultation foam into the lid. I'm going to look into that. Thanks! I went with 5 gal originally. I then bought a 10 gal for MLT and now use the old 5 gal for my sparge reservoir.
 
I just found the SS washers. Had to buy a 10 count bag, but I only need two. So, $1 via Paypal gets you one, including shipping.
 

Latest posts

Back
Top