Joseph Williams
Member
- Joined
- Aug 4, 2019
- Messages
- 7
- Reaction score
- 0
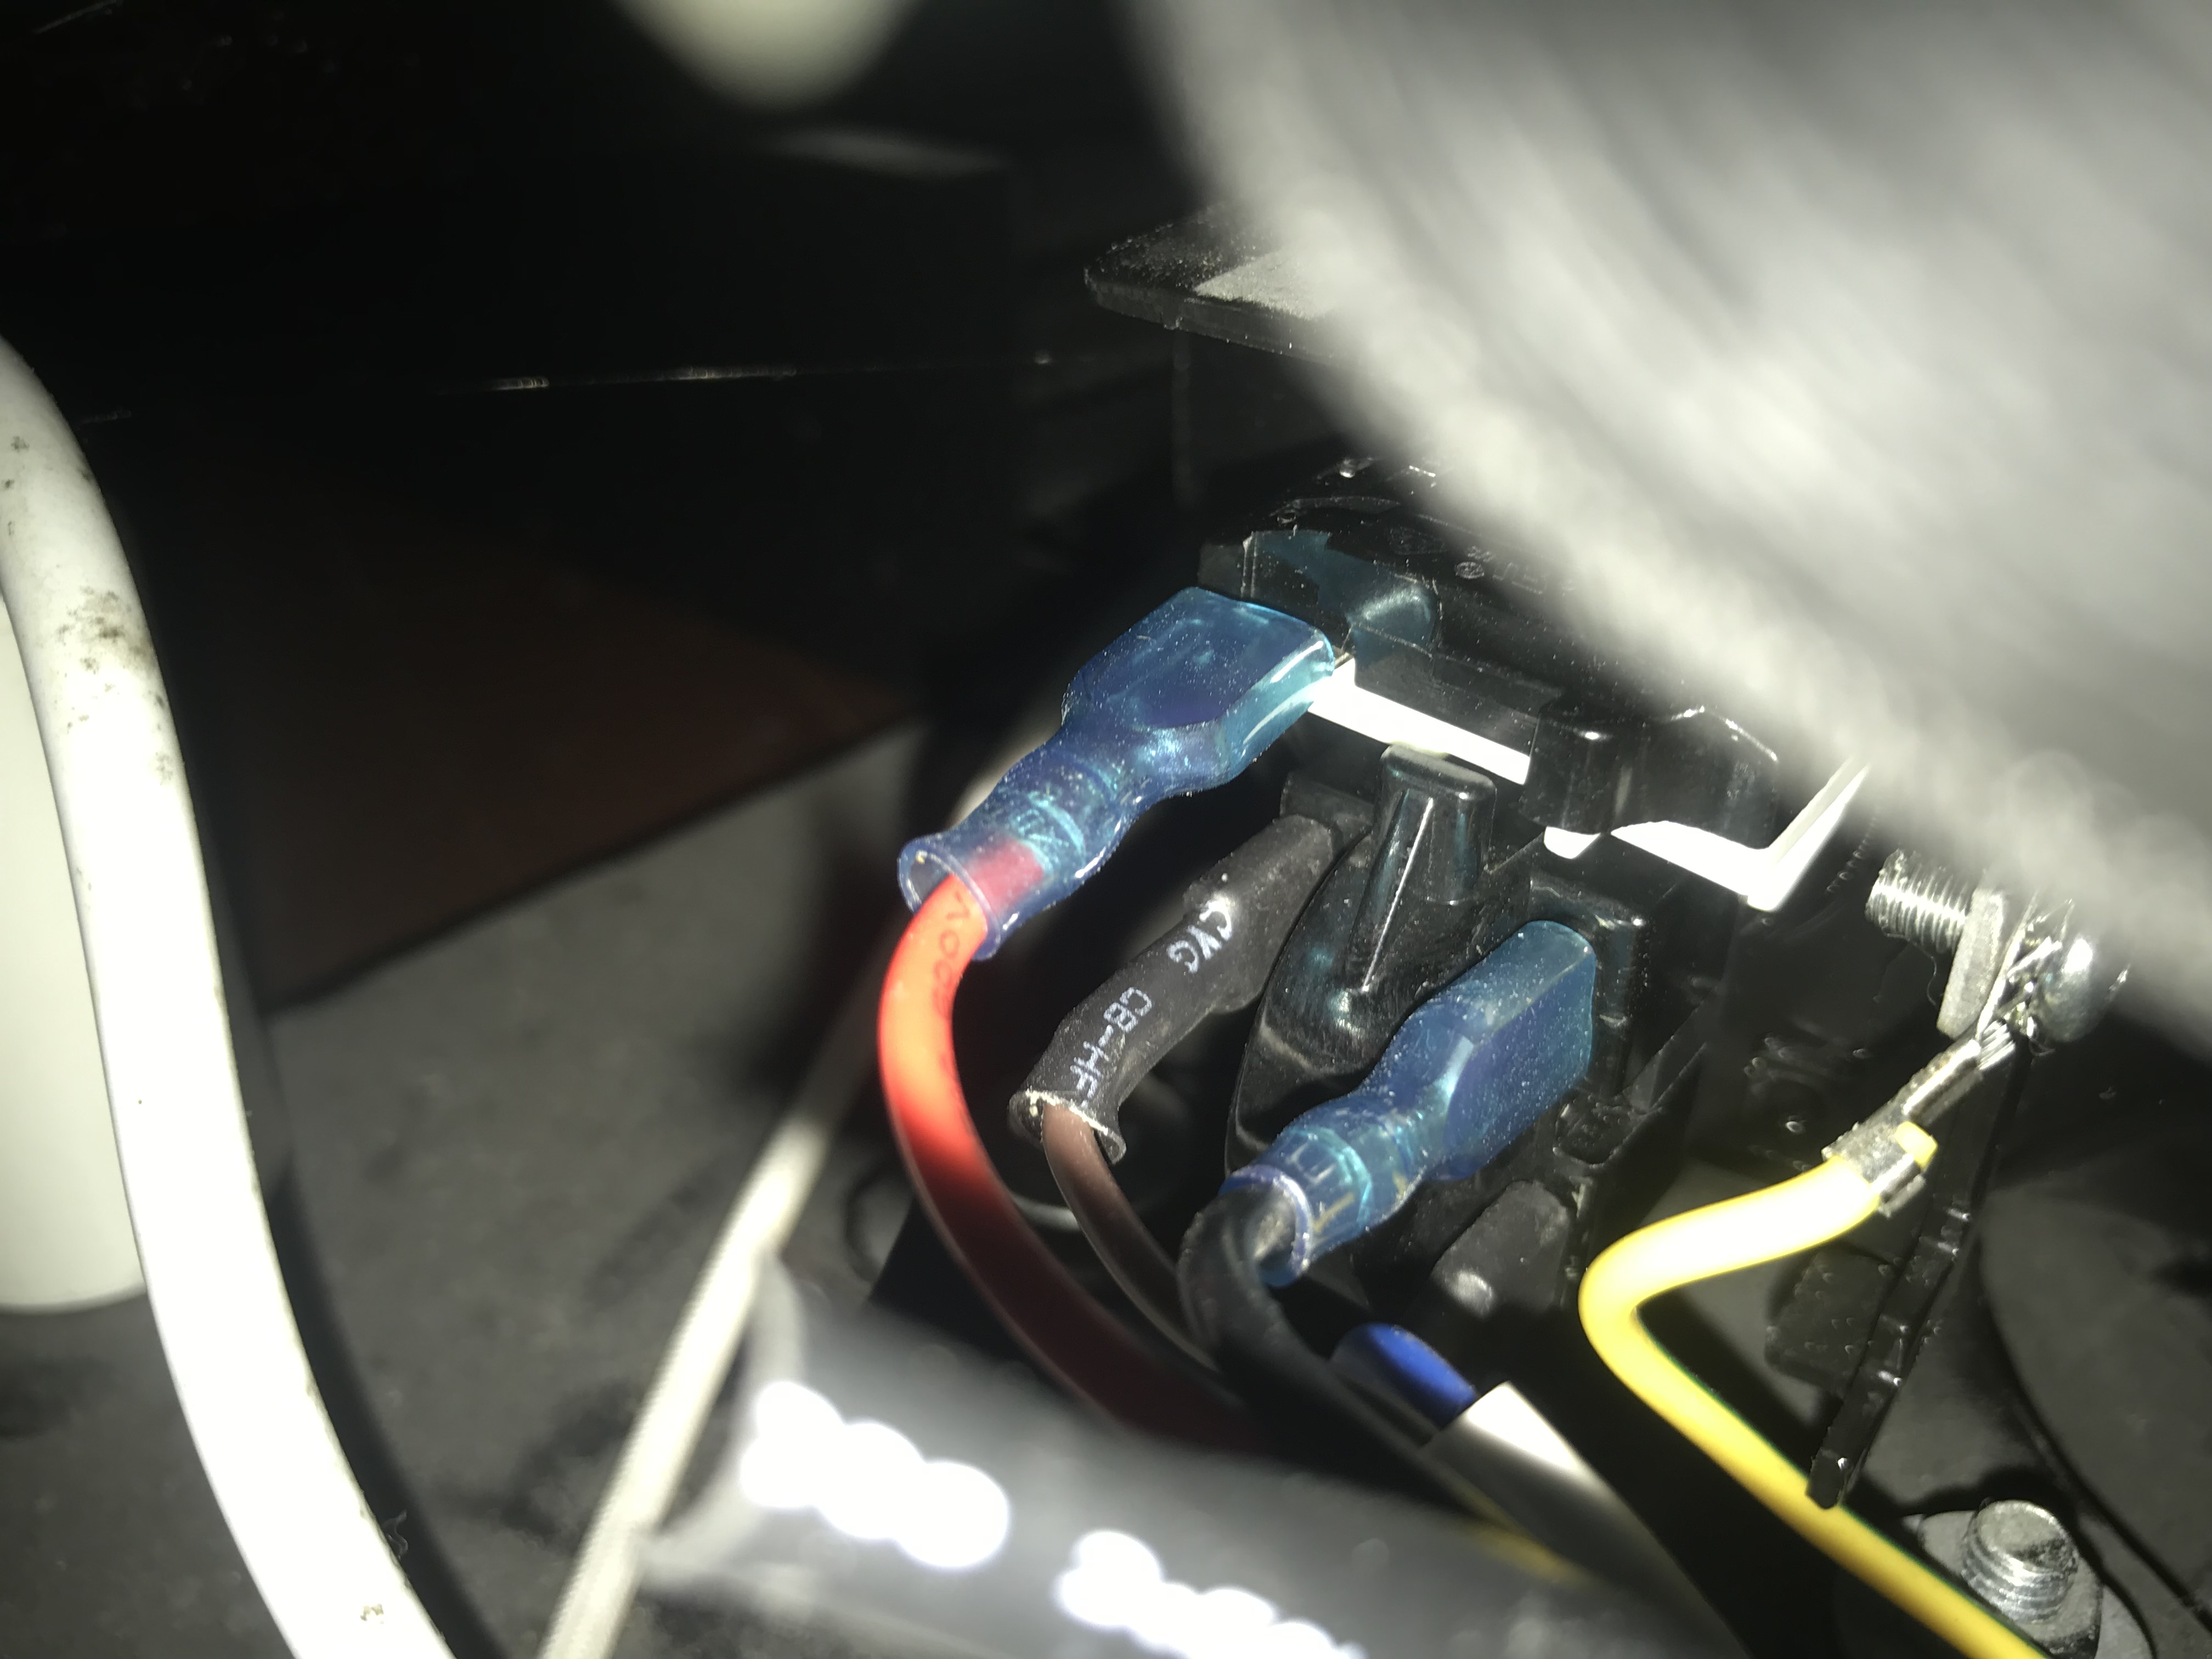
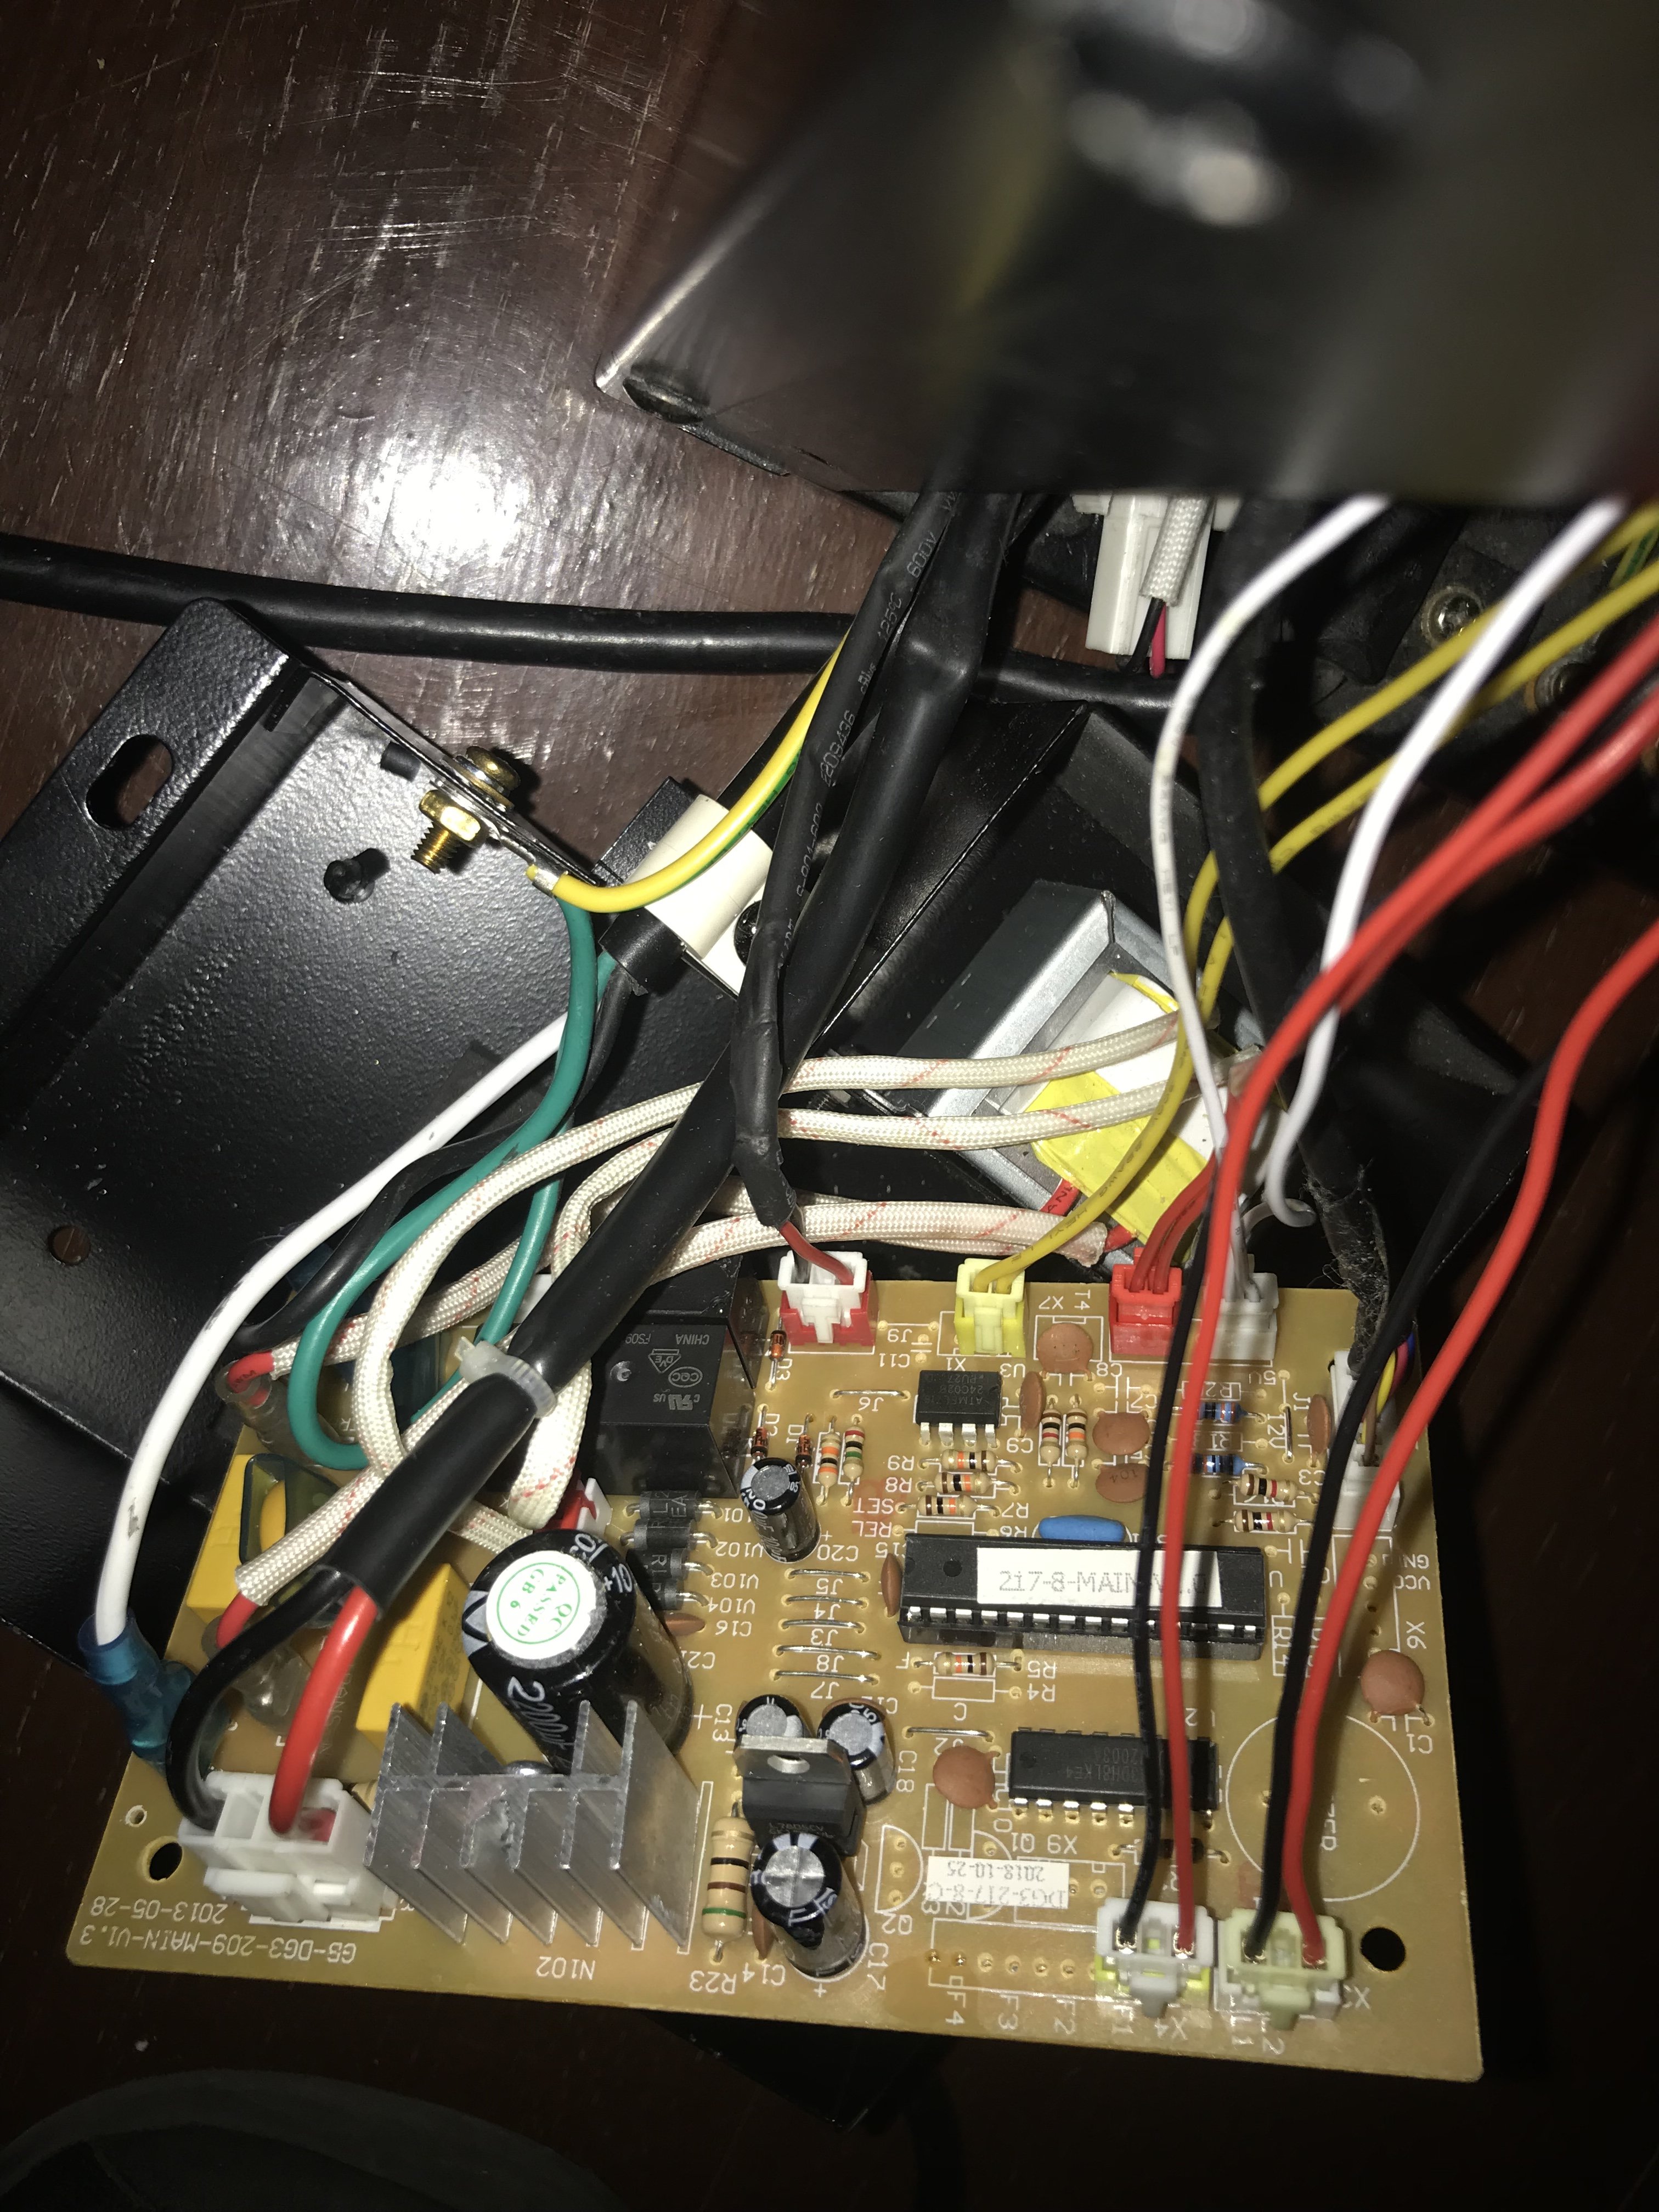
I recently picked up a Summit SBC677BINK dual kegerator but the compressor keeps cycling off and won't come back on. I'm looking to bypass the thermostat and install the STC-1000. If i run a two wire from inside the unit and tap into the power cord for constant power will that work? I want to bypass the main board but still use it for things like the fan and led light.
I can post more detailed pictures of my board when i get home.
I can post more detailed pictures of my board when i get home.


![Craft A Brew - Safale S-04 Dry Yeast - Fermentis - English Ale Dry Yeast - For English and American Ales and Hard Apple Ciders - Ingredients for Home Brewing - Beer Making Supplies - [1 Pack]](https://m.media-amazon.com/images/I/41fVGNh6JfL._SL500_.jpg)


")