rsklhm10
Well-Known Member
Awesome rig. I like how you kept both the gas plumbing and wiring extremely low key and organized.


Off topic, but do you go to the Garage Brewers Society meetings. I live 1.5 miles from Ofallon Brewery and have been thinking about stopping by a meeting to get to know some local brewers. Thanks for the reply.
BTW, awesome build. I want to do a BIAB 10. Basically a temp controlled brew in a bag set up. Anyway. Nice work and great color choice.
Cheers,
Awesome!
I had one question for you....why didn't you use gas line sealant???? I saw you used teflon tape....maybe I am missing something
![Craft A Brew - Safale S-04 Dry Yeast - Fermentis - English Ale Dry Yeast - For English and American Ales and Hard Apple Ciders - Ingredients for Home Brewing - Beer Making Supplies - [1 Pack]](https://m.media-amazon.com/images/I/41fVGNh6JfL._SL500_.jpg)


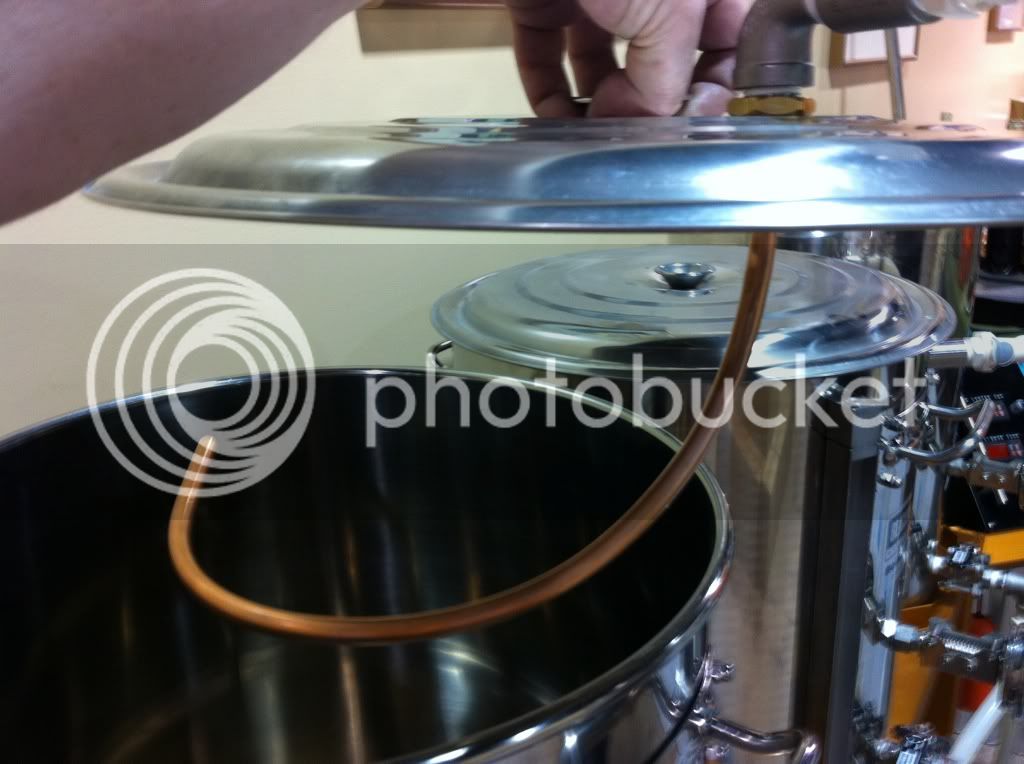
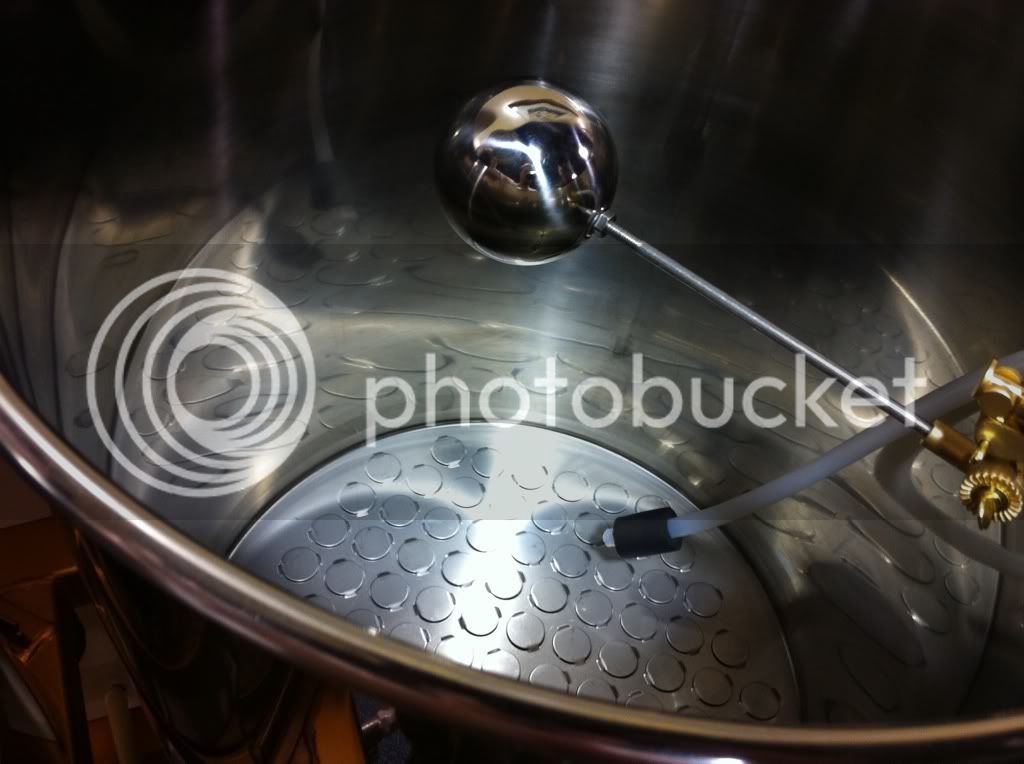
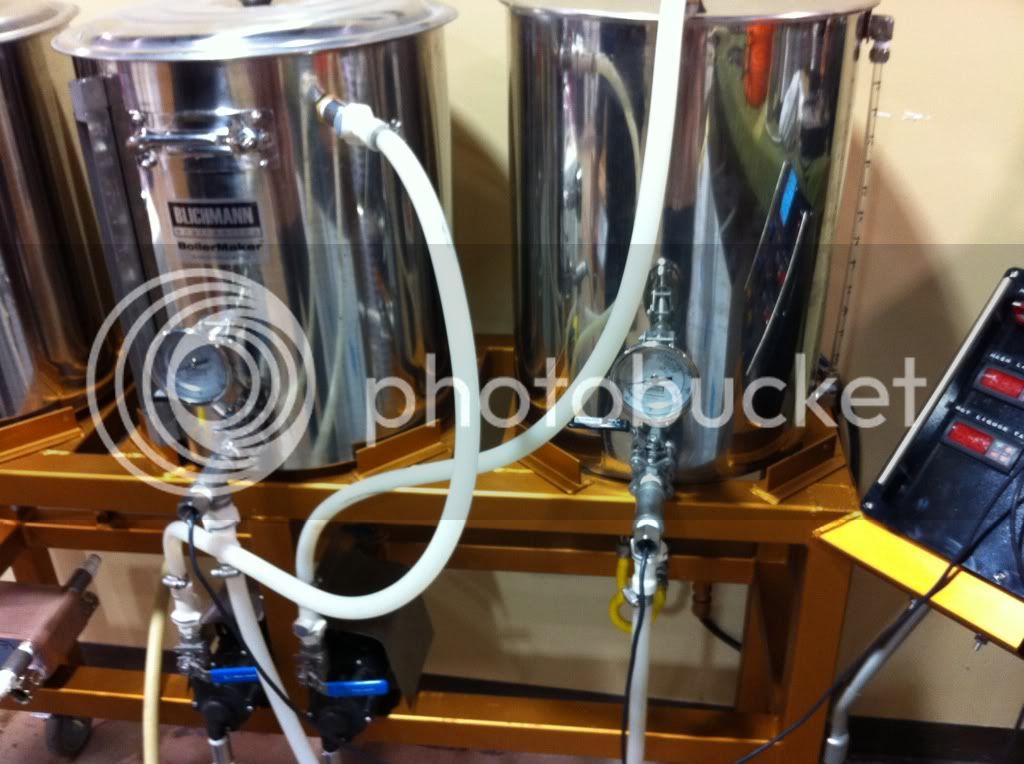
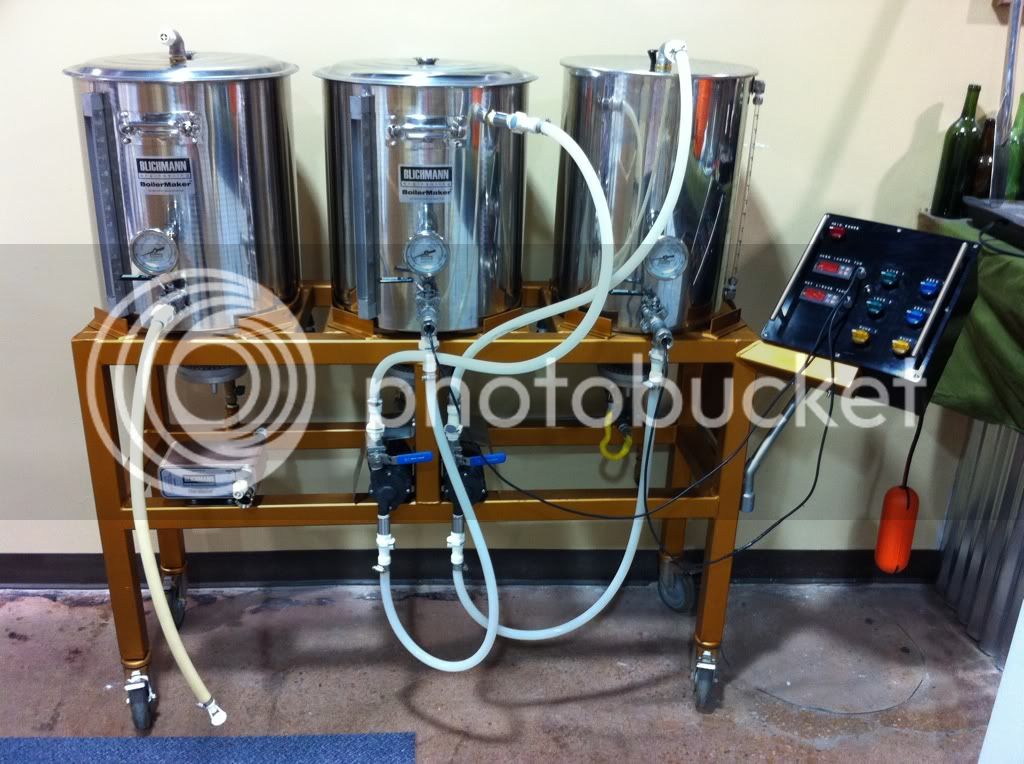
 . So I upped the hops to correct the BU:GU. No biggie there. The paint held up fairly well. Theres a few places where I assume some dirt got underneath the paint and instead of curing to the metal it bubbled up. Nothing major though. They system itself was a dream. Even in the wind whipped parking lot behind STL wine and beer the mash never got outside of 1 degree of my set mash temp. I did a step mash just to try it and it performed beautifully. The temp rose just over 1 degree a minute. During cleanup I didnt find any concentrated wort scorches or burnt grain. The Blichmann Autosparge and False Bottom are truly things of beauty. The therminator was simply outstanding as well. It dropped the temperature from boiling to 68 in 11 minutes. I boiled off about 1/4 of a gallon too much but nothing that cant be corrected for next time. Propane usage was far better than before. Im not saying it sips the gas tank but it looks as though I will be getting about 33% more brewing time out of a 20lb tank. For anyone thinking about going with a brutus style stand I cant say enough good things about it.
Any chance we could get the measurements? I am in the process of gathering and drawing designs for a Brutus build of my own and this has become my new favorite!
Thanks,
JM
I am literally in the infant stages of this, so anything about the basic dimensions would be great.
What size and type of steel did you use?
I am planning to use the same burners (BG12) and wondered how you hard plumbed them? Any special orifice required or did you just pipe it into the elbow?
Thanks again,
JM
Ill get all that info for you this upcoming Sunday and post back. I keep my brewstand at the local homebrew shop I work at part time but I dont have another shift until Sunday. More than happy to help out a fellow brewer/brutus builder.
I have those same burners for my build. I haven't actually started building yet...just collecting everything to do so. So I have a couple questions: How far away from the kettles did you mount the burners and about how long does it take for them to bring your wort to a boil?
Do you have a pilot on the burner? If not are you manually lighting the burneres when needed?
Sooo. What ever happened to those keggles after you went high-end? Sure hope there not laying around feeling neglected. That would be terrible.
Rock Chalk
Chris
psyphinx,
The build is sick, Ive got a much less elegant set up but I would definitely like to steal some ideas from you.
How did you connect the temperature probe to the front of the control panel?
What were the green things behind the switches? Heat sinks?
It looks like the whole panel runs 115Vac is that so?
Thanks
An envious brewer


") i love the color of it. now only if you could powder coat your kettles black... lol
i love the color of it. now only if you could powder coat your kettles black... lol 