Brew Bucket owners - What Mini Fridge are you using ?

Homebrew Talk - Beer, Wine, Mead, & Cider Brewing Discussion Forum

Help Support Homebrew Talk - Beer, Wine, Mead, & Cider Brewing Discussion Forum:

This site may earn a commission from merchant affiliate links, including eBay, Amazon, and others.
SilentMercy
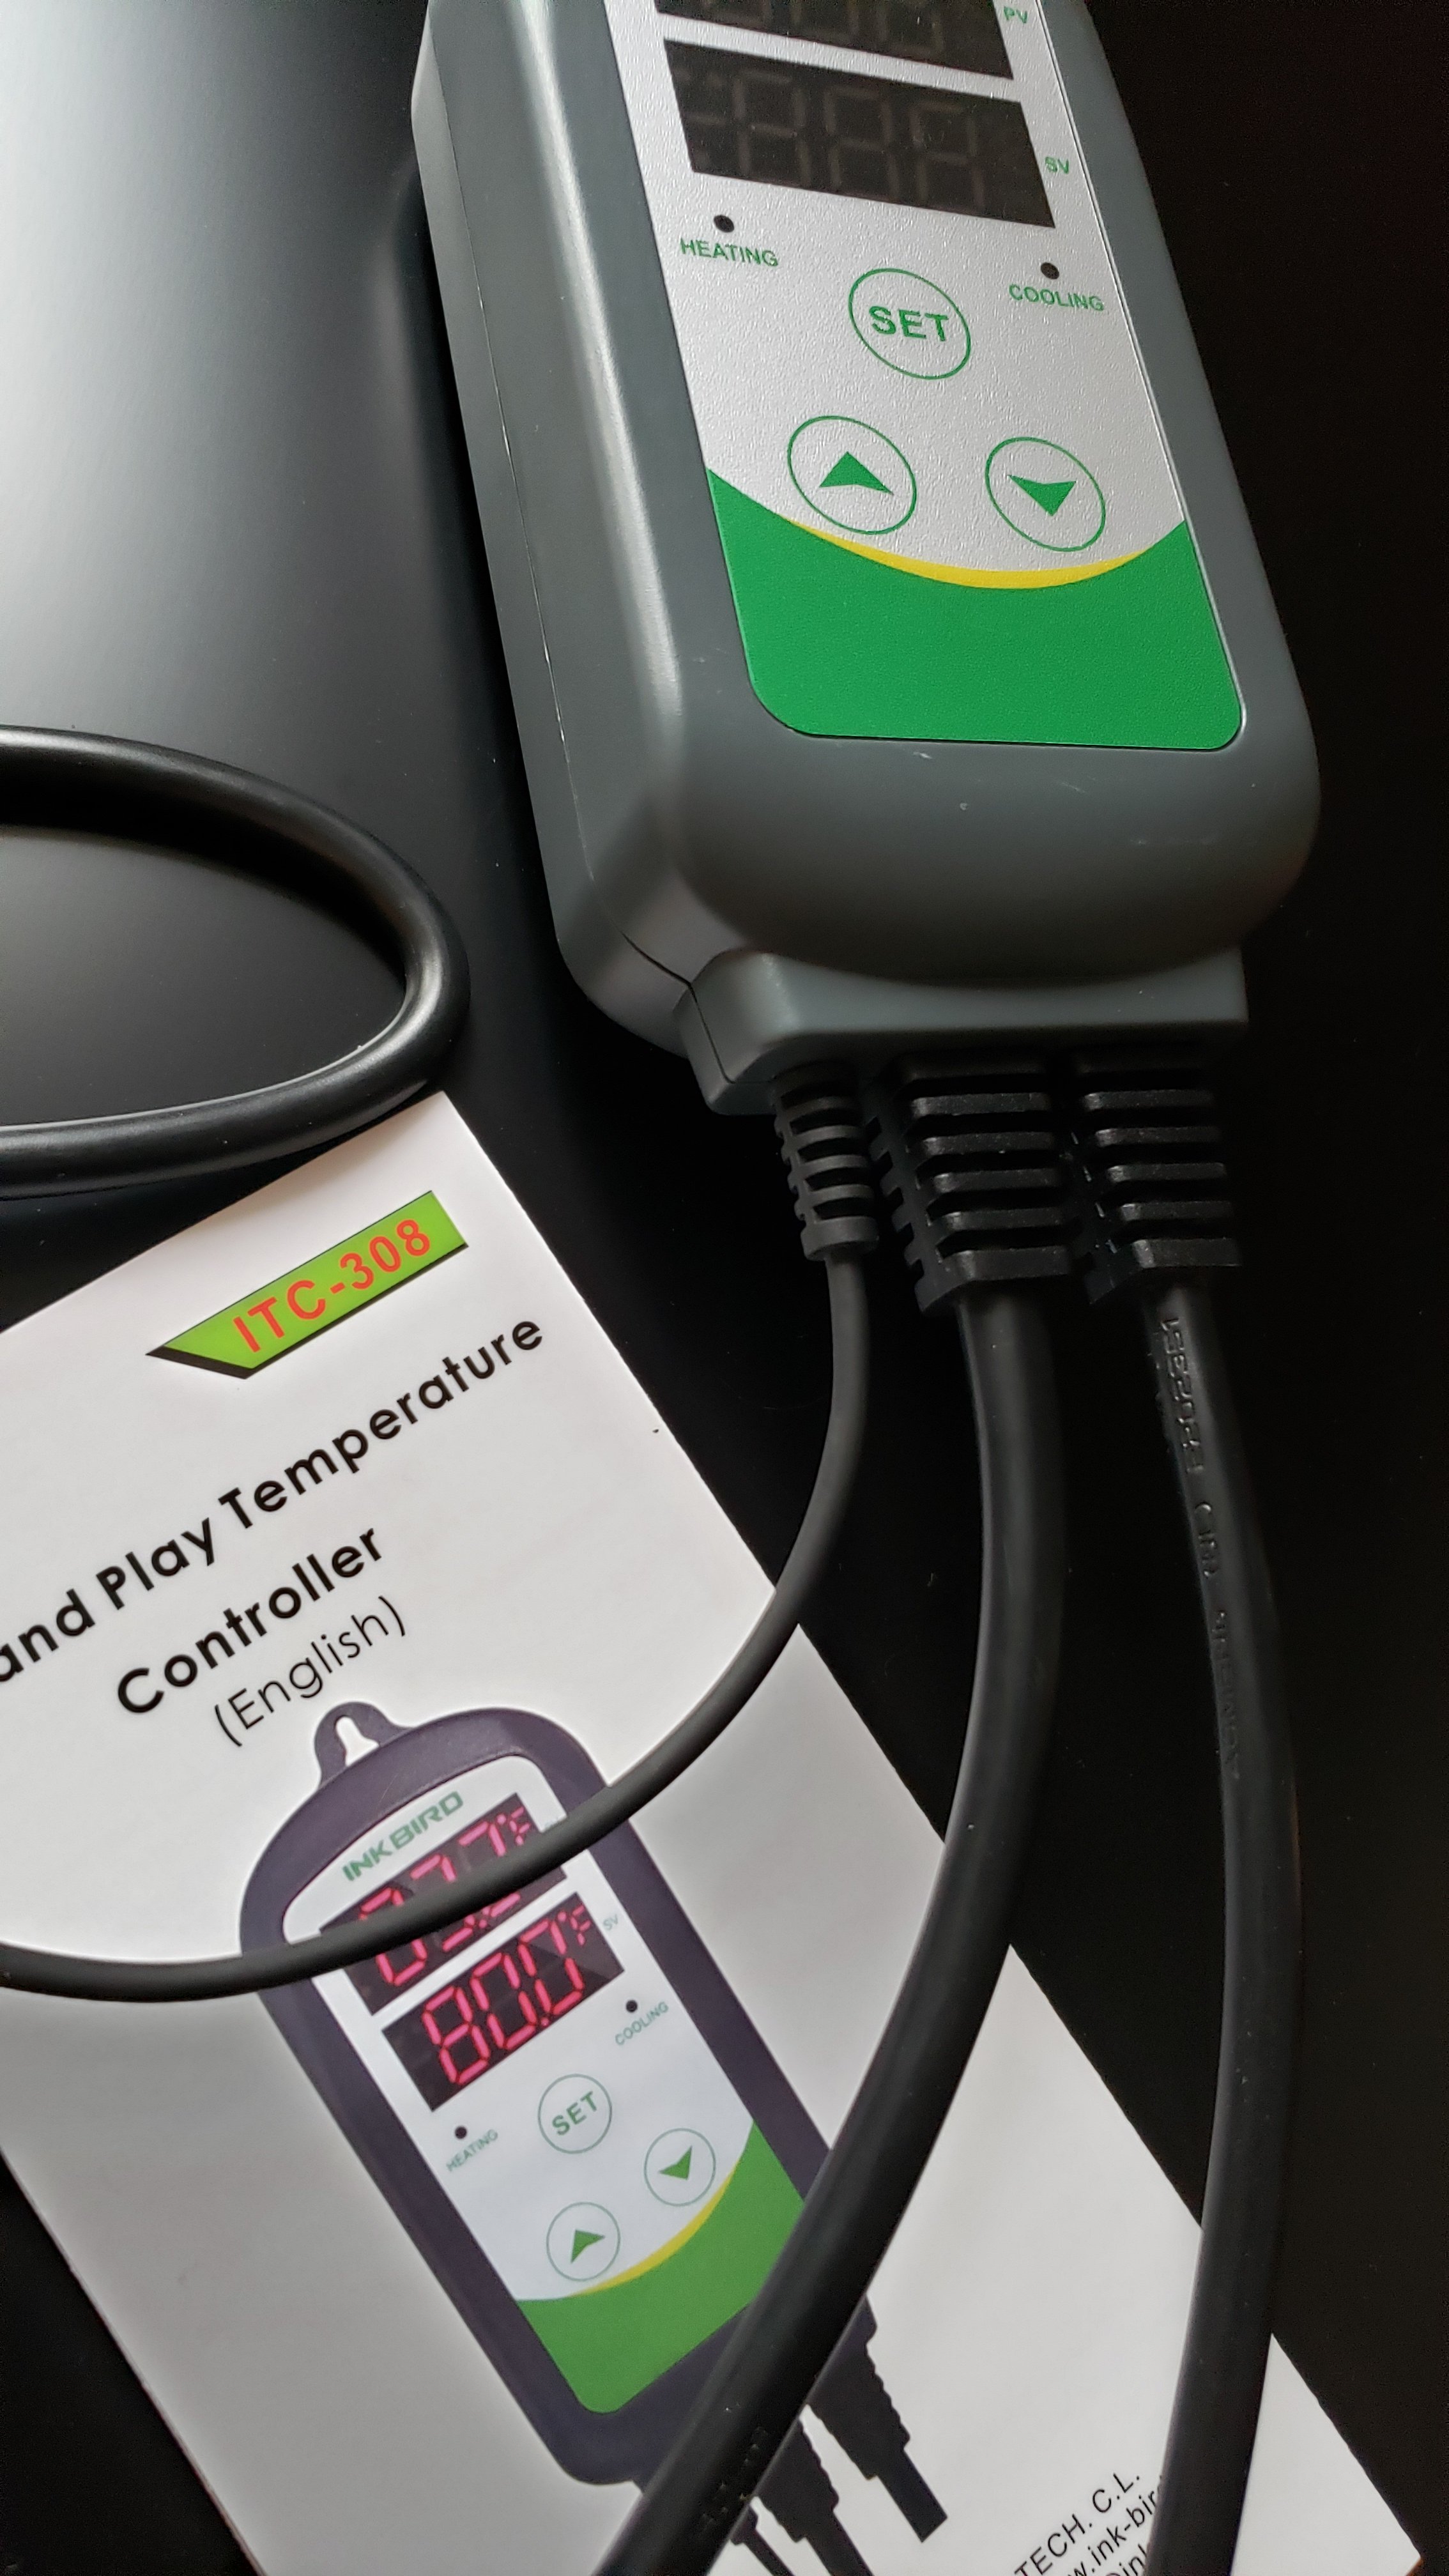
Here is the 1/2 inch hole pic
with my Temp probe wire & the wire for my heater

hope this helps

Steve

View attachment 408506

Do you have any pictures of how your wires come out the back of the fridge? I just bought the new Frigidaire version of the Tramontina fridge. My drain hole turns 90 degrees to the evaporation pan. Did you blow through the back of the fridge or just ream out the opening on the inside of the fridge?

I don't believe I can snake the Temperature probe on my InkBird through the 90 degree bend
 
Last edited:
I opened up the turn in the 90* elbow with a drill bit and found it easier feeding the headphone plug end of the temp wire through the hole
 
I seen where somebody made a hole thru the top into the fridge using the unused holes that are plugged to allow the door to open in the opposite direction. Supposedly there are no coolant line under those holes, but I would do some gentle probing to confirm that before drilling a hole.
 
Yeah, inkbird 308

Thats odd. Maybe newer versions are hardwired

20200405_075232.jpg
 

Attachments

  • 20200405_074612.jpg
    20200405_074612.jpg
    982.6 KB · Views: 18
Has anyone tried to fit one of the Anvil 7.5 buckets in the beverage cooler style fridges? The handles on these don't fold down so there's a bit more width

Height - 19.5" to top of lid
Width - 16.5" handle to handle
Depth - 15.25" including valve
 
I know I was planning to get the Frigidaire version (already have the Tramontina). If one follows the @microbusbrewery mod and bypass the internal thermostat, you should be able to get to 36-38F fairly easily. (I don't think the insulation is good enough to hold and maintain below 36F unless room temperature is cold enough to allow)

I just bought the Frigidaire version and I can confirm, modifying and bypassing the internal thermostat can achieve sub 40 temps. Just remember, if you do the mod, you can not plug into an always hot receptacle.

FDAFFD00-C26B-4942-9037-E74855B18EB5.jpeg
 
To add another datapoint here, I have the 7-gal Brew Bucket BME. I got a Vissani MVWC52B 52 Bottle Wine Cooler, and it fits without modification including a 3-piece airlock. My understanding is that the Magic Chef MCWC52BF is the exact same fridge.

I never tried to use the fridge thermostat, but by powering the compressor directly I was able to sustain 36F with approx 50% duty cycle. Sustaining 66F was approx 7% duty cycle.
 
Do the Tramantonia 4.4 bev centers at Sams and Walmart go in and out of stock? Or are they discontinued now? Both sites show OOS.
 
Do the Tramantonia 4.4 bev centers at Sams and Walmart go in and out of stock? Or are they discontinued now? Both sites show OOS.

The Tramontina BevCenter is no longer available. Instead, Sams Club carries a Frigidaire (Frigidaire 126-Can Stainless Steel Beverage Center, 4.4 cu. ft. - Sam's Club) which is an extremely similar version (almost exact) to the Tramontina. The differences I found; 1. Different beep tone when powering on and pressing the light button or temp control buttons. 2. The light is a different hue of blue. 3. The internal thermostat on the Frigidaire only goes down to 40F, the Tramontina goes down to 36F.

Change 3 is a big deal but if you modify and bypass the internal thermostat and plug into an external temp controller, you can get down to 36F.
 
Change 3 is a big deal but if you modify and bypass the internal thermostat and plug into an external temp controller, you can get down to 36F.

thanks - what sort of difficulty is this, would you say, for someone who can tinker a bit but doesn't know much about electricity.
 
Bypassing the internal thermostat on this one is easy. Follow the directions on this post: (Brew Bucket owners - What Mini Fridge are you using ?)

In a nut shell, go to a local hardware store and buy a three prong appliance cord and some spade connectors. You'll unplug the load and neutral from the control board (as shown in the tutorial) . You will then connect the load of your new appliance cord to the load you just pulled off the control board, and the neutral of your new appliance cord to the neutral you just pulled off the control board. Run the ground of your new appliance cord to the ground connection on the fridge chassis.

Now you'll have two power cords attached to the fridge. If you plug in the original power cord, your internal light will work and the internal thermostat will display the temp. The new cord you just added will control the compressor. Remember, you CAN'T plug this cord into an always hot power outlet. You must plug into an external temp controller like an Inkbird. That means you need to get a temperature probe into the fridge. The tutorial drills two holes in the back...I did not do this. I simply expanded the drain hole and snaked my probes through there.
 
I use these older True beverage fridges. Perfect for 14 gal Brewbucket. I got these for a cheap price so they work well.
View attachment 661670

I just happened upon this exact fridge on craigslist for a super deal and was able to buy it. I'm going about this backwards, the fancy fridge fell into my lap now I'm trying to pair it with the right fermenter. I was thinking a 14 gal Chapman univessel or a 14 gal Brew Bucket would fit well since it's only about 37" interior height not tall enough for a proper 14 gal conical. Was leaning Brew Bucket and I think I'm sold now. I've been using two modded 7 gal Chapmans for 10 gal batches and they work well, but the Brew Bucket seems like a couple steps up in overall quality.

Question though, do you find it difficult to reach the lid clips on the back side when it's in this fridge? I'm planning to remove the lid during primary for dry hopping and would rather not have to shimmy a ~90lb full vessel towards me to get the back clips.
 
I picked up the fridge this weekend and the InkBird 308 wireless arrived this am.

I just got back from Ace Hardware to get some additional things and just wanted to check before I started wiring up.

1. I pulled lightly on the black and white connections on the board. These should come off without too much trouble, right?

2. I picked up the cord and connectors. I was going to go with an "appliance" cord but it was 14ga and the connectors they had only work with 16ga or smaller, it seems. Will I be ok with this cord or should I go back and get something more heavy duty?

3. I had to buy 2 different size male connects as I didn't know what size were on the wires I'm pulling off the board.

4. I also found the drainline for the bev center and I think I'm going to try to snake the temp probe up thru that.


Bypassing the internal thermostat on this one is easy. Follow the directions on this post: (Brew Bucket owners - What Mini Fridge are you using ?)

In a nut shell, go to a local hardware store and buy a three prong appliance cord and some spade connectors. You'll unplug the load and neutral from the control board (as shown in the tutorial) . You will then connect the load of your new appliance cord to the load you just pulled off the control board, and the neutral of your new appliance cord to the neutral you just pulled off the control board. Run the ground of your new appliance cord to the ground connection on the fridge chassis.

Now you'll have two power cords attached to the fridge. If you plug in the original power cord, your internal light will work and the internal thermostat will display the temp. The new cord you just added will control the compressor. Remember, you CAN'T plug this cord into an always hot power outlet. You must plug into an external temp controller like an Inkbird. That means you need to get a temperature probe into the fridge. The tutorial drills two holes in the back...I did not do this. I simply expanded the drain hole and snaked my probes through there.
 

Attachments

  • 20200706_130938.jpg
    20200706_130938.jpg
    1.6 MB · Views: 31
I picked up the fridge this weekend and the InkBird 308 wireless arrived this am.

I just got back from Ace Hardware to get some additional things and just wanted to check before I started wiring up.

1. I pulled lightly on the black and white connections on the board. These should come off without too much trouble, right?

2. I picked up the cord and connectors. I was going to go with an "appliance" cord but it was 14ga and the connectors they had only work with 16ga or smaller, it seems. Will I be ok with this cord or should I go back and get something more heavy duty?

3. I had to buy 2 different size male connects as I didn't know what size were on the wires I'm pulling off the board.

4. I also found the drainline for the bev center and I think I'm going to try to snake the temp probe up thru that.

1. I used needle nose pliers to grab the connectors, and I had to use a little stank to get them off...only friction to overcome, but they pull straight off.

2. A 16x3 replacement cord will work.

3. Yeah, it was trial and error for me too, but I think the top ones look similar to what I used.

4. Yeah, I used the drain line also. I had to expand the hole to get my probes through. There’s a 90degree turn in there that makes it a not so fun moment.

(as an FYI, to get my heating pad in, I had to cut the plug receptacle off, snake the cord through the drain hole, and reattach the plug)
 
Hi all,

I'm hoping to clarify something regarding the Frigidaire 126-Can minifridge.

I've been using a Danby minifridge (this one, I believe) but with the bulge at the back of the bottom, I can only fit 3-gal carboys (just!) and I'd rather not mod the minifridge (I'll use it for bottle fermenting after upgrading). I want to switch to the SS Brewbucket but it won't fit in my current minifridge. So, I'm thinking I'll get the Frigidaire 126-can as suggested here. BUT, the image on Sam's Club (I'm also in Canada, so I'll have to find it elsewhere) doesn't show the minifridge empty. Is there no bulge at the bottom back for the compressor that will get in the way again?

Thanks!
 
If you go up to Post #208, you'll see the compressor hump on the bottom cooler. I can tell you, without a doubt that the 7-gallon BrewBucket fits in there. I have both, the old Tramontina and the current Frigidaire and my SS Brewtech Brewbuckets fit perfectly in each.
 
If you go up to Post #208, you'll see the compressor hump on the bottom cooler. I can tell you, without a doubt that the 7-gallon BrewBucket fits in there. I have both, the old Tramontina and the current Frigidaire and my SS Brewtech Brewbuckets fit perfectly in each.
Thanks!

I found one available here. But there's some comparable minifridges that are a bit cheaper.

Does anyone have any experience with any of these? Fitting the thing in is always my biggest worry.
Ivation
Deco Chef (this one is about 100 bucks cheaper and looks--to my eyes--just as good as the Frigidaire)
Igloo (the provided dimensions seem to suggest to me its not wide/deep enough)
 
I went with the Brew Buckets and the Frigidaire (Tramontina) and I am in the process of setting them up with Inkbirds. However looking at where the feet of the Brew Buckets sit it seems the floor is a bit soft. Has anyone had issues with damage to the floor of the fridge from the weight of a full Brew Bucket? Should I use something under the feet?
 
Has anyone had issues with damage to the floor of the fridge from the weight of a full Brew Bucket? Should I use something under the feet?

I have not had any issues. Not even experiences that made me think I was going to have a problem.

if it would make you feel more comfortable, slipping a 1/4” board could give you that piece of mind, but yet not get in the way of a potential blowoff tube.
 
I went with the Brew Buckets and the Frigidaire (Tramontina) and I am in the process of setting them up with Inkbirds. However looking at where the feet of the Brew Buckets sit it seems the floor is a bit soft. Has anyone had issues with damage to the floor of the fridge from the weight of a full Brew Bucket? Should I use something under the feet?

I have two of those fridges. So far, no issues.
 
I went with the Brew Buckets and the Frigidaire (Tramontina) and I am in the process of setting them up with Inkbirds. However looking at where the feet of the Brew Buckets sit it seems the floor is a bit soft. Has anyone had issues with damage to the floor of the fridge from the weight of a full Brew Bucket? Should I use something under the feet?
I have a couple little dents in the floor of mine. I think it might of happen when I tilted the brew bucket up on one leg and rocked it to rouse yeast back into suspension.
 
Ok. Awesome. After setting up all this nice equipment the last thing I wanted to do was damage it. Thanks!
 
Back
Top