Bottom Drain Keggles with Ceramic Insulation Coating

Homebrew Talk - Beer, Wine, Mead, & Cider Brewing Discussion Forum

Help Support Homebrew Talk - Beer, Wine, Mead, & Cider Brewing Discussion Forum:

This site may earn a commission from merchant affiliate links, including eBay, Amazon, and others.

BrewKaiser

Supporting Member
HBT Supporter
Joined
Feb 4, 2014
Messages
196
Reaction score
72
Location
Granite Bay
Almost a year of designing and fabrication I'm nearing completion of my electric 3 keggle plus HEX build.

After grit blasting the keggles I had all my stainless sent out for passivation and am now applying a ceramic insulation coating to protect and hopefully insulate my keggles, HEX, and Manifolds.

Has anyone else applied an insulative coating to their kettles? The coating is supposed to reduce thermal transfer by 35*-40*F. At very least I hope it reduces potential accidental burns from rubbing up against a keggle.

I rather like the matte black finish.

Two more coats to go...
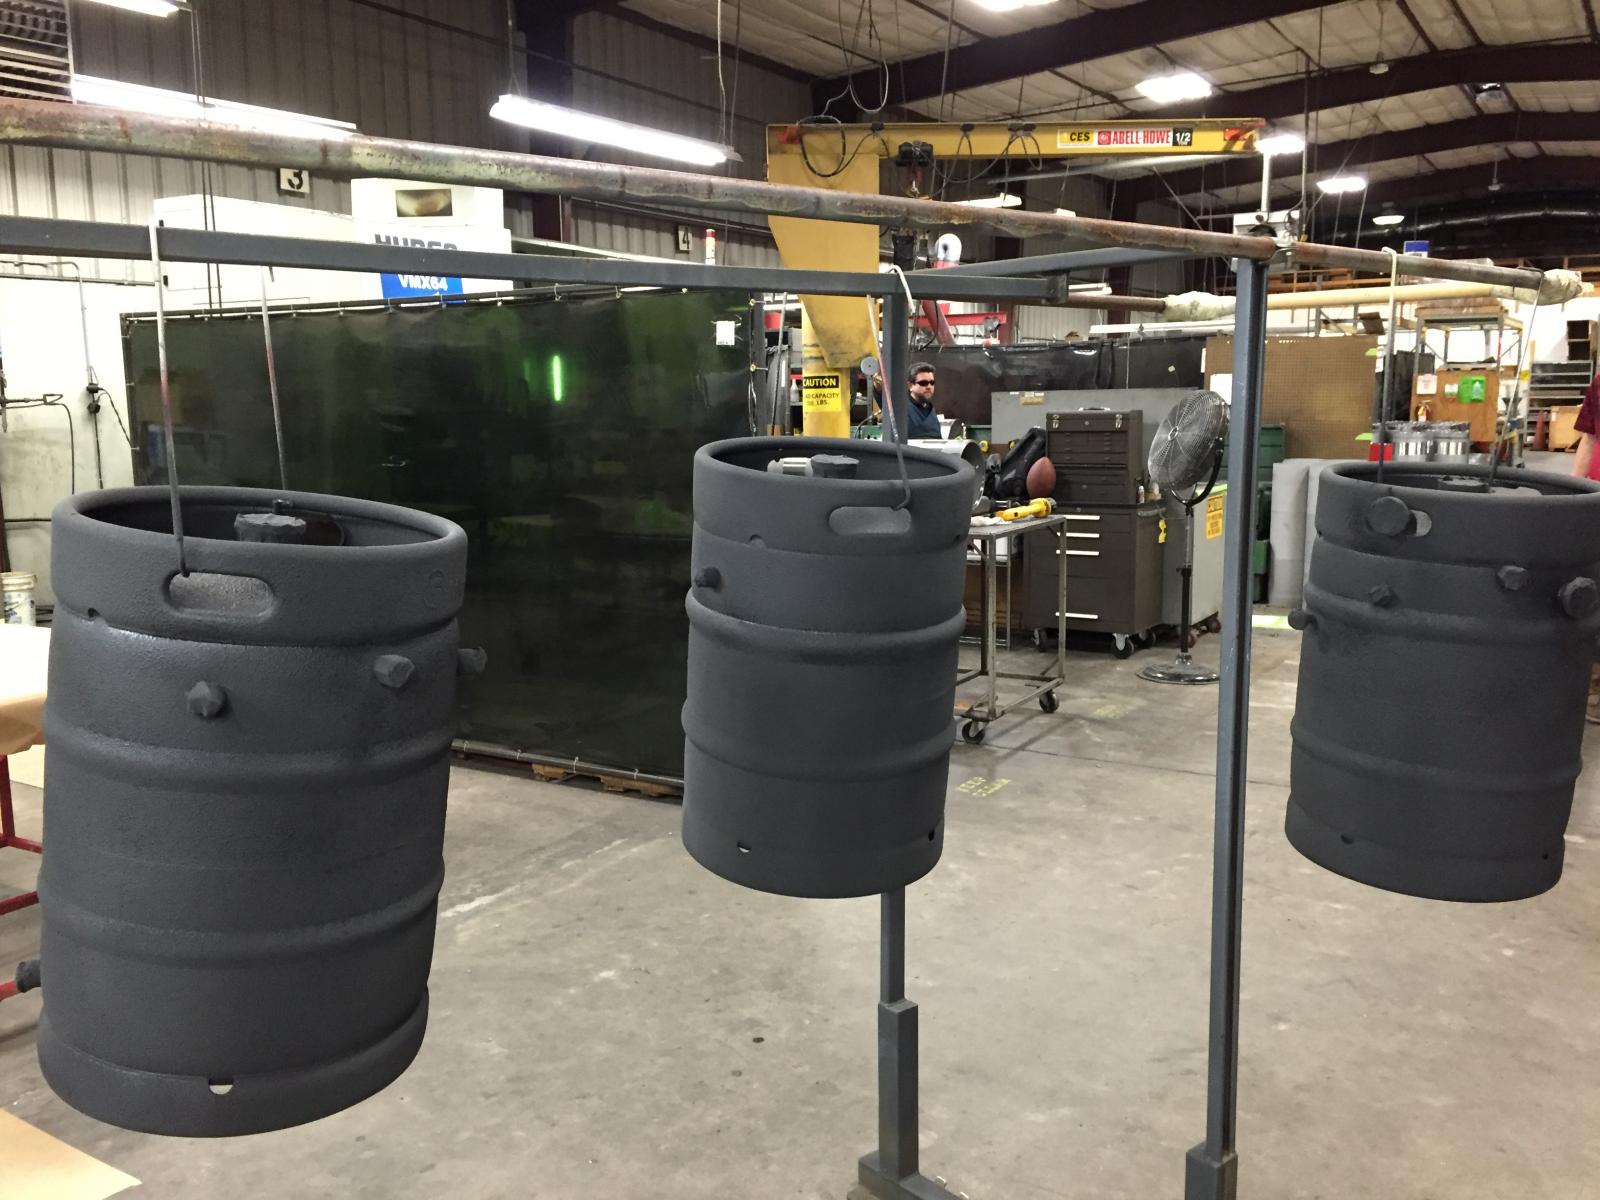
image.jpg
 
As is always the case, family and work have taking priority over hobbies. I have made quite a bit of progress on my build over the last month and hope to be firing up the system in two weeks.

I'll post results after my wet test and first brew, which will just be 10 Gal of yeast starter wort to help me learn the system and dial in efficiency.

I don't have a base line to compare performance to, however.

If someone with an electric brew rig and keggles is willing to set up a test I'm open to suggestions for how to go about evaluating performance of the coating vs non-coated keggles.

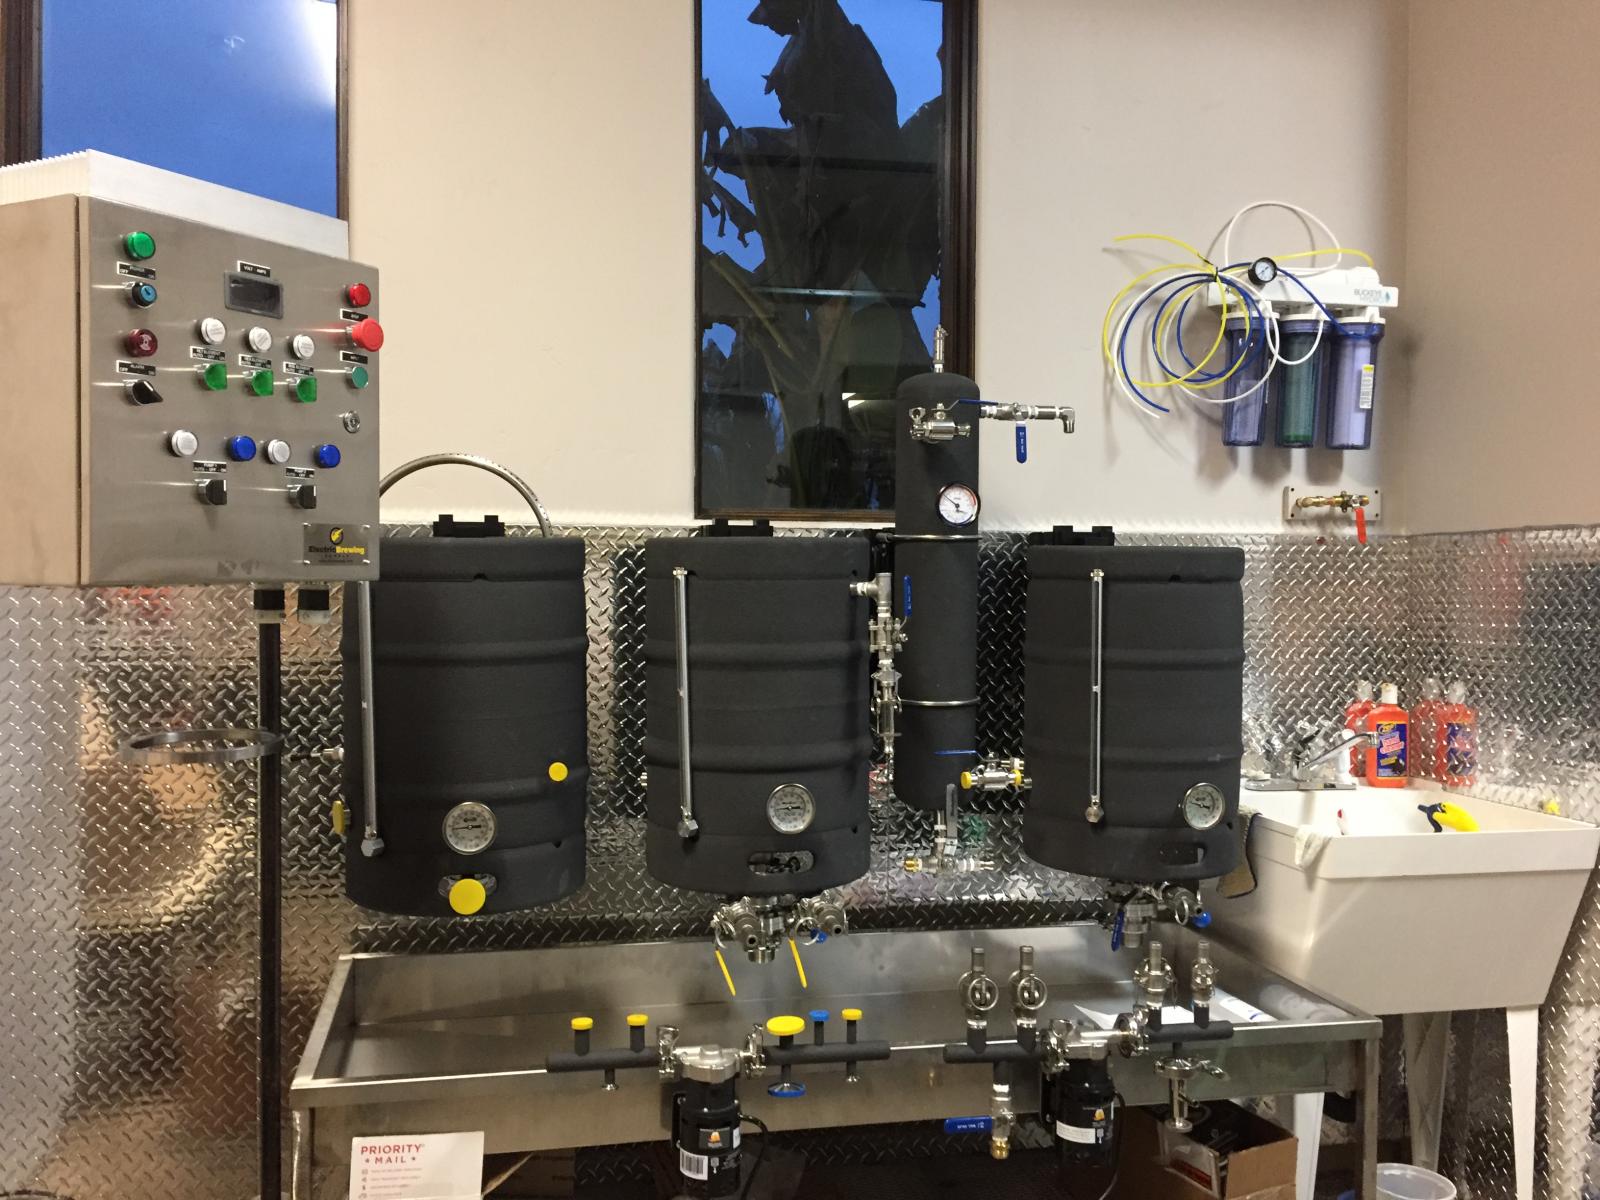
Here's a pic of what the rig looked like a few weeks ago mounted to the wall in their final brewing place and fittings attached. Finished up most of power cable, float, and temp sensor harnesses last night. Bit more plumbing, new odds-and-ends, and need to set up the controller.

IMG_6085.jpg
 
How did you mount the kettles to the wall?

It's complicated. ;)

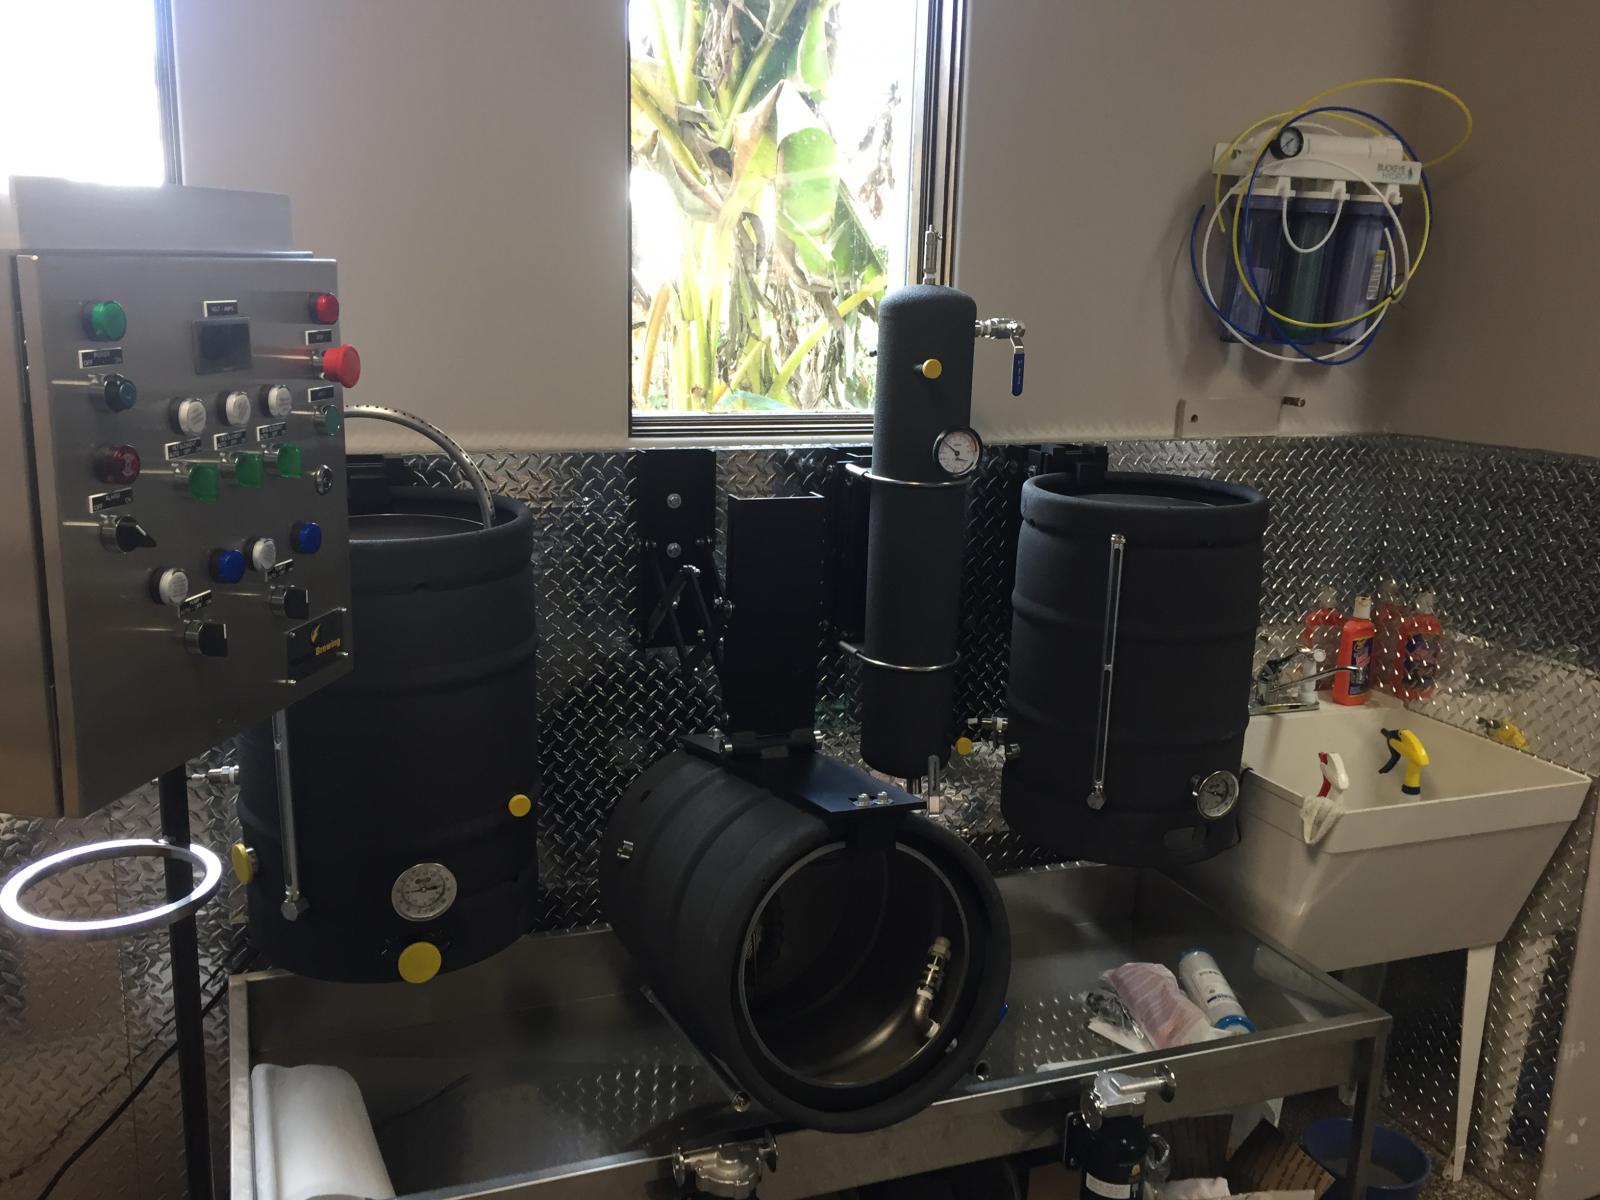
I plan to post a brief build post when I'm finished and have tested everything out. Here's a pic that somewhat shows the brackets I fabricated and how the keggle is attached. Could easily be modified to hold standard kettles as well.

IMG_6075.jpg
 
I hear you on the other priorities [emoji106]

Great looking system. I love the setup - wish I had a space I could dedicate like that [emoji482]

Does the table like structure underneath the keggles have a drain?
 
Is that skinny tank for steam?
That is my HEX (Heat Exchanger). Instead of a HERMs coil in my HLT, I built a separate HEX with a 20' internal coil and a 2000W element. My HLT has a 4500W element. It's plumbed to circulate the heat exchange water from HLT->HEX->HLT. I envision it as a multi-functional apparatus with several uses and benefits over traditional HERMs Coil in HLT set up. We'll see...
 
Does the table like structure underneath the keggles have a drain?

Yes. It's a 66" X 24" X 6" deep SSt sink / trough that I had made at one of our sheet metal shops. It has a trap underneath and is plumbed into the sewer line behind the utility sink on the right.

This will let me CIP, catch most spills or boil overs, and will be a good place to sanitize hoses and post boil items during the mash.
 
Yes. It's a 66" X 24" X 6" deep SSt sink / trough that I had made at one of our sheet metal shops. It has a trap underneath and is plumbed into the sewer line behind the utility sink on the right.


This will let me CIP, catch most spills or boil overs, and will be a good place to sanitize hoses and post boil items during the mash.


Quite possibly one of the coolest ideas and executions I've seen yet for an in place/permanent setup!
 
Thanks!

Just hope it all works as planned. I'm ready to stop tinkering and start brewing again.

I guess I could just as easily have welded keggle bracket supports to the back side of the sink stand. It's on leveling casters anyway. Then the whole thing would be mobile - with exception of disconnecting from sewer line.
 
I need to mirror this sentiment. Some very smart stuff happening here! The floating vessels is one of the coolest ideas I have seen to date!!!

Thanks! I have to say that I admire your rig for the simple elegance of it's design. Having completed the mechanical hook up of all hoses yesterday's it's feeling a bit like Frankenstein's bride. I will be modifying the sink stand moving the pumps under the sink and fabricating a manifold bar so I can mount the pump supply and return manifolds anywhere in front.
 
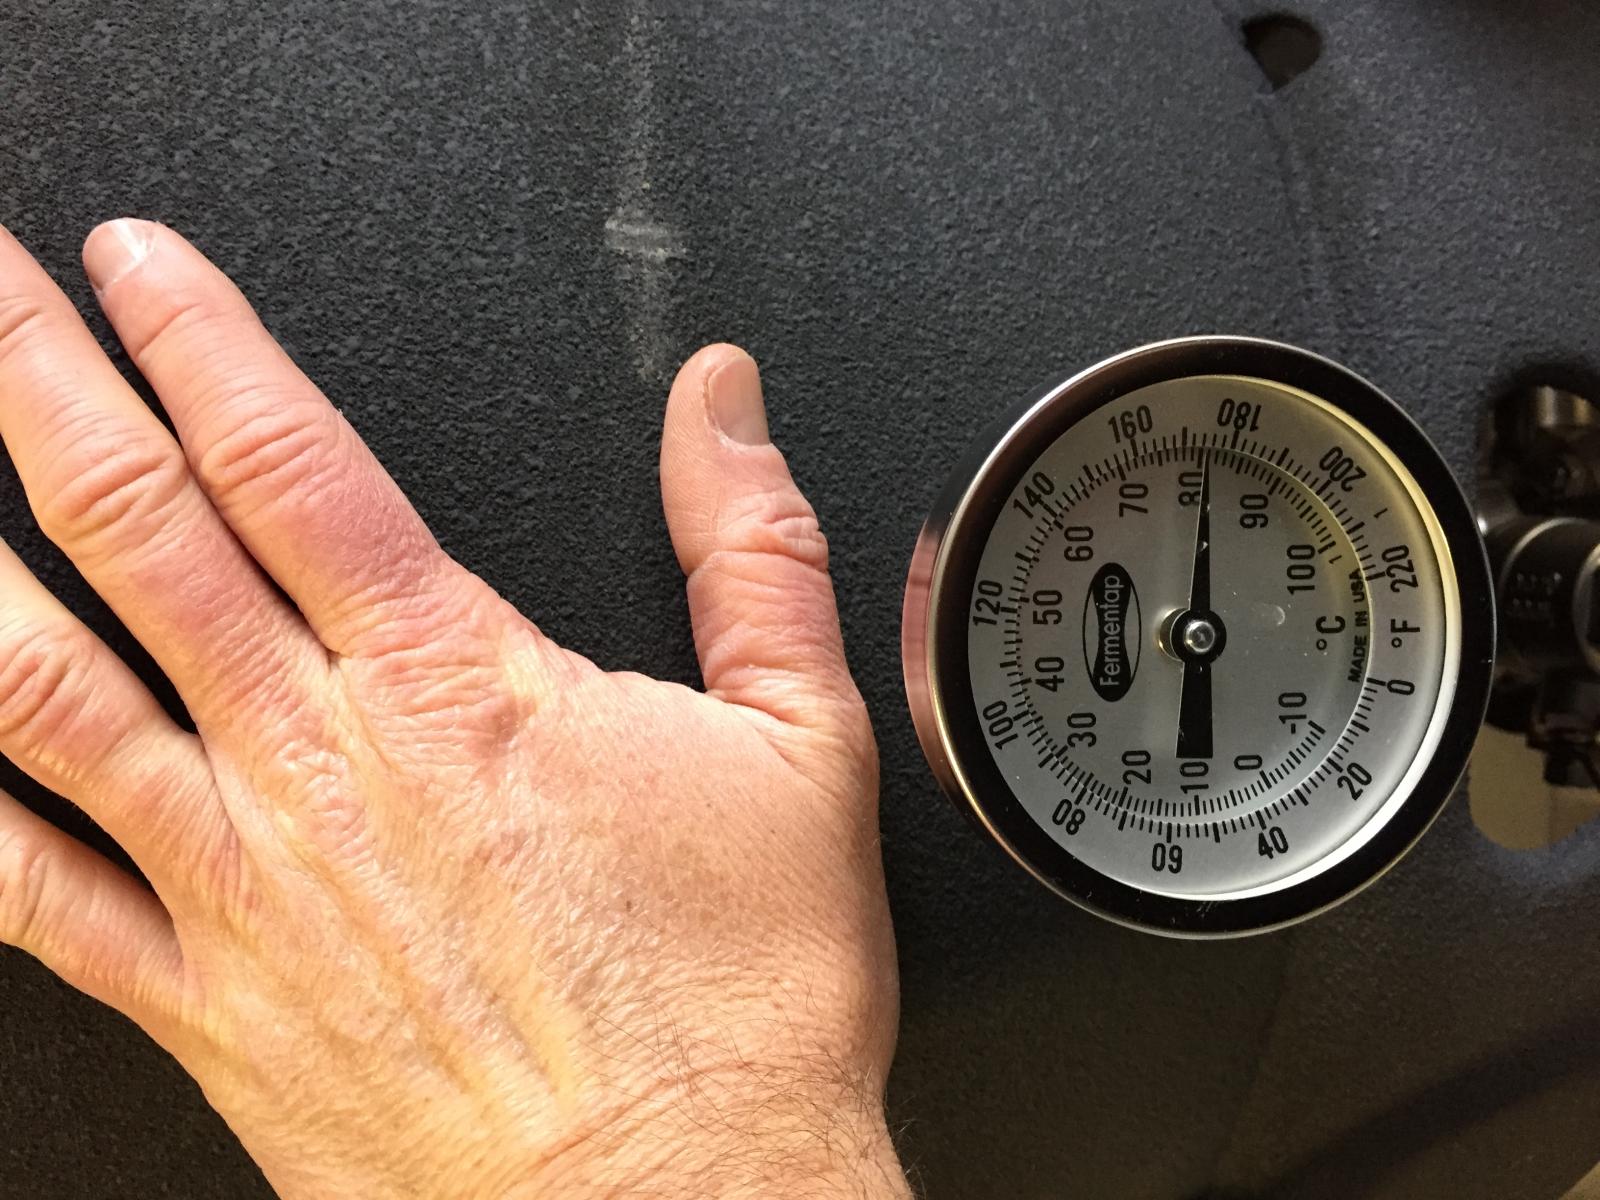
As mentioned in my last post, mechanical install is complete. I ran a Heat Strike water cycle and ran the temp up to 172*F. I was able to place my hand on the HLT and hold it in place for 10+ seconds. It certainly was warm and became hotter the longer I held my hand there. Certainly good enough to prevent accidental burns from rubbing up against a hot vessel. Once I fire up the BK to full boil I'll post results (still have a leak to attend to).

I never intended for to transform my keggles into fully insulated vessels like a traditional cooler MLT, but my intent was to insulate enough to add some efficiency into my system reducing heat loss and subsequent element duty cycles.

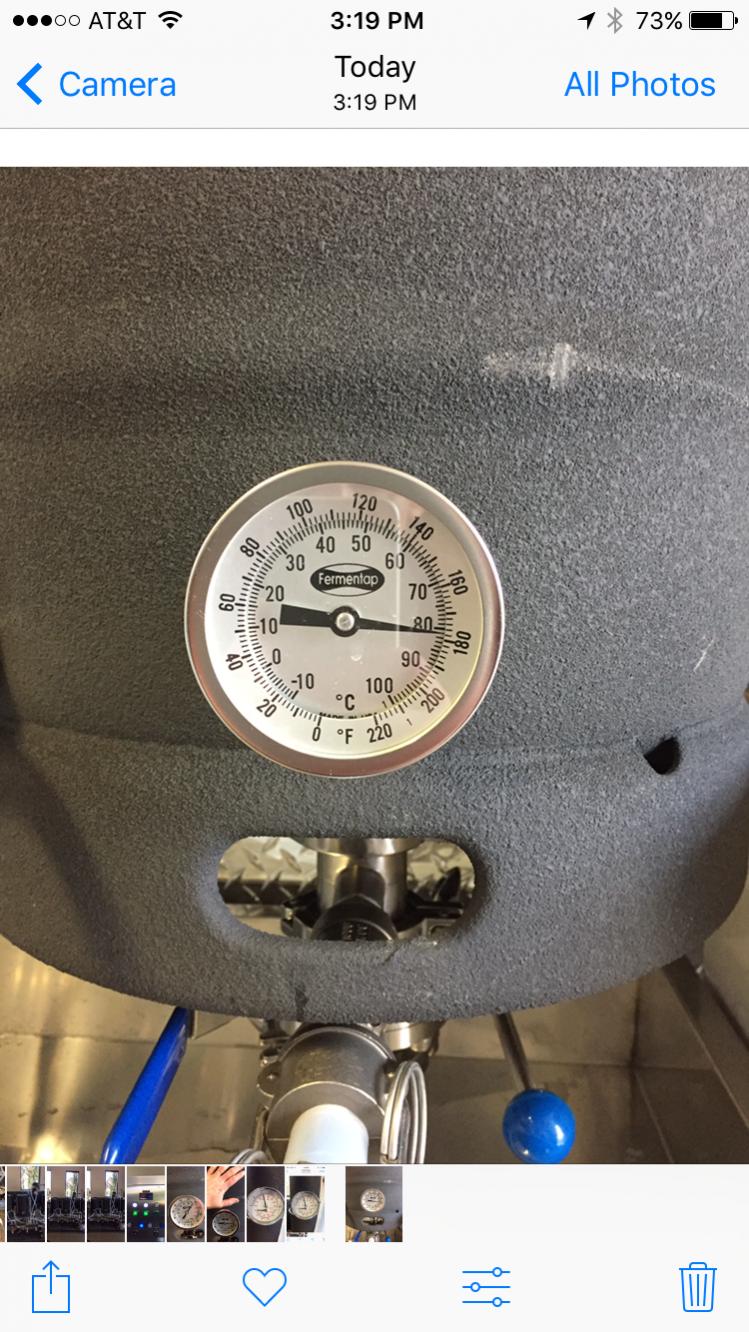
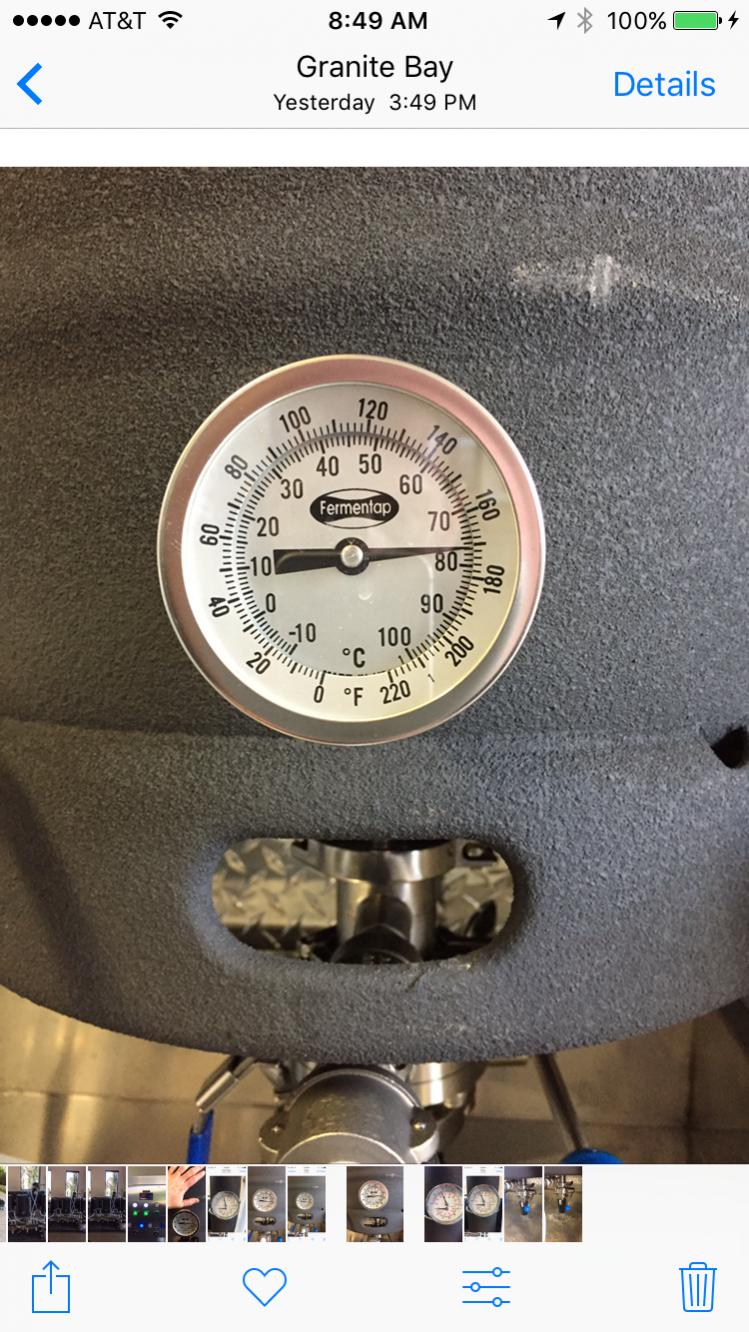
It was a busy day yesterday so I didn't have much time to run a longer test, but below are pics of the temp variance in my HLT and HEX over a 30 minute period.

Baseline info:
HLT Volume 10.5 Gal
HEX Volume 3.5 Gal
Ambient Temp: 62*F
HEX is completely enclosed
HLT had SSt lid on

Note: The HLT thermometer is off about 8*F on the high side. Didn't have time to calibrate.

The ceramic insulation coating is Lizardskin from Mascoat. You can find 2 Gal kits with sprayer for $180-$200. The 2 Gal bucket was plenty to add 3 coats to the my 3 keggles and HEX and 1 coat to my manifolds. I have a little left over that I reserved for touch up. You will need at least a 20 Gal compressor with regulator set to 40PSI. Cure time between coats is about 30 minutes. You will need to use a primer first if your vessels are smooth. The product is water based so clean up is "easy". The sprayer that it comes with "spits" the coating out. I hear you can also use an airless sprayer, but you'll likely need a large nozzle as the product is thick.

IMG_6149.jpg


IMG_6151.jpg


IMG_6153.jpg


IMG_6160.jpg


IMG_6163.jpg
 
Wow! Just Wow! Good looking setup BrewKaiser. I've taken my first step towards electric, but I chose to purchase the Megapot kettles to start with. I got tired of the keggles. Can't wait to read about how it all works.
 
Thanks! What didn't you like about the keggles?

The weight for one. My mashtun was a bottom drain, so lifting that thing off the brewstand full of spent grist was a pain as well - especially with no handles. Second, the 12" opening and the ensuing lip that is created. It seems something was always hiding underneath, no matter how thorough my cleaning. Third for the volume, I found them too tall (or maybe I'm just not tall enough!). The diameter to height ratio is very different compared to pots.

Overall, I always like the idea of using beer stuff to make beer, but in the end, I like using the stainless pots better. Just personal preference, I guess.
 
Quick update on the coating performance. At near full boil temp I can hold my hand on the outside of the keggle for 10 seconds. Definitely a great product to avoid accidental burns from rubbing up against kettles full of boiling liquid.

My only concern is how difficult it will be to clean this surface from any spill on the outside. I guess time will tell.

IMG_6201.jpg
 
For those of you sub'd to this thread, here's another update on the performance of the ceramic paint coating.

Completed my first brew on Monday. As reported before, hand on pot of boiling wort: No Problem! I don't have a point of reference to compare to as I did not use my new system w/o the coating, but I do recall from my previous 8 Gal SSt kettle that there was heat radiating out from the kettle when hot. While the keggles did radiate some heat, I was expecting more heat considering the volume of boiling liquid.

Again, with nothing to compare to I feel like my temp targets in HLT and BK were reached sooner than w/o some insulation. Heating 17.5 Gal of strike water from low 50s to my hold temp of 154* took 40 min. I use both a 4500w ripple HLT element and a 2000W HEX element to heat strike water. Both tuns were in the low 60s when starting and have a combined mass of around 60 lbs.

The MLT mash gradient between return probe temp and probe at bottom of MLT were still off 2-3*, but I've been informed that this is normal. Watching my HEX (HERMS) element indicator light and the Amp meter, my HEX seemed to fire briefly once every minute or so (control set to PID). With a 45 min sparge, wort temp in BK was in the low 140*s after 15 min (BK starting temp when empty was low 60*s and my sparge temp at 168*). The last 30 min of the sparge I stop heating sparge water, by the end of the sparge the BK was sitting at my pre-heat temp of 208* (5500w ripple element helps greatly, too).

Since I use the HLT and HEX to chill wort, after sitting empty for little over 2 hours, I was surprised how much residual heat the HLT still had with ambient temps in the mid to high 60s by this time.

With some light wort spillage on the paint, spray down with hot water is all that was required. I guess spraying some Simple Green and then hosing down would also work for more serious spills.

I can recommend this or similar products to anyone considering moderate insulation from a spray on coating.
 
Just a thought, since the applicator kit and 1-2 gal containers of LizardSkin are relatively expensive and since most of us do not have access to paint shops or compressors with enough volume needed for this product's application, PM me if you are interested in coating your vessels with this product.

If enough interest I will contact the manufacturer about opening an OEM account and purchase industrial sized containers. We should be able to paint other's vessels at near or less than cost of everyone buying their own kits provided we can get through 55 Gal of paint.

3 coats on my rig required almost 2 Gal.
 
Back
Top