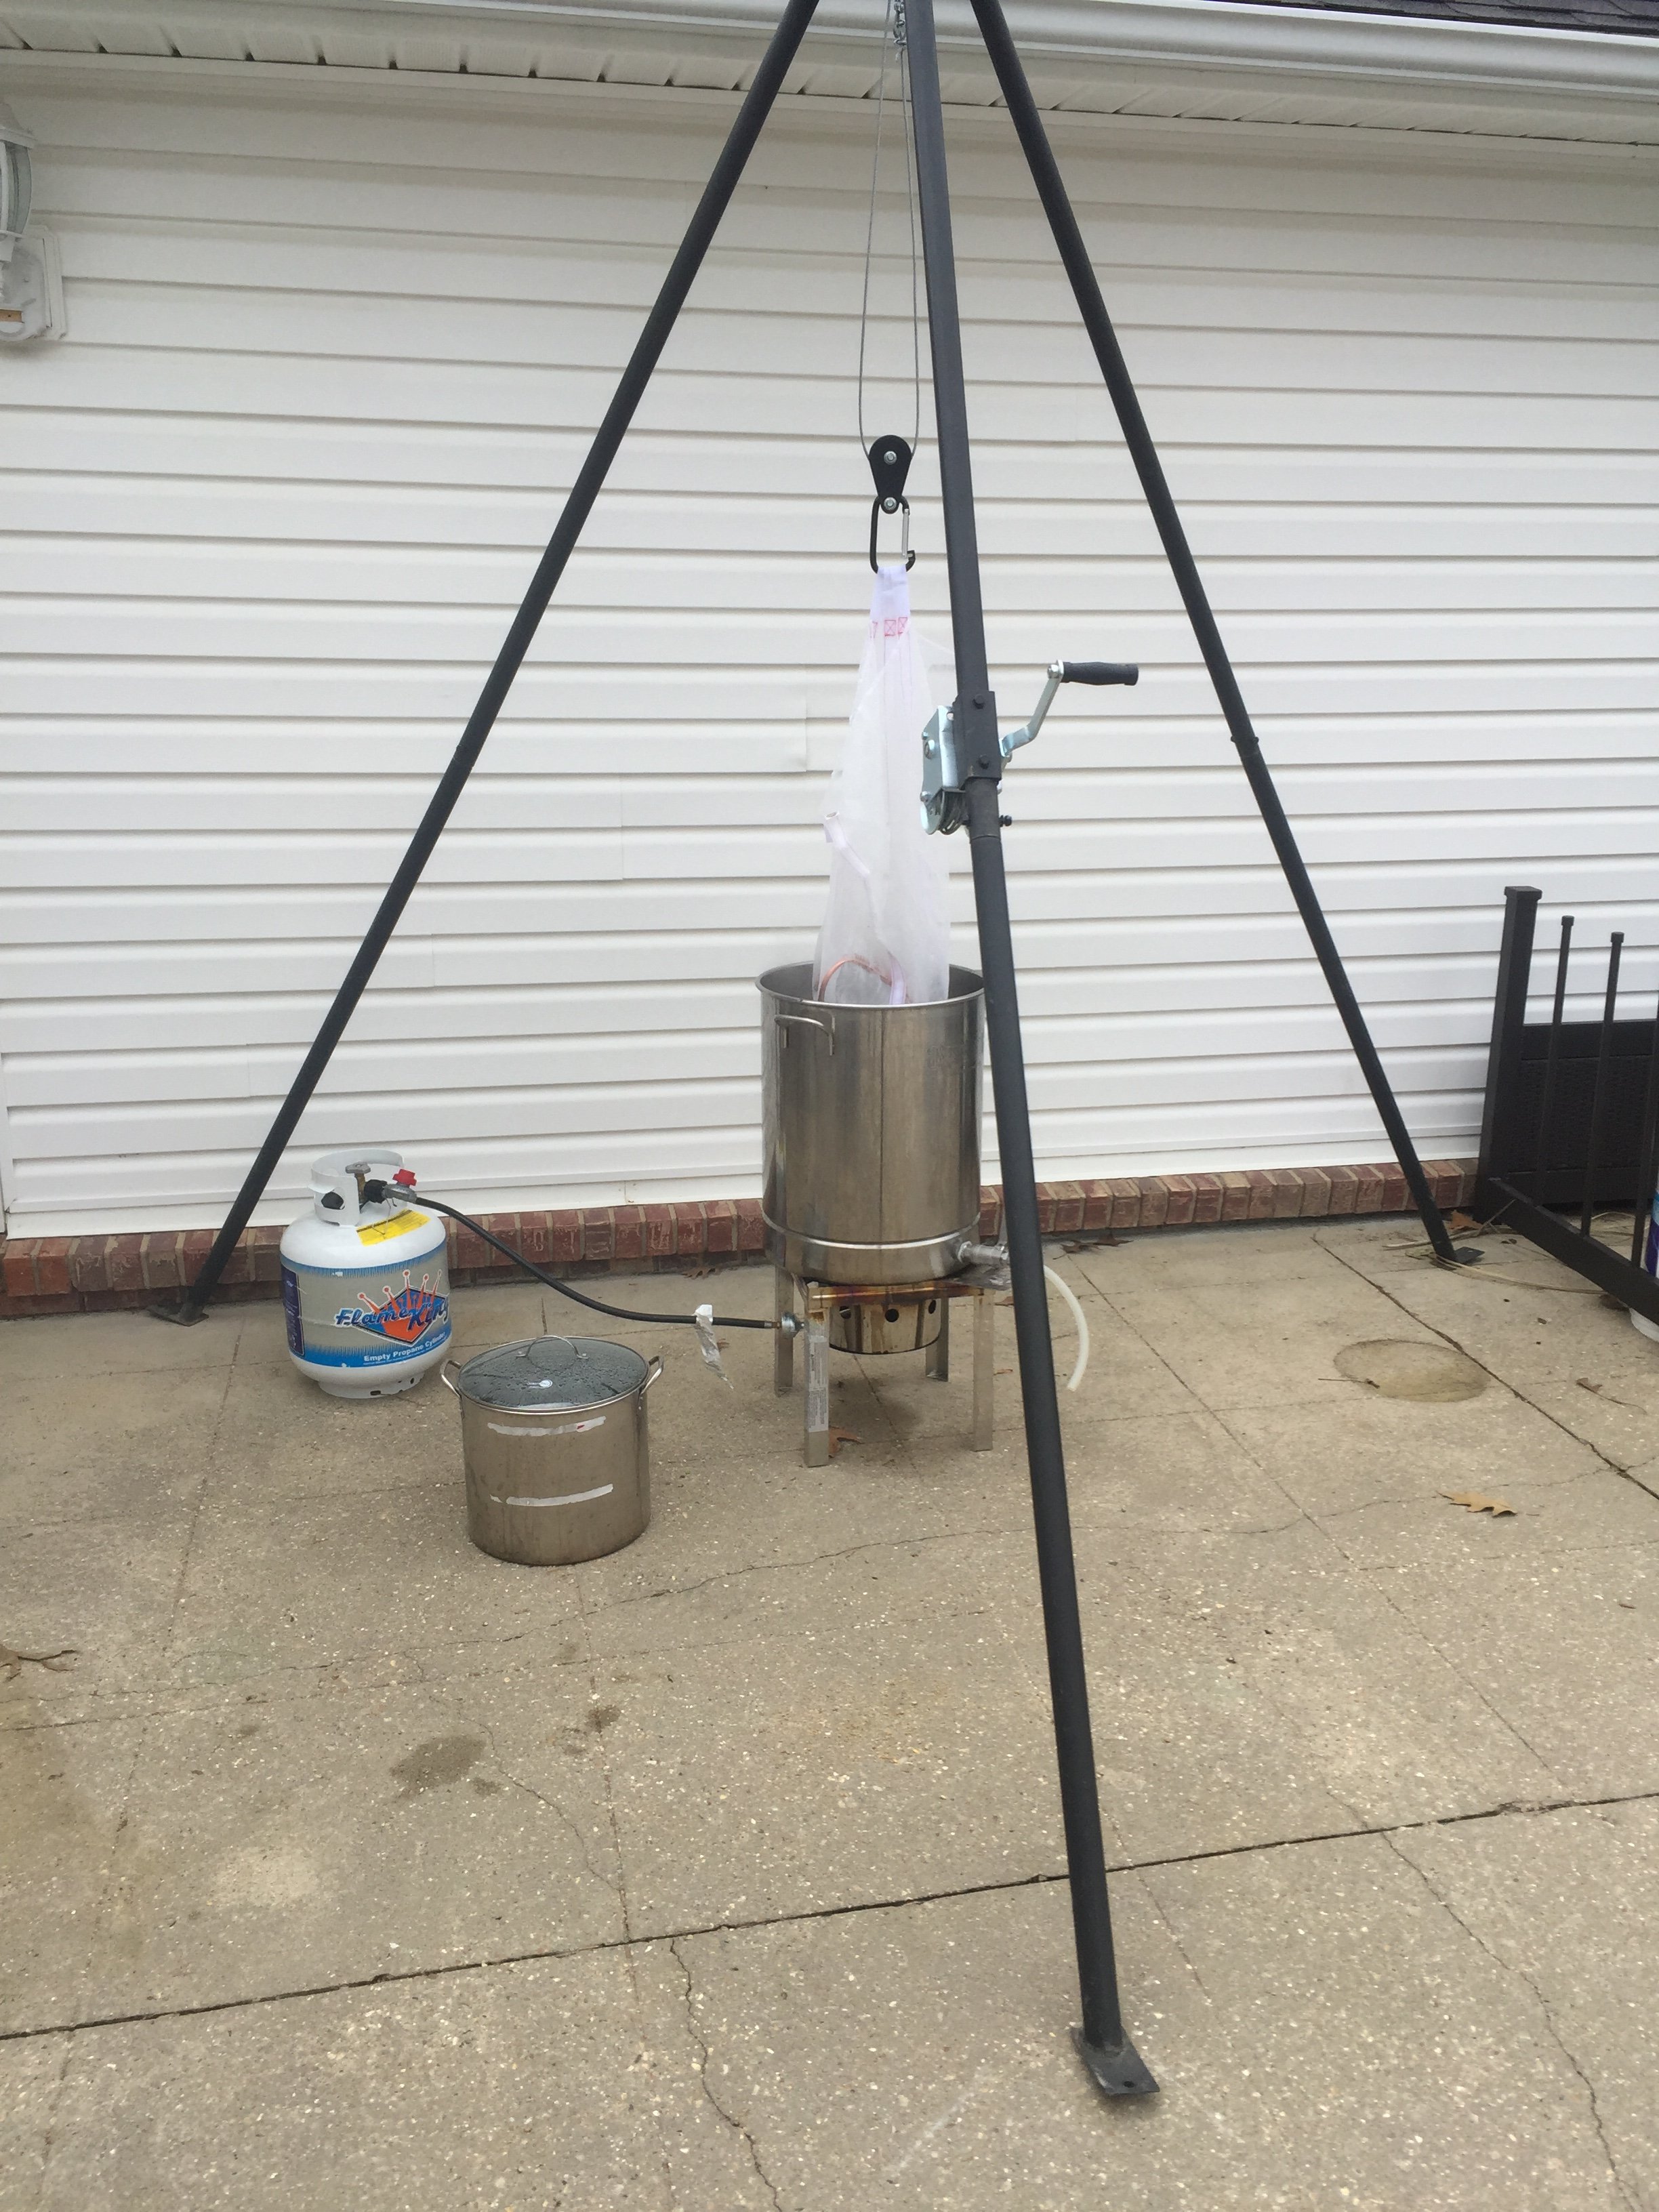
Did a brew for Big Brew Day, and tried a new way of squeezing the bag. This new method doesn't require me to touch the bag! I use a Wilser bag with a ratchet pulley suspended from a step ladder (8' ladder is best) to pull the bag at the end of the mash.
I let the bag drain naturally until it slowed to a slow drip. Then I put a colander on top of the kettle, under the bag, and dropped the bag into the colander. Now the new part -- I put a Homer bucket full of water (~5.5 gal, ~46 lbs) on top of the bag in the colander. Let that sit for a while, and occasionally leaned on the Homer bucket.
My grain absorption rate dropped from my typical 0.07 gal/lb to 0.05 gal/lb. A 0.02 gal/lb decrease in grain absorption rate is good for about a 2 - 3 percentage point gain in lauter efficiency.

The colander

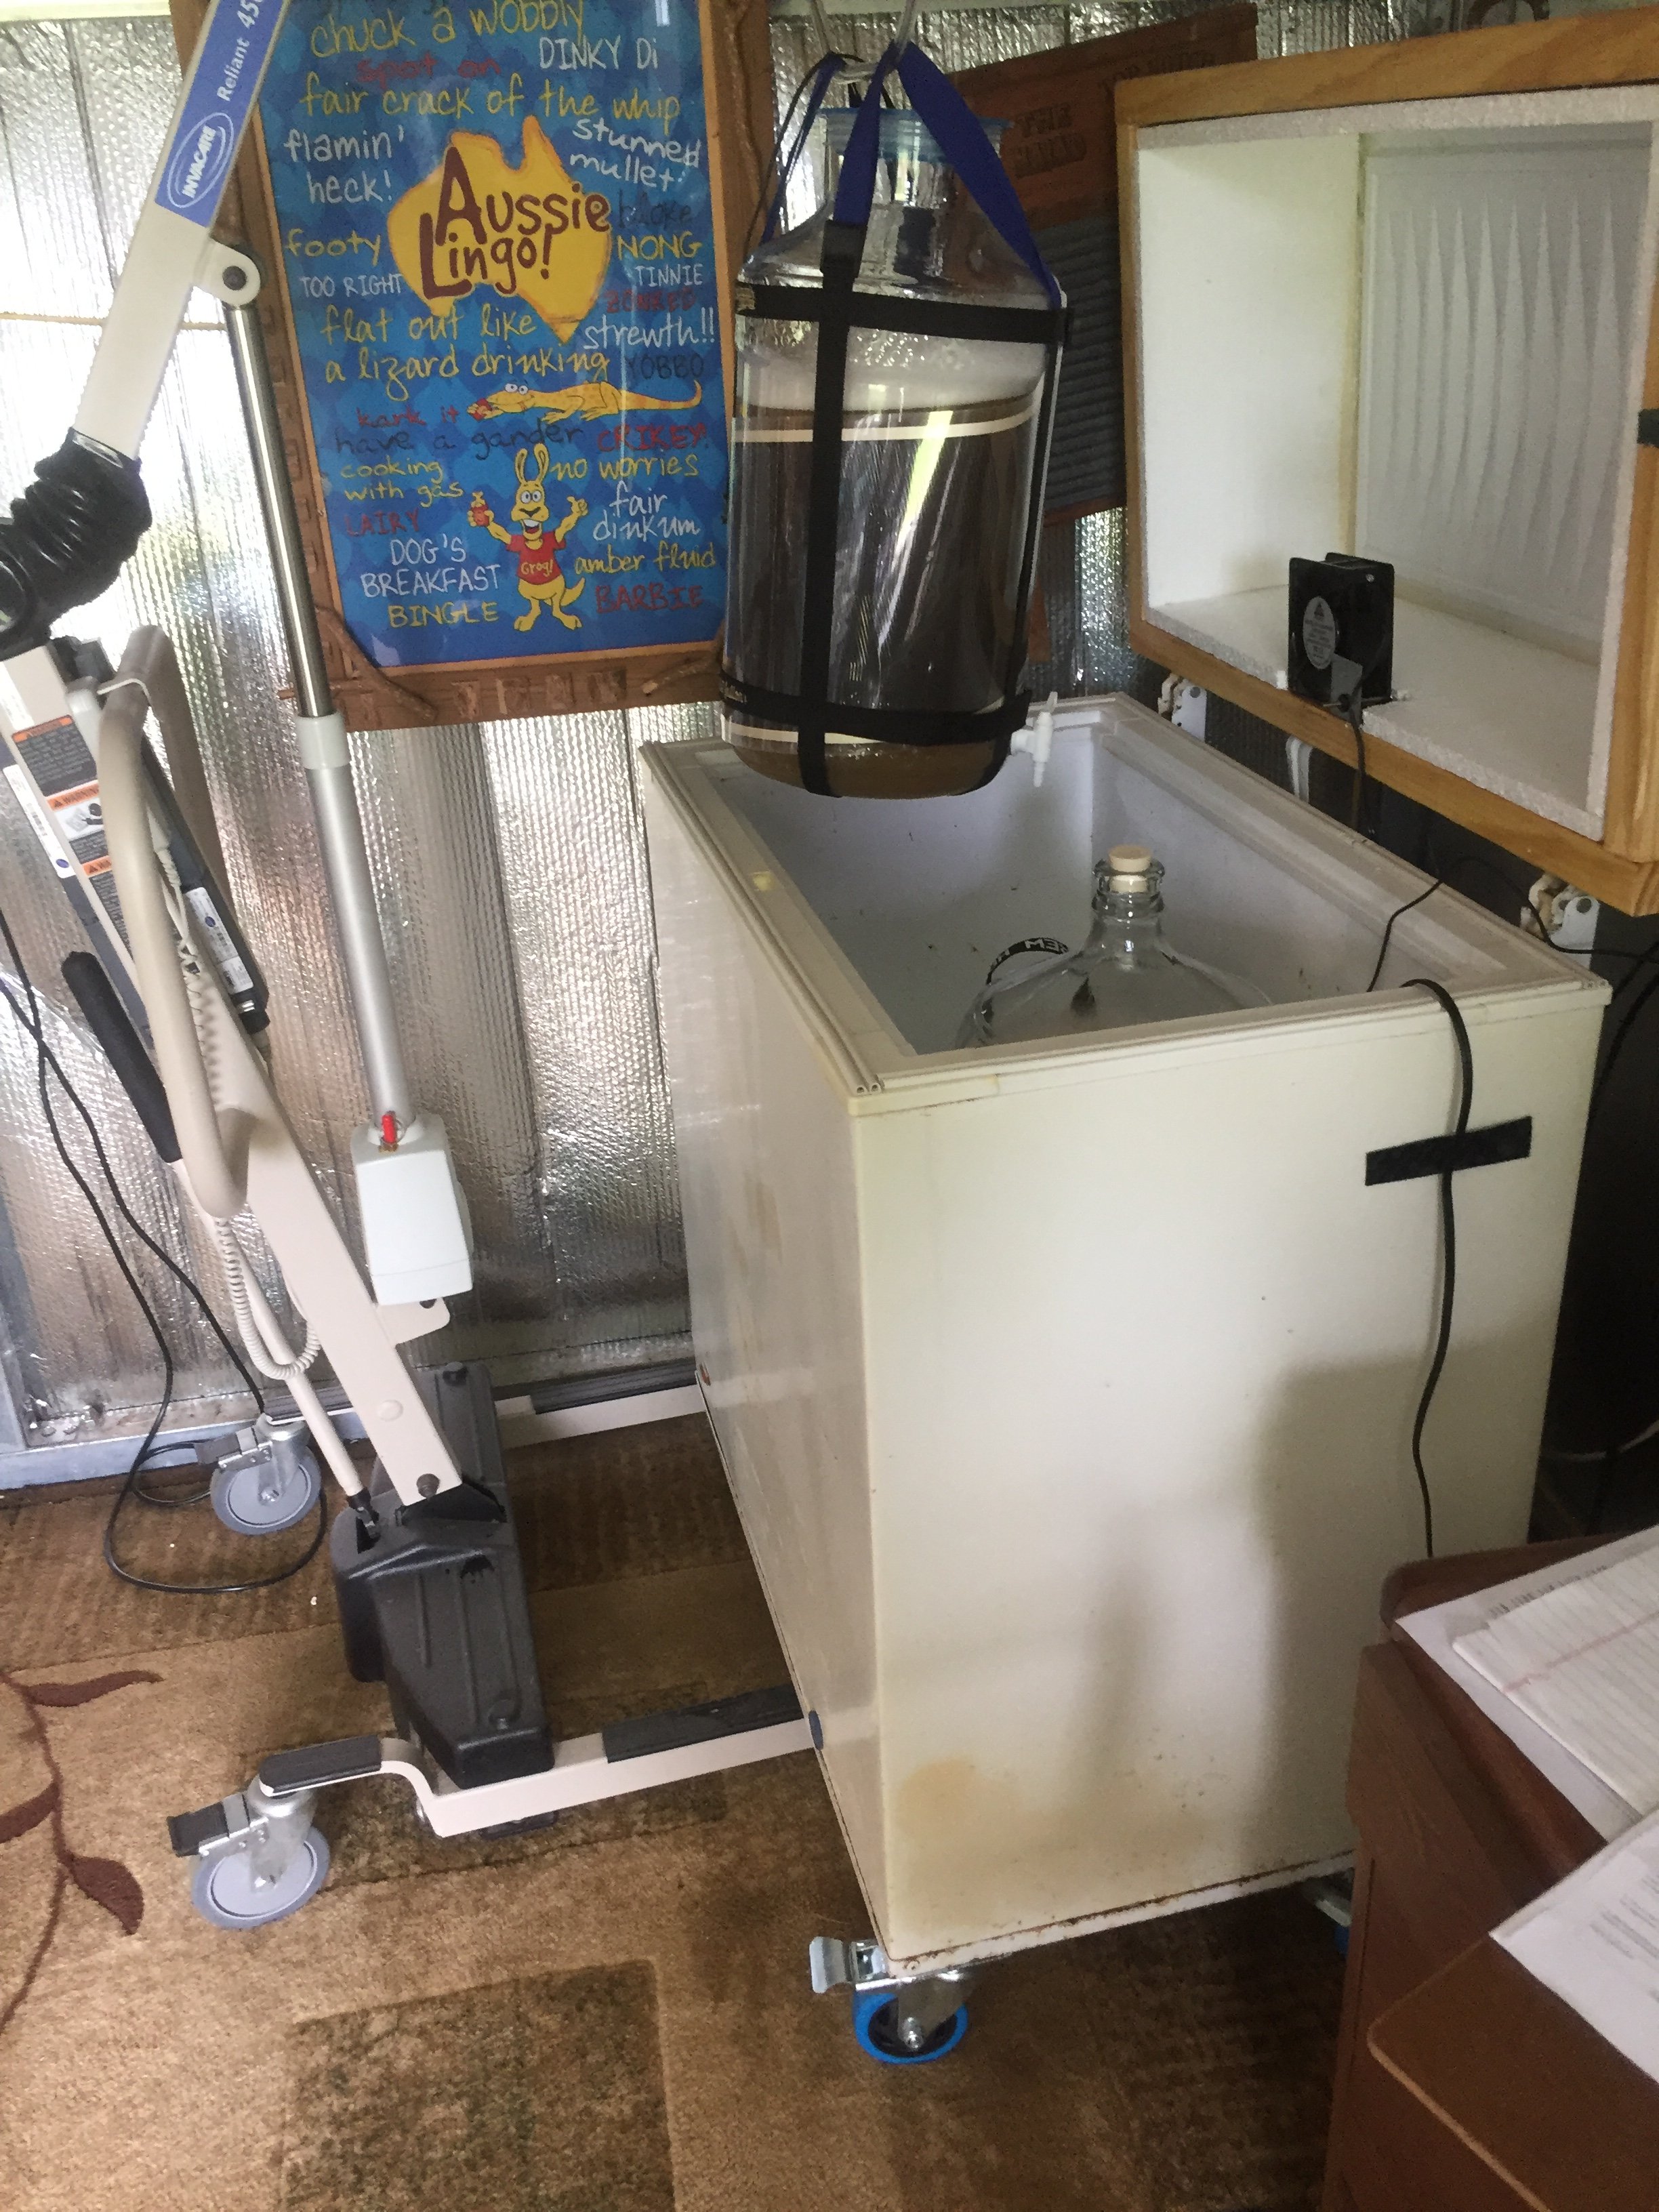
The colander on my 15.5 gal Bayou Classic kettle:

The Homer bucket press in action:

Brew on
I let the bag drain naturally until it slowed to a slow drip. Then I put a colander on top of the kettle, under the bag, and dropped the bag into the colander. Now the new part -- I put a Homer bucket full of water (~5.5 gal, ~46 lbs) on top of the bag in the colander. Let that sit for a while, and occasionally leaned on the Homer bucket.
My grain absorption rate dropped from my typical 0.07 gal/lb to 0.05 gal/lb. A 0.02 gal/lb decrease in grain absorption rate is good for about a 2 - 3 percentage point gain in lauter efficiency.

The colander

The colander on my 15.5 gal Bayou Classic kettle:

The Homer bucket press in action:

Brew on
Last edited by a moderator:
")


![Craft A Brew - Safale S-04 Dry Yeast - Fermentis - English Ale Dry Yeast - For English and American Ales and Hard Apple Ciders - Ingredients for Home Brewing - Beer Making Supplies - [1 Pack]](https://m.media-amazon.com/images/I/41fVGNh6JfL._SL500_.jpg)