Bayou Classic Electric Kettles

Homebrew Talk - Beer, Wine, Mead, & Cider Brewing Discussion Forum

Help Support Homebrew Talk - Beer, Wine, Mead, & Cider Brewing Discussion Forum:

This site may earn a commission from merchant affiliate links, including eBay, Amazon, and others.
Gotcha. I am going to go with the 82qt kettles, just for the extra breathing room. Very nice build and parts list! I am going to steal an idea or two from ya!
 
Bayou BIABer's - do you all agree the element must be used in a 1 gang outlet box, as the 2 gang outlet box setting won't allow the element enough room due to the basket insert?
 
Bayou BIABer's - do you all agree the element must be used in a 1 gang outlet box, as the 2 gang outlet box setting won't allow the element enough room due to the basket insert?

I can confirm that was the case with my 62 qt kettle.
 
Thanks suds. Was just thinking the same thing. Do you have a picture of your installation? How high off of the bottom would you say it should be drilled?
 
I just used a SS street elbow as my side pick up tube. Works well, nice & simple & compact. Those barbed ones BobbyM now sells would be even better, no threads to collect gunk
 
DustBow - Are you referring to this? Is the diptube just to fancy? I am just looking for a simple pickup for the ball valve for the eBIAB setup, but don't want to use silicone tubing. Would it work fine without tubing? I would rather keep everything SS down there. This kettle will be used as my HLT later on with the 3V build.
 
Yes, that's the one. I had an extra one laying around so I grabbed it instead of ordering a "fancy/pricey" compression fitting. Less parts, simple. My bulkhead nipple is mounted high enough that I just screwed the street elbow onto the nipple. There's probably 1/8-1/4 of an inch clearance between the bottom of the kettle and the elbow.
 
Thanks DustBow - I am assuming I can't use 1/2 setup up with that piece, correct? The parts below were what I was intending to use on the outside of the kettle wall.
Stainless steel male quick disconnect 1/2" MPT
Stainless steel ball valve 1/2" full port
Stainless steel 1/2" NPT lock nut

On another note, the electrical enclosure is coming in today and my 82 qt Bayou Classic Kettle is set to arrive next week! Can't wait to get this build going!
 
Well, your ball valve is going to be attached to a nipple right? I guess you're planning to use a locknut on the inside to make the seal ? I originally just used the SS street elbow with a SS washer on the inside, screwed those onto the nipple inside and tightened things down enough to get a nice leak-free weldless bulkhead. All 1/2" SS fittings. I used this bulkhead kit from BargainFittings - just repalced the coupler inside the pot with the elbow.
I've since silver soldered the bulkhead fitting onto the kettle but still just attached the street elbow on the nipple inside the pot for my dip tube.
I pump thru a Chillzilla and back into the kettle for whirlpool to keep the trub centered as much as possible & the street elbow makes for a great/compact side dip tube, the setup works great.
Here's a pic from earlier this year:

whirlpool.jpg
 
Nasty looking hop pile you've got there! With BIAB & a hop sock I haven't really had problems with big trub piles at the bottom of my kettle. I do like the whirpool effect though. I always thought that the trub went to the sides of the kettle...
 
So all my dreams of this new 82qt BIAB have been ruined with finding out the 82 kettle and basket is a "boil basket" and not a steam situated basket. This means the basket sits flush with the bottom.... $&#@!!!!!!!! Seriously! So I was wondering if any other BIAB 82'ers had any modifications they did to accomodate this? The BIAB is a short term set-up while I slowly acquire my parts to build a 3V system, but I still want to use it in the mean time!! Open to any and all suggestions. I was planning on cutting the holes in the basket to allow better circulation/flow, so I do not think legs will work. I could rig a pulley system to hold the basket off the bottom, but that seems risky if the pulley gives out and the basket drops on my heating element/pick up/ temp probe/etc.
 
So all my dreams of this new 82qt BIAB have been ruined with finding out the 82 kettle and basket is a "boil basket" and not a steam situated basket. This means the basket sits flush with the bottom.... $&#@!!!!!!!! Seriously! So I was wondering if any other BIAB 82'ers had any modifications they did to accomodate this? The BIAB is a short term set-up while I slowly acquire my parts to build a 3V system, but I still want to use it in the mean time!! Open to any and all suggestions. I was planning on cutting the holes in the basket to allow better circulation/flow, so I do not think legs will work. I could rig a pulley system to hold the basket off the bottom, but that seems risky if the pulley gives out and the basket drops on my heating element/pick up/ temp probe/etc.

you could put feet on the bottom of it with stainless steel bolts + a few washers and nuts. Just cause you are cutting holes doesnt mean you wont have space for a few bolts. Unless you are cutting the entire bottom off.
 
This is the design I am looking to do to my basket. Guess I could use the nuts and bolts... Just throw a blanket over the top? Any recommendations to keep the heat in to maintain a nice mash temp? What type of material?
 
Interesting - I thought all the Bayous had that "lip" up at the top to support the baskets.

But after looking at them just now on Amazon, it does look like the design changes from the 15 gallon to the 20. That sucks
 
So all my dreams of this new 82qt BIAB have been ruined with finding out the 82 kettle and basket is a "boil basket" and not a steam situated basket. This means the basket sits flush with the bottom.... $&#@!!!!!!!! Seriously! So I was wondering if any other BIAB 82'ers had any modifications they did to accomodate this? The BIAB is a short term set-up while I slowly acquire my parts to build a 3V system, but I still want to use it in the mean time!! Open to any and all suggestions. I was planning on cutting the holes in the basket to allow better circulation/flow, so I do not think legs will work. I could rig a pulley system to hold the basket off the bottom, but that seems risky if the pulley gives out and the basket drops on my heating element/pick up/ temp probe/etc.

Of course, you could skip the basket altogether and just use the bag. Plenty of people do this, and you have one less vessel to clean. You would still want something to keep the bag off the element. I use a stainless circular cooling rack.
 
Just ordered the next step of the project all from Bobby_M, who was a great help! Weldless bulk head with the high flow elbow barb leading to a nice 3 way valve and 5/8" nipple (for 1/2 ID silocone tubing). Ordered the WLSTNT sight glass kit, which has no thermometer but will have a 4" temp sensor installed in place of it. Will get pictures up after the install next week, unless I find spare time sooner.
 
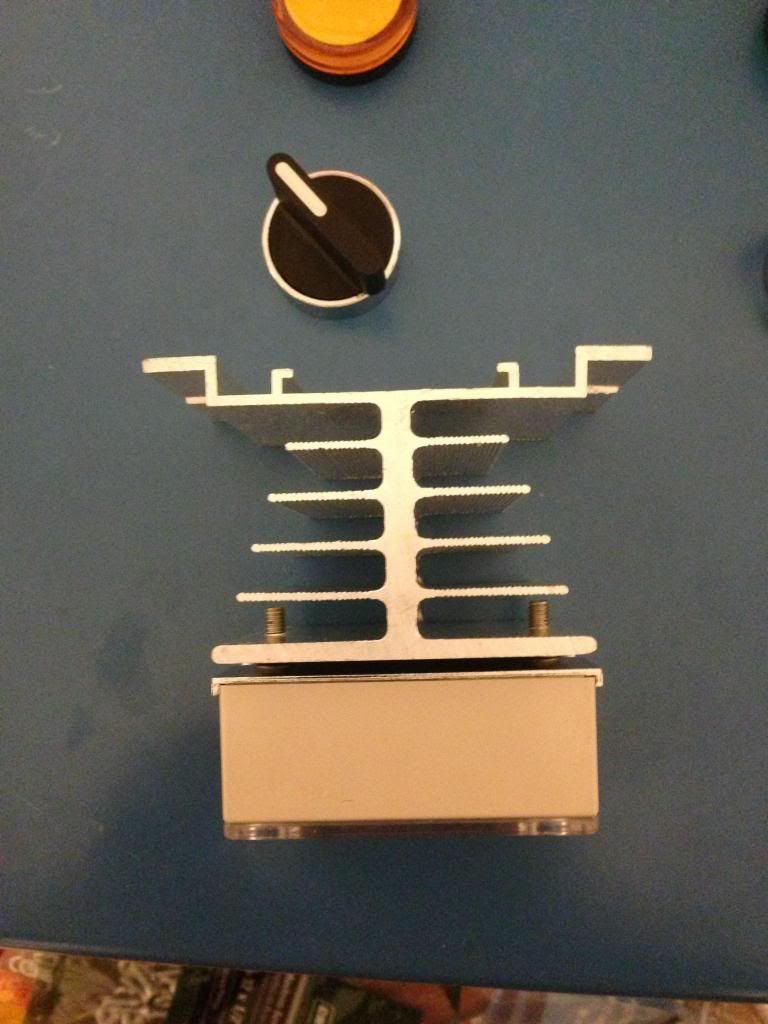
Hey guys, been a long and drawn out process but the end is near! Drilled out my enclosure yesterday, what a ***** that was. Word to the wise, do not buy a fiberglass enclosure and expect it to look pretty inside! I used a lot of tape to try and help, but the gelcoat and threading to make fiberglass chips very easily. Anyways, have all my components installed except for my key two switch. Can't figure out how to pull it apart to install it in the hole! Anyone have any advice?

Anyways, I am following my schematic I received from eBrewSupply.com and have a few questions, as this differs from a lot of others I have seen. Per this schematic, there are no fuses but I'd say everyone else's I have studied has fuses, am I just missing something? Second, what are the 120Va and 120vB with the 10ga wire running to it from the Contactor? Lastly, I am not going to install a timer and won't be installing a pump until later, is there anything I need to change to the schematic besides obviously not wiring anything up for it?

I will get pictures of my progress up tonight.

P.S. - How do I make a ground on a fiberglass box?
 
should be breakers/fuses if using ebrewsuppy.com schematic. the 120va 120vb question is just a label,take time and study the prints. please if you don't understand don't do it.
 
If I have the breakers, then I do not need fuses is what you are saying. I am taking time and studying the prints, hence the questions I have posted to gain a better understanding of how I am wiring. Thanks for the concern.
 
If I have the breakers, then I do not need fuses is what you are saying. I am taking time and studying the prints, hence the questions I have posted to gain a better understanding of how I am wiring. Thanks for the concern.

In line breakers are resettable fuses
 
Hey guys, having a problem figuring out how I am going to mount this SSR and heat sink. The owner of eBrewSupply said it's a DIN rail mountable heat sink, but I wouldn't think you would want your heat sink mounted on the inside of your box. It'd defeat the purpose, right?

image_zps9845f81b.jpg


As you can see there is no lip for me to mount on the outside of the box after cutting a hole.
 
yeah, your box would be cramped even for internal mounting. you could get a small copper plate, thermal grease on both sides and sandwich it while using the copper as a lip for mounting.
 
Back
Top