• Please visit and share your knowledge at our sister communities:
  • If you have not, please join our official Homebrewing Facebook Group!

    Homebrewing Facebook Group

Basement E-HERMS build.

Homebrew Talk

Help Support Homebrew Talk:

This site may earn a commission from merchant affiliate links, including eBay, Amazon, and others.

olse0230

Member
Joined
Aug 24, 2010
Messages
13
Reaction score
4
Location
Minneapolis
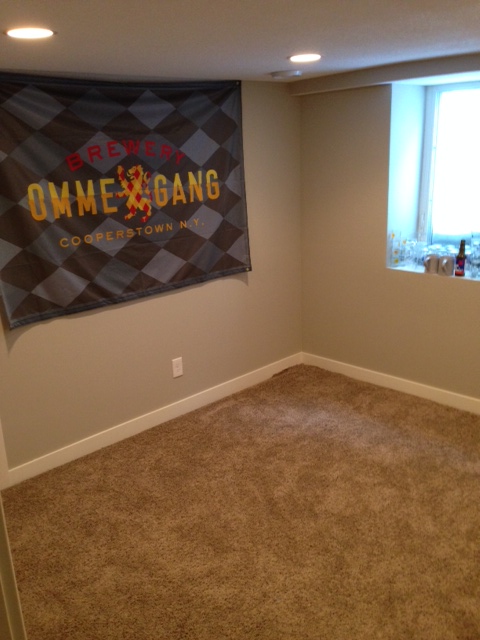
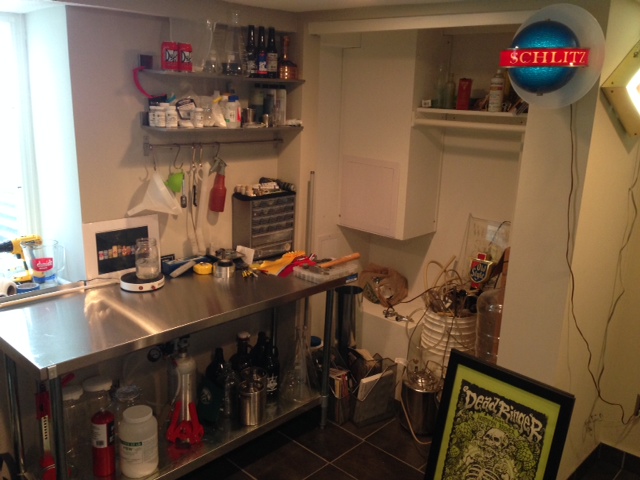
I finally made the leap to an indoor E-HERMS brewery in my basement after years of brewing in my garage, hauling supplies from the basement upstairs for every brew day, transfer and kegging. Minnesota winters are not conducive for fun brew sessions, even in a garage. We had an unused basement bedroom that I got the green light from my wife to turn into a brewery. Having learned so much from other basement brewery threads, I'm starting my own thread to hopefully some others who are aspiring to build a brewery in their basement. It's so far been 4 months, countless trips to Home Depot, Menards and the Tile Shop, lots of YouTube videos, and one good hand laceration and I'm almost done.
 
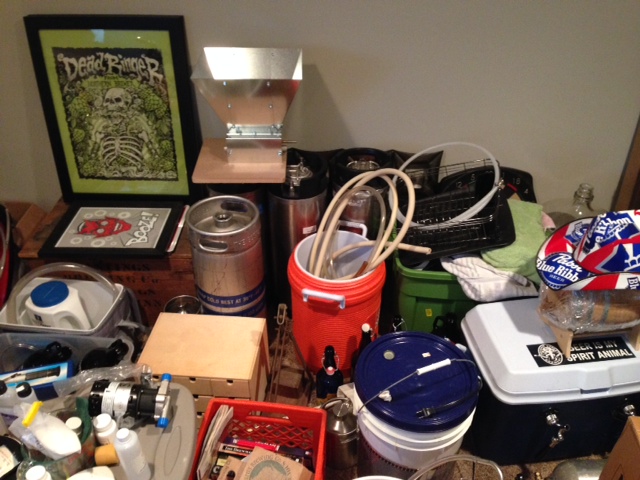
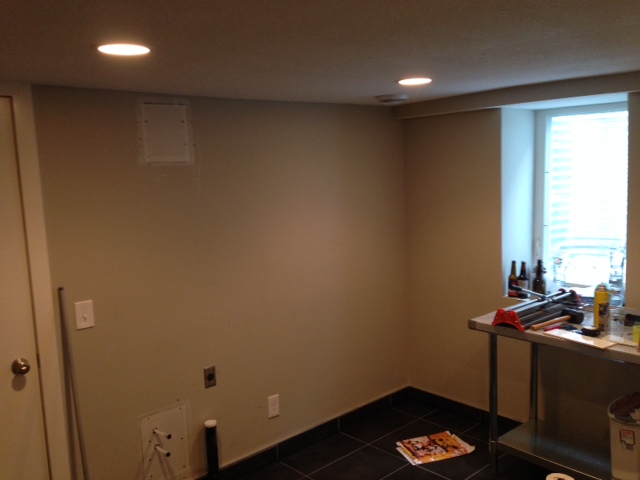
It was carpeted room with the floor covered in equipment-I was constantly crawling over stuff to find what I needed.

photo 1.JPG


photo 2.JPG
 
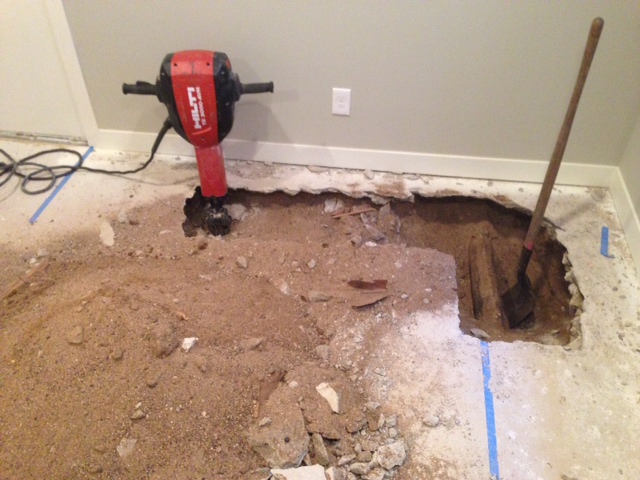
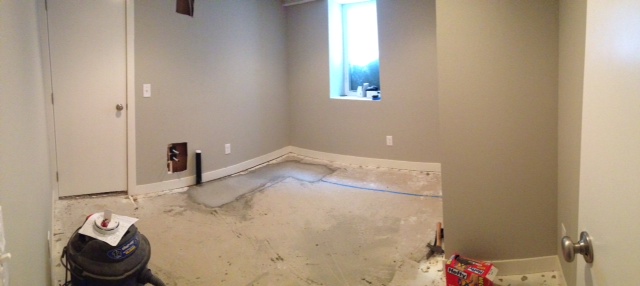
A friend of a co-worker is a plumber and beer drinker who helped with the plumbing. Thankfully the main sewer line for the house runs right under the brewery. We tapped into that for waste water and ran in hot and cold water from the utility room where we were able to easy tap into the water lines. The bedroom had been framed in around an old cinder block wall so we had to jackhammer a small hole to run the pex tubing through.

photo 3.JPG


photo 4.JPG
 
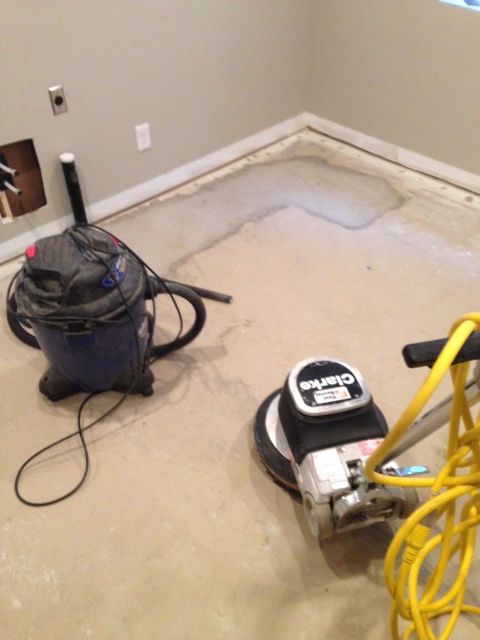
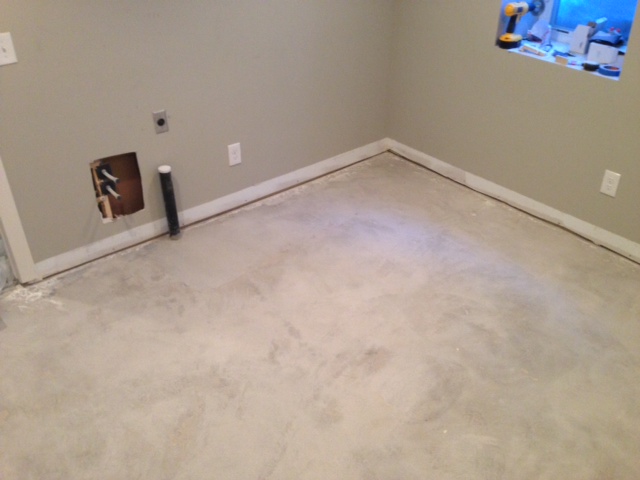
The next step after roughing in the plumbing is the floor. This is a basement room, the foundation was in excellent shape but had a distinct slope on one side of the room. Before I could level the floor, I had to remove a layer of paint from the concrete. That's where the Clark floor sander comes in handy. I rented it from Home Depot and they have a concrete prep disk that is perfect for removing paint, adhesive or anything else that needs to be removed in order to tile the floor. One word of warning-cover your air return vents, otherwise the furnace filter gets dirty real quick.
10 bags of self-leveling concrete later and the floor was ready to tile.
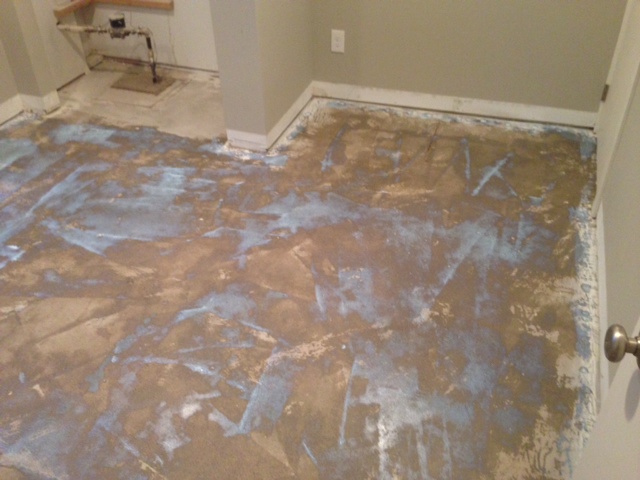
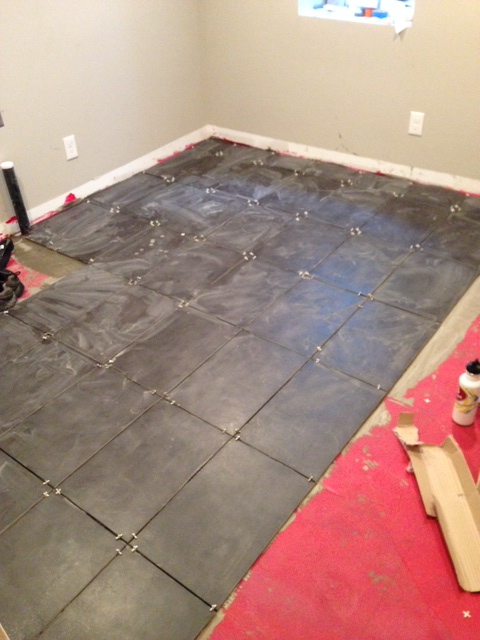
I applied latex primer, then an anti-fracture and waterproofing membrane before laying the tile.
I chose the Jamaica Preto tile from The Tile Shop and it looks awesome.

photo 1.JPG


photo 2.JPG


photo 3.JPG


photo.JPG
 
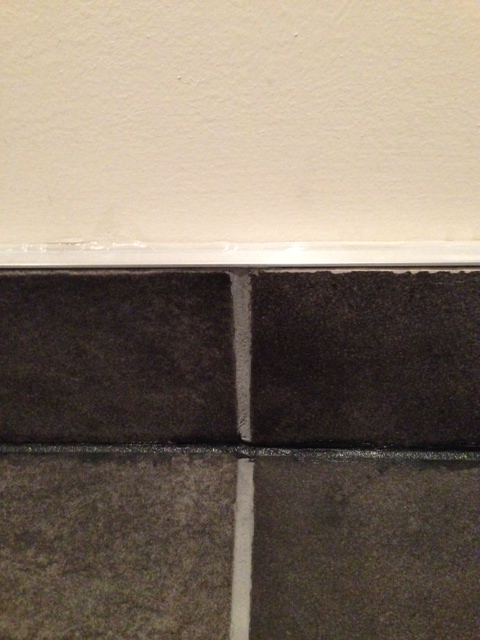
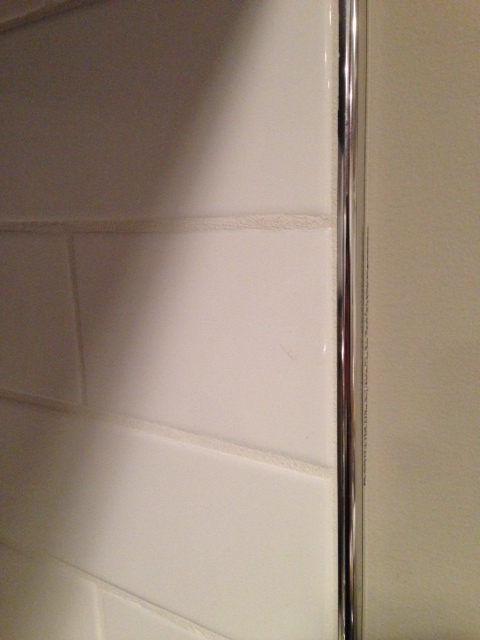
For my first tile job, things turned out pretty well but probably took at least twice as long as I had figured. I borrowed a wet saw from a friend and bought a manual tile cutter as well which was perfect for cutting all the baseboard pieces. The tile baseboard was topped with metal trim to hide the cut edge. I sealed it with clear silicon caulking around the top and caulk grout around the floor joint.
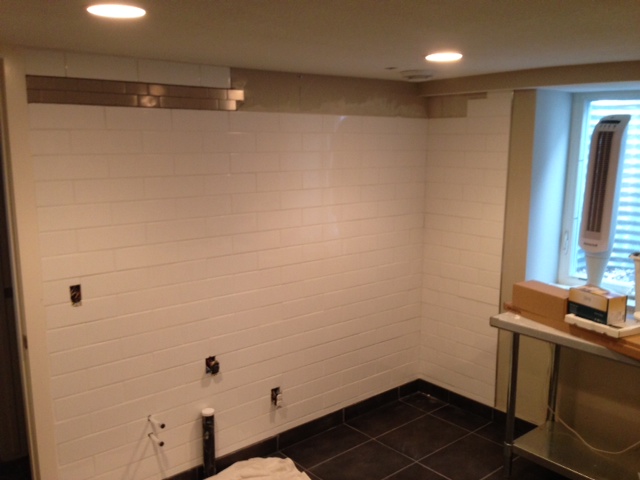
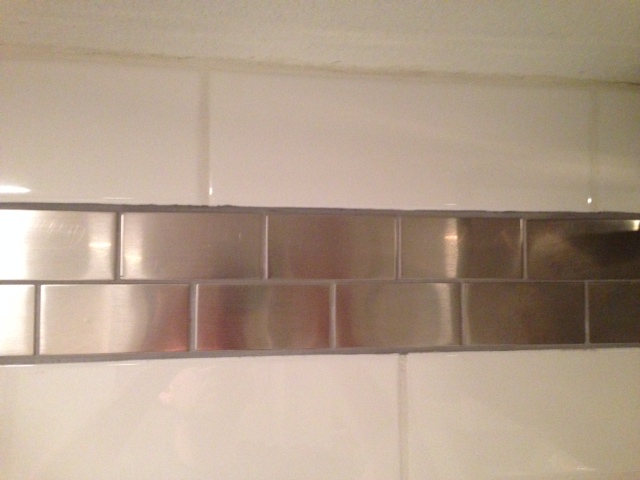
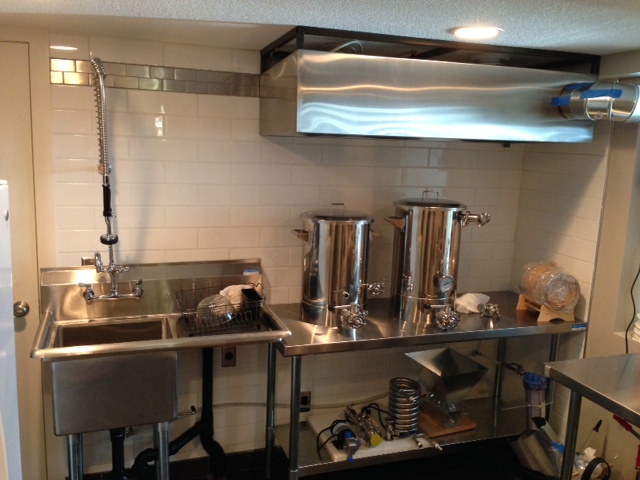
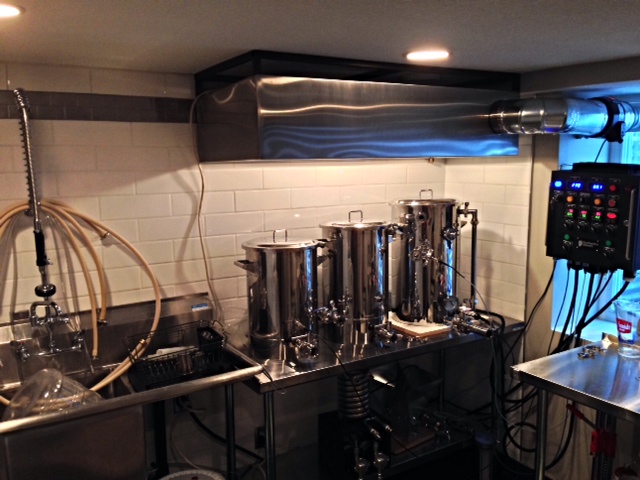
The brewing wall was covered with white subway tile and has an accent row of stainless steel subway tile.

photo 2.JPG


photo 1.JPG


photo 4.JPG


photo 3.JPG


photo 5.JPG


photo.JPG
 
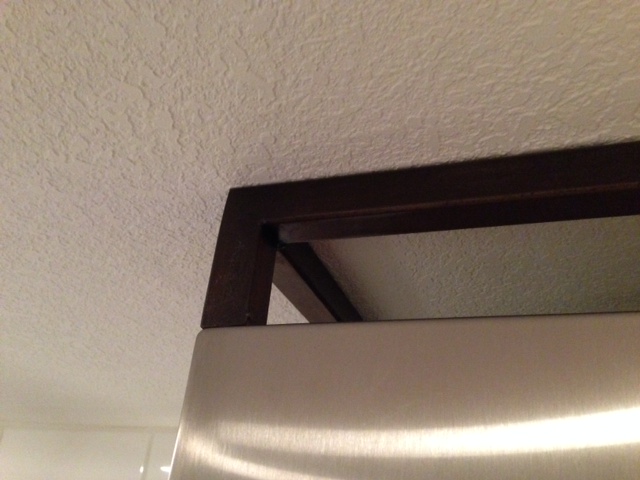
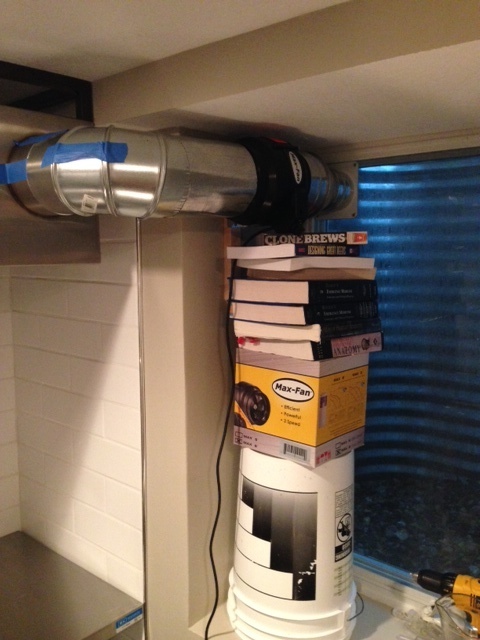
My hood was custom designed by a metal working friend based on Kal's design. Since there was only one joist that ran along the ceiling where the hood is installed, he built a frame which is bolted to the joist and then the hood is bolted to the frame in the 4 corners. I opted for the 6" Max fan rather than the Vortex on Kal's website, basically because it was in stock at Midwest Hydroponics down the road from my house and I could attach it to the wall easier. It works great and is super quiet. It is vented directly though the screen on my egress window.

photo 3.JPG


photo 1.JPG


photo 2.JPG
 
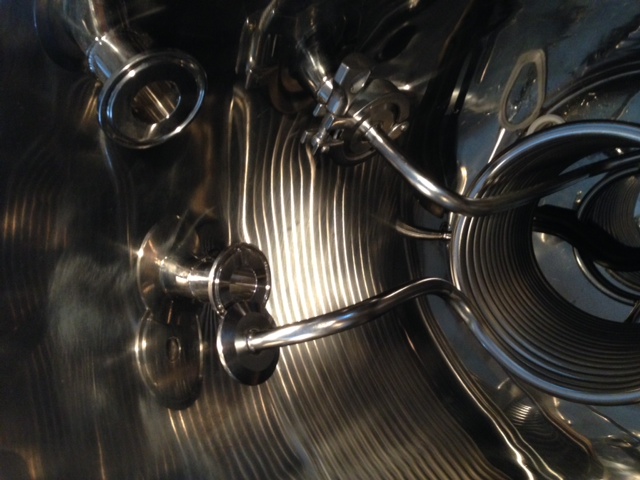
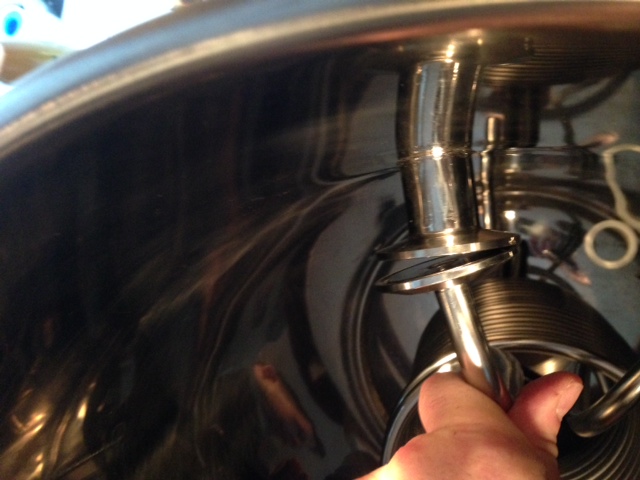
So after 6 months, I finally got my HLT from Stout Tanks. It was backordered twice (the first time was known when I ordered). Then when my tank came it was shipped to somebody else so I had to wait another three weeks. They look and work great so far, except for the HERMS coil. As you can see in the picture, the fittings on the coil don't line up with those on the tank. Their only response was that I take it to a metal worker to have them rebent.
The panel from Kal at the Electric Brewery works great. I have it mounted on a TV swivel arm which fits perfectly to the back of the panel. This way I can move it out of the way when it's not in use.

photo(1).JPG


photo 5.JPG


photo 1.JPG


photo 4.JPG


photo 2.JPG


photo 3.JPG
 
That surprises me that stout wouldn't replace the coil. I've heard nothing but great things about them.

Awesome build though. I hope to have something similar someday. What sizes are your vessels?


Sent from my iPhone using Home Brew
 
Back
Top