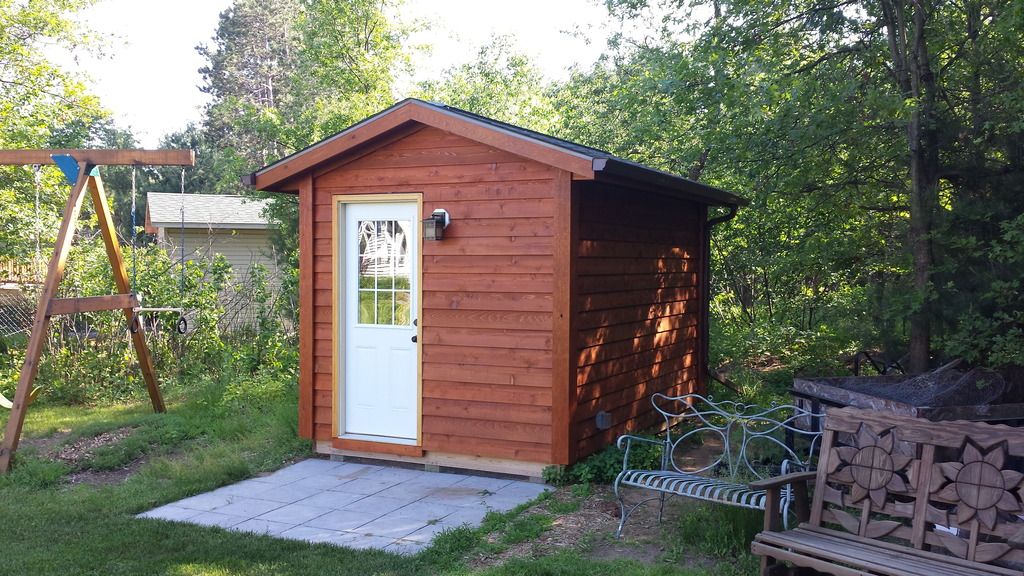
interesting, I had no idea they were Finnish...
https://en.wikipedia.org/wiki/Sauna
Now that you mention it, yes at least so they say, though as the wiki mentions there has been some versions of saunas in quite many cultures.
BTW I have to totally disagree with the start of this topic "Sauna not really related to brewing but...", because it is:
1: in modern Finnish there is a term "sauna beer", which means usually a cold beer you take when you go out of the sauna, sit and cool down a little. Quite many also drink beer in sauna. I do it every time and most my friends do the same. Sometimes quite a few beers as the sauna can go on for hours.
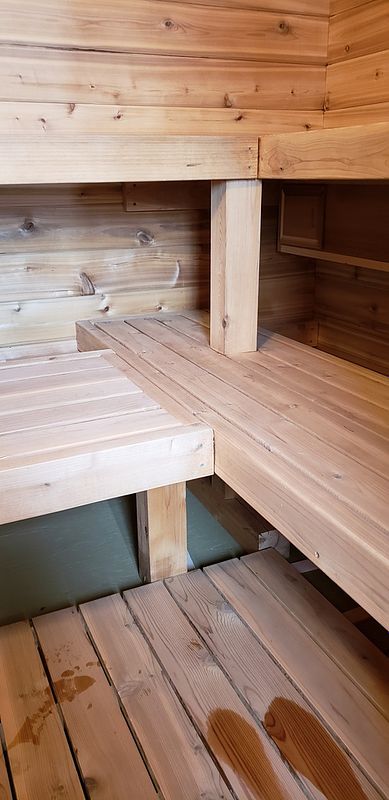
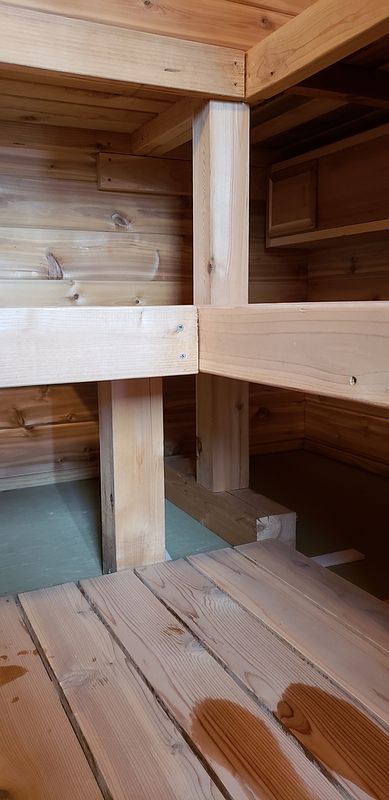
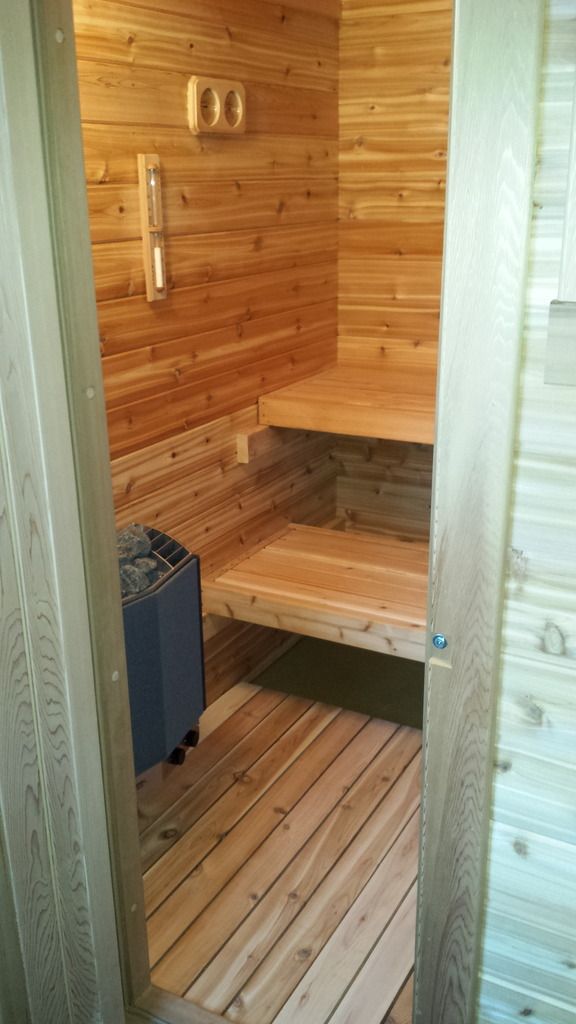
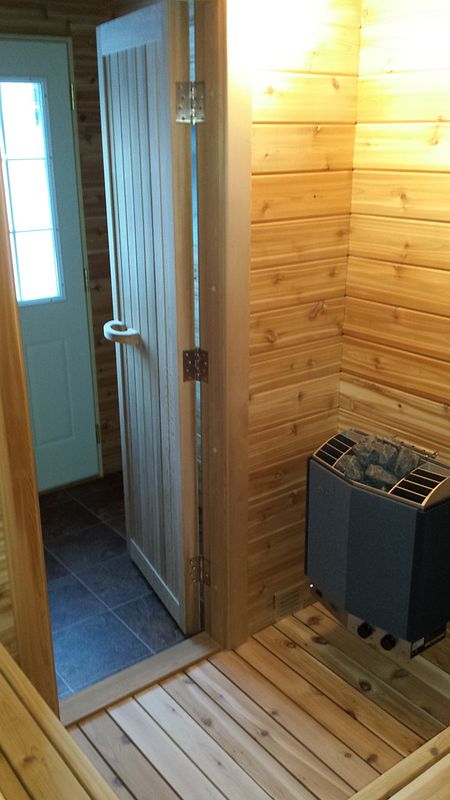
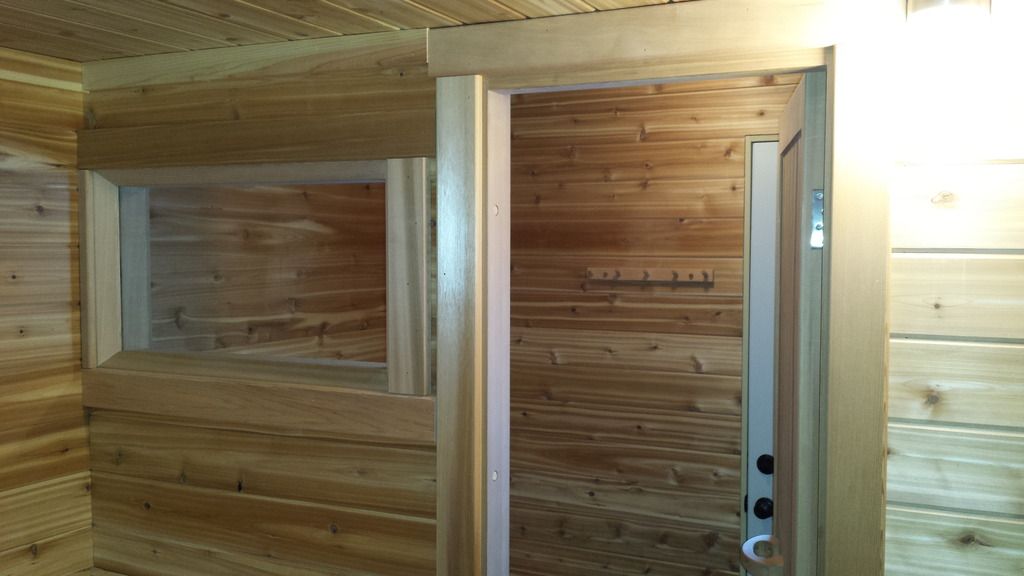
2: In historical times sauna was even more important part of Finnish life. As sauna is almost sterile due the hot moist air that kills bacteria and the similar properties of the wooden seats, women gave birth in sauna. Also the sick were taken to sauna and even the dead who were washed before they were buried. So the life of a Finn started and ended in sauna. Not only that, but beer was made in sauna. Yes beer was made in sauna and there are even special words in old Finnish for it. The old style "beer" that I am talking about was called Sahti and there was a place in the sauna for the beer barrels that you could call "beer bench". The seat in sauna in called laude in finnish so the place for the beer was Sahti laude. = it was important thing as it has it's own special word. The heat of the sauna, which I think was not as hot as in modern days, was used to create the beer. I do not know the specifics, but some people here still make Sahti, though maybe not in sauna.
https://en.wikipedia.org/wiki/Sahti
Now few tips related to sauna and beer:
1: Koozie (thing I learned in US) with a can is good in sauna, a broken bottle in not
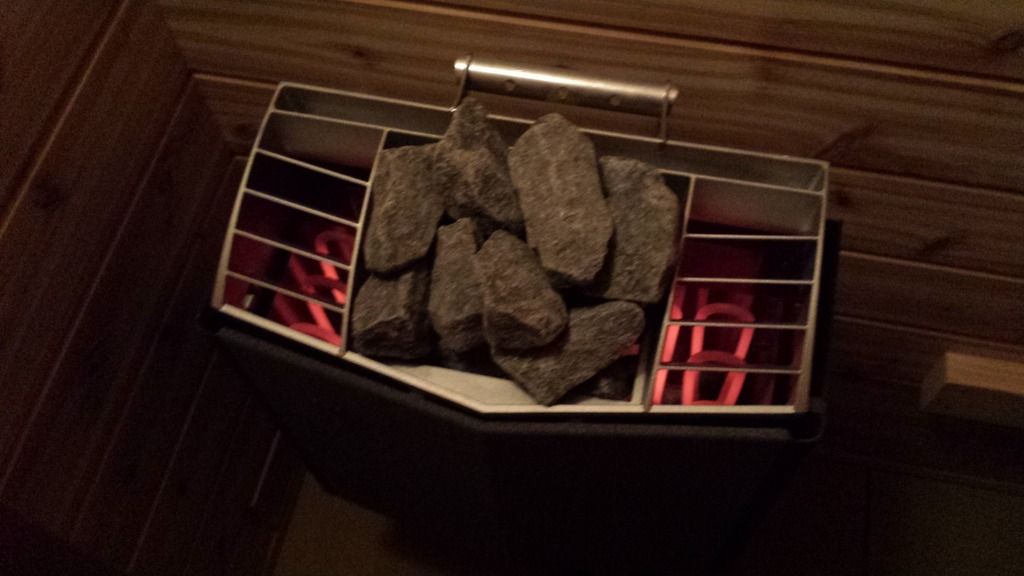
2: if you have such heater you throw water on it, then try adding a little beer in the spoon of water and then throw it on the stones. The smell is amazing. (lager, not dark beer. have never drank or tested dark beer in sauna)
So if you guys ever visit Europe and the far corners of it, then you might end up in Finland. If you do, then I guess you should check out some saunas
")
I'm heading to my cabin in 2 days and going to heat the sauna there, maybe you wont make it, but maybe the next time. It's there, you can't miss it, close to the arctic circle and only few miles from Russia


![Craft A Brew - Safale S-04 Dry Yeast - Fermentis - English Ale Dry Yeast - For English and American Ales and Hard Apple Ciders - Ingredients for Home Brewing - Beer Making Supplies - [1 Pack]](https://m.media-amazon.com/images/I/41fVGNh6JfL._SL500_.jpg)