MikeRussell
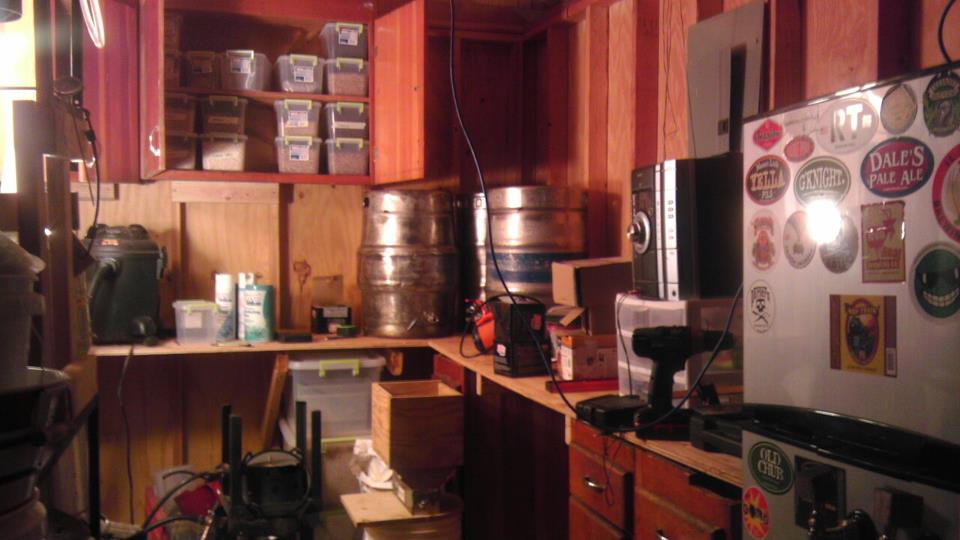
The Brew Shed!
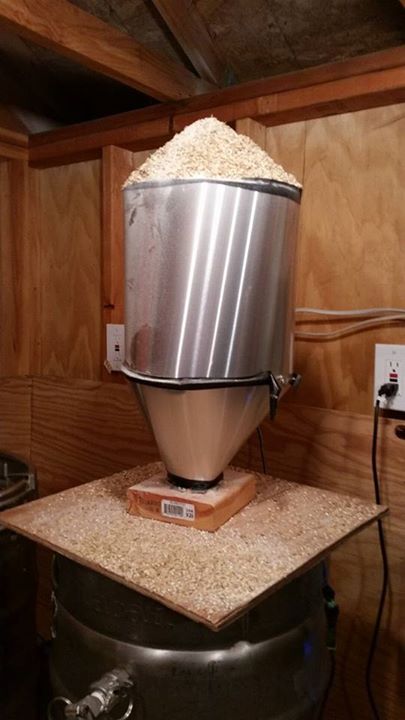
I attached a diode to the solenoid and it still fires. Whee. Always nice when you change something without it breaking. I also managed cut the daylight out of my finger (how'd the daylight get in?) so I taped up the edges of the hopper in a bloody mid-sparge rage. Safety is important.
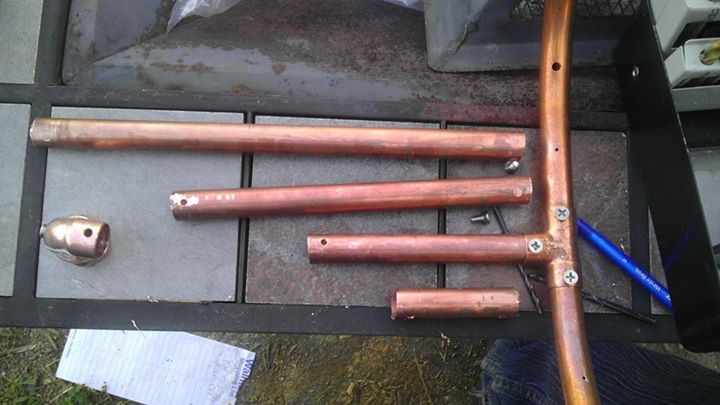
Here's how the ring came together: https://scontent-a-sea.xx.fbcdn.net...6_10204099086419881_6598764015699771096_n.jpg
Notice the screws instead of solder - easier to take apart this way. The larger holes are big enough for mash bits to pass easily. That's really only a problem for the first few minutes of re-circulation - they should clear pretty quick.
Actually, ClaudiusB, I do add (mash) water first. After preheating, the grain is added and re-circulation stabilizes temperatures for the duration. Previously I used a silicone hose attached to a barb inside the tun but now the hose would sink to the bottom and grain would get added on top. I took the hose off for my test batches so wort during recirc just blasts across the center of the tun and hits the other side. This isn't ideal as the grain bed was heavily impacted by the force of the liquid hitting the vessel wall and splashing down. Essentially the top of the grain bed looked like a slide. I didn't notice efficiency degradation but I probably just wanted another problem to solve. Funny how these projects turn into more projects.
I'm hoping the ring is an improvement over the old way as it will spread the wort over the top of the grain bed more evenly while recirculating. It should also reduce the amount of splashing while recirculating and when grain is added, I can have the tun recirculating as a way to make sure grain hits water relatively evenly with a hot shower.


![Craft A Brew - Safale S-04 Dry Yeast - Fermentis - English Ale Dry Yeast - For English and American Ales and Hard Apple Ciders - Ingredients for Home Brewing - Beer Making Supplies - [1 Pack]](https://m.media-amazon.com/images/I/41fVGNh6JfL._SL500_.jpg)


