- Joined
- Apr 13, 2013
- Messages
- 1,987
- Reaction score
- 965
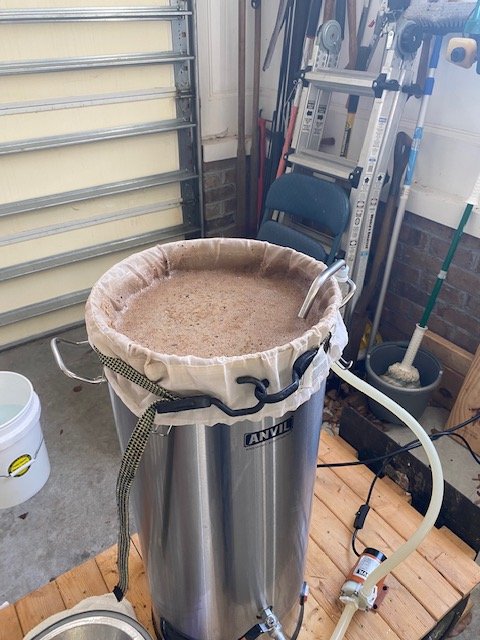
Actually, the space between the mash basket and the inner wall of the Anvil is a significant issue. I have only taken two readings so far and found at the end of the mash that the gravity (citing the last readings, as both are consistent) from the mash basket was at 11.6 Brix. What was coming out of the recirculation hose was at 11.5 Brix, pretty much the same. The sample drawn from about 8 inches down (that is as long as my pipette would reach) between the mash basket and inner wall was at 0.8 Brix. So while there is some sugars moving to the water outside the walls of the mash basket, it is not much.
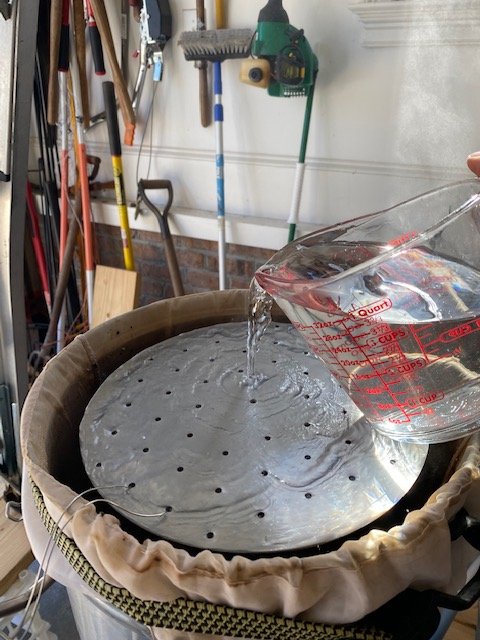
This accounts for some of the lower efficiency from the system. I have a plan to raise the basket twice during the mash: about half way through and then again before mash out. I will repeat my readings to see what the gravity readings are and compare that to the mash efficiency I calculate out at the end.
This accounts for some of the lower efficiency from the system. I have a plan to raise the basket twice during the mash: about half way through and then again before mash out. I will repeat my readings to see what the gravity readings are and compare that to the mash efficiency I calculate out at the end.


![Craft A Brew - Safale S-04 Dry Yeast - Fermentis - English Ale Dry Yeast - For English and American Ales and Hard Apple Ciders - Ingredients for Home Brewing - Beer Making Supplies - [1 Pack]](https://m.media-amazon.com/images/I/41fVGNh6JfL._SL500_.jpg)