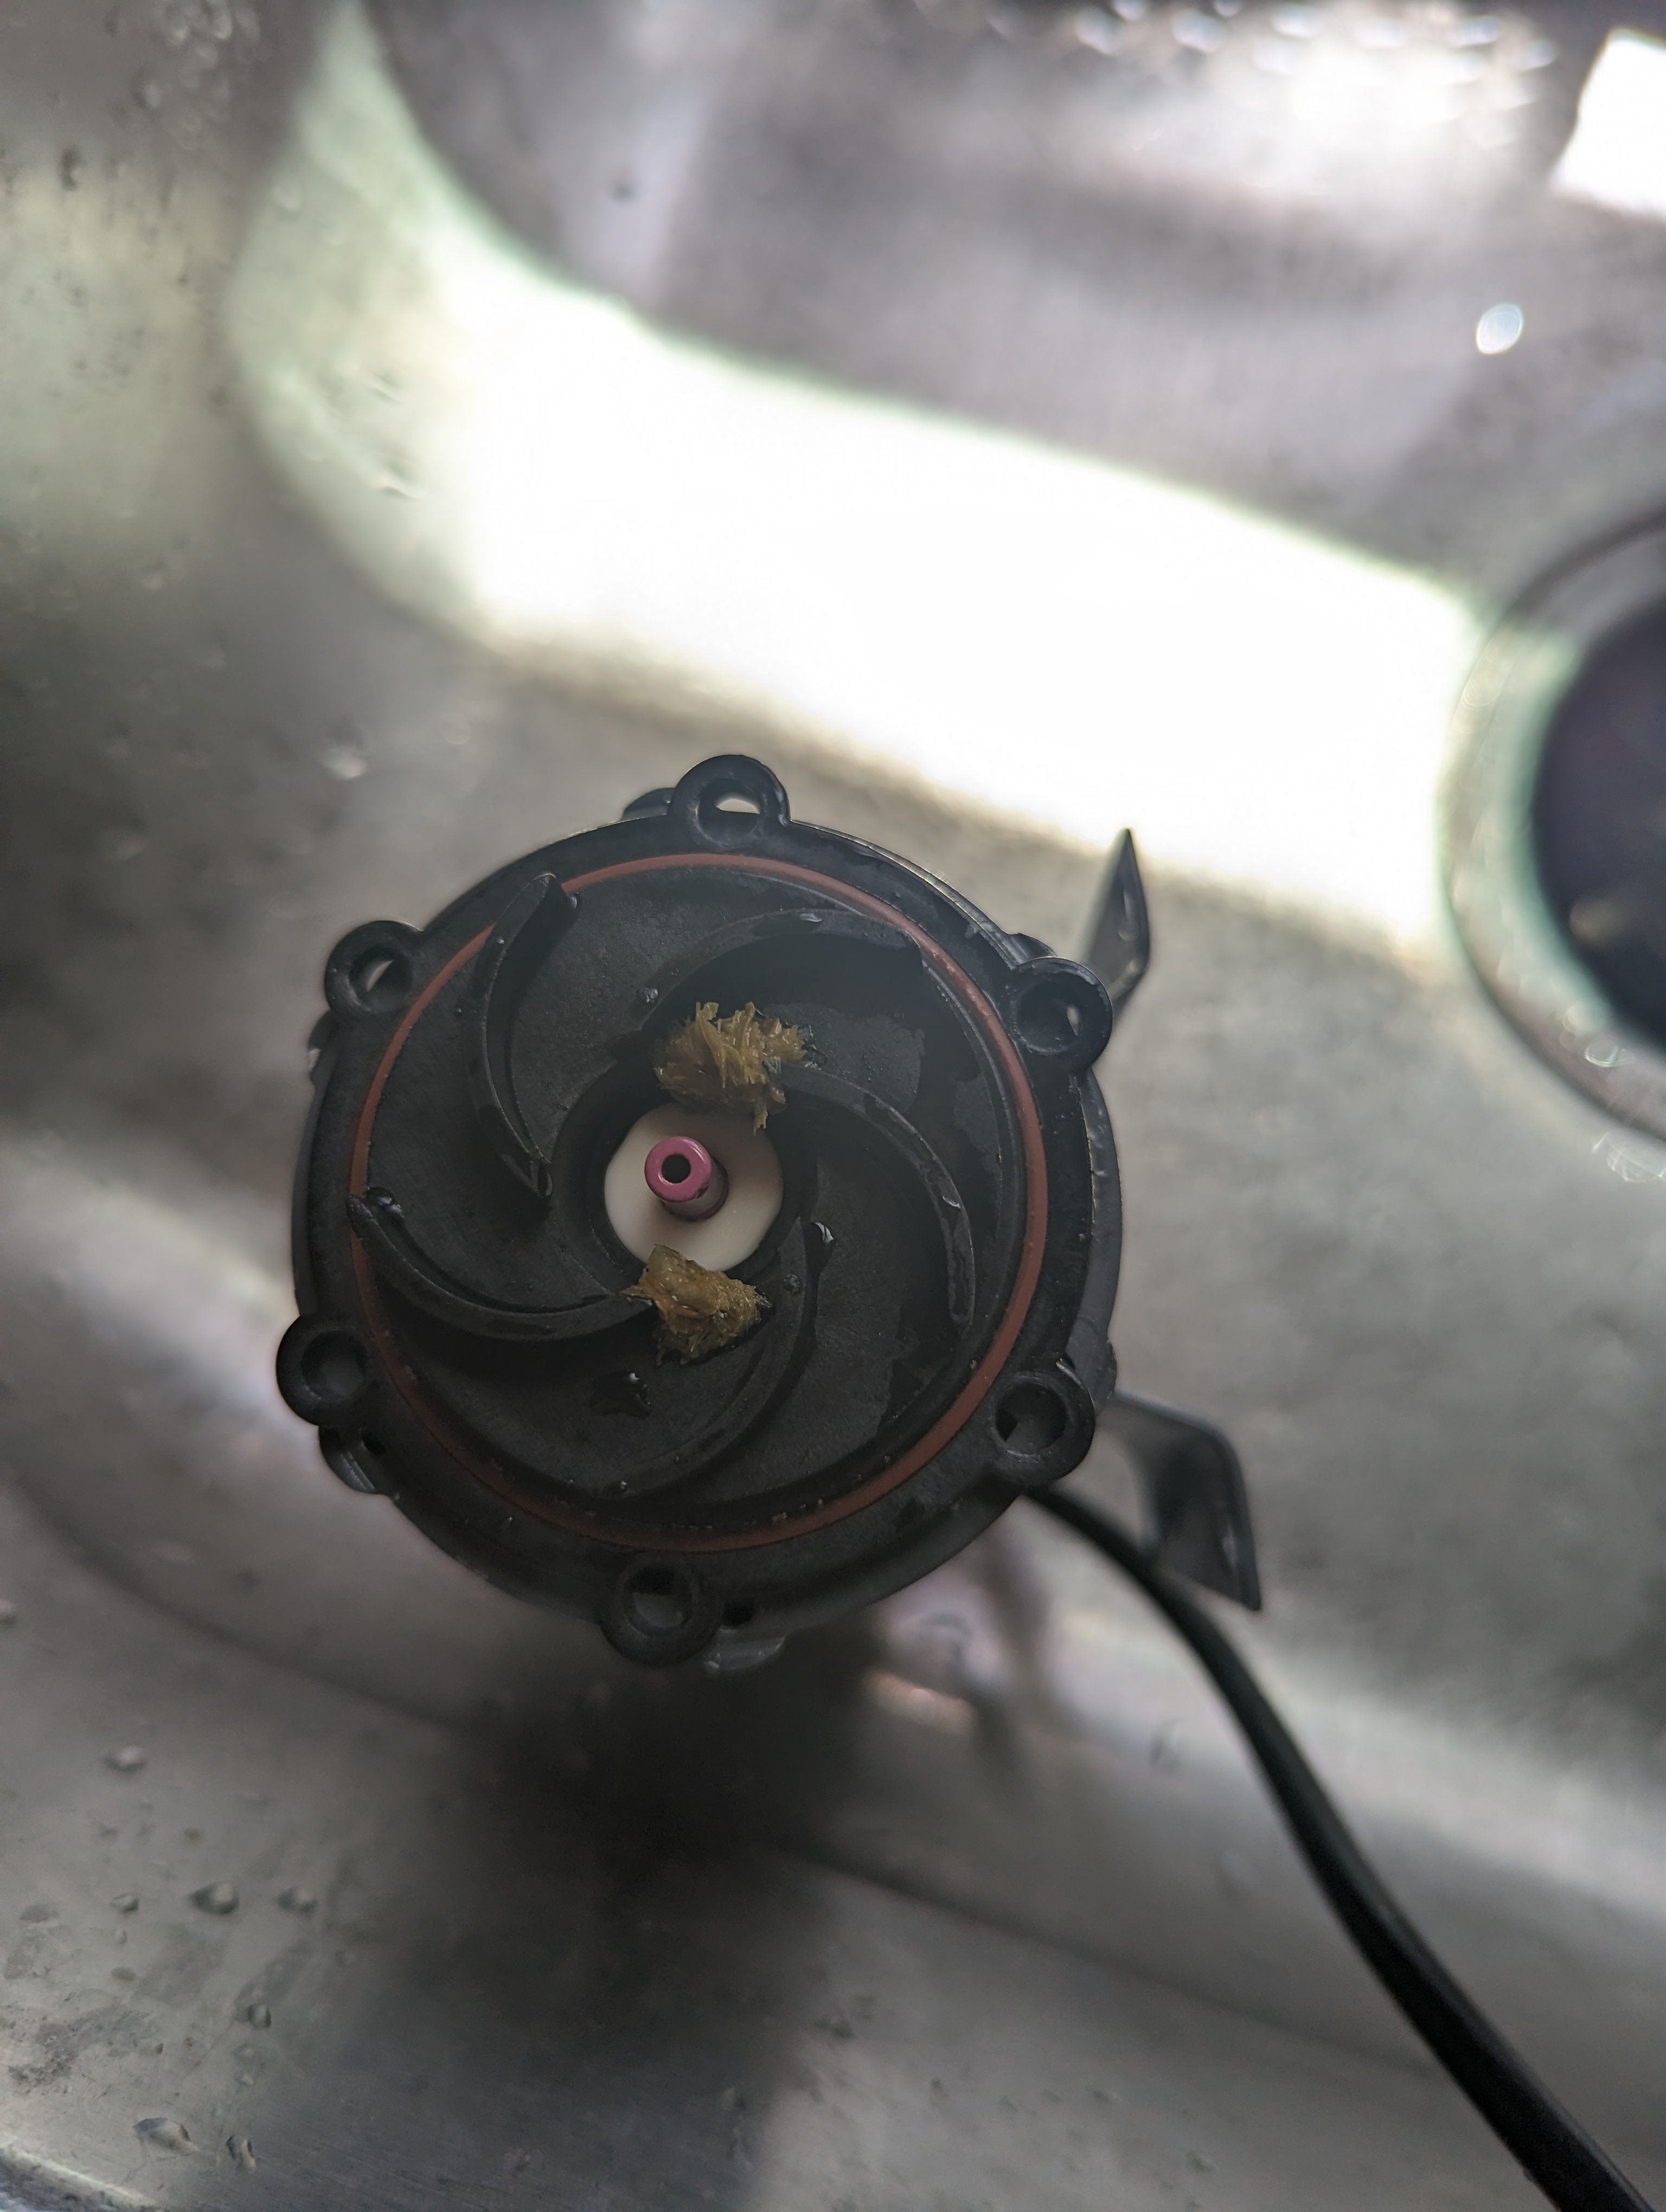
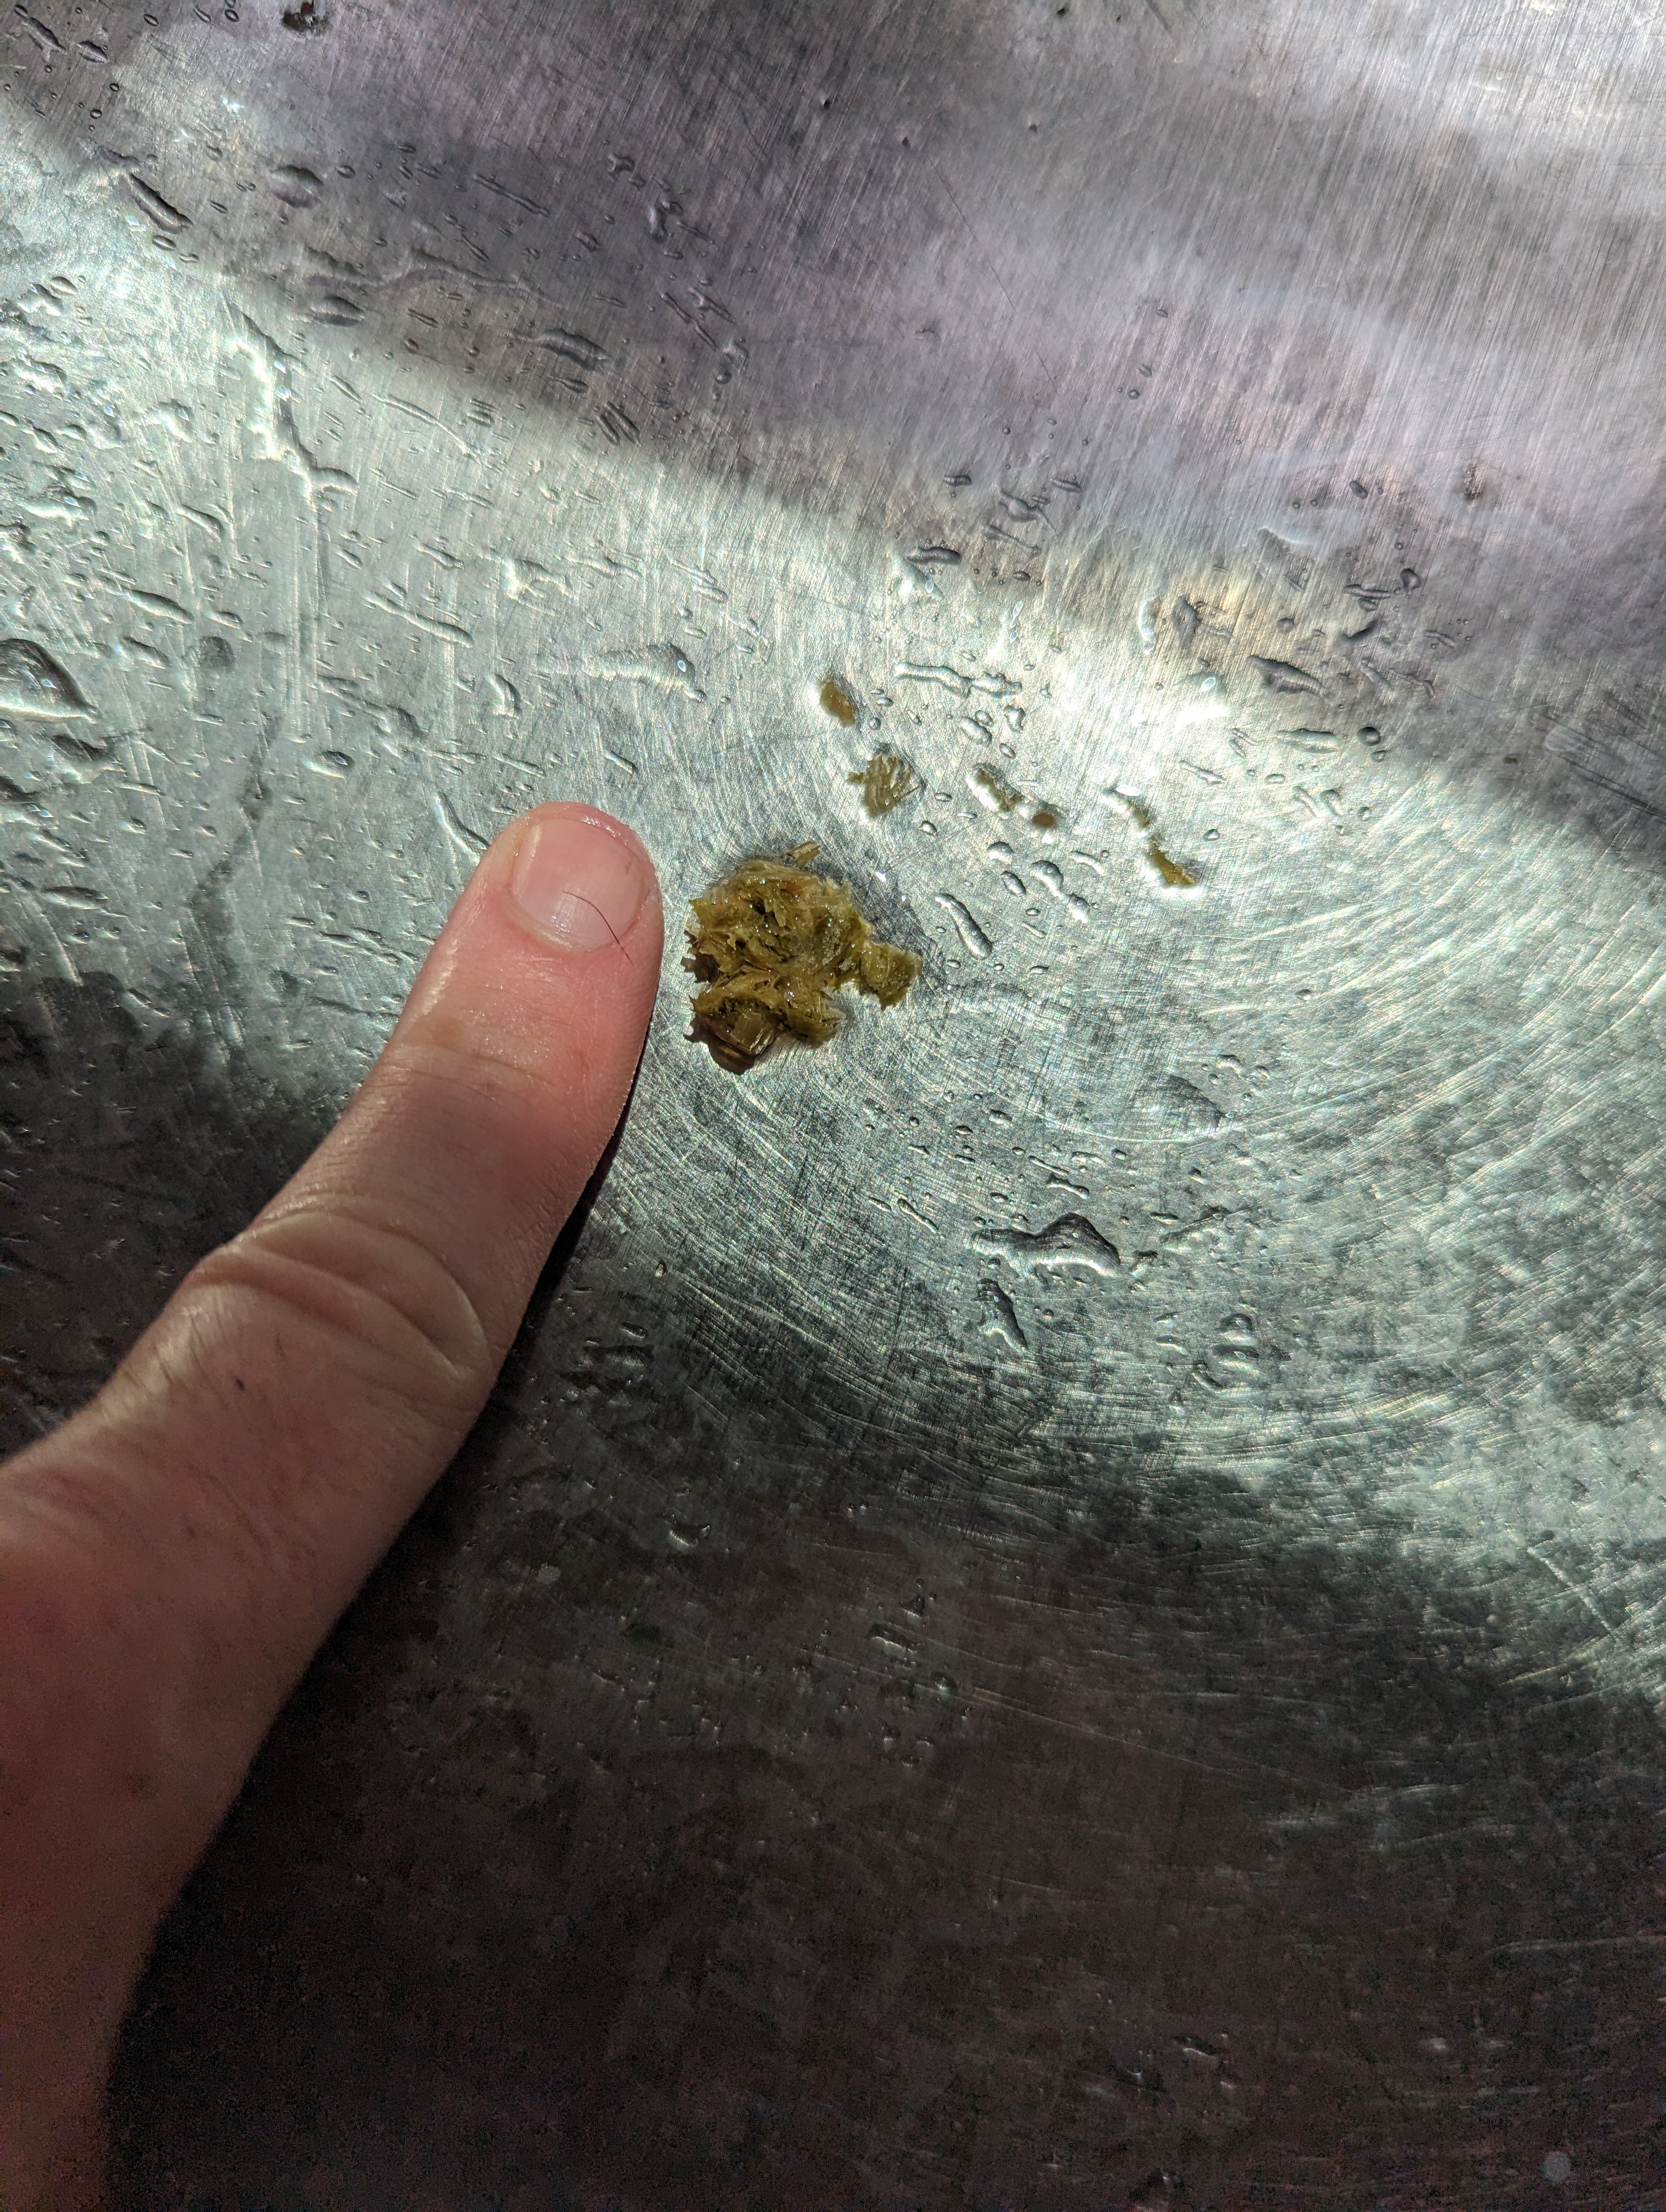
My normal process (5-6% ABV beers, in the 6.5) is to use the included pipe with a Wilser bag. I crush my own grains at a 0.030" gap (set with feeler gages). Bag goes in the pipe, and there's still just enough space for the Foundry perforated disc to go on top. The disc is angled however needed to visually get a flow across the whole surface. I use the Foundry recirc pipe connected to a pump with a ball valve in between. I throttle the flow to about 1/4 - 1/3 (guesstimate) of full flow. I stir the grains (top 2/3 of it perhaps, mostly so I don't scrape the actual bag) along with lift & lower the pipe about 3 times over an hour, to be sure it all gets mixed in (especially the dead water space on the side). Pump is temporarily turned off of course.
Per Brewer's friend I'm running about 70 - 75% efficiency and I don't ever get anything stuck. I used to do 4 - 8 oz. rice hulls per batch but over time quit that altogether. My measured temps are consistently 2 degrees F lower than the display screen. So consistently that I just add 2 onto whatever temp i actually want to mash at, and walk away.
6.5's a little easier as it's the same diameter just shorter, so I do have less grain (vertically measured) than 10.5 users. I run 240V at 35% for mashing, not sure for 10.5 or what voltage you have but as an aside you may not want 100%.
I'd suggest off the top to reduce your recirc rate a bit. Or, a lot.


![Craft A Brew - Safale S-04 Dry Yeast - Fermentis - English Ale Dry Yeast - For English and American Ales and Hard Apple Ciders - Ingredients for Home Brewing - Beer Making Supplies - [1 Pack]](https://m.media-amazon.com/images/I/41fVGNh6JfL._SL500_.jpg)