dlester
Well-Known Member
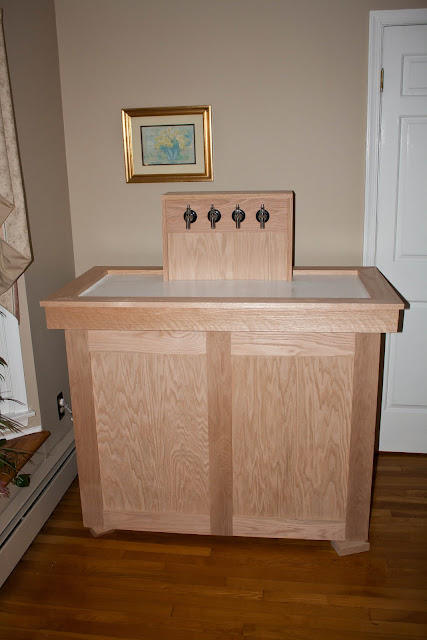
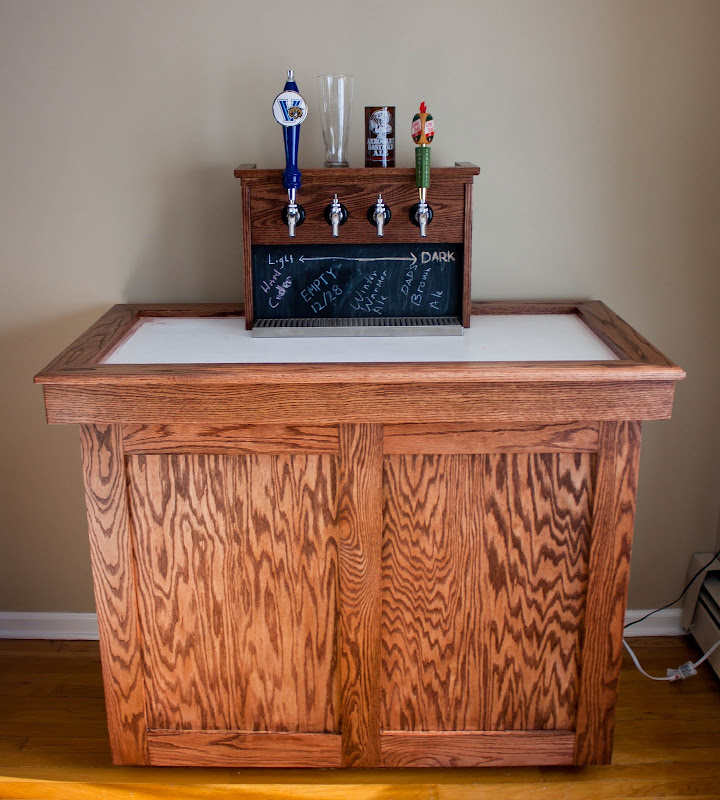
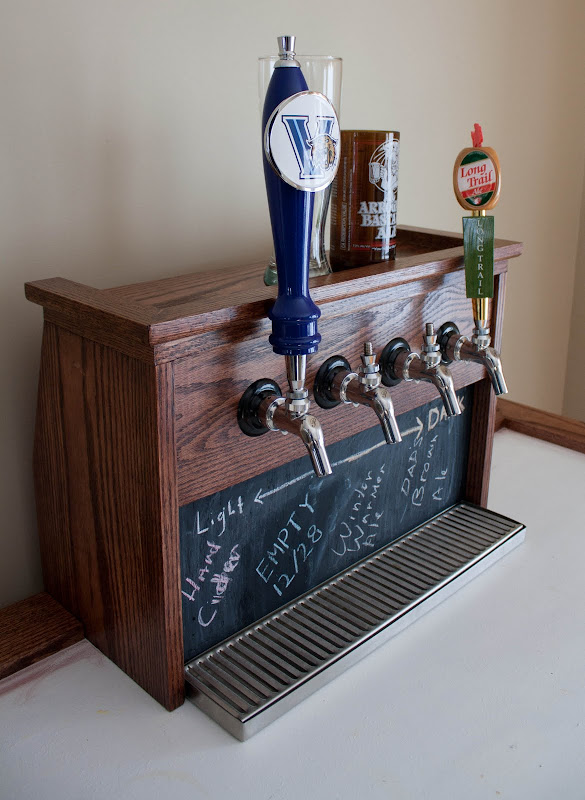
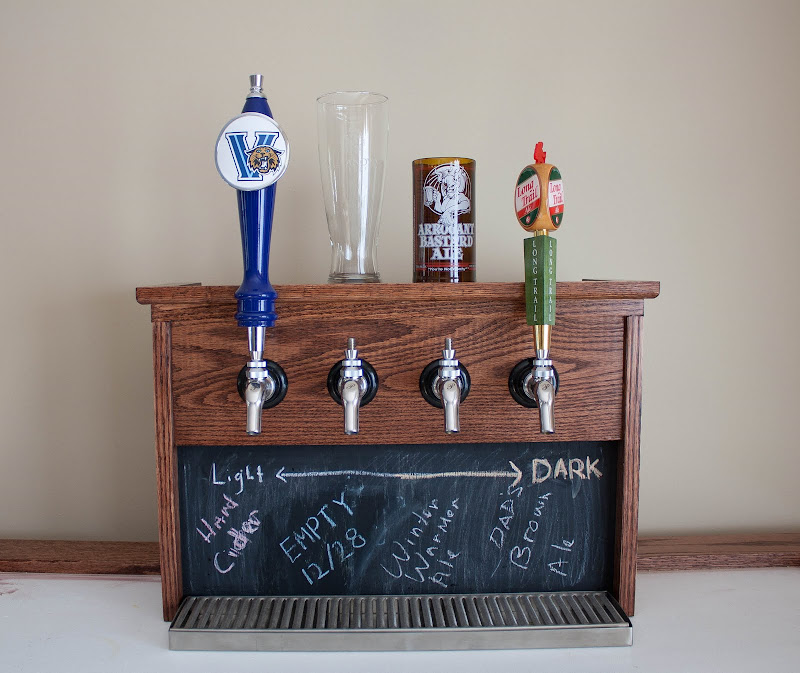
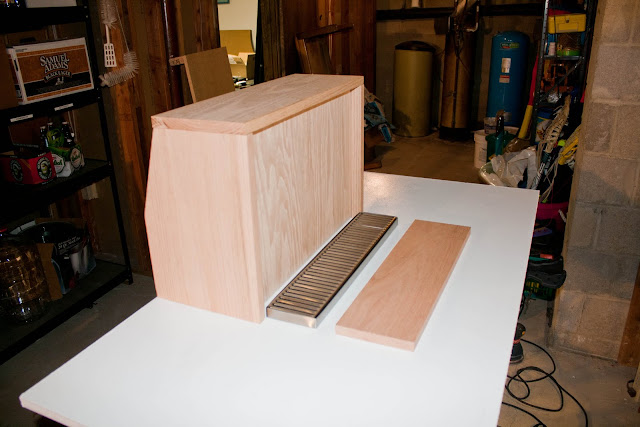
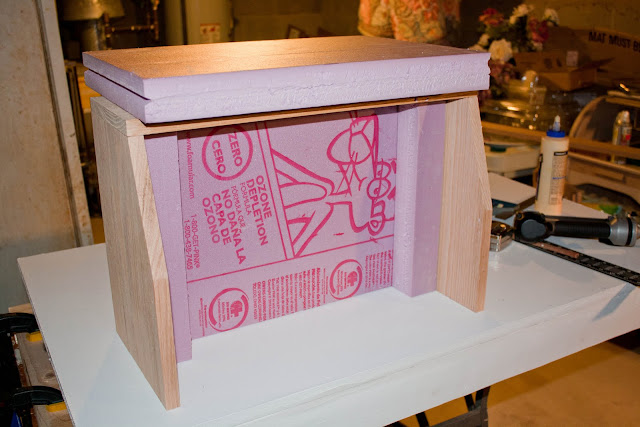
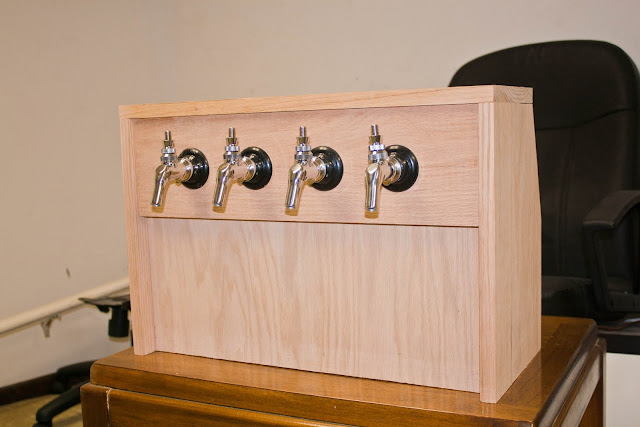
I'm back. After you said that you fit 4 kegs into your 7 SF Kegorator I revisited mine to try it again and it worked. I fit 4 Korney kegs into my fridge. Thanks for the prompting. Here is the pic:
 [/IMG]
") The point is---get some mileage out of the shelf.
The point is---get some mileage out of the shelf.


![Craft A Brew - Safale BE-256 Yeast - Fermentis - Belgian Ale Dry Yeast - For Belgian & Strong Ales - Ingredients for Home Brewing - Beer Making Supplies - [3 Pack]](https://m.media-amazon.com/images/I/51bcKEwQmWL._SL500_.jpg)