• Please visit and share your knowledge at our sister communities:
  • If you have not, please join our official Homebrewing Facebook Group!

    Homebrewing Facebook Group

Another Keezer build... Jester Rip-off

Homebrew Talk

Help Support Homebrew Talk:

This site may earn a commission from merchant affiliate links, including eBay, Amazon, and others.

mtbiker278

Well-Known Member
Joined
Nov 3, 2010
Messages
275
Reaction score
6
Location
Frederick
Hey All!

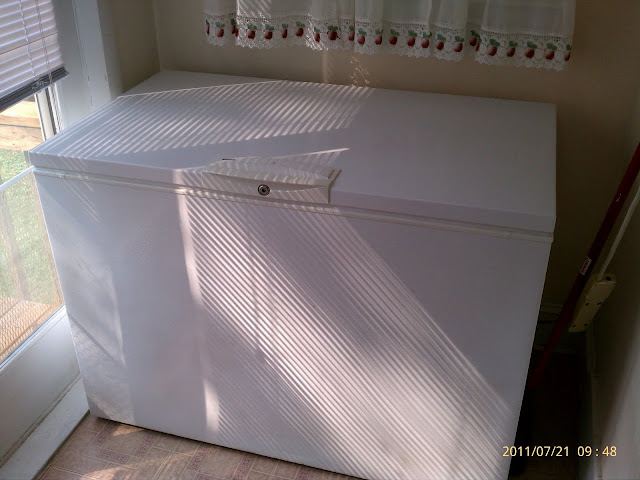
I finally started construction on my Keezer build. I scored a Kenmore 14.8 cuft chest freezer for $150 on craigslist. I was inspired by Jester's awesome build and the many replica's that followed. Here's the thread on Jester's build that I'm using for reference.

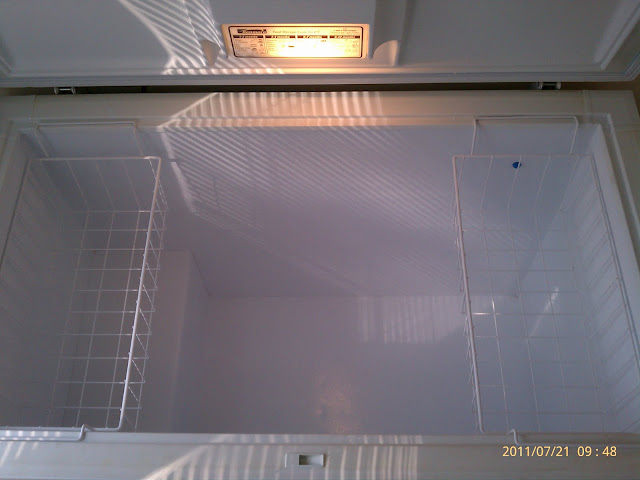
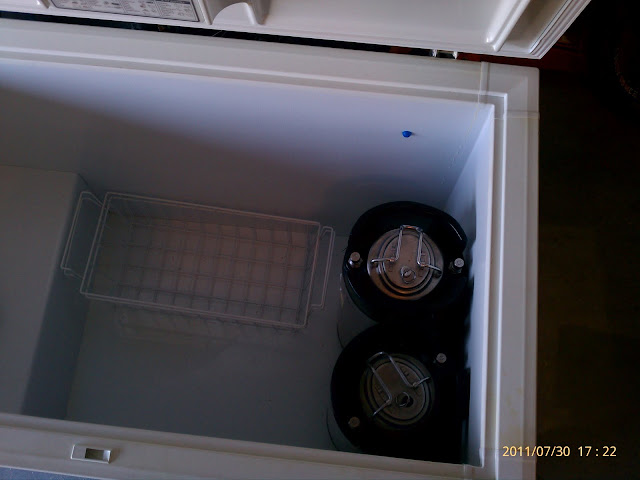
I'm still waiting for my temp controller to put my kegs in but by a rough guess it should hold at least 7 kegs on the floor.

265804_10100456108501758_5713400_56404701_1632440_o.jpg


IMAG0123.jpg


IMAG0126.jpg
\

IMAG0127.jpg


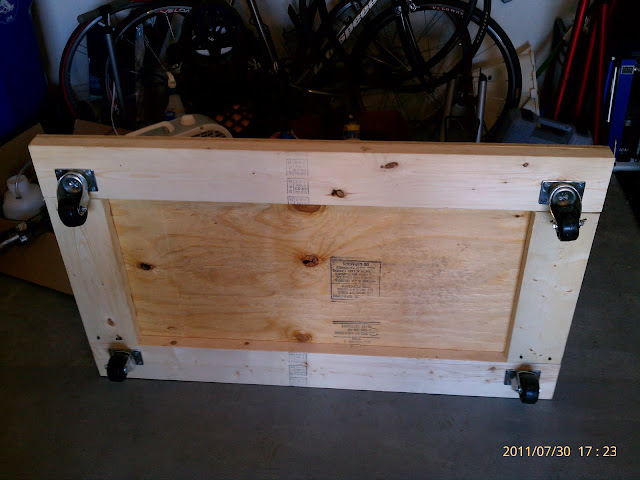
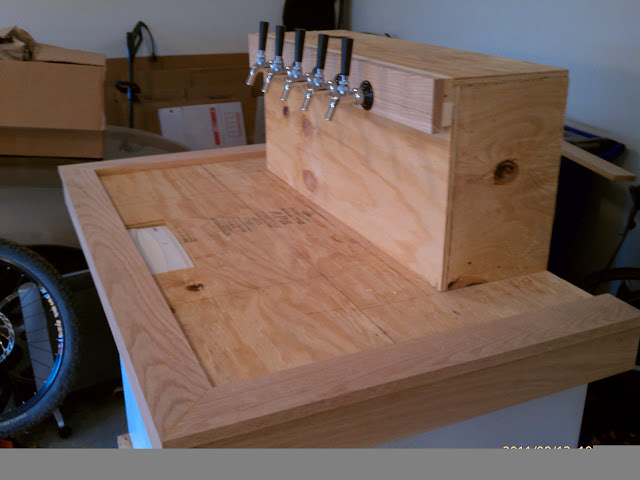
So far I've made the dolly out of a 19/32" sheet of plywood and some 2x6's. The plywood is 1" wider than the freezer to allow for some room. The 2x6's frame the plywood. The casters are screwed in at the corners.

IMAG0129.jpg


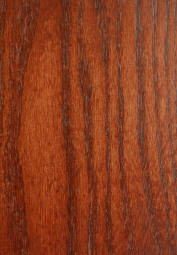
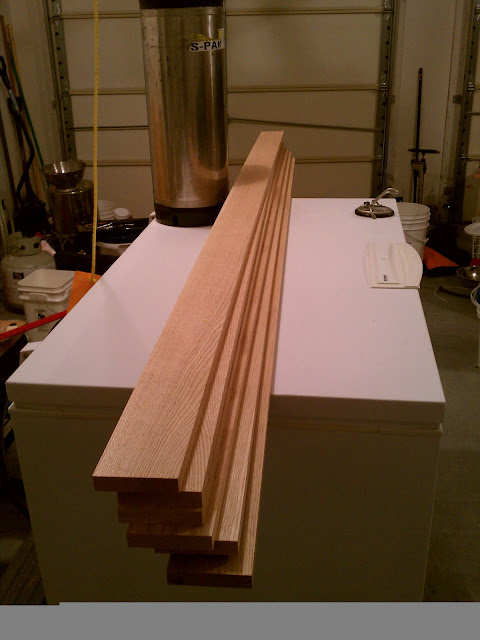
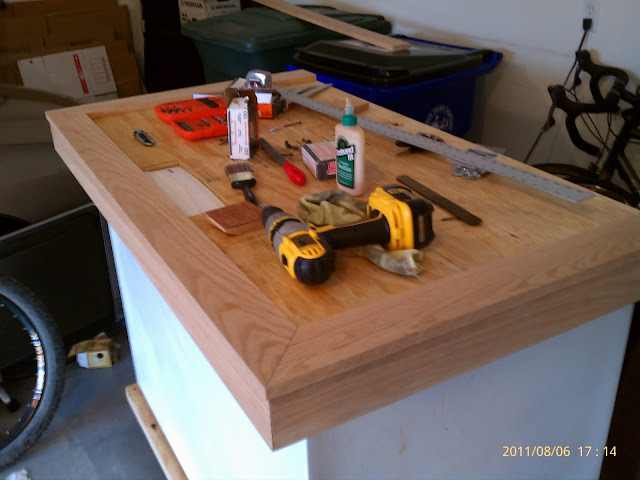
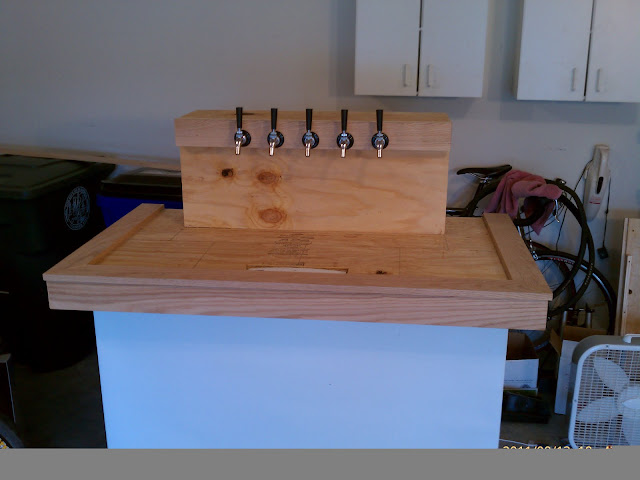
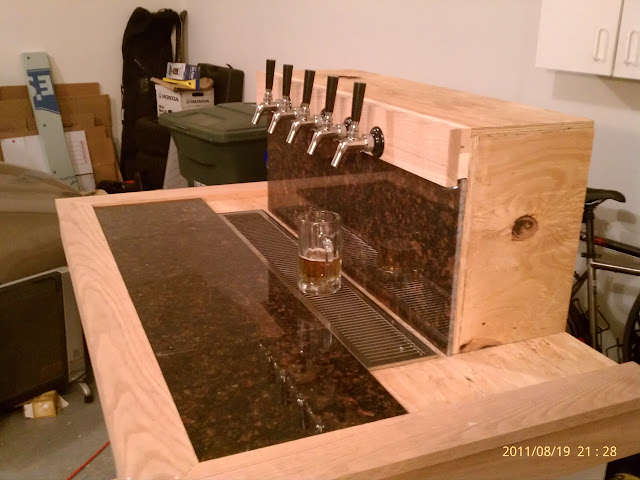
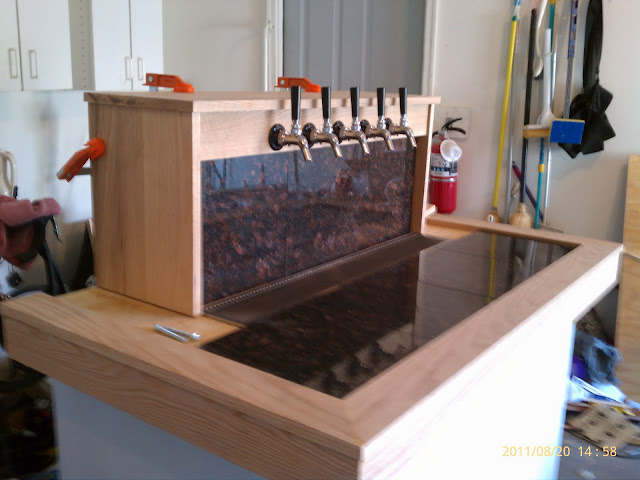
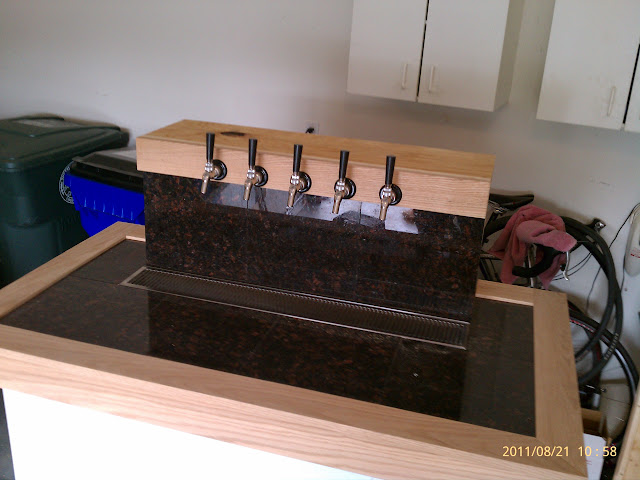
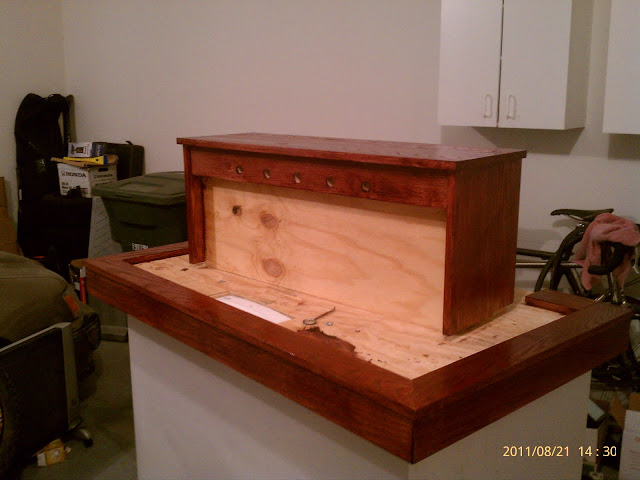
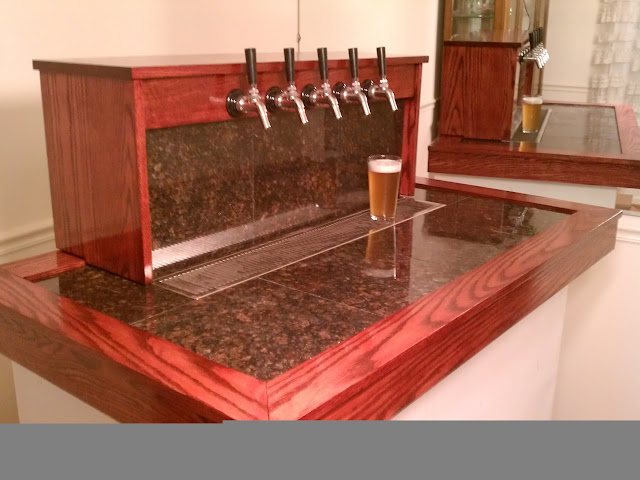
Lowes had some pretty nice red oak boards that I'm probably going to use to trim out the rest of the keezer. I'm hoping It'll look nice stained a redish tone with maybe some dark marble or granite inlays.

More to come!
 
Yeah I've been looking around at a couple of different places. I just thought the Lowes boards were nice since they were well milled and pretty much ready to stain. It's probably why they're more pricey. I'm in the process of planning the top. It's probably going to have a dark granite inlay with a 4" wood trim surround and overhang. I still need to order the taps and shanks. Farmhouse Brewing supply had a decent deal on perlick 525s and stainless shanks. I think I priced out a whole assembly for like $55 each.
 
Count me in with a subscription!

Looking to do one of my own in the semi-near future!
 
Ordered the johnson digital controller and perlick taps, shank, and tail pieces earlier this week. I'm hoping to start roughing out the lid this weekend. I'll post up a pic of my sketchup design when I get a chance. The beverage facotry had a 36" driptray I'll probably go for as well.

It's starting to come together.
 
Generally Lowes and Home Depot have lower quality wood than independent lumber yards that cater to woodworkers. Make sure the grain is clear and the boards are straight. If you can find a local yard that takes pride in the wood they produce, you'd be surprised at how crappy the stuff at the box stores looks.
 
You can also call some local cabinet makers. I have been able to buy better looking material for a lower price. - Dwain
 
I did talk to another local specialty lumber mill. They said they could plane and rip the boards for me while I wait. I'm still liking the red oak with a cherry stain.

something like this:

ROAkMasterCherry3.JPG


for the tile inlay I'm thinking something dark like this:

Granite%252520tile.jpg


Or maybe go a little lighter like this

Granite%252520tile%252520brown.jpg


I'll probably end up going to one of the big box stores and comparing a stained wood sample to a bunch of tile before I start doing the inlay.

Opinions?
 
Took the advise of everyone and went to a local lumber dealer. I got 14bf of red oak to start the lid trim work. Some of it will likely make it into the apron, but it was a decent amount to start work. I'll pick up the plywood and firring strips that'll be back underlying structure from Homedepot probably tomorrow.

IMAG0133.jpg
 
I am starting this project as soon as craigslist is good to me, so I also subscribed.

Are you going with an Irish Coffin? If so, what length shanks are you running?
 
Yes it'll have a coffin box on top that will hopefully be cooled by a fan drawing air from the bottom. I went with 4 1/8" shanks since they will be going through 2" of wood (2 5/8 useable length). I believe Jester recommended using 5" shanks to make tubing changes easier, but he used 4" and they worked just fine.
 
IMAG0136.jpg


Made some progress and got the lid base plywood and the surrounding trim done. I ended up making a cut-out for the handle on the freezer lid. I will be back filling this with some of the pink insulation foam to support the corners of the tile. On top is a test piece of the chestnut red minwax stain. I think I'm going to need to pre-treat the wood before staining and find a more red stain for the desired results. Thought it was weird that the Homedepot I went to didn't have Cabot wood stains, must be a purchasing issue.

I had to send back my temp controller cause it didn't supply power to the freezer. I triple checked both the wiring (it came pre-wired) and the jumper settings and couldn't get it to work. I even tested it with just a lamp connected to the output. Luckily they're picking up the old one and sending out a new one this week. I have my drip tray coming from the same place so I'm guessing everything will come all at once. Once I get the tile I'm going to use I should be able to finish out the coffin box on top.
 
Looks great so far! From the picture, that lumber looks great. I do envy you guys in the more Southern states - you have access to much better lumber yards.
 
Well I'm stuck at the moment trying to get the right color from the stains I'm testing. Most of them are coming out a lot lighter than I thought. Can anyone recommend a dark red type stain for red oak that would look like the sample posted above? I'm going to try some rougher sanding and a 3rd coat to see what I get.

In other news the faucets, and shanks are coming today. The new temp controller should be here on Friday. Yay Presents!
 
mtbiker278 said:
Well I'm stuck at the moment trying to get the right color from the stains I'm testing.

Im worried about the same thing on my most recent project...tried to re-use as much of the old wood as possible but had to buy two new boards. Asked a buddy to see what he could come up with because 1 he has a lot more experience than me and 2 he has a lot of stains and dyes already on-hand without buying anything... I will keep my fingers crossed for you.
 
Looking good so far.

Very curious to see where this ends up.

The suggestion about getting wood from a devoted lumberyard was a great one. I wouldn't have even thought about going somewhere else for lumber as I don't do nearly enough wood work to have thought of that.
 
I was able to get the coffin box assembled yesterday. I just need to add the surrounding trim pieces. I finally determined what stain I'm going to use. I'm going with Minwax's Bombay Mahogany polyshade 1-step. I'm sure the wood working purist will be up in arms about this but I like the color. Here's an example from another bar build.

Dsc00198.jpg


I might dilute the color a tad or mix it with a lighter color to have not come out so dark. I think that person might have laid it on a tad heavy.

I've also picked out my tile. It's Victorian Brown from HomeDepot:

77072de4-59b2-4b53-9595-8245a9fa9188_300.jpg


I'm thinking the red highlights will look good with the red toned stain.

Here's a couple pictures of where I am now. I need to head back to the lumber mill and get some more red oak. I'm still waiting on the drip tray. Once I have that I can work on cutting out the recess for it. During the week I be sanding and prepping for the stain. I'll probably also work on filling out the coffin with insulation and cutting the holes in the lid for the plumbing. I'm hoping to have this thing operational in a couple of weeks at most.

IMAG0143.jpg


IMAG0144.jpg
 
Hey everyone!! It's been a while since I've last updated this. Since my last post I've received and cut the tile, finished the trim pieces, and finally stained and polycoated. I still need to get the plumbing worked out but right now 3 of the 5 taps are operational. Feedback welcome!

Mocking up the tile.

IMAG0148.jpg


IMAG0149.jpg


All the tile cut and in place. Took about 30min to cut all the pieces. Hard to see but there are little 1" strips underneath the backsplash to help move the drip tray forward. 1" is probably the smallest width you could cut on a tile wet saw comfortable and with clean edges.

IMAG0150.jpg


First attempt with the Polyshades ended in disaster. When applying the second coat it became very uneven and blothcy. I ended up stripping the whole thing and starting fresh with Cabot Red Mahogany stain, and Minwax Gloss Polyurethane.

IMAG0152.jpg


And here's the finished lid. No lights yet, and I might not put any on. I'm going to get the plumbing sorted out before I start working on the skirt. Just for anyone else looking to do a similar project I highly recommend using a table saw. It can be done with a miter box and circular saw (used those for the underlying plywood and firring strips) but trim pieces definitely need to be done on a table saw if you have access to one.

IMAG0159.jpg


I wish I had a better camera (using my Evo) but it has a warm glow to it. What's really nice is it's tall enough to be able to pull bar stools up to it if you wanted. One other thing to note is the lid is pretty darn heavy. The granite tile alone is probably 45-50lbs. Add in the plywood and oak and we're probably talking 100lbs. I'm not really concerned about the hinges cause it's not holding the whole thing up when the top is open (I have to use a prop). So far I'm happy with the results! :)
 
Back
Top