
Hello All,
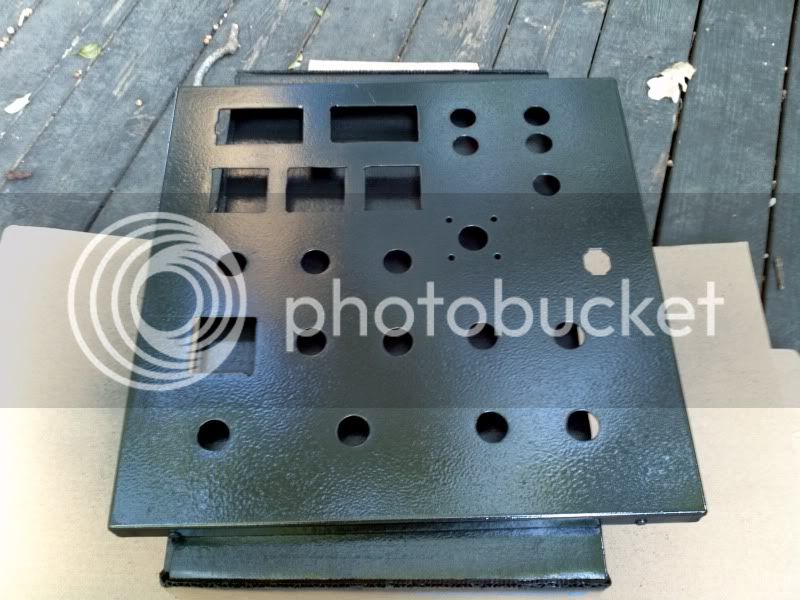
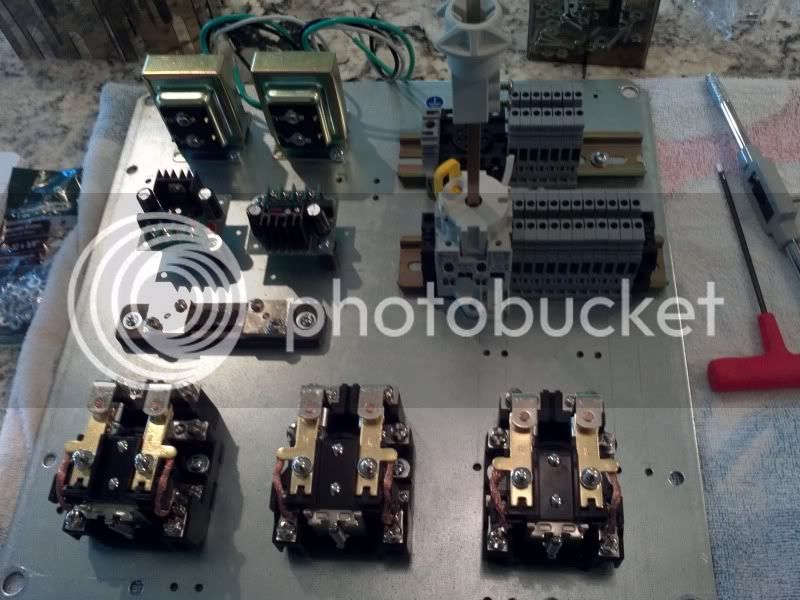
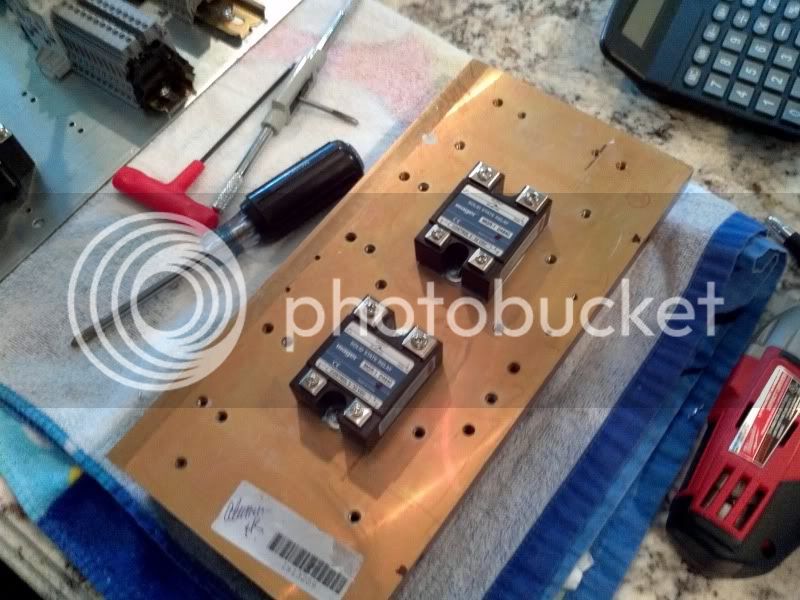
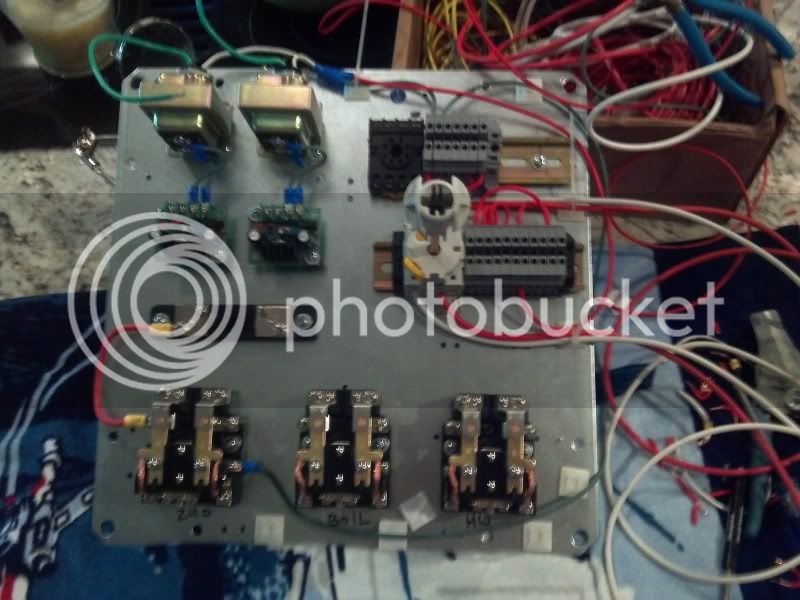
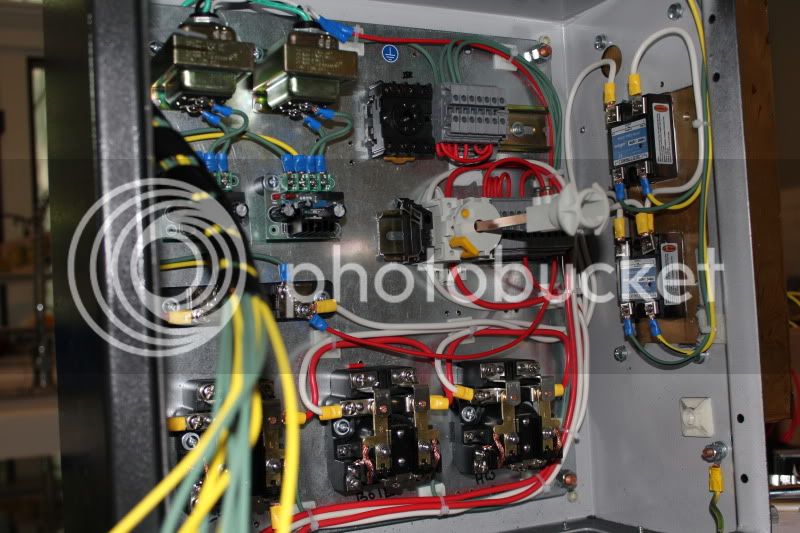
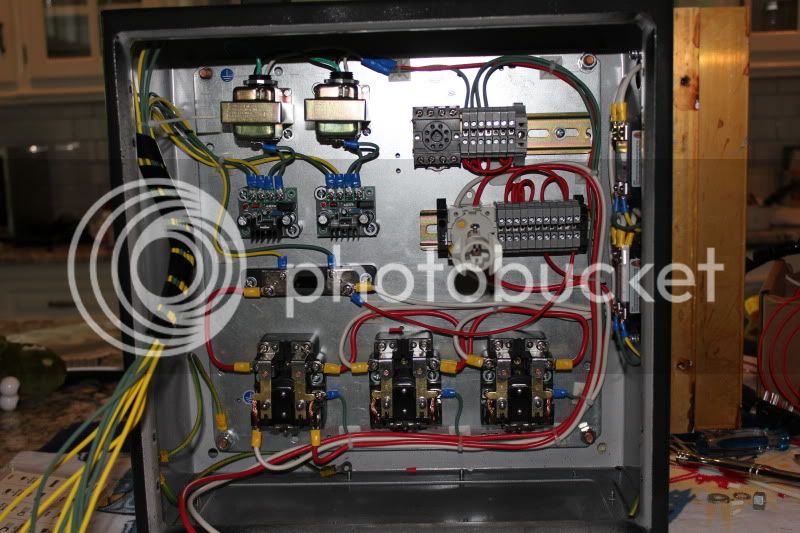
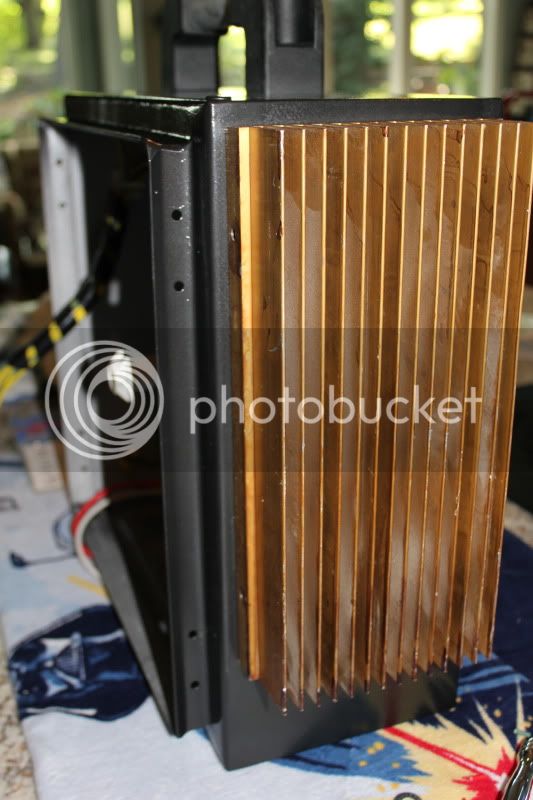
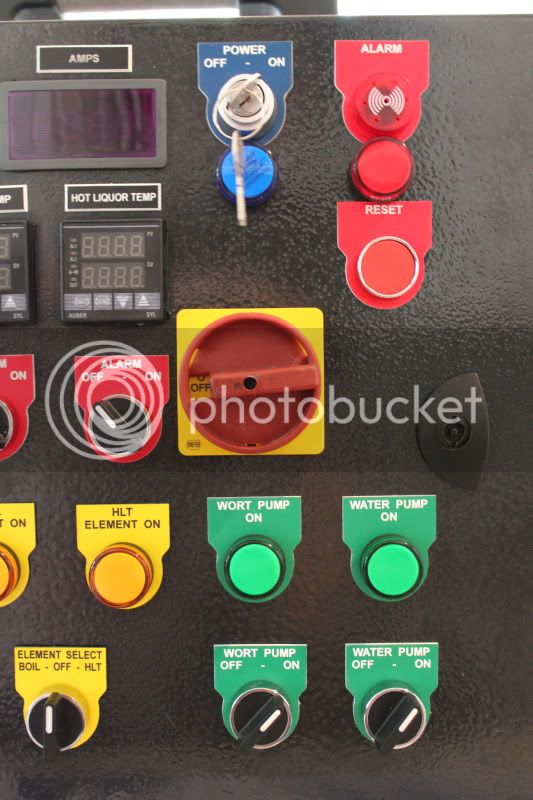
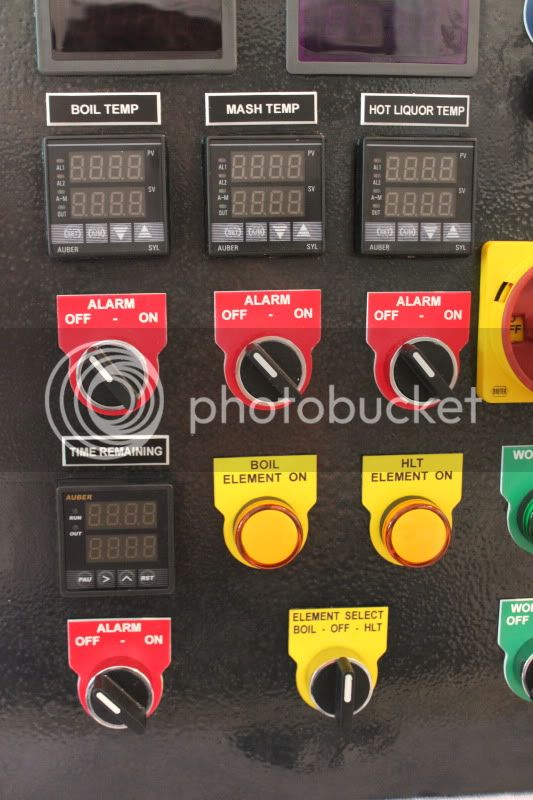
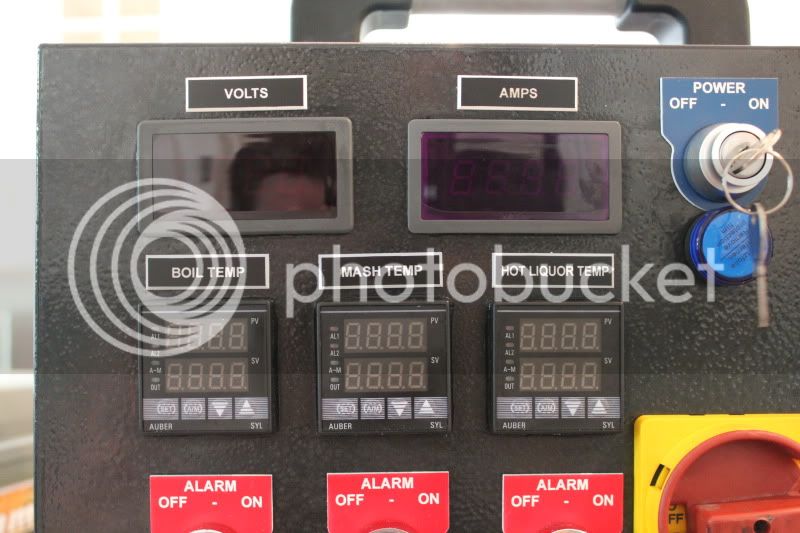
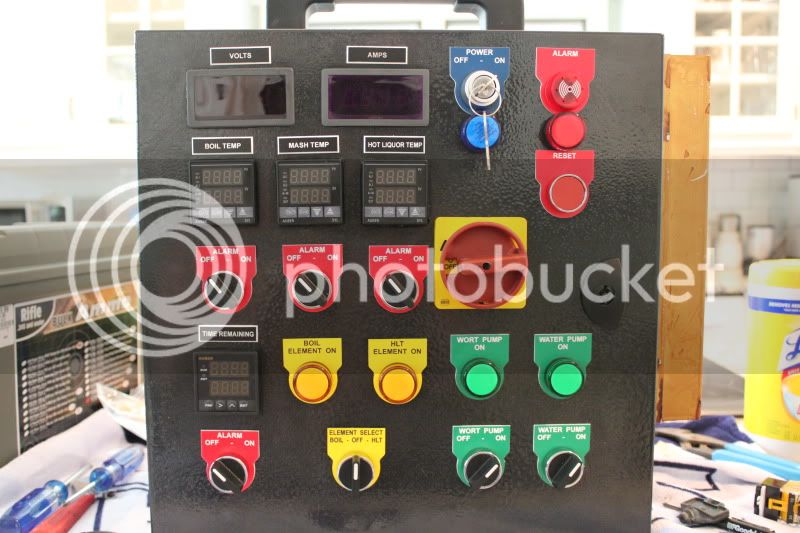
I have been putting parts together for the last 6 weeks and started cutting holes in my control panel yesterday. Hopefully I will be able to paint it today and get everything installed. This is a Kal clone and it would not have been possible without his detailed instructions and documentation. Thanks Kal.
This is going to be a long drawn out build as we have new twin girls and both sleep and spare time have been sparse.
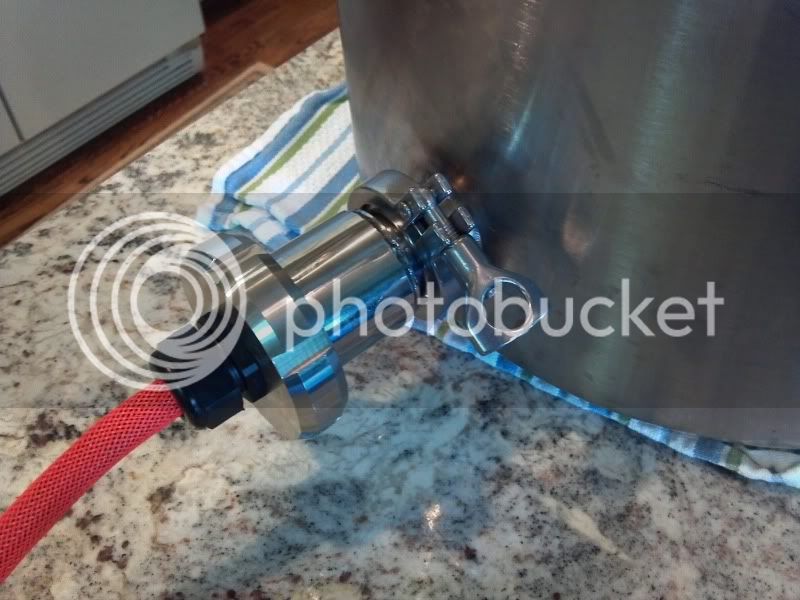
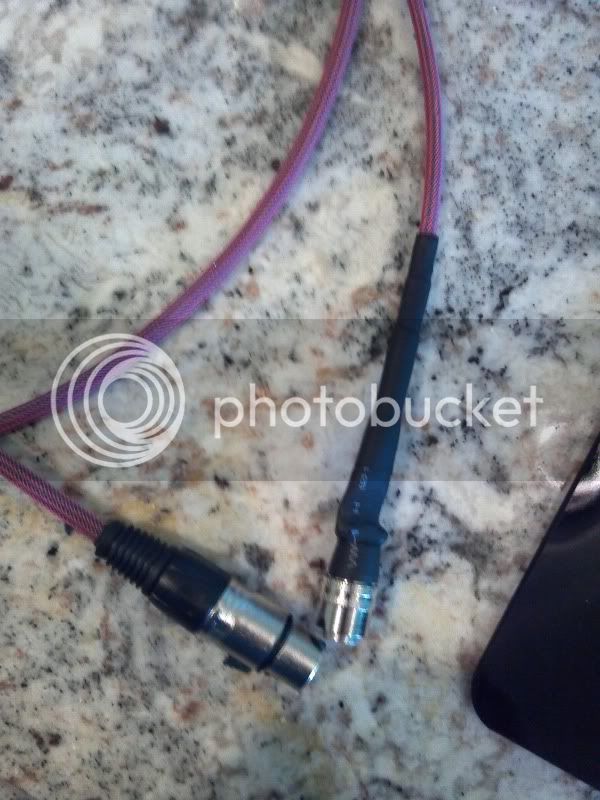
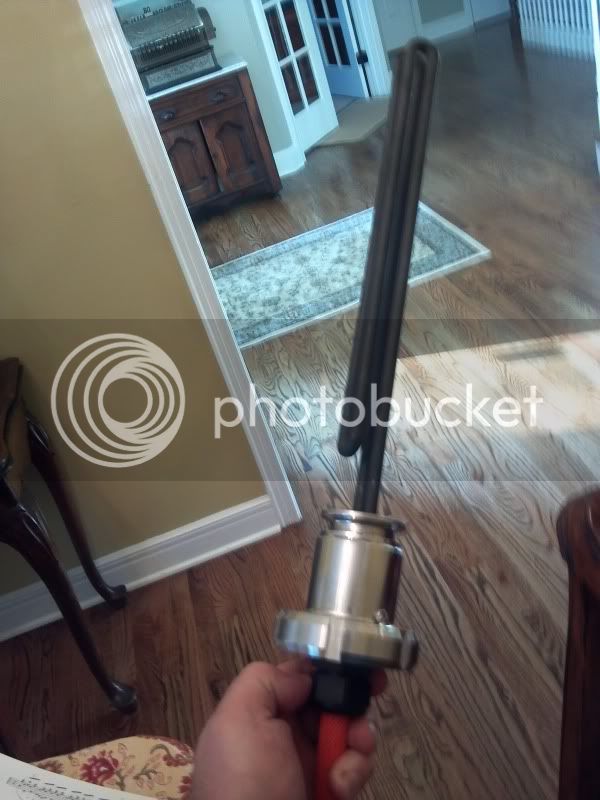
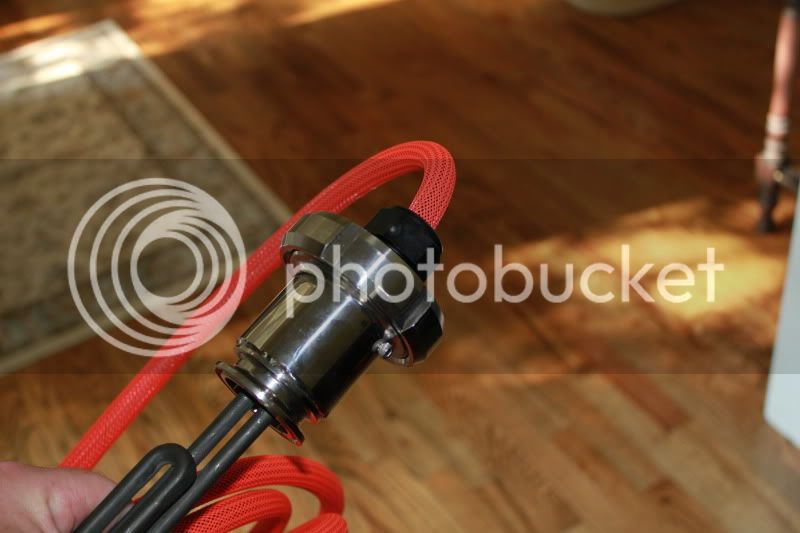
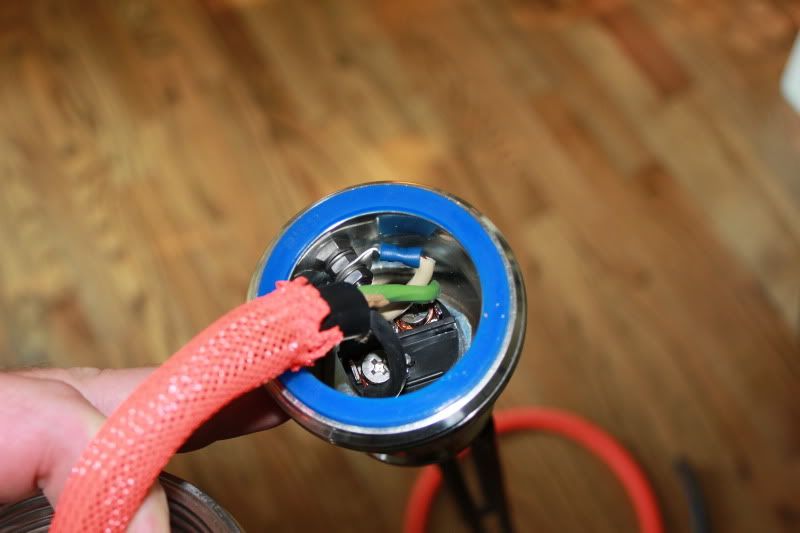
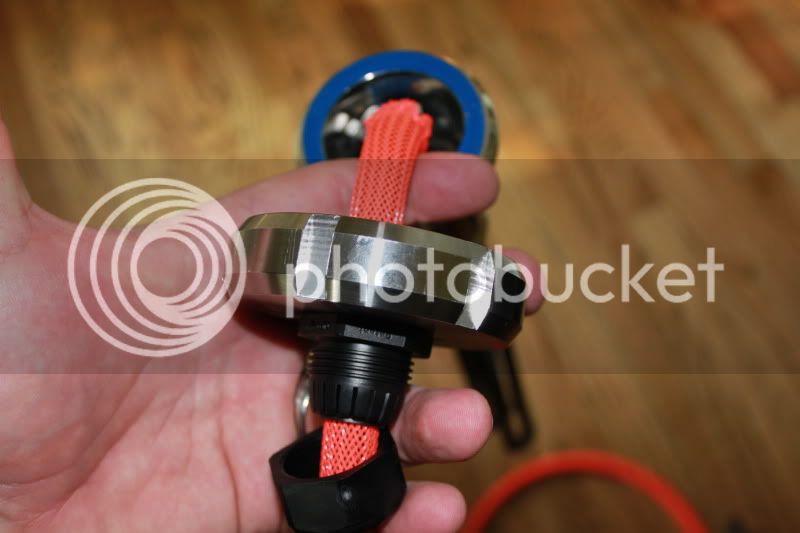
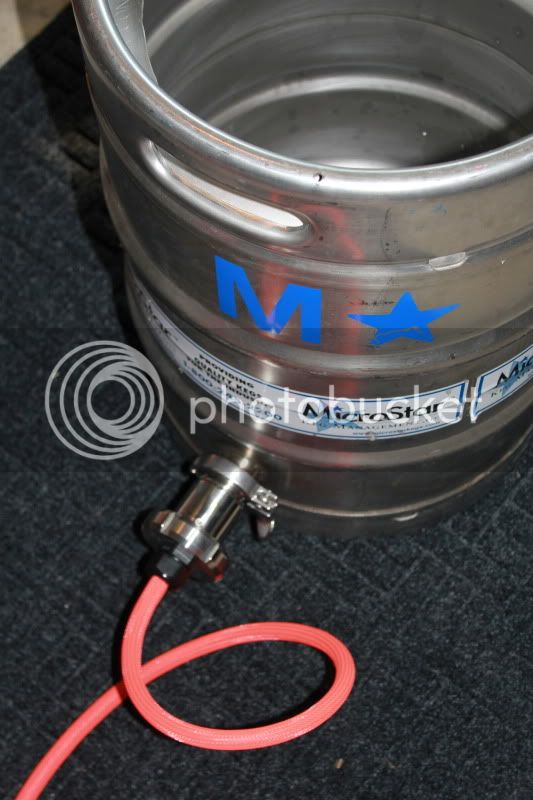
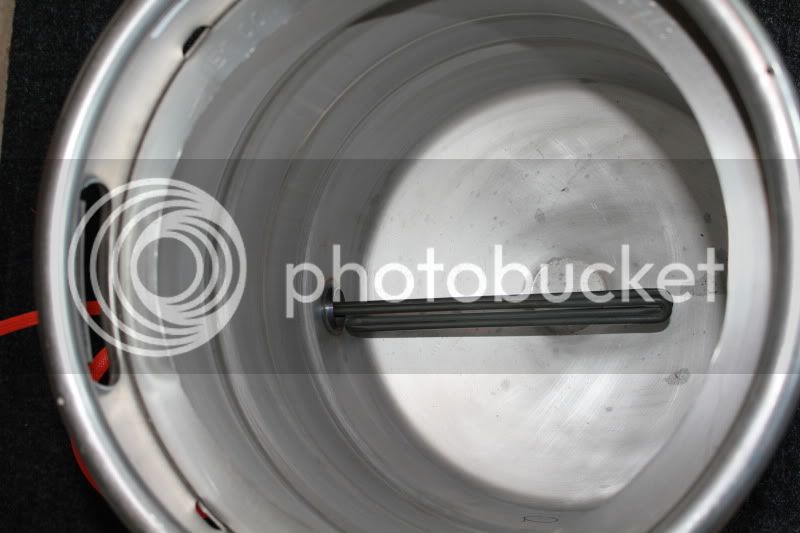
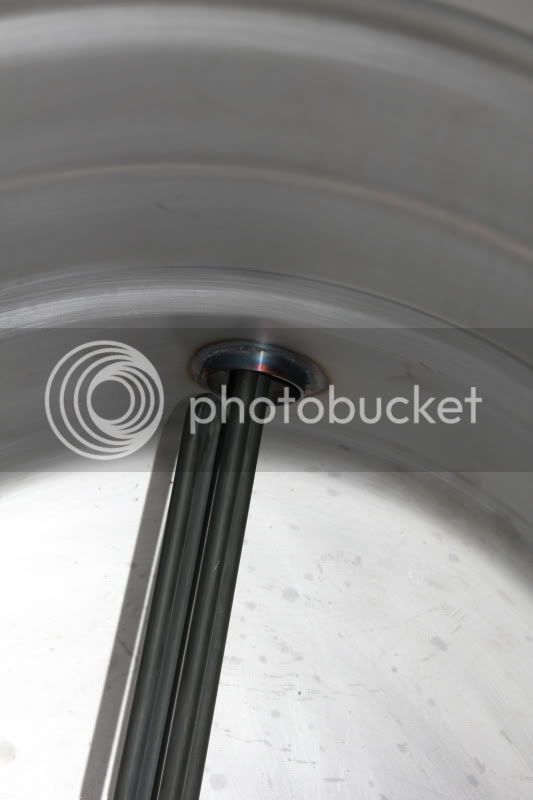
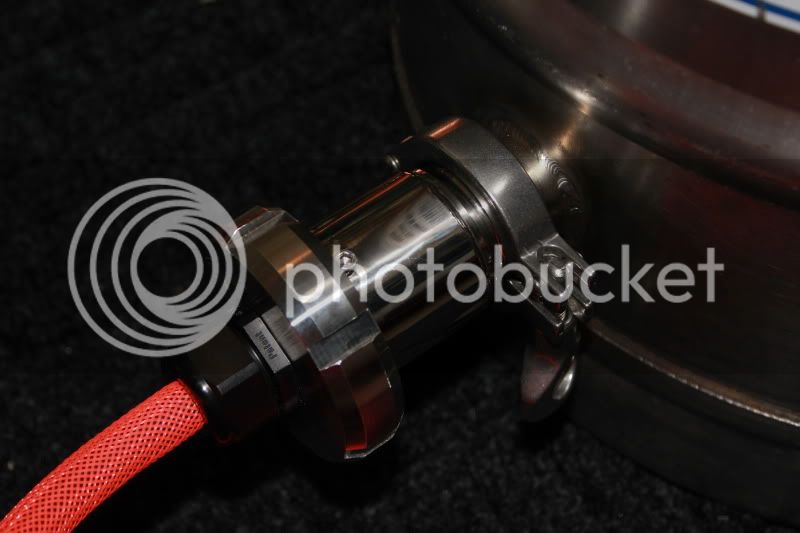
In addition to the control panel I am using 2 modified Sanke kegs for the HLT and MLT. I am lucky enough to have welders at work that are going to weld on the tri-clamp ferrules for the BK and HLT. I bought the tri-clamp element adapters from Brewers Hardware. They are slick and I can not wait to get them running.
I know that in the coming weeks I am going to need some help from those that have completed the process, so thanks in advance.
Jeff
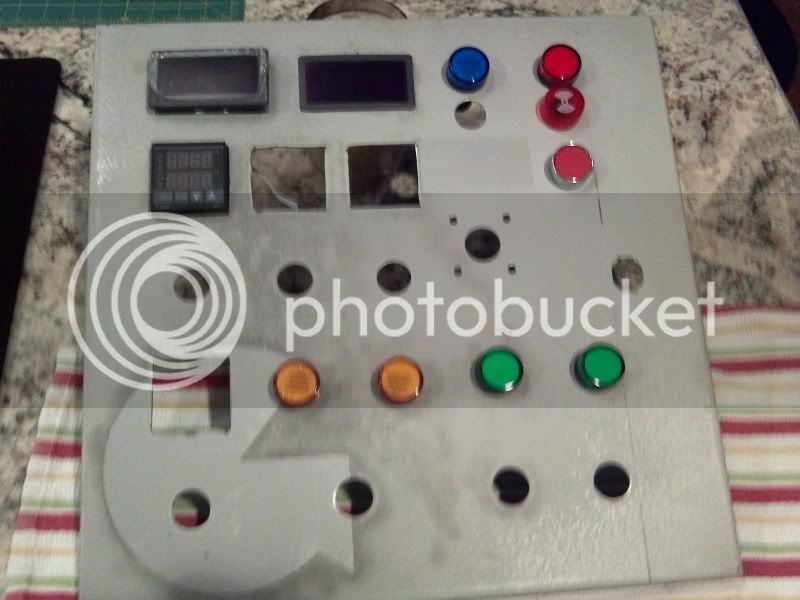
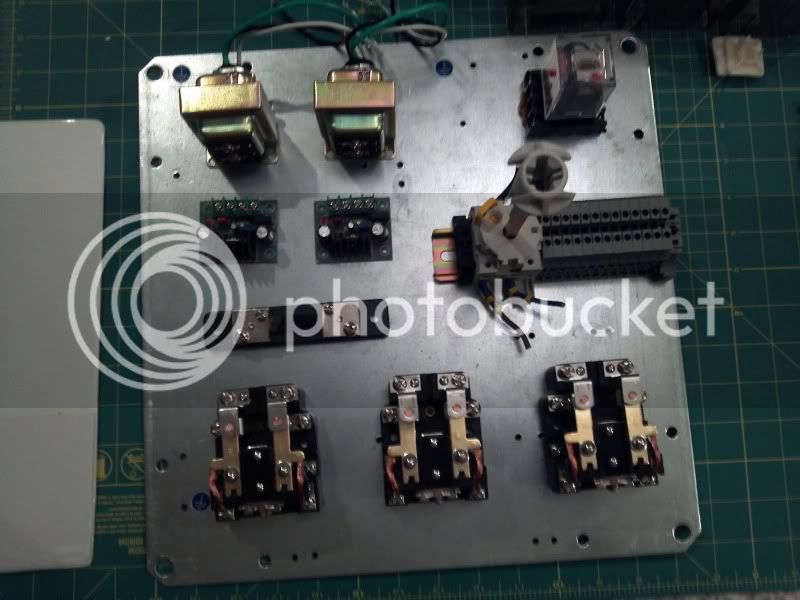
I have been putting parts together for the last 6 weeks and started cutting holes in my control panel yesterday. Hopefully I will be able to paint it today and get everything installed. This is a Kal clone and it would not have been possible without his detailed instructions and documentation. Thanks Kal.
This is going to be a long drawn out build as we have new twin girls and both sleep and spare time have been sparse.
In addition to the control panel I am using 2 modified Sanke kegs for the HLT and MLT. I am lucky enough to have welders at work that are going to weld on the tri-clamp ferrules for the BK and HLT. I bought the tri-clamp element adapters from Brewers Hardware. They are slick and I can not wait to get them running.
I know that in the coming weeks I am going to need some help from those that have completed the process, so thanks in advance.
Jeff


![Craft A Brew - Safale BE-256 Yeast - Fermentis - Belgian Ale Dry Yeast - For Belgian & Strong Ales - Ingredients for Home Brewing - Beer Making Supplies - [3 Pack]](https://m.media-amazon.com/images/I/51bcKEwQmWL._SL500_.jpg)


")
