advice on where to drill into the back of this freezer for kegerator conversion

Homebrew Talk - Beer, Wine, Mead, & Cider Brewing Discussion Forum

Help Support Homebrew Talk - Beer, Wine, Mead, & Cider Brewing Discussion Forum:

This site may earn a commission from merchant affiliate links, including eBay, Amazon, and others.

General_Jah

Well-Known Member
Joined
Aug 29, 2015
Messages
54
Reaction score
3
Hey guys,

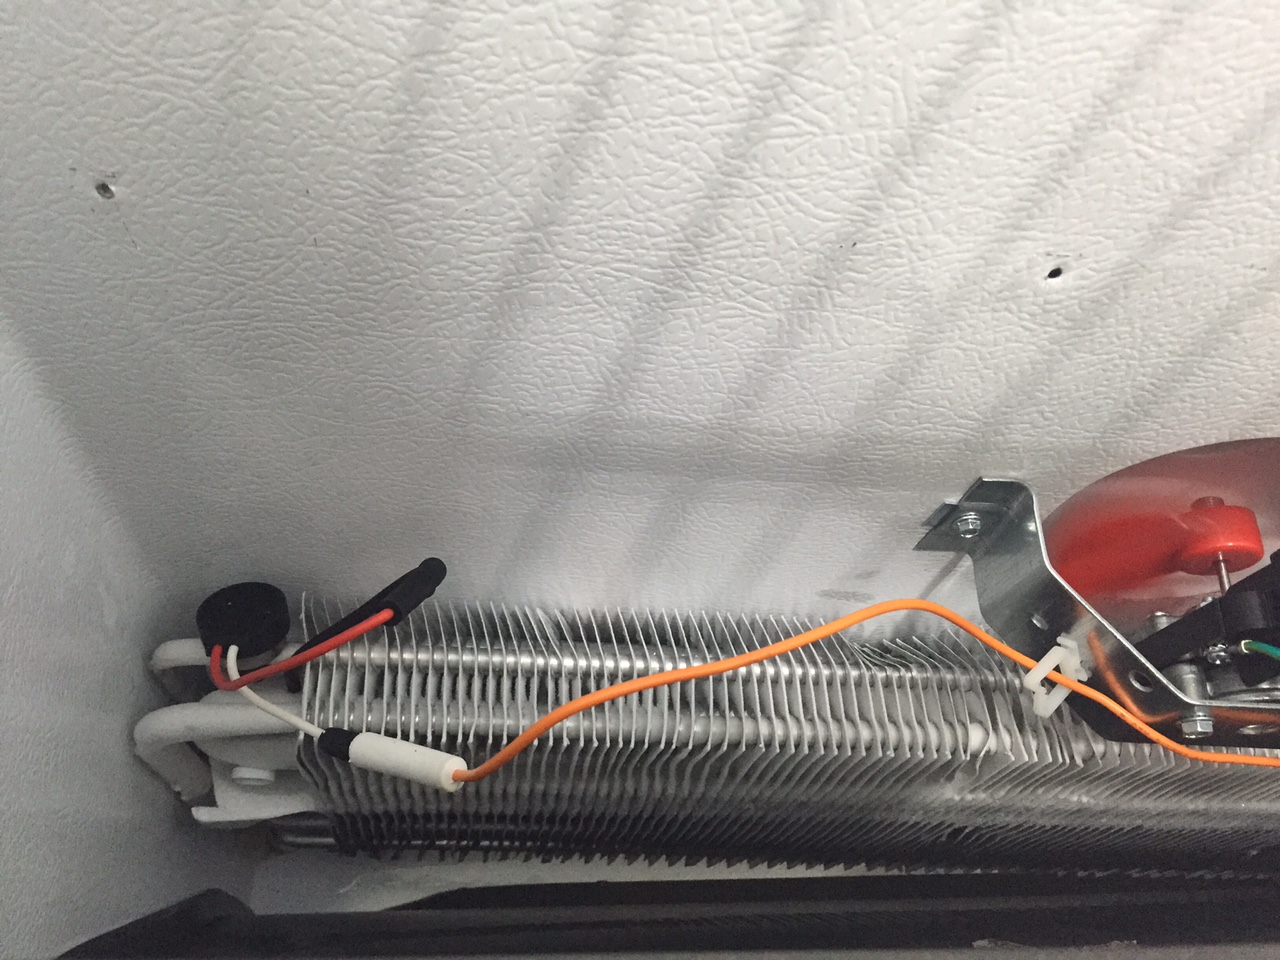
I'm planning on converting this new fridigaire freezer I bought for a kegerator and am having trouble deciding where to drill the holes in for the lines and temp control probe. This will be my first one.

You can view the parts specs here

The issue I'm having is the parts seem to indicate that the back has the condensor coils but it doesn't show how far up the unit they go, just that they start on the bottom.

I was considering drilling in through the side to run the lines as the parts list doesn't seem to show anything at all in the sides of it but read in another post there are typically important component there.

Any vets out there care to offer some advice?

Thanks

back.jpg


front.jpg
 
Last edited:
I have never done it so advise without experience. If I were to try it I would use some sort of jig to hold my drill in place then use a hole saw without the center drill bit. Drill VERY slowly until through the skin, then poke carefully in the insulation looking for any cooling lines. If I didn't find any I would then proceed to gut through the inner wall.

Also look inside so that you don't drill into a place that is not flat, like a molded in shelf support etc.
 
Take The panel off in the inside in the back of the freezer on the bottom (the one that has the thermostat control on it). My frigidaire had a spot not far from the thermostat that had styrofoam insulation and i could very easily verify that there were no hidden coils there. It was indented in such a way that it almost looked like it was a designated spot for putting a hole.

Also, yours looks like it might have the same thermostat as mine, which means it has a coarse adjustment screw that you can adjust and not need an external thermostat if you are interested in that.
 
go in the Side

There usually are not any coils on the Side.

I started on the Inside of my Kegerator -
Real thin Drill - poke threw that plastic first - poke around gently in the foam
Thin Drill threw the Metal

Use bigger drills to open up hole.

Thats how i got my CO2 line into my Kegerator

my 2 cents

S

Good advice on the process, but coils on the side are pretty common. Mine definitely has them.
 
Get a scrap piece of metal conduit and a propane torch and a water spray bottle.

From the inside of the freezer, heat up an end of the conduit until it's hot and then apply to the inside plastic of the freezer until you melt a hole through the inside plastic liner. Keep the spray bottle handy in case of overheating.

Once you've made a hole in the liner and have access to the inside insulation, use some needle-nose pliers to remove insulation and to verify that no cooling lines are where you want to drill through to the outside.
 
Odds are very high there is nothing in the sides....I'd guarantee it for a Frigadare.
 
Odds are very high there is nothing in the sides....I'd guarantee it for a Frigadare.

Are you going to buy him a new unit when he ruins it?

Mine is a Frigidair and the sides are where the condenser coils are located which is why the sides get so hot when it is running.


Take a look at my build thread for a good location to drill the holes. As others have said here, just above the hump in the back is clear of components. The back wall is mostly an open air recirculation channel - above the hump area.
 
Odds are very high there is nothing in the sides....I'd guarantee it for a Frigadare.

I have a Frigidaire FFU1466GW1. Despite the fact that it has a very similar illustration in the manual as shown in the OP, the condenser coils are in the sides. The sides get very warm if it runs for a while, and the back does not. IIRC, the evaporator coils are in the back behind the panel that i suggested he remove.
 
How many taps do you plan to run? What size CO2 tank?

I have enough room in mine to place the CO2 tank, saving on one feedthrough. If your thermostat works to maintain near 40F, then you wouldn't even need a temp probe feedthrough? Just a thought, I'm sure you've already determined that you'll need a large feedthrough...
 
Are you going to buy him a new unit when he ruins it?

The sides are where the condenser coils are located which is why the sides get so hot when it is running.


Take a look at my build thread for a good location to drill the holes. As others have said here, just above the hump in the back is clear of components. The back wall is mostly an open air recirculation channel - above the hump area.


LOL missed this post...what he said for sure.
 
Looking at the Diagram the OP posted

I would agree that there are no coils on the side

My Kenmore is with out coils in the sides - only 8 yrs old

my 2 cents
Steve
 
Looking at the Diagram the OP posted

I would agree that there are no coils on the side

My Kenmore is with out coils in the sides - only 8 yrs old

my 2 cents
Steve

Hmmm... Looking at the pic he posted, #1 on the image is the condenser coil on the back of the unit - which would mean the walls are clear.

General_Jah - do you have the condenser mounted to the back of the unit like the image shows?
 
Hmmm... Looking at the pic he posted, #1 on the image is the condenser coil on the back of the unit - which would mean the walls are clear.

General_Jah - do you have the condenser mounted to the back of the unit like the image shows?

As I said before, I have a similar model that has the same diagram in the manual. It is definitely NOT ACCURATE. I think that's a generic diagram for illustrative purposes only.
 
Take The panel off in the inside in the back of the freezer on the bottom (the one that has the thermostat control on it). My frigidaire had a spot not far from the thermostat that had styrofoam insulation and i could very easily verify that there were no hidden coils there. It was indented in such a way that it almost looked like it was a designated spot for putting a hole.

Also, yours looks like it might have the same thermostat as mine, which means it has a coarse adjustment screw that you can adjust and not need an external thermostat if you are interested in that.

So you are saying you put a thermometer in there to monitor the temp range you want and just adjusted this screw to get it there?
 
So you are saying you put a thermometer in there to monitor the temp range you want and just adjusted this screw to get it there?

Yep. Take a look at this thread:
https://www.homebrewtalk.com/showthread.php?t=249612

It's kind of a trial-and-error adjustment. I got lucky with mine and my first guess got it right into refrigerator range. Just pull the plastic dial off of the the thermostat and take a look.
 
Hmmm... Looking at the pic he posted, #1 on the image is the condenser coil on the back of the unit - which would mean the walls are clear.

General_Jah - do you have the condenser mounted to the back of the unit like the image shows?

Not that I can tell, this is a shot of the back of the unit.

back of unit.JPG
 
Are you going to buy him a new unit when he ruins it?

Mine is a Frigidair and the sides are where the condenser coils are located which is why the sides get so hot when it is running.


Take a look at my build thread for a good location to drill the holes. As others have said here, just above the hump in the back is clear of components. The back wall is mostly an open air recirculation channel - above the hump area.

Models differ. The drawing clearly shows he would be clear.....
 
Models differ. The drawing clearly shows he would be clear.....

The coil there is not the only coil. If the sides of the freezer get hot, there are coils there. both of my upright freezers have the coils in the side. I would bet most do. Ever seen a chest freezer that only had coils on the bottom of it?
 
The coil there is not the only coil. If the sides of the freezer get hot, there are coils there. both of my upright freezers have the coils in the side. I would bet most do. Ever seen a chest freezer that only had coils on the bottom of it?

Well when it turns on I feel the sides vibrating a bit and also on the rear of the unit.
 
Well when it turns on I feel the sides vibrating a bit and also on the rear of the unit.

Probably sympathetic resonance of the compressor. Let it run for an extended time. Eventually it will go into defrost mode and will warm up.
Warm area =coils
 
Found a few pics I took while drilling mine. These show you the spot mine had behind the panel that worked for me. Of course, yours is a different model, so will likely be different, but it's worth a look.

View attachment 304860
View attachment 304864
View attachment 304869

So I kind of pooned out and have not drilled the hole in the back yet. I basically just put the co2 tank inside the freezer and hooked it up to some kegs but now I'm committed to finishing this project :)

When I removed the panel that you were talking about on the back inside of my unit the condensor coils were there. You can see the pics attached.

I'm having a hard time deciding which area around here would be most safe to drill.

The plastic indention in on the right side is probably safe but there is the foam temp control unit that fits in there. Doesn't seem like much of any extra space.

Any advice based on these new pics of the interior panel removed would be greatly appreciated!

Thanks
James
 

Attachments

  • condensor right side.JPG
    condensor right side.JPG
    382.2 KB · Views: 100
  • condensor left side.JPG
    condensor left side.JPG
    422.1 KB · Views: 99
Well, based on what i see in your pictures and what I've seen with my similar model, I'd bet $5 that you are safe to drill anywhere through the back. I wouldn't bet the life of my keezer (nor do i think you should bet the life your yours) on it though. :D

It looks like all of your cooling coils are pictured right there, so i suspect that there aren't any in the back. When it's running, anywhere there are outside coils you should feel the outside get warm to the touch. On mine, that's the top and sides, but not the back.

Tough call here. I'd probably try treading lightly and putting a hole in the back with hand tools. It's easier to feel the resistance and back off than when using power tools. If you want to play it safe, your best bet is to just keep the co2 tank inside.
 
If you have a hole saw:
Drill a hole just through the inner cabinet with a moderate sized drill bit.. Poke a nail, ice pick, whatever through that hole a feel for anything that is not insulation.
If all is clear, then put your hole saw to work but only take off the inner shell layer, taking care not to plunge through. Once the circle of inner shell is removed, repeat with nail/ice pick inspection. If all is well, plunge through.
 
If you are going through plastic, run the drill in reverse to help control speed
 
Well, based on what i see in your pictures and what I've seen with my similar model, I'd bet $5 that you are safe to drill anywhere through the back. I wouldn't bet the life of my keezer (nor do i think you should bet the life your yours) on it though. :D

It looks like all of your cooling coils are pictured right there, so i suspect that there aren't any in the back. When it's running, anywhere there are outside coils you should feel the outside get warm to the touch. On mine, that's the top and sides, but not the back.

Tough call here. I'd probably try treading lightly and putting a hole in the back with hand tools. It's easier to feel the resistance and back off than when using power tools. If you want to play it safe, your best bet is to just keep the co2 tank inside.

thanks again for the advice and everyone else who chimed in.

The sides definitely get warm but not the back so I'm hoping that it will be safe to drill back there. I will start with a small hole and try to probe as you guys suggest.

I've even considered drilling a hole through the door on the lower right by the hinge and just toss the co2 tank on the side of the freezer.
 
Well, based on what i see in your pictures and what I've seen with my similar model, I'd bet $5 that you are safe to drill anywhere through the back. I wouldn't bet the life of my keezer (nor do i think you should bet the life your yours) on it though. :D

It looks like all of your cooling coils are pictured right there, so i suspect that there aren't any in the back. When it's running, anywhere there are outside coils you should feel the outside get warm to the touch. On mine, that's the top and sides, but not the back.

Tough call here. I'd probably try treading lightly and putting a hole in the back with hand tools. It's easier to feel the resistance and back off than when using power tools. If you want to play it safe, your best bet is to just keep the co2 tank inside.

Dan when you went through the interior wall of the freezer for your co2 hole, do you remember having to punch through a wall of plastic right behind it?
 
Joust like JonW said, there are coils in the sides - do not drill there. The diagram in the OP does not match the picture of the back which was later posted.

I drilled mine in the upper right corner facing the freezer from the front. From the back, this is the upper left corner. Probably about 1/2" clearance from the top and side inside. Through that I ran my CO2 tubing and the wire for the STC temp sensor. I sealed it well with silicone, though I would recommend silicone for plastic to adhere to the tubing. No condensation forms on my tubing and mu tank sits atop the freezer.

-BD
 

Latest posts

Back
Top