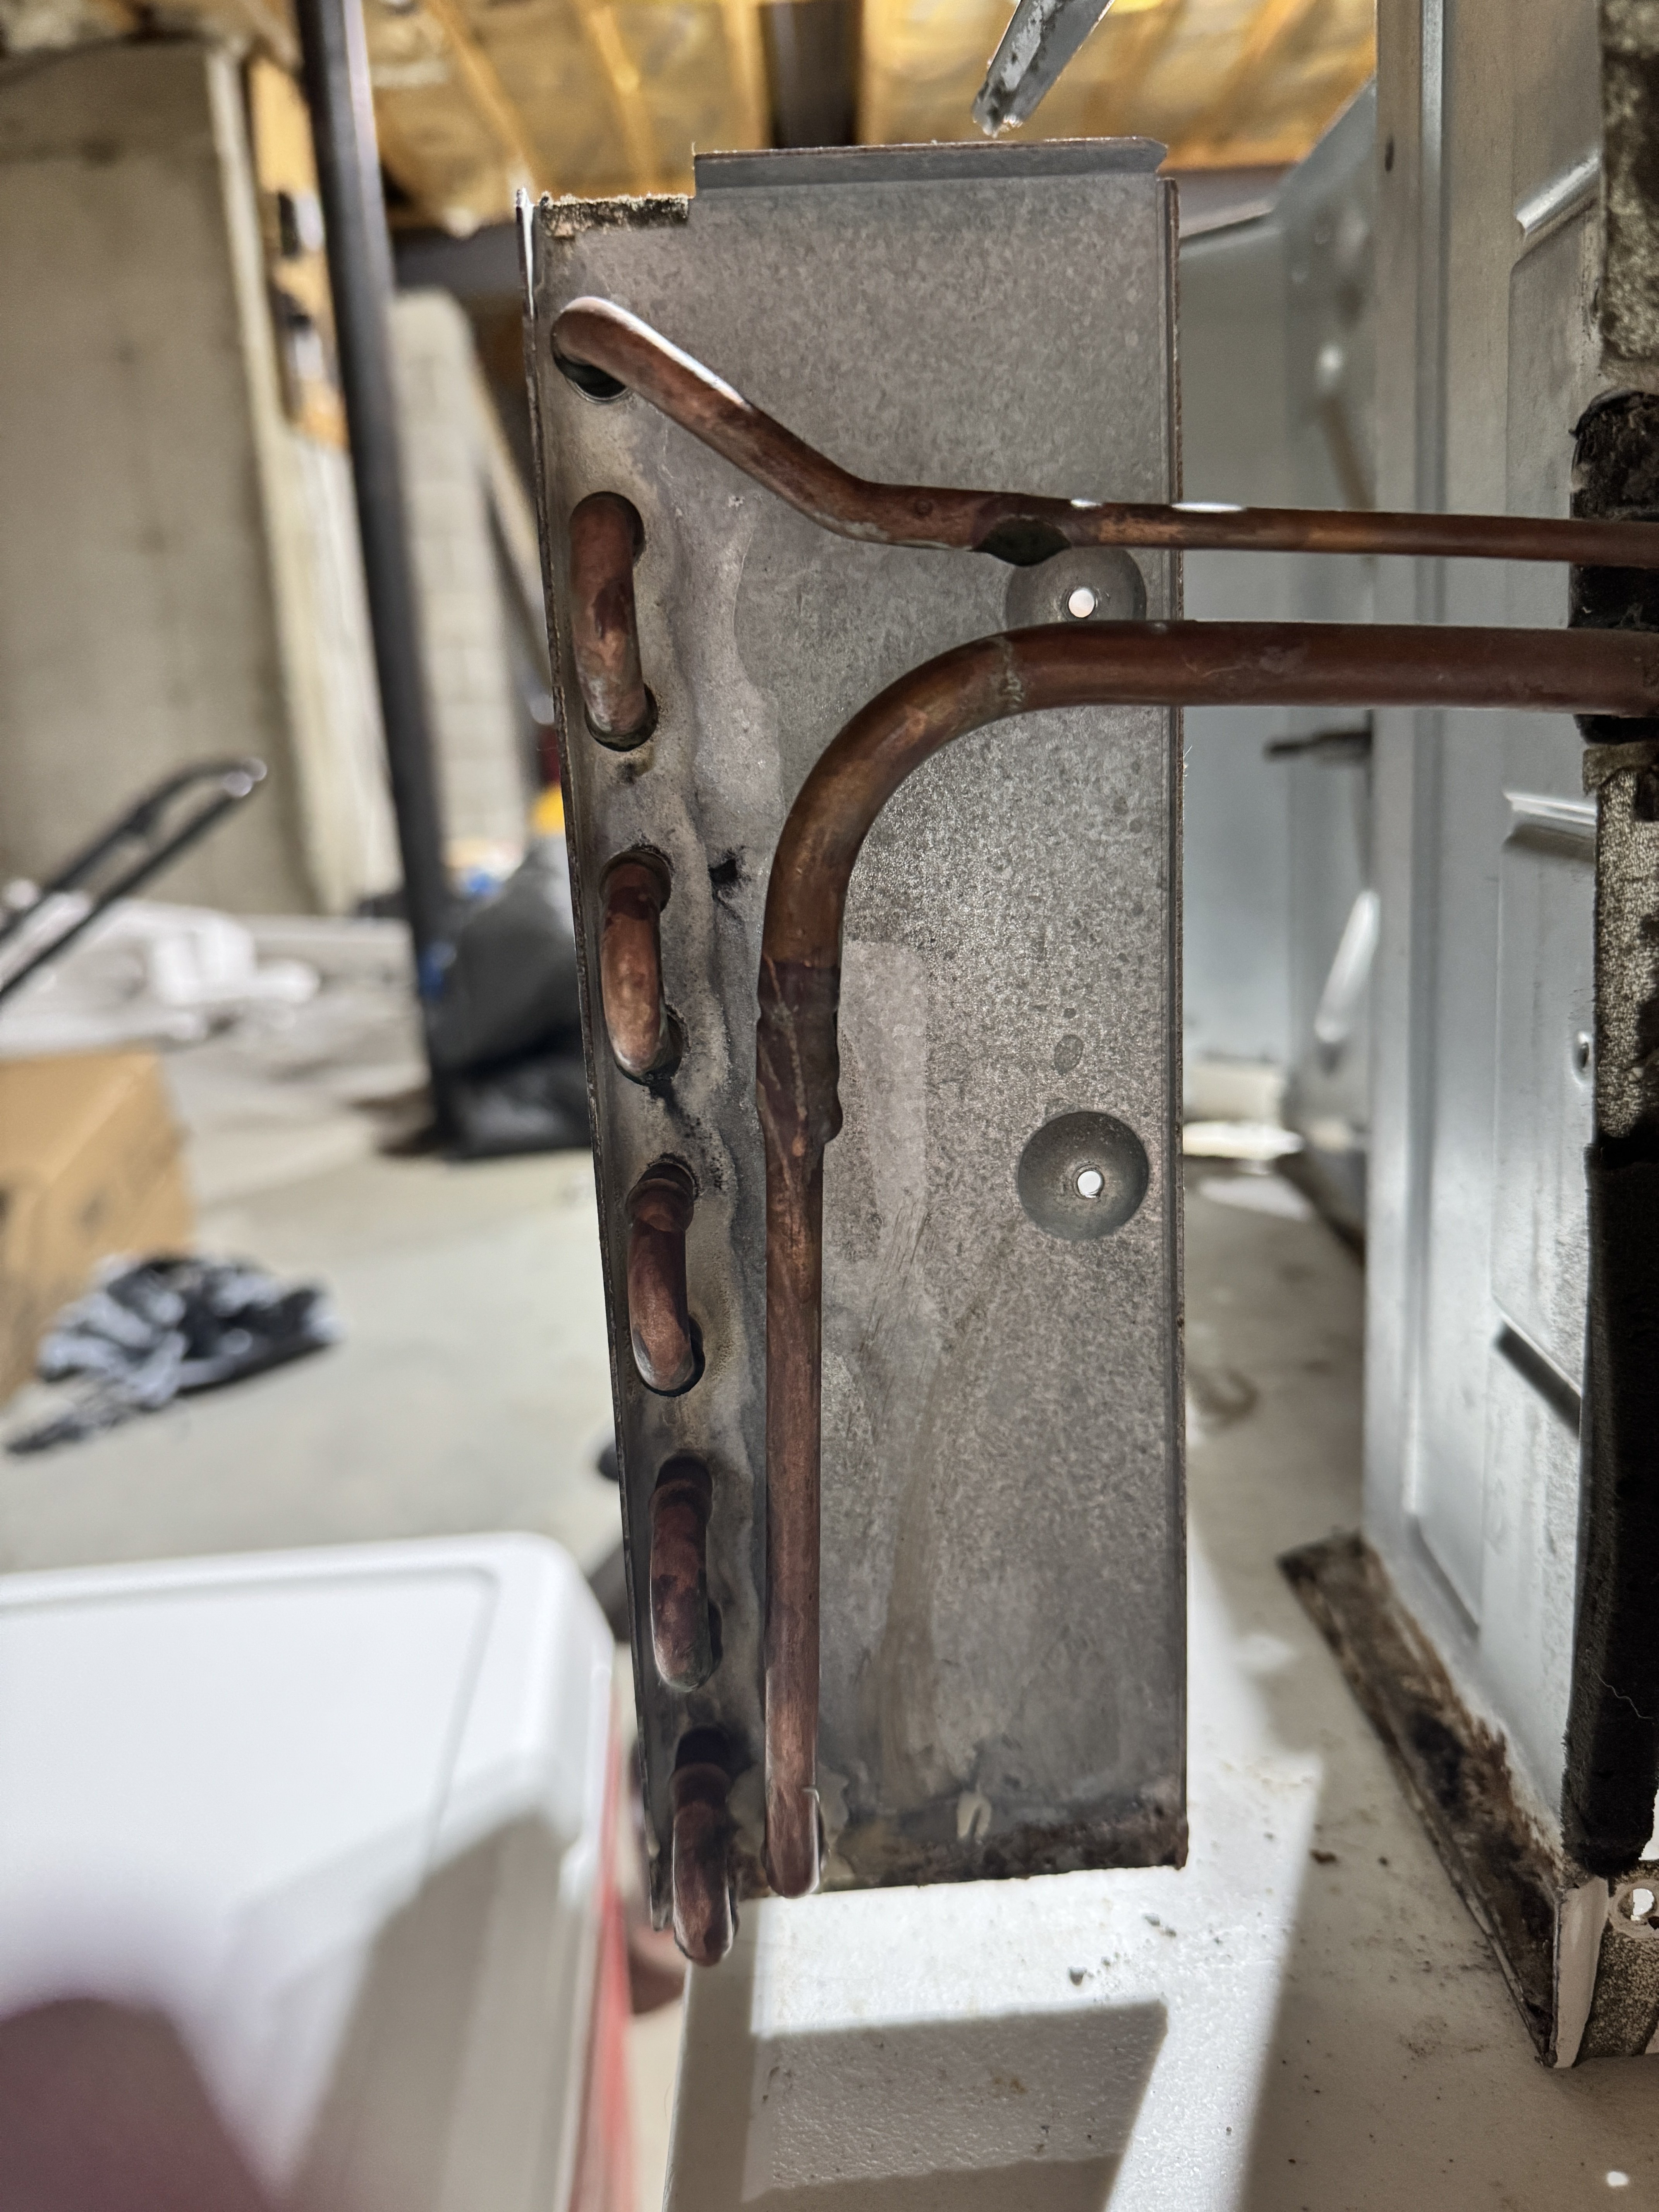
I've been out of the game for a while (new house, new kid, etc.) and am getting ready to jump back in, but I want a glycol chiller up and running before I start. I'm going to put the coil from a cheap air conditioner into a chest cooler, but I need a way to seal the resulting holes in the cooler. Basically I'm going to cut a slit into the cooler, drill appropriately sized holes along said slit for the two tubes from the coil, slide the coil into the cooler, and seal the cuts back up.
But what should I use to seal the cuts? J-B Weld has a few products, specifically J-B Weld, PlasticWeld, and WaterWeld, but I don't know which if any of those would work for creating a leak-proof seal between the plastic and the copper. Or some kind of caulk? I need something that won't get funky with glycol and rust inhibitor. I've tried looking for similar builds but haven't had much luck.
I've already torn the AC apart, and the coil is ready to go in. Once installed I'll rewire the AC and hook it up to an Inkbird ITC-308, which should have enough juice to make it work. I'll install a recirc pump, plus individual pumps for each chilling coil (currently planning for 3,) and run them through small stainless bulkheads into my fermenters.
Any other thoughts or suggestions are welcome. And naturally, when I'm done, succeed or fail, I'll post pics and details of the build.


![Craft A Brew - Safale BE-256 Yeast - Fermentis - Belgian Ale Dry Yeast - For Belgian & Strong Ales - Ingredients for Home Brewing - Beer Making Supplies - [3 Pack]](https://m.media-amazon.com/images/I/51bcKEwQmWL._SL500_.jpg)

